Dark Souls 3: Smouldering Lake
Smouldering Lake is an optional location. You can visit it if you destroy the wooden bridge in Catacombs of Carthus. Then you can use the bridge as a ladder to walk down where behind the chamber with the demon you will find a bonfire - behind it you will enter this location.
Beginning
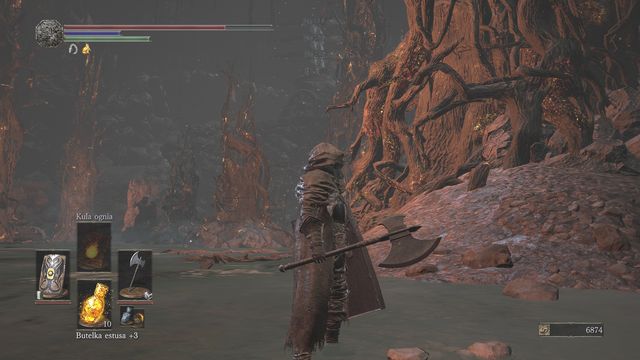
While moving through the lake you will be constantly attacked by a ballista located high above on the right side from the entrance. The projectiles are shot one after another and there is a short pause after the third one. This pause will allow you to quickly move between the trees so that you avoid damage. From the area in front of the entrance you can collect 4x Titanite shard from the scattered bodies.
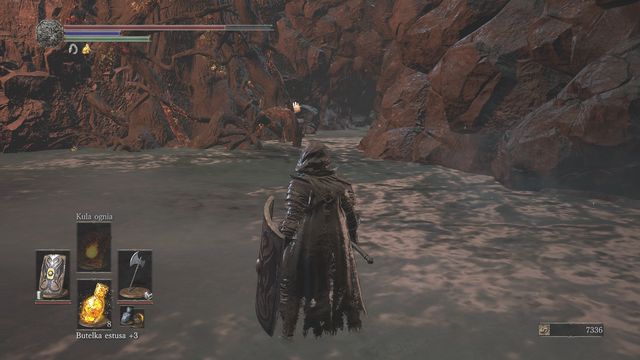
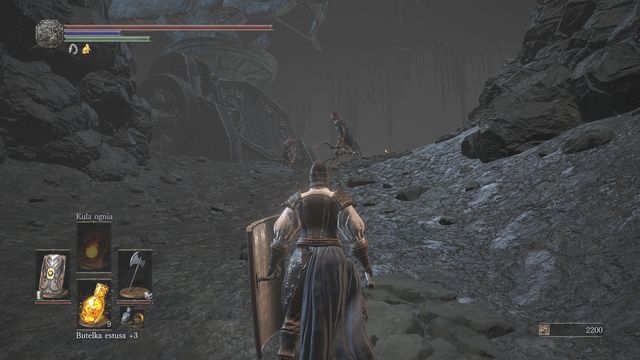
Then move towards ballista, to the place shown on the screen. In the wall you will find a passage which will lead you to a closed area in which you will encounter Horace. Kill two lizards on your way in order to collect the Twinkling Titanite and Titanite Chunk.

Horace has gone mad and he will attack you if you get close. If you want to continue Anri quest you must kill Horace or escape from here and tell her nothing. Killing Horace is a safer and more profitable option. He attacks with a spear, keep attention to its long range. The most dangerous attacks are performed by him with his two hands (grinder, attack from above). When he holds his shield you can rather easily break his defense. After defeating him you can collect Llewelyn Shield and Yellow Bug Pellets and 2x Large Titanite Shards lying around.

Once you walk back near the lake, you should risk and turn to the right side of the map. On the way you will face few crabs. Combined with the ballista assault, stopping to fight the crabs would be a suicide. However, it is worth taking the risk and bypassing all the enemies because under the wall at the end you will find a Chaos Gem

While in the middle of the lake you can use the ballista twice for your own needs. The first place which you can unlock when ballista will hit it (position yourself and wait for the shot) is the path that leads to the ruins. It is between the two burning torches (search for a rocky path). When ballista destroys it you will fall below. When leaving the corridor you can find a bonfire (just behind a demon).

The second place is the wall among the rocks (screen). When the ballista projectile hits the second wall it will be destroyed and you will gain access to a body with a Speckled Stoneplate Ring.

Finally go towards the gate on the left side from the entrance to the location. This passage leads to an optional boss. When you get close to the passage, a giant worm will emerge from the water. Fighting him isn't recommended because he has powerful attack and lightning is surrounding him. In addition to that, you must remember about avoiding ballista projectiles...

...which can be used to serve your own purposes. If you position yourself correctly, the ballista missiles will hit the monster and will get the job done for you. In order to do that, run around the bug and stand behind one of the rocks on the left, just like on the screen. Now you must be patient - the monster will receive damage after emerging. After few hits the creature will die and you will be rewarded with a Lightning Stake and an Undead Bone Shard. If you return towards the place where the opponent was killed you will also find a Shield of Want and Large Titanite Shard.
Finally go along the path on the right side from the door which you should ignore for now. Before entering the corridor you will find a Large Titanite Shard and after walking down a bonfire.
Demonic Ruins
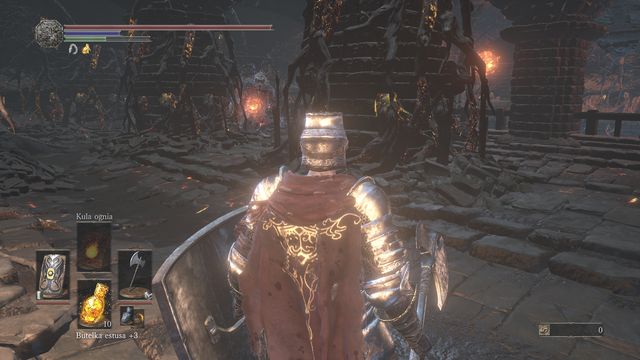
The corridor behind the bonfire will lead you down. On the left you will encounter the first of many demons in this location. A good fire protection will prove to be useful. The most dangerous attack of the enemy is a fire breath - when he does it you must dodge and roll behind his back. Notice the fireballs flying around - you can stop the opponent from creating them if you attack him at right time. In addition to that the balls are shooting projectiles, so don't let the opponent create too much of them. It is best to kill the demon as fast as possible - the balls will disappear after his death. In the corner you will find an Ember.
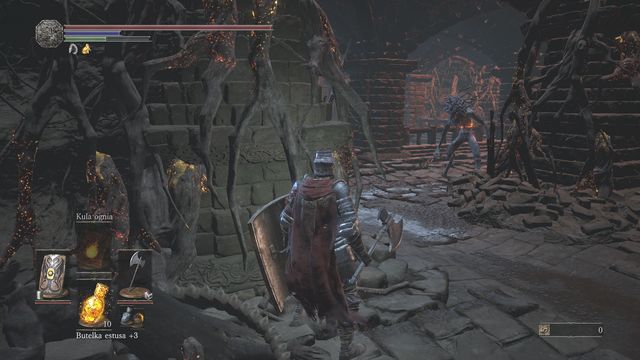
Turn right before walking down and slowly move along the wall. Behind it there are four enemies, it is important to lure them one after another. Don't remain for too long in the reach of the purple toxic cloud. Kill all enemies one after another and then enter the room on the left side.

Just like before, you should lure the opponents one after another. Watch out as this enemy type will be constantly trying to capture you (high number of damage). The enemies will jump up and immediately attack by felling on the player (it is similar to rage and it can quickly kill you if you are caught by it few times in a row). In the corner you will find Ember. However, before taking it, first drop the creature hanging above it and kill the fat demon in the corner. His fire attack can be avoided by waiting behind the wall and then quickly attacking him. Don't try jumping above the hole - you will fall down into the trap. Instead of that, go slightly back and down, to the place where there were four enemies.
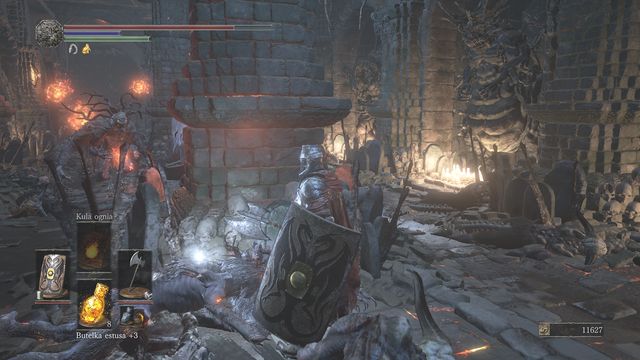
You will enter a room in which two mages will attack you. The fire protection will be even more useful than usual since few fireballs are hanging in the corridor. It is a good idea to hide behind a pillar and wait for enemies to get close enough for you to attack them physically. This will allow you to take at least some of their health before you will be forced to escape behind another pillar where you should finish the battle.
Note: You might walk down when the enemies will be turned away. In that case you should attack one of them, preferably from distance, and lure him away from his companion.
Once the battle is over you should walk towards the remote corner of the chamber where under the hanging gelatinous enemy you will find an Undead Bone Shard.
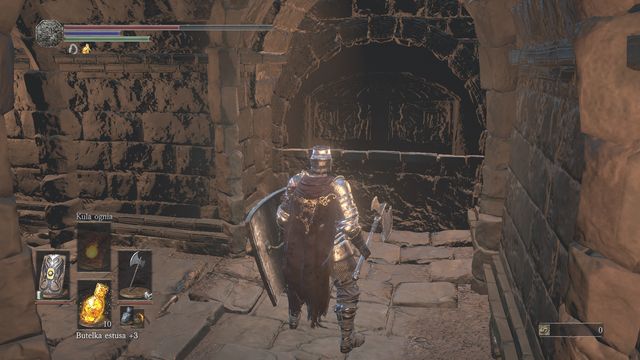
Then, while leaving the stairs leading up behind, go to the right from the main chamber. At the end you can turn once again to the right or go to the corridor ahead (without the rat in the middle). Select the latter option and hit the illusory wall at the crossroads shown on the picture.
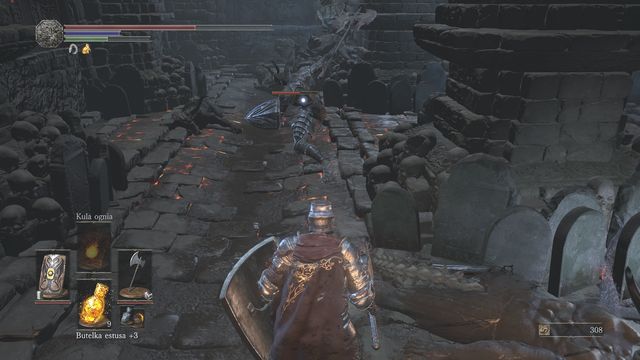
Behind the wall you will find a black knight. Watch out for his very powerful hits and a lethal series of attacks. Run around the pillar and prepare a strong hit once you get bit far away - correctly aimed it will strike the incoming opponent. Once you manage to defeat the knight collect the Black Knight Sword and continue the journey through the corridor.
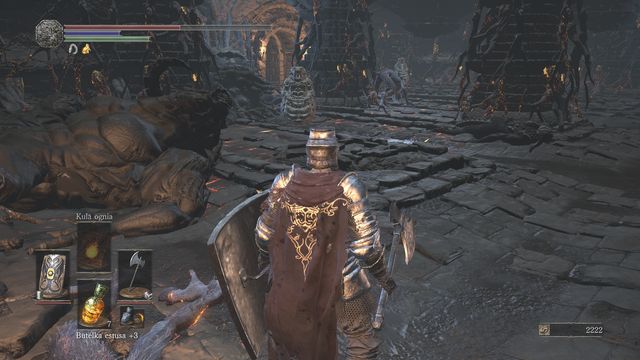
In the next room you will face few enemies. Watch out especially for the stone demons that are spitting fire - perform a quick dodge and attack them from behind while they will perform the attack. In the next room you will find two other opponents, including a shaman on the left side. Examine the corridor behind the spearman and in the niche you will collect Ember. Then go upstairs.
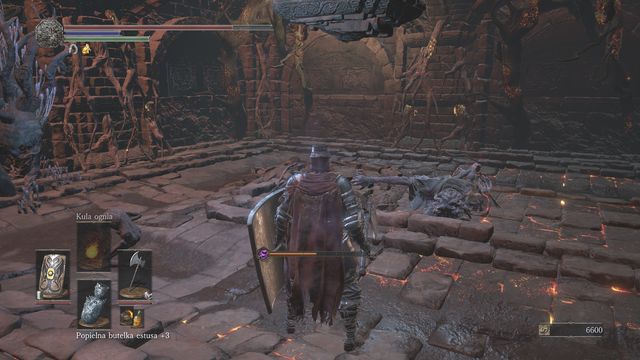
Here you will find a bonfire (Old King's Antechamber). Check the area behind the wall in the corner that is different than others (it's on the left side from the stairs entrance). Hit the illusory wall and walk through the corridor filled with hanging gelatinous creatures (quick sprint should be enough). You will reach an Estus Shard.
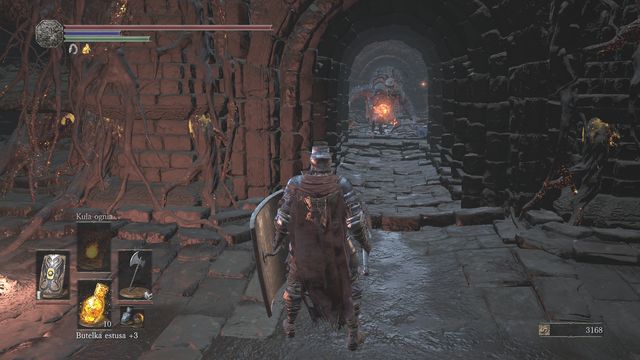
Now go back to the bonfire and enter the corridor with the demon mage you should be already familiar with. Turn left after killing him - you will find another illusory wall. Kill the lizard at the end in order to obtain a Chaos Gem. If you used ballista to destroy the rocky floor in the lake visited at the start, you should notice a hole in the ceiling - the shortcut leads to this place.

In order to finish exploring this area, go to the larger chamber ahead from the bonfire. There, in front of a statue, you will find an enemy kneeling with his back turned on you. Carefully enter the room and quickly retreat as there are two other opponents waiting for you on the sides. Escape towards the bonfire, quickly attack one opponent and lure the second one from the shaman. Don't get caught in the narrow passage, if two opponents will attack you there simultaneously you can easily die. After clearing the area of enemies you can collect the Izalith Pyromancy Tome and return to the larger room below where you will encounter two demons - mages with fire balls hanging around.
Road to ballista
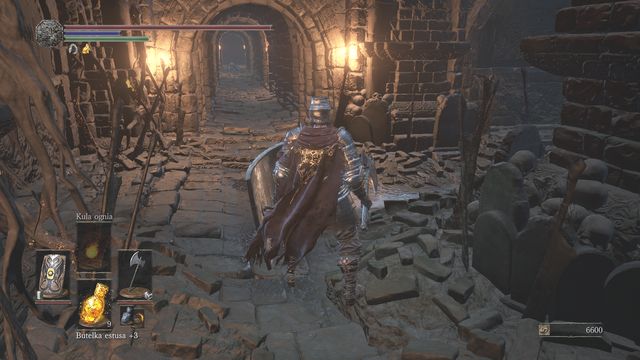
Turn to the corridor with a single rat when leaving the room with two mages. Just before the rat you can turn right where in a small chamber you will find some more rats. Hit the wall ahead from the entrance in order to reveal an illusory wall. Slightly behind, near a spider's body, you can find Quelana Pyromancy Tome.
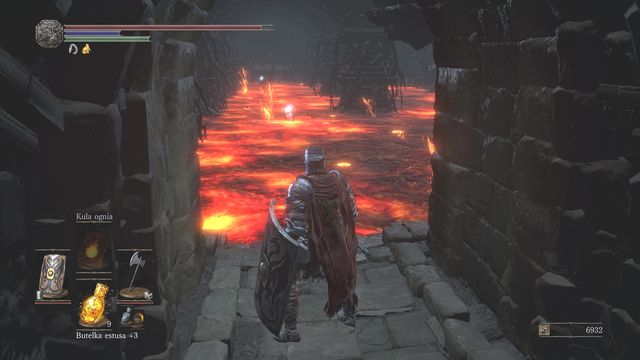
The passage down leads to lava. However, notice that in the middle and at the end there are items here. If you want to obtain them you must return here with a full stock of Estus Flasks, a fire resistant armor and with Red Bug Pellets which will temporarily reduce the damage received from fire. Obtaining the items is very hard - you must run through the lava and drink Estus when your health bar drops to half. The character will slow down, but the action is necessary if you want to reach the end. You must also watch out for the gelatinous monsters - make sure you always avoid them (without dodging or you might not have enough time to heal). If the creatures are the greatest impediment for you (for example they explode next to you), try waiting on the stairs and luring them towards you. By doing so you can kill them before entering the lava. After a successful attempt you will receive Toxic Mist and White Hair Talisman. You will surely die, but you will also keep the obtained items. If you move from the stairs you should find the soul before the entrance to the lava.
Note: In the corridor with the single rat there is a hole at the end. It leads to the same place. By jumping inside you will get immediately to the half of the road, so if you have trouble with reaching the wall you can try from this place - only watch out for the last creature which lurks just before the item.
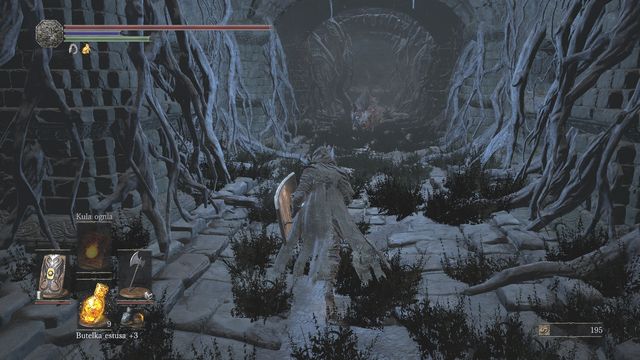
Go back to the room with rats and get deeper below. At the end of the next corridor you will find a larger rat and few smaller ones behind him. Quickly eliminate them and then find the illusory wall on the left. Behind it you will find a chest with 3x Large Titanite Shard inside. The wall behind the chest is illusory as well and it leads to Izalith Staff.
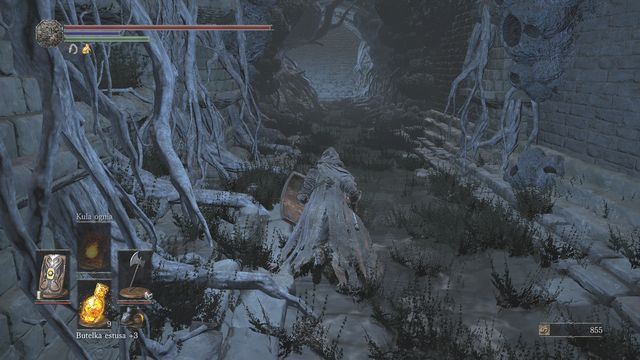
Watch out for the poisonous frogs in the sewers - quickly escape whenever they will threaten you. At the end of the road you will find stairs before using which you should turn left.
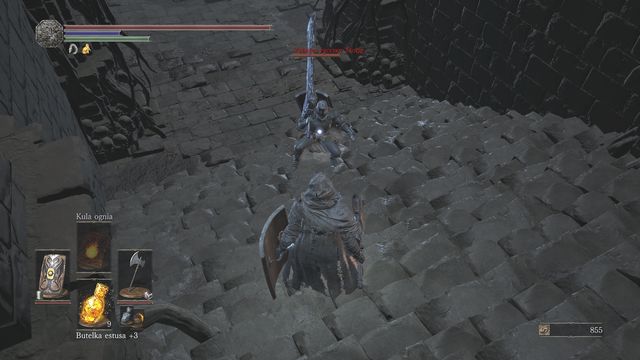
The path to the room filled with lava is guarded by an opponent you already know - Tsorig. Similarly as before, he has a giant sword with which he can easily deal heavy damage. Watch out especially for the attack with the large swing after which the opponent will intend to crush you into the ground - it's his strongest weapon. Try to always attack after his attack when you have a chance to hit his back. It can be easier to bypass his attacks by rolling from the top of the chairs to the bottom.
You can also try using lava by standing next to it, very close to the edge. If Tsorig will perform a charge, dodging to the side will allow you to deal two quick attacks and thus throw him into the lava. This can speed up the battle if you manage to repeat the trick enough times. For winning you will receive the My Thanks! Gesture (if you haven't received it earlier), 5 000 souls and Fume Ultra Greatsword and Black Iron Greatshield. In addition to that, you can try collecting the items from the lava - Ember and Sacred Flame.
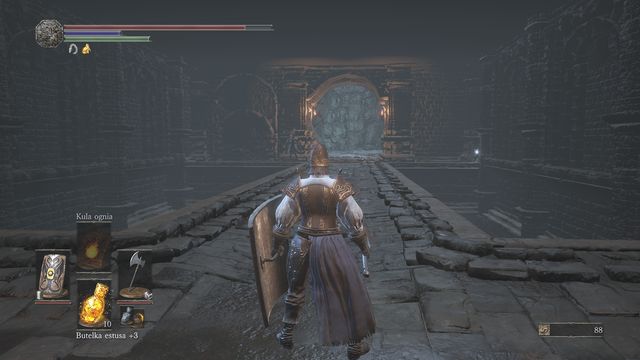
Finally go upstairs. Behind the bridge you will find another challenging opponent (but not as challenging as Tsorig). You can trick the opponent and with two or three attacks push him down to the lava (while watching out to avoid the same fate). On the other side you will find a Soul of a Crestfallen Knight.
Go up the ladder. Once at the top, turn right where on the slope below you can pick up the Dragonrider Bow. Slightly further you can enter an open space. Watch out for the ballista and the few skeletons. Cautiously pick up the Homeward Bone.
Finally you will reach the top. The ballista is guarded by two final enemies which can luckily be lured away and defeated one after another. Watch out for the air attacks and for the knives thrown at you. Once you manage to kill the final opponents, walk towards the ballista and pull the lever. This will deactivate the weapon and allow you to safely move through the lower part of the lake - you can collect items which you haven't taken yet. If you want to unlock a shortcut leading to the ruins and to destroy a wall (if you haven't done that yet), you can activate the ballista again later.
Finally go back to the lake and towards the arena with the boss. You can summon two NPCs for help - sign of one of them can be found before the entrance, and Tsorig's sign can be found near the Demon Ruins bonfire, in the corner of the room.
- Dark Souls III Game Guide & Walkthrough
- Dark Souls 3: Walkthrough and Secrets
- Dark Souls 3: Walkthrough
- Dark Souls 3: World Map
- Dark Souls 3: Cemetery of Ash
- Dark Souls 3: Firelink Shrine
- Dark Souls 3: High Wall of Lothric
- Dark Souls 3: High Wall of Lothric - from the Bonfire
- Dark Souls 3: Cleansing Chapel - tower
- Dark Souls 3: Undead Settlement
- Dark Souls 3: Undead Settlement - straight road from the great square
- Dark Souls 3: Undead Settlement - path from the great square through the bridge (on the right)
- Dark Souls 3: Undead Settlement - way down
- Dark Souls 3: Road of Sacrifices
- Dark Souls 3: Road of Sacrifices - Swamp
- Dark Souls 3: Cathedral of the Deep - outside
- Dark Souls 3: Cathedral of the Deep - inside
- Dark Souls 3: Farron Keep
- Dark Souls 3: Catacombs of Carthus
- Dark Souls 3: Smouldering Lake
- Dark Souls 3: Irithyll of the Boreal Valley
- Dark Souls 3: Irithyll of the Boreal Valley - from the Church of Yorshka
- Dark Souls 3: Irithyll of the Boreal Valley - Path to Anor Londo
- Dark Souls 3: Anor Londo
- Dark Souls 3: Irithyll Dungeon
- Dark Souls 3: Profaned Capital - Return to the Irithyll Dungeon
- Dark Souls 3: Profaned Capital - Path to Yhorm the Giant
- Dark Souls 3: Lothric Castle
- Dark Souls 3: Consumed King's Garden
- Dark Souls 3: Untended Graves
- Dark Souls 3: Grand Archives
- Dark Souls 3: Grand Archives - rooftops
- Dark Souls 3: Archdragon Peak
- Dark Souls 3: Kiln of the First Flame
- Dark Souls 3: Game endings
- Dark Souls 3: Walkthrough
- Dark Souls 3: Walkthrough and Secrets
You are not permitted to copy any image, text or info from this page. This site is not associated with and/or endorsed by the developers and the publishers. All logos and images are copyrighted by their respective owners.
Copyright © 2000 - 2025 Webedia Polska SA for gamepressure.com, unofficial game guides, walkthroughs, secrets, game tips, maps & strategies for top games.
