Dark Souls 3: Undead Settlement - path from the great square through the bridge (on the right)
The next part of the enormous Undead Settlement means more branching out alternative paths. After the bridge, you can either go right or straight ahead. Either way, you will reach the Cathedral, where an elevator awaits - it too can go two different ways.
- Beginning
- Through the stone bridge - go straight forward
- Path to the cathedral
- Take the lift down
- Up the lift
Beginning

You may also turn right and go through the bridge. You will be attacked by two opponents who will come through the door in front of you. Deal with them and leave the building for now. Move right and destroy obstacles which will unlock a passage that goes around this building.
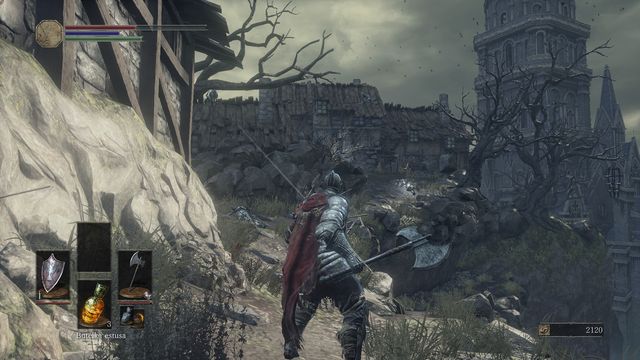
You will be immediately, attacked by an enemy that will jump out from the left. Locate the place presented in the screenshot. Watch out for shooters on the roof. A good idea would be to hide behind your shield and take advantage of the time they need to reload to get to the ladder on the other side. Use it to get to the roof where you will be able to jump between three foes and eliminate them quickly.
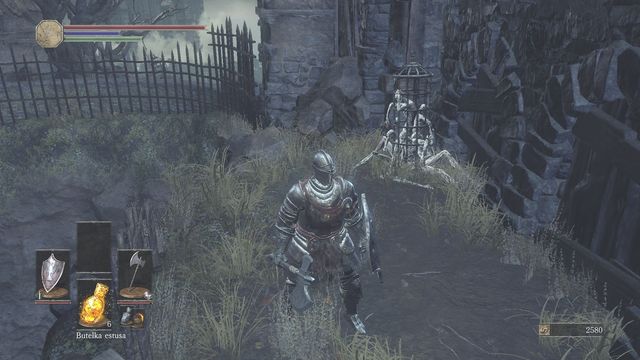
Search the area for Firebombs, a Plank Shield and a Homeward Bone. There is also a Fading Soul by the tree, in front of the ladder. Walk around the building and you will find a character that you can talk to.
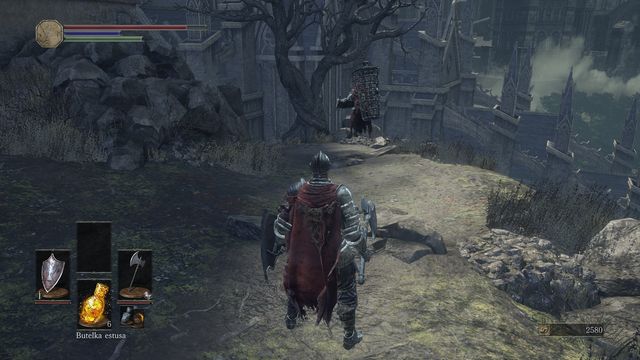
Make your way to the roof and jump down, on the right side. You should come across a character that has a cage on its back. Leave it alone for now and get to the end of the road. Hit the corpse to make it fall lower (there is a Flame Stoneplate Ring in front of the cathedral). Get back to the mysterious character and enter the cage.
Remember: You can perform this action only before killing the boss.
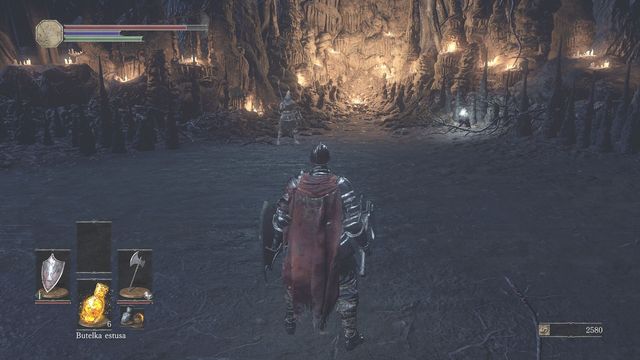
You will be taken to a mysterious location where you can talk to Holdrick. Do it twice and you will receive a sign of Mound - Makers and Homeward Bone. There is also a Wargod Wooden Shield next to the body. Collect the items and get back through the bridge.
Through the stone bridge - go straight forward
This time take the path that leads to a building. There are two more opponents armed with pitchforks inside. There is a Large Soul of a Deserted Corpse. Open the door (one more enemy will swoop upon you).
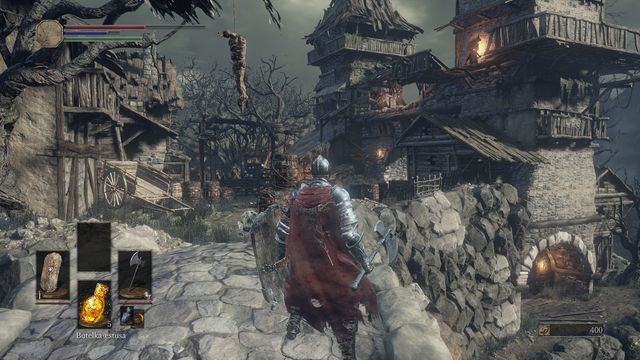
Immediately turn right and find Cadeceus Round Shield. Kill one more opponent and locate the place from the screenshot. There are basically two paths that will lead you to a bonfire (from two different sides).
1. By the stone bridge, before you get to a square swarmed with foes armed with firebombs, jump to the other side. Turn around and defend yourself. At the end of the road you will find Titanite Shard, while the other path will take you directly to a room with a bonfire.
2. Run through the square and find a Soul of an Unknown Traveler next to a torture device. There is a small bridge right behind the platform. Kill a monster that will block your way and reach Fire Clutch Ring. Under the passage you will come across a creature with a huge pot. Don't underestimate it and as soon as it rises the pot, perform a rapid dodge to avoid a wave of strikes. Move to the left to get to the bonfire.
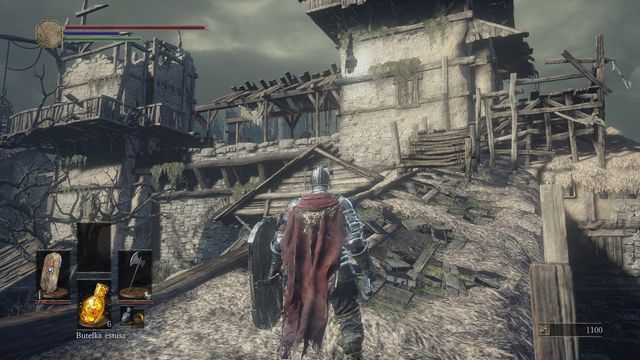
Visit the bonfire and deal with all the pesky opponents. Exit the building and head to the dais, where projectiles came from. You can get to them from the other side and deal with them one by one (see screenshot). Check the cage in the corner to find Cornyx. Talk to him and ask for a lesson of pyromancy. He will teleport to the Cleansing Chapel. Pick up a Hand Axe which is next to you. Get back to the main square.
Remember: The screenshot presents a hanging body that you can shoot down and collect Partisan. To do that, you will need a distance weapon or a Firebomb.
Path to the cathedral
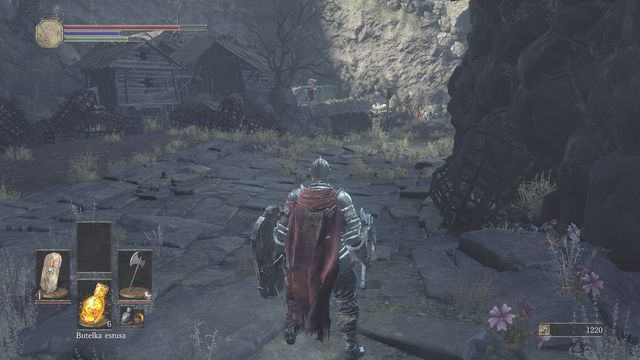
You can continue your journey forward and reach the boss arena (there is Ember behind a tree). However, you may also explore some more and head to the right. Just keep in mind that you will face a lot of strong monsters. Before you actually get to the bridge, deal with all the enemies. Be especially cautious about the Undead Matron, and hounds that can surround you in a matter of seconds.
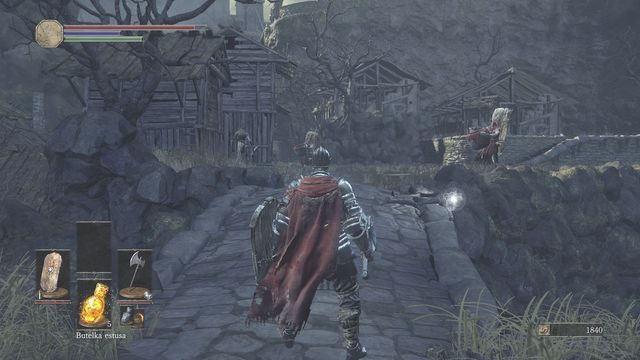
Locate a small entrance on the right side. This passage will lead you to the sewers, at the end of which you can unlock a gate that takes you to a bonfire. Sewers have rats and Cestus. At the end you will face a rather stronger rat. Quickly kill all the minor creatures to fight the beast one on one. Should you have any problems, use Firebombs. Once the rat is dead, it will drop Bloodbite Ring. Use the ladder and open the door that leads to dilapidated bridge bonfire.
Remember: Other bars in the sewers can be unlock after you bring Shrine Handmaid Mortician's Ashes. You will be able to purchase Grave Key (1500 souls), that opens this passage.
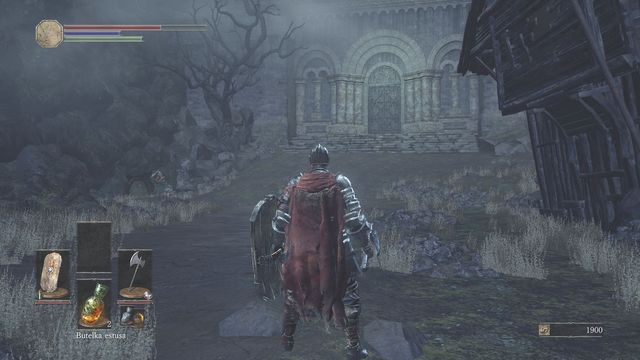
Once you unlock the passage, head to the bridge and the cathedral that is visible in the far distance. There is Ember on the bridge and some more projectiles if you decide to carry on. Try to lure your opponents one by one as they are quick and powerful. If you find yourself in too much trouble, just sprint through the entire area. There is a Large Soul of a Deserted Corpse and an Alluring Skull behind the hut, on the right. You really should watch your back if you don't want to die right away.
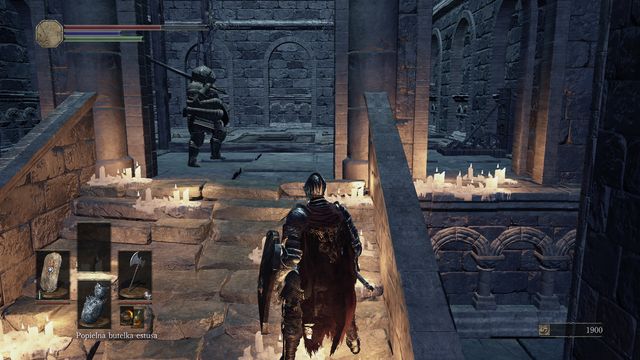
Approach the cathedral and have a conversation with the NPC situated on the left (here, you may try to slide down - see "Undead Settlement - way down"). Get inside and wait for the lift to arrive. You will meet Siegward. He is associated with a major side quest. You have two possible choices.
Take the lift down
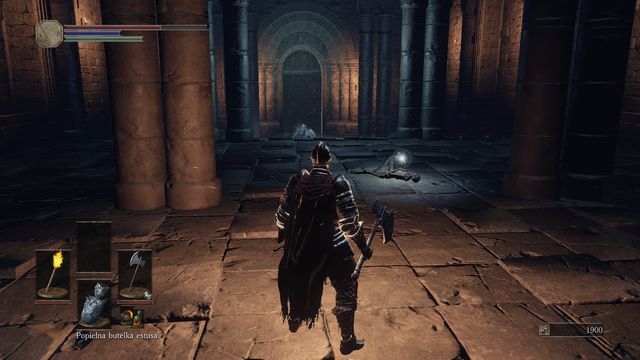
Use the lift to access the lower level. You will find Ember in the first chamber, and an extremely powerful foe in the second one. If you want to defeat him, move as much as you can and try to dodge all his attacks. Don't get caught up in a storm of strikes.
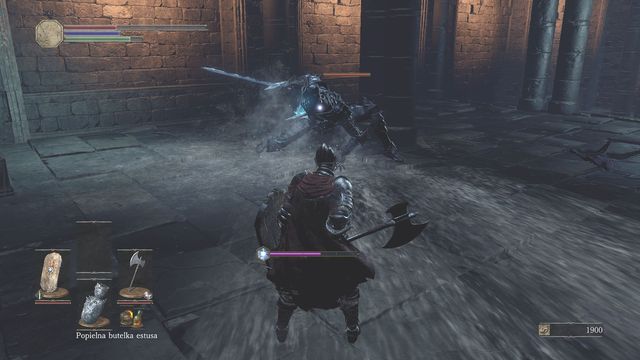
You can perform a specific trick to make the fight easier. As soon as you enter the chamber, run to the left side of the room, along the columns, until you reach the door behind the beast, and immediately interact with the object. You should be able to open it and get to Road of Sacrifices. Lit the bonfire.
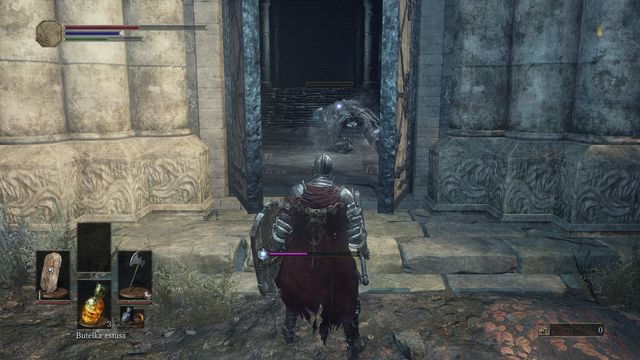
The beast won't be able to go after you and should get stuck in the door. Use it to your advantage, and perform single strikes and move backwards in turns. The creature will turn its back on you (see screenshot), and thus give you a perfect opportunity to deliver blows. Kill it and pick up Irithyll Straight Sword.
Up the lift

In order to get upstairs, roll over in the lift to make it work and get to the other side. The empty lift will travel down and another one will arrive and take you upstairs. In the corner you will find a Soul of a Nameless Solider, and at the top, a giant that was throwing projectiles in another part of the area. You can talk to him and offer friendship. From now on, he won't be throwing projectiles at you but at your enemies when you get back to that location (not far from dilapidated bridge bonfire). You may also attack him to gain a ring.
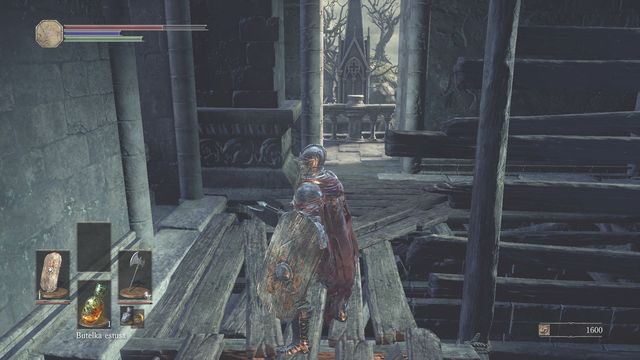
On your way back, pay attention to the platform situated about halfway. You can jump on it to talk with Siegward once again. Look at the beast far in the distance.
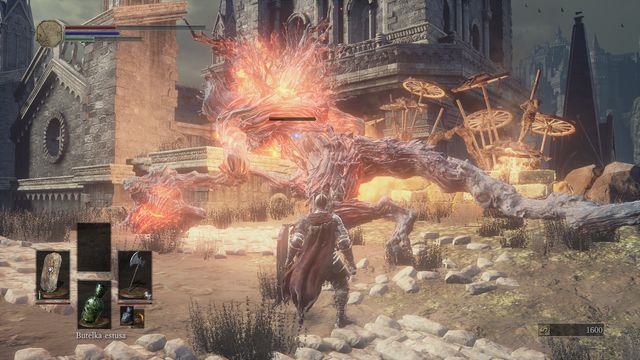
Your objective is to slay the monster and Siegward will help you accomplish that. Just get out of its sight and attack from behind when the creature is focused on your ally. Watch out for the beast when it tries to face you or use a fire attack.
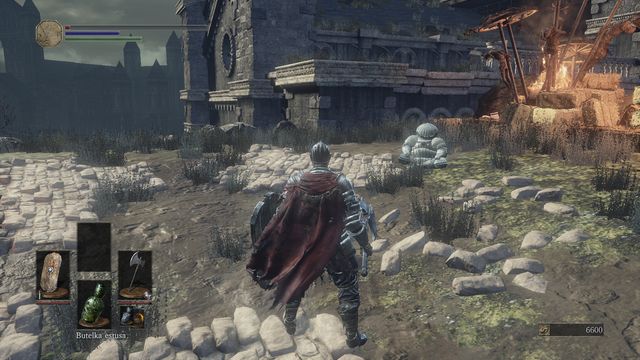
Finish the fight and talk to Siegward. You will receive Siegbrau and Toast and Sleep gestures (when he falls asleep). If you defeat the demon you will also obtain Fire Gem. Search the area for Homeward Bone, Club, Pale Tongue, Alluring Skull, Red Bug Pellet and Northern Armor Set (one of the hanging corpses).
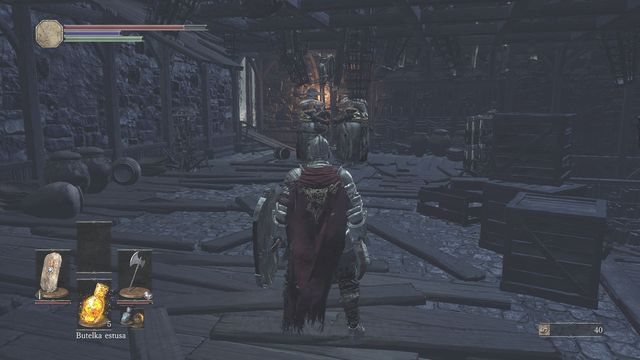
Enter one of the buildings and get to the very top. You will pass two hounds and two Undead Matrons (see screenshot). Try to avoid them or sneak up to them from behind to deal a powerful blow to one of them. Regardless of your decision, get to the roof and find Flynn's Ring at the top.
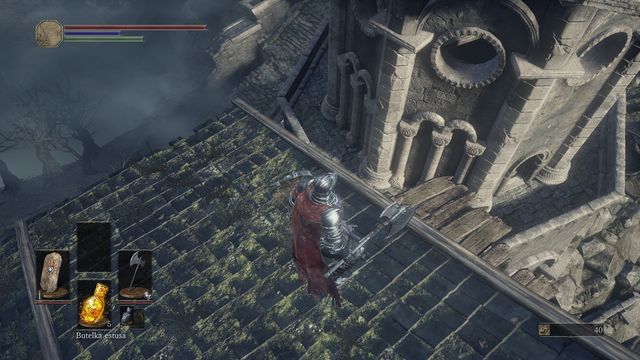
Stick to the right side and move to the tower. You can jump down on a platform and then on a balcony (see screenshot). Walk around it to get Homeward Bone. Enter the building and locate a wooden dais on the other side - sprint and make the jump. If you are able to get down safely, you will find Fyllodia's Ring and Mirrah Set. Leave the tower and you will end up right before the arena.
- Dark Souls III Game Guide & Walkthrough
- Dark Souls 3: Walkthrough and Secrets
- Dark Souls 3: Walkthrough
- Dark Souls 3: World Map
- Dark Souls 3: Cemetery of Ash
- Dark Souls 3: Firelink Shrine
- Dark Souls 3: High Wall of Lothric
- Dark Souls 3: High Wall of Lothric - from the Bonfire
- Dark Souls 3: Cleansing Chapel - tower
- Dark Souls 3: Undead Settlement
- Dark Souls 3: Undead Settlement - straight road from the great square
- Dark Souls 3: Undead Settlement - path from the great square through the bridge (on the right)
- Dark Souls 3: Undead Settlement - way down
- Dark Souls 3: Road of Sacrifices
- Dark Souls 3: Road of Sacrifices - Swamp
- Dark Souls 3: Cathedral of the Deep - outside
- Dark Souls 3: Cathedral of the Deep - inside
- Dark Souls 3: Farron Keep
- Dark Souls 3: Catacombs of Carthus
- Dark Souls 3: Smouldering Lake
- Dark Souls 3: Irithyll of the Boreal Valley
- Dark Souls 3: Irithyll of the Boreal Valley - from the Church of Yorshka
- Dark Souls 3: Irithyll of the Boreal Valley - Path to Anor Londo
- Dark Souls 3: Anor Londo
- Dark Souls 3: Irithyll Dungeon
- Dark Souls 3: Profaned Capital - Return to the Irithyll Dungeon
- Dark Souls 3: Profaned Capital - Path to Yhorm the Giant
- Dark Souls 3: Lothric Castle
- Dark Souls 3: Consumed King's Garden
- Dark Souls 3: Untended Graves
- Dark Souls 3: Grand Archives
- Dark Souls 3: Grand Archives - rooftops
- Dark Souls 3: Archdragon Peak
- Dark Souls 3: Kiln of the First Flame
- Dark Souls 3: Game endings
- Dark Souls 3: Walkthrough
- Dark Souls 3: Walkthrough and Secrets
You are not permitted to copy any image, text or info from this page. This site is not associated with and/or endorsed by the developers and the publishers. All logos and images are copyrighted by their respective owners.
Copyright © 2000 - 2025 Webedia Polska SA for gamepressure.com, unofficial game guides, walkthroughs, secrets, game tips, maps & strategies for top games.
