Dark Souls 3: Cathedral of the Deep - inside
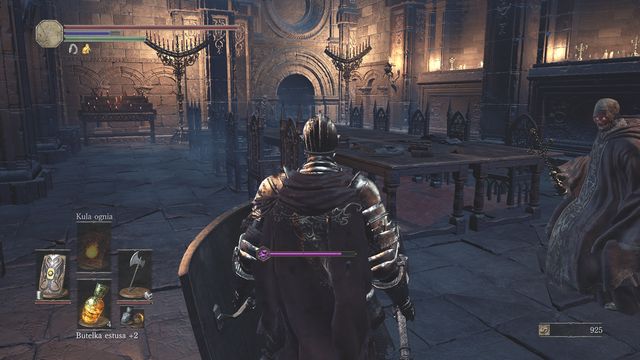
As soon as you get inside, head towards the corridor on your left. Kill or avoid "the thing" that is located on the floor to reach Duel Charm on the other side. You will encounter more enemies in the next chamber (they are hiding in the corners). You can turn left in the next corridor and use the elevator that will let you unlock the shortcut near Cleansing Chapel bonfire. Do that and turn right to reach a room with a sitting giant.
Remember: before you enter the main chamber, you can go right, where a narrow passage will take you to a small room. You fill come across another evangelist and Deep Gem there. Watch out while you enter/exit the room as one more enemy is under the ceiling (dodge or sprint).
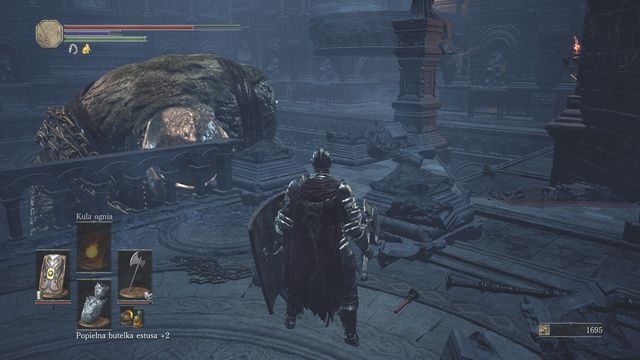
Your task is to reach the other side. Don't even thing about hiding behind the pillars as the beast can easily smash them, dealing tremendous damage at the same time. Run and don't look behind (if you are lucky, you can obtain Soul of a Nameless Soldier, Lloyd's Sword Ring and Exploding Bolts on your way). On the other hand, don't pay attention to swooping opponents but take the corridor on your right.
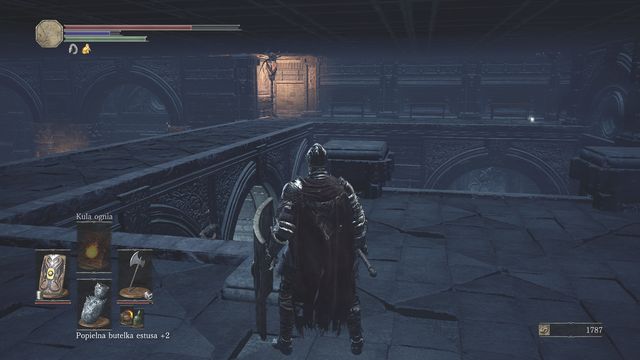
At the crossroads you can go lower or turn left. For now choose the latter route. You will get to a room presented in the screenshot. Cross the bridge to find Seek Guidance miracle. However, before you do, locate enemies above (there are two at the bridge) and a man grub above the collectable item. Throw them down via spell or distance attack.
There is a ladder in the corner that will lead you upstairs. Face the evangelist guarding Ember.

Explore the location, get back to the stairs and head to the very bottom. On your way, you will come across a chamber with an exposed chest. Don't even try to open it and attack the object immediately. Deal as much damage as possible to the shapeshifter, and don't let him catch you. If you dodge his strike and land behind him, you will have a perfect opportunity to perform a devastating blow. Kill the creature to obtain Deep Braille Divine Tome
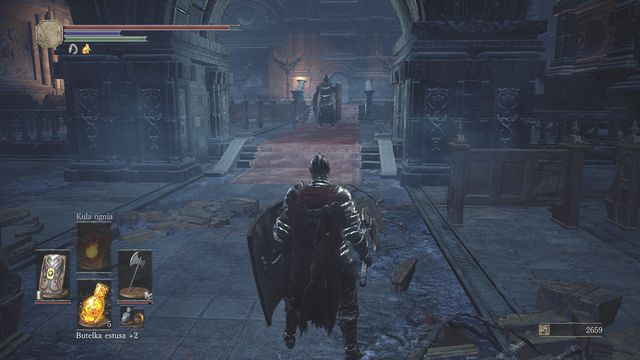
There is a mighty knight in the next chamber. The hardest part will be to get through his guard (he's got an enormous shield). Beware of powerful strikes, especially when his weapon begins to glow (get away from your foe, as every strike, even those that won't hit you directly, will cause a wave of damage). The best moment to strike is when you outmaneuver the knight and land behind him.
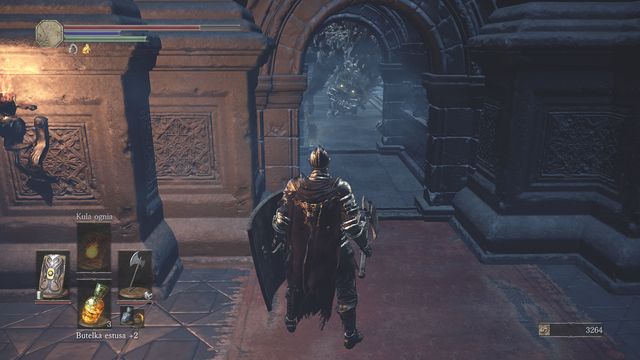
Head to the room in front of you. Immediately, turn around, as an enormous spider will appear. Let the beast change its position - you will gain a clear way to the exit. Run out of the room. The creature will get stuck, and thus can be killed easily. Due to the fact that the spider is vulnerable to fire, use Firebombs or similar spell. You will receive Aldrich's Sapphire, and find Ember inside the room.
Use the stairs to go up.
The main chamber with the giant
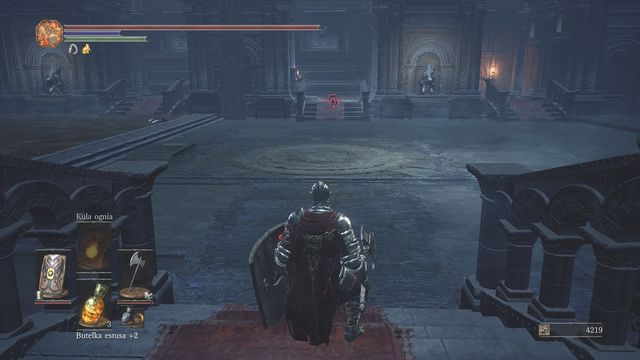
Remember: you can be attacked by Longfinger Kirk right after you enter the room. Stop halfway and use Ember. Your opponent should appear on the other side. Watch out as the creature will leap and thrust. It's best to strike when the monster has only a sword and is not using the shield. You may also want to move backward and make your enemy perform a mid-air attack. If you are lucky enough, you will get a perfect opportunity to strike back. Defeat the creature to receive Barbed Straight Sword and Spiked Shield.
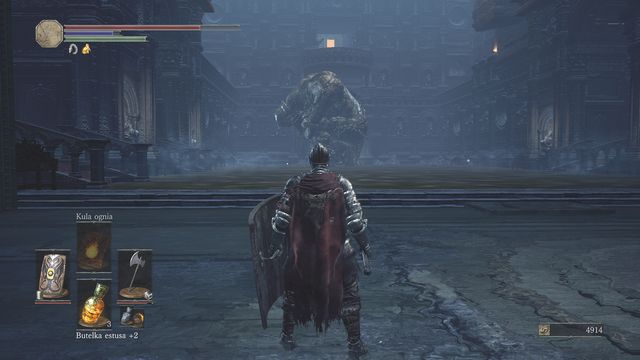
You will end up in a large chamber. There is a giant that you were running from on your left. You should try to take him down, as he is not that big of a threat. Draw your attention to the sticky substance that you wade through, that will slow you down.
When fighting the giant, you should pay attention to his stomping and spewing attacks. Don't lock the camera on your enemy and stay between his legs. This way you will avoid damage but you still need to watch out for the stomping attacks. Once the battle is over, collect the loot and the nearby Soul of a Nameless Soldier and Maiden Set. Behind the gate, there is Saint Bident and Homeward Bone.
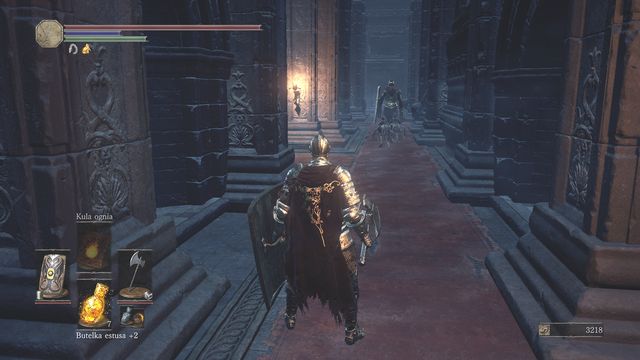
Use the corridor on the other side. You will encounter a patrolling knight (quickly kill all the other monsters) - drag him out into the open field to avoid poison produced by wall statues. This will help you dodge as well. Defeat him and pick up Soul of an Unknown Traveler and use the lever located in one of the ramifications. At the end, you will find a passage that leads lower. Get there and open both doors: one of them will take you back to the chapel, near the bonfire.
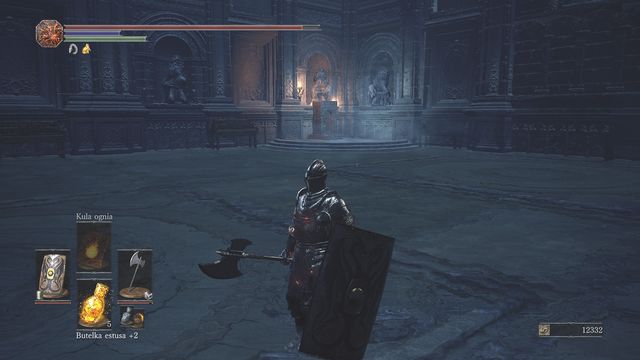
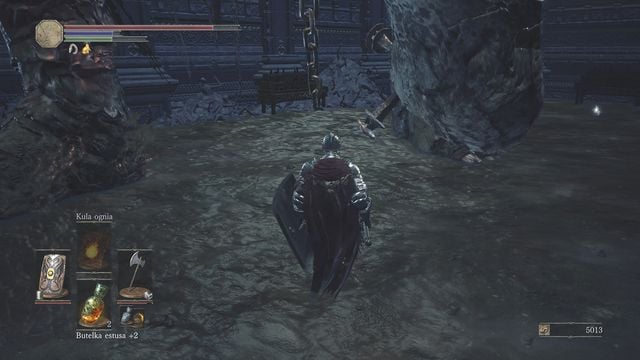
Unlock the shortcut and head back to the main hall. Opposite the giant, there is a lever (see screenshot). Use it.
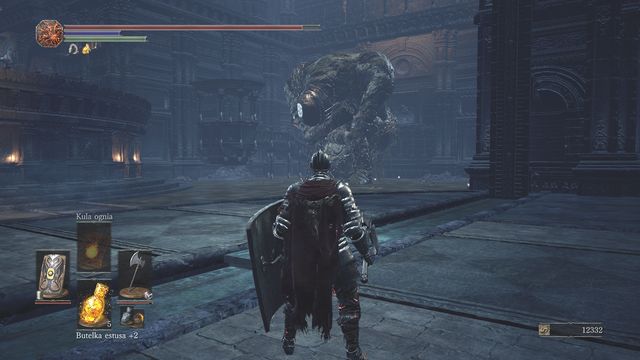
Time to take down another giant. Use the same strategy as you did before. However, before you focus on the creature himself, you should drag away all the other minor creatures that will only make the fight harder (don't try to kill them, as they will respawn anyway). When the combat is over, collect Soul of an Unknown traveler, Pale Tongue, Drang Hammers and the entire, yet scattered Drang Armor Set.
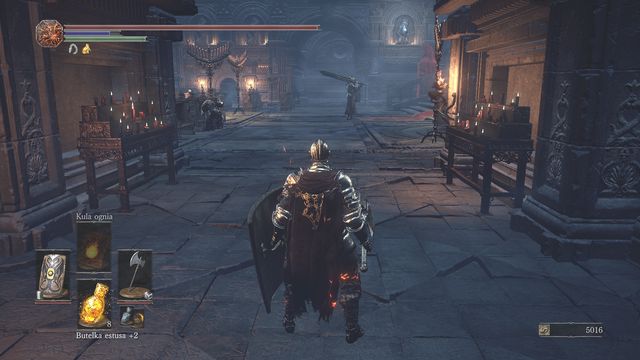
Use the stairs behind the fallen creature. You will end up by the main altar, full of enemies. Before you charge, draw attention to the fact that you will only be attacked if you strike first or you get too close to the monsters. Thus, if you want, you can pass this location by moving along the edge where you will find Ember.
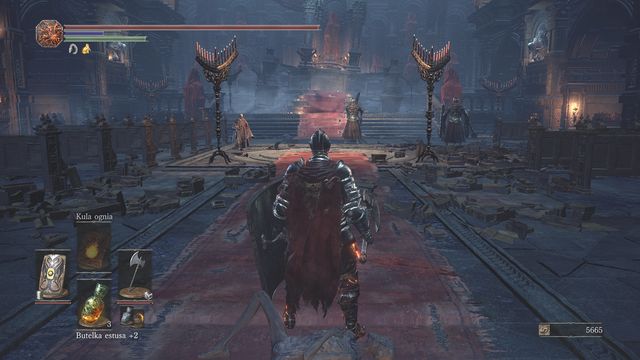
If you decide to start a fight, be extremely cautious about the knights. If you stick to one side, it is possible to sneak up to at least one of them, and perform a powerful blow. It would be wise to make them split up by drawing them out, by the stairs or jumping down. Kill the knights and you may consider yourself a winner, as the remaining creatures aren't much of a threat. You can run up to them quickly or use Firebombs to deal damage from distance.
Remember this place, as there is a path leading to the boss arena. Head straight and use the elevator.
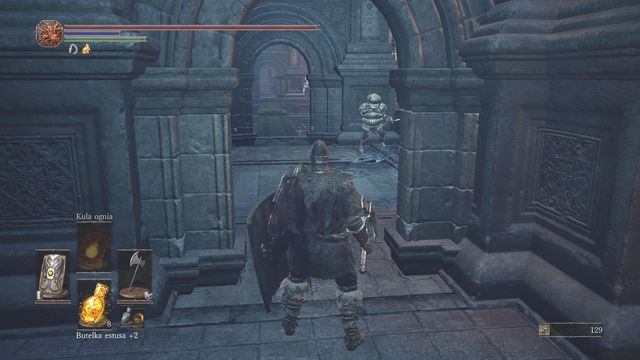
Once the lift arrives, open the main gate of the cathedral. You can get to the graveyard (near the mausoleum) from this location. If you used two levers when you were downstairs, you can go downstairs and collect Duel Charm (staircase on the other side). All you have left is to explore the upper part of the cathedral.
Remember: opening the main gate to the cathedral is a trigger that will begin a certain event. If you want to be a part of it, reload the area (get to another one via bonfire and return). You will notice that another bridge has been built in the main hall. Head to the main entrance (from the graveyard) and use the stairs on the right side. You will meet Siegward, who actually is not him. It's Unbreakable Patches in disguise. Talk with the character and walk across the bridge. It will be lowered but if you have already defeated the giant, there is nothing to be afraid of. The same character will be waiting for you in the upper part of the cathedral.
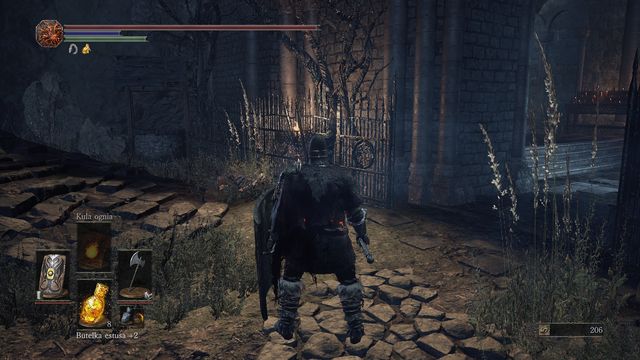
Remember 2: Opening the door will trigger one more event. You will be able to talk with the real Siegward. You can find him in the well, by the chapel (when you are next to the bonfire, exit the chapel through the door that you used to enter this location. The well is on the right. Come closer and talk to the onion knight. You can purchase his armor from Unbreakable Patches during your further quests.
Going up
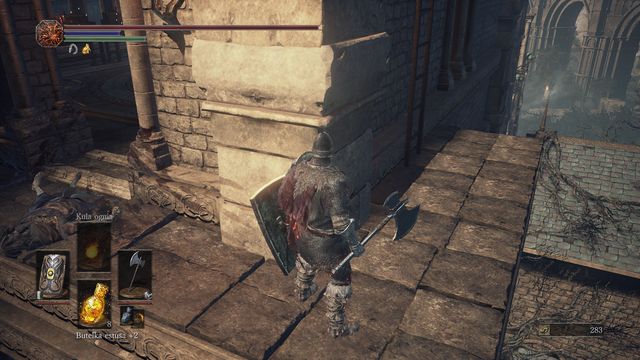
In order to get upstairs, head towards Cleansing Chapel bonfire. On the left side, right behind the door turn left and reach a room with a lift (after unlocking this shortcut on the other side). Kill the only enemy and carefully walk along the left edge. You will find a ladder that will take you higher (see screenshot).
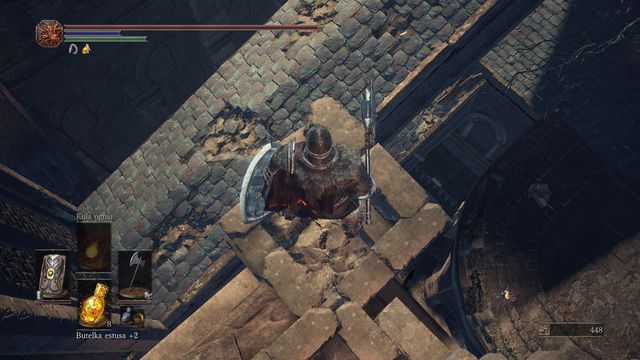
Slay another opponent and receive Deep Ring. Find the spot presented in the screenshot and jump down on the roof. It is located higher than the one you previously explored.
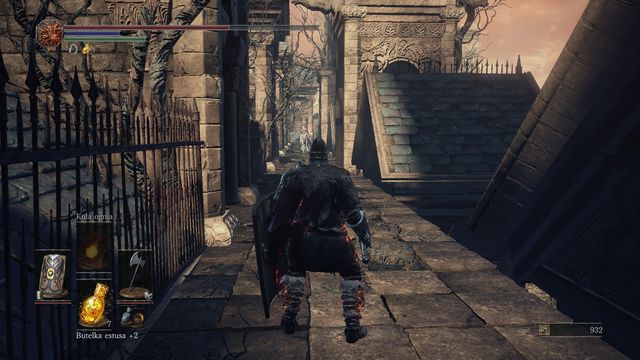
Watch out for several minor and two larger monsters on the other side. Dodge their attacks but try to keep away from the edge. There is a Pale Tongue at the end of the roof. When you are halfway, you can investigate a high tower. You will encounter one more opponent and find Arbalest.
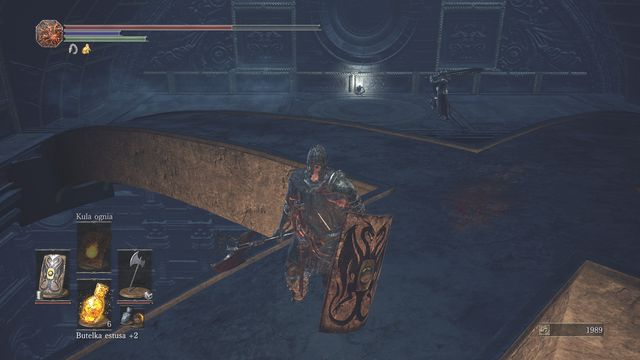
Enter the cathedral through one of the passages. Now you need to be even more careful not to fall down. On the other hand, you can stand at the edge and wait for your enemies to attack. Dodge and watch as your opponents fall to their death. There is a Blessed Gem by one of the walls. This is also a perfect place to lure your opponents and make them kill themselves. You will have to run up to a crossbowman if you want him to draw his weapon and chase you.
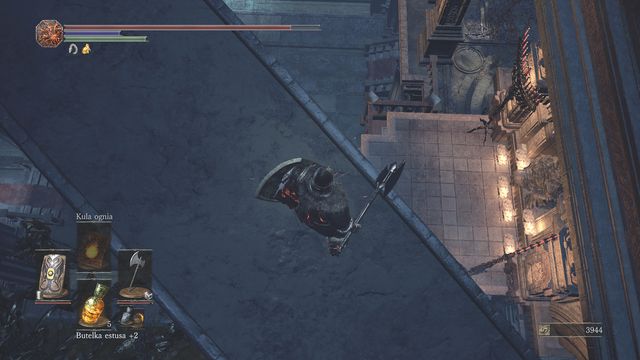
Clear the area and locate the place visible in the screenshot. It is next to the previously mentioned crossbowman. Jump down to a platform but take damage into consideration. Jump even lower and land near the stairs. Look out for a creature that will shoot projectiles at you.
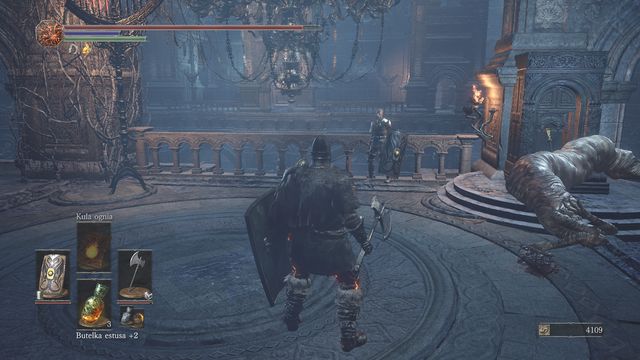
Apart from the enemy, you will come across a NPC that you met earlier. Unbreakable Patches will apologize for his behavior and offer a gesture of Prostration and a Rusted Coin. Apart from that, you can buy items from him. That includes Siegward's armor, required to save him. If you don't have enough souls, you will meet Unbreakable Patches once you get back to the Cleansing Chapel. Pull the lever to raise the bridge and get to the other side.
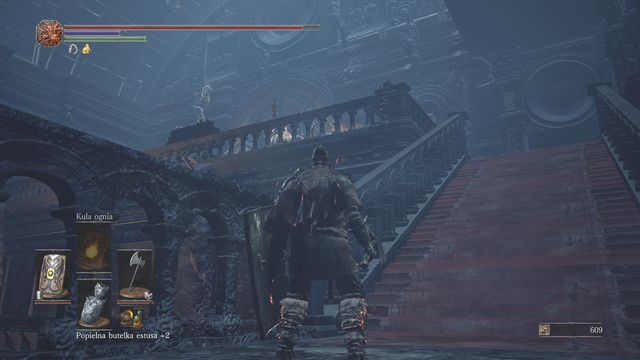
Use the stairs. Head upstairs and prepare for a battle. Don't rush forward to avoid mages that shoot projectiles. Besides, you will be able to steadily eliminate incoming enemies. Take them out and enter the chamber.
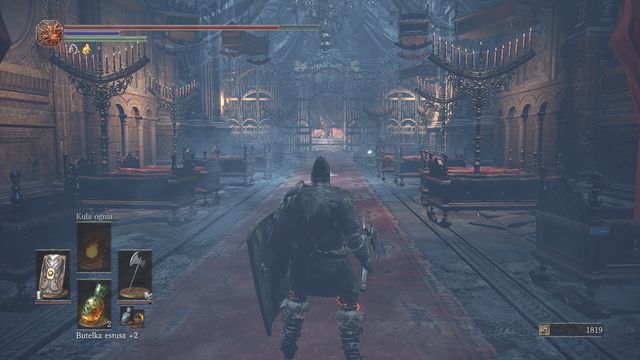
Rosaria is at the end of the room. You can join the alliance, and thus receive Rosaria's fingers. She can also reset your skill points, but remember that you can perform this action only 5 times throughout the entire gameplay. You may also change your appearance. Finally, there is a body that you should investigate to obtain Armor of Thorns Set. Lit the bonfire and prepare yourself for a fight - when you're ready, head back to the main altar and face Deacons of the Deep.
- Dark Souls III Game Guide & Walkthrough
- Dark Souls 3: Walkthrough and Secrets
- Dark Souls 3: Walkthrough
- Dark Souls 3: World Map
- Dark Souls 3: Cemetery of Ash
- Dark Souls 3: Firelink Shrine
- Dark Souls 3: High Wall of Lothric
- Dark Souls 3: High Wall of Lothric - from the Bonfire
- Dark Souls 3: Cleansing Chapel - tower
- Dark Souls 3: Undead Settlement
- Dark Souls 3: Undead Settlement - straight road from the great square
- Dark Souls 3: Undead Settlement - path from the great square through the bridge (on the right)
- Dark Souls 3: Undead Settlement - way down
- Dark Souls 3: Road of Sacrifices
- Dark Souls 3: Road of Sacrifices - Swamp
- Dark Souls 3: Cathedral of the Deep - outside
- Dark Souls 3: Cathedral of the Deep - inside
- Dark Souls 3: Farron Keep
- Dark Souls 3: Catacombs of Carthus
- Dark Souls 3: Smouldering Lake
- Dark Souls 3: Irithyll of the Boreal Valley
- Dark Souls 3: Irithyll of the Boreal Valley - from the Church of Yorshka
- Dark Souls 3: Irithyll of the Boreal Valley - Path to Anor Londo
- Dark Souls 3: Anor Londo
- Dark Souls 3: Irithyll Dungeon
- Dark Souls 3: Profaned Capital - Return to the Irithyll Dungeon
- Dark Souls 3: Profaned Capital - Path to Yhorm the Giant
- Dark Souls 3: Lothric Castle
- Dark Souls 3: Consumed King's Garden
- Dark Souls 3: Untended Graves
- Dark Souls 3: Grand Archives
- Dark Souls 3: Grand Archives - rooftops
- Dark Souls 3: Archdragon Peak
- Dark Souls 3: Kiln of the First Flame
- Dark Souls 3: Game endings
- Dark Souls 3: Walkthrough
- Dark Souls 3: Walkthrough and Secrets
You are not permitted to copy any image, text or info from this page. This site is not associated with and/or endorsed by the developers and the publishers. All logos and images are copyrighted by their respective owners.
Copyright © 2000 - 2026 Webedia Polska SA for gamepressure.com, unofficial game guides, walkthroughs, secrets, game tips, maps & strategies for top games.
