Darksiders 2: Wake up the Keeper (3)
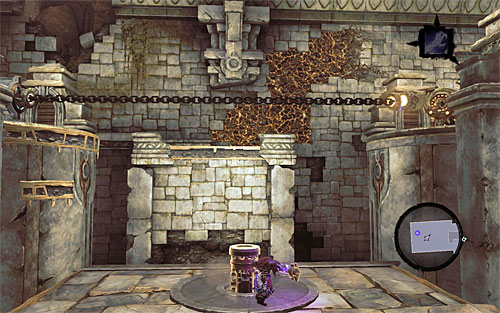
Find a movable mechanism located on a small pedestal and set it into motion, by cranking it counterclockwise. At the same time, notice that with every revolution the platforms with the construct, the catch and the chain attached to it, raises.
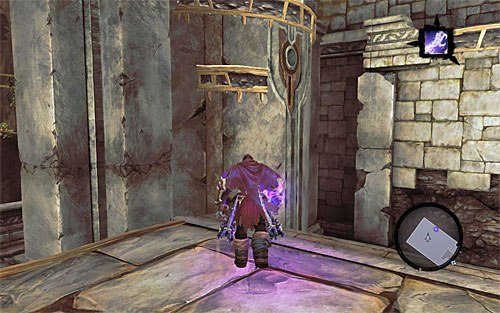
Keep using the mechanism until you reach its limits. Walk away from the mechanism and quickly position yourself next to the left platform (the one with the catch), which will now start to lower itself. Jump towards the platform as soon as grabbing on to its edge is possible.
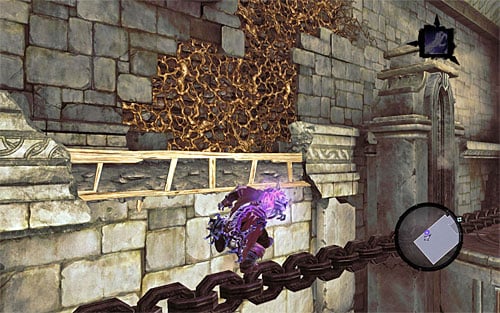
Now, act quickly because all of the structure starts to lower. Jump towards the upper interactive edge, climb onto it and jump onto the chain. Walk over the chain into its middle part and jump towards the upper ledge, visible on the screenshot, and catch onto the ledge.
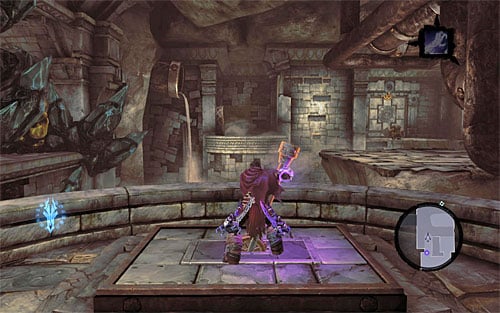
Now you can resume of the exploration of the surroundings, by catching to the interactive creepers and performing a series of wall runs, but remember to press SPACE, right before you reach the corner. After you reach new creepers climb down. The approach of the switch that you can see in front of you and interact with it, thus lifting three nearby drawbridges.
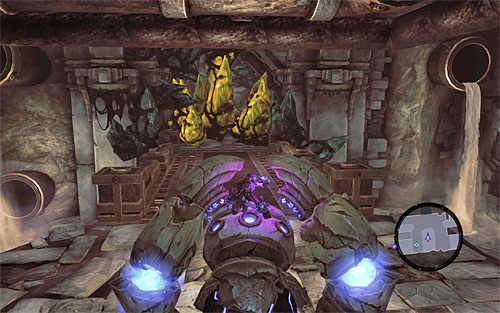
Return to the previous area and mount the construct that you used to solve the recent puzzle. Detach the chain and ride the construct to the room with the elevated drawbridges. Turn left and use the constructs to destroy the yellow formations that obstruct your progression. Continue through the formations until you reach a new, large area of the foundry.
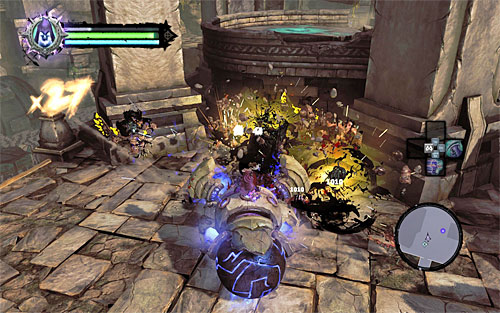
Before you make the first steps on your way to getting the second heart fragment, I suggest doing two things. First, use the construct to eliminate all of the Savage Stalkers and Tainted Constructs in the area. Secondly, dive and find another Boatman Coin.
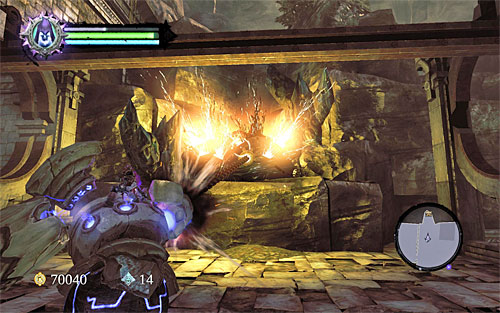
Remain in the area, that you have just secured and find a small rocky ledge with a chest on it (using the mini-map) . After you destroy yellow formations (the above screenshot). Use Karn's help to reach the chest on the ledge. The mentioned chest contains skeleton key, but do not use it just yet to open the nearby door, and go and explore the locations described below, instead.
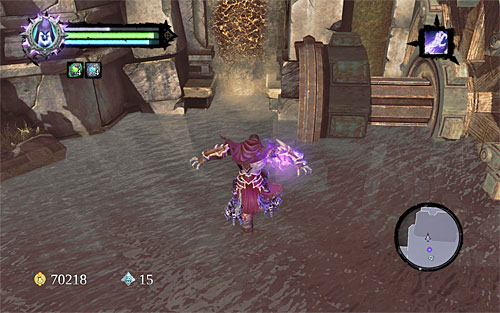
Jump into water and swim East, i.e. towards a very tall wall. Find the creeper shown in the above screenshot, jump towards it and start to climb. On the way, you need to grab onto interactive ledges, use the Death Grip to catch to the upper catch, and wall run for a moment in between individual creepers. Your destination. This is the highest part of the world. Watch the short cut scene that tells you where you need to go.
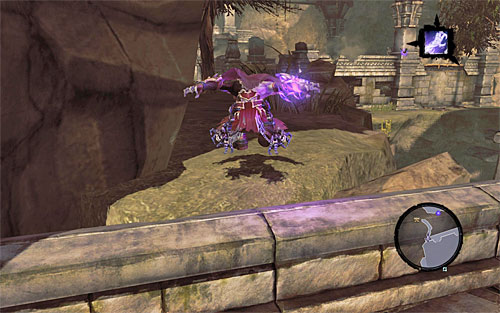
Stay on the wall, go to its opposite, end. In the spot shown in the above screenshot, jump over to a rocky ledge and reach the place where one of the chests is hidden. Only then, jump and water, in order to find the Boatman Coin.
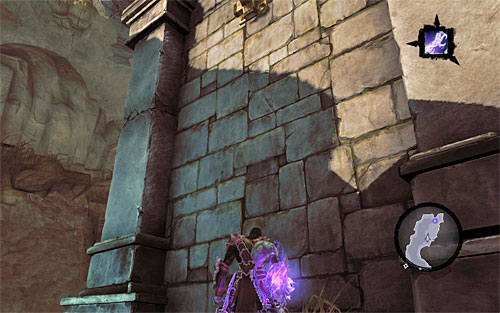
After you emerge from the water find in the ruins in the spot shown in the above screen in which you may start to climb. It is worth noting that while climbing the need to use the death grip. Although you should have no problems with that. After you catch on to the interactive/, go right. Jump down to the lower level and reach and you fragments of ruins. Kill out all of the Savage Stalkers and examine the chest's contents.
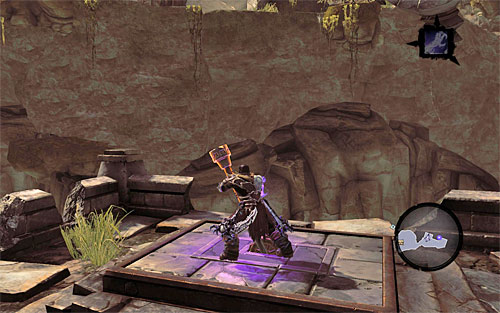
Return to the higher interactive ledge and, for a change, now start moving to the left, performing wall run on the way. Jump down to a small balcony and catch onto the catch with the Death Grip. Once on the balcony, defeat another group of Savage Stalkers and make use of the switch shown in the above screenshot. Watch another cut scene that informs you of what to do next.
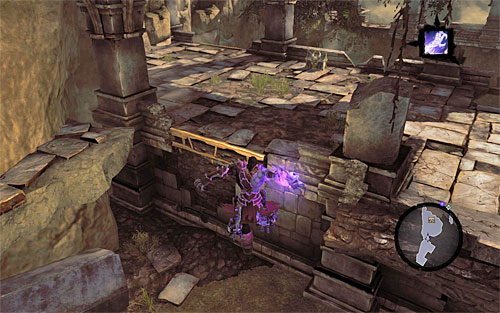
Before you return to the area in which there is Karn, finish exploring the ruins. Make your way to the neighbouring balcony in order to examine the chest that you can see in the distance.
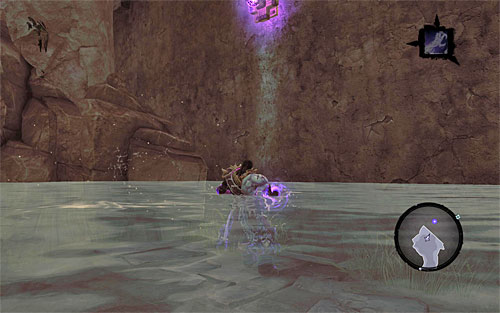
Only after you do that, jump into water and swim towards the tall wall. You need to start climbing in the spot shown in the above screen by using the death grip. After you reach the highest part of the wall, do not hesitate to jump into the water reservoir, because there is no danger in falling from such height.
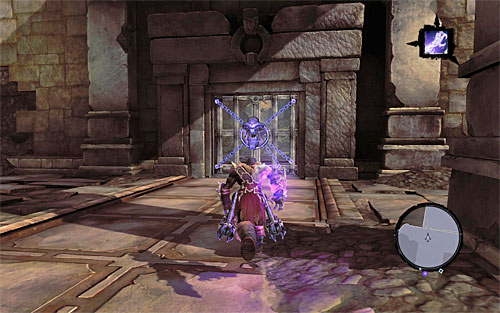
Get out of water and find the locked door, the skeleton key for which you have already required. Open the door and enter a new room.
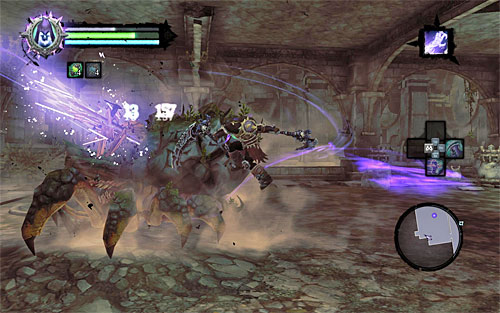
In the room you are up for fight with a big stone creeper, and since the monster is pretty tough you can treat it as a mid-boss. Remember to avoid the monster's attacks, including its thumping. I strongly advise against using the Reaper Form skill, because soon in the game, you will need it even more. Instead, Karn should help you defeat the monster (by diverting its attention).
[TIP: remember that that death grip may also be used offensively in the case of this particular monster. I advise to use swift pull, but only when the beast is turned the other way.]
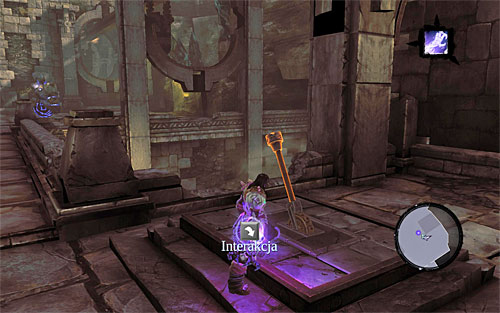
Return to the area in the above screenshot (the one with the second heart fragment) and find a switch that you've already seen in one of the cut scenes. Running the mechanism will crush stones and, at the same time, will show you what you need to do now.
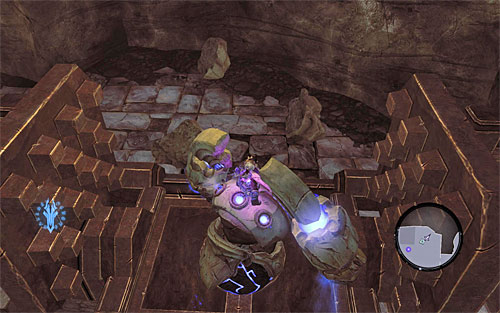
Find the construct that you used to move around this location, mount it and stop in the spot shown in the above screenshot, after you reach the press. Jump off of the construct and use of the switch again. This will crush the construct, but, what is more important, is that this will release the interactive sphere that constituted a part of the construct.
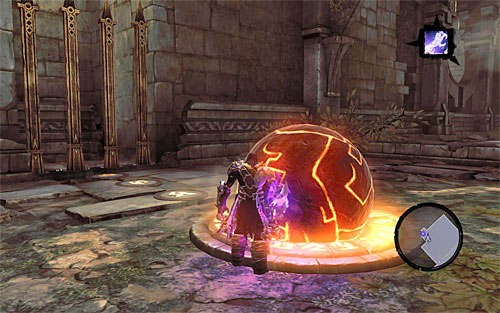
Start pushing the interactive sphere. You need to get it to the location where you have just fought the Stone Creeper. Find the hole shown in the above screenshot and put the sphere into it, which will result in lowering the nearby grate.
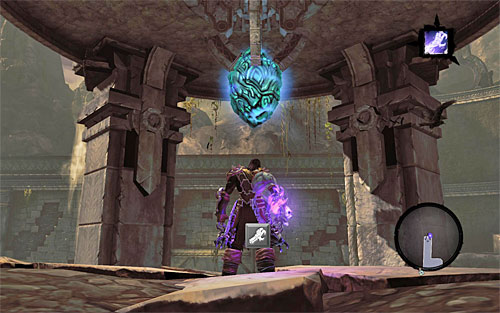
Take the newly opened passage and start climbing by jumping between the walls. After you catch on to the interactive ledge, shimmy to the right and jump down onto the upper balcony. The only thing remaining for you to do is approach the second heart fragment and catch it using the death grip.
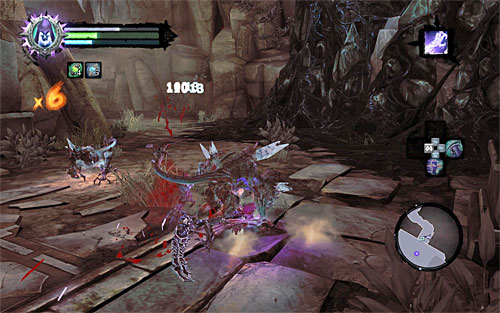
Just like before, with Karn on your side, you need to return to the location with the dormant Guardian in it. Of course, on your way, you should expect even more monsters (stalkers) on your way there. Since, as you probably remember, they are very agile, you need to dodge frequently.
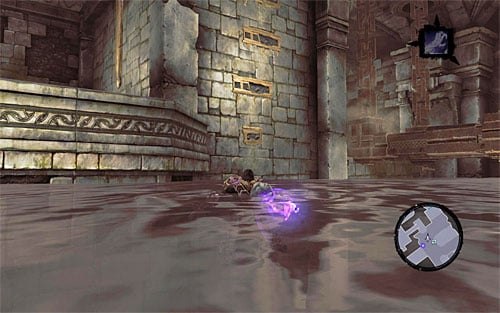
As you get to the room with the three lowered drawbridges you'll have to solve a simple puzzle of how to unlock the passage for Karn. To do this you need to jump into water and swim to the left. Find the interactive elements on the vertical wall shown in the above screenshot, and climb up to a small balcony.
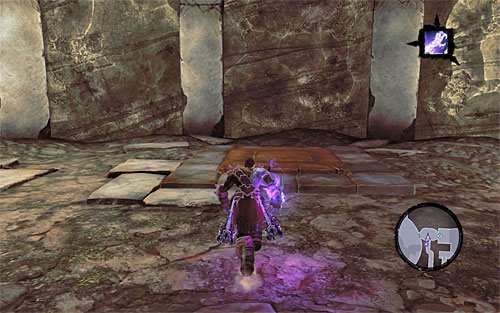
Go through the tunnel, go right and once again choose the northern tunnel that you have been using already. Stop on the pressure plate, and wait for Karn , to walk by. Unfortunately, you cannot follow him so use the nearby tunnels. After you return to the largest area in the foundry, approach the Guardian, so that Karn can install the second heart fragment.
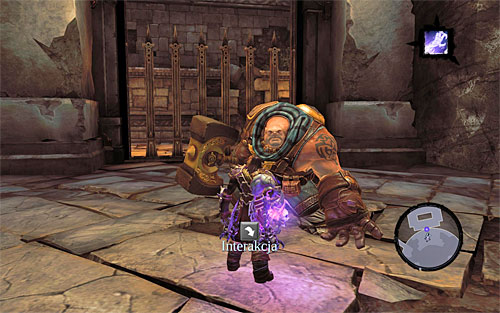
Notice that lava disappeared, so you can go south now. Before you start interaction with another sleeping construct, let Karn toss you over the grate. Approach the switch, which and only after unlocking in the passage use the Creator Key to activate the construct.
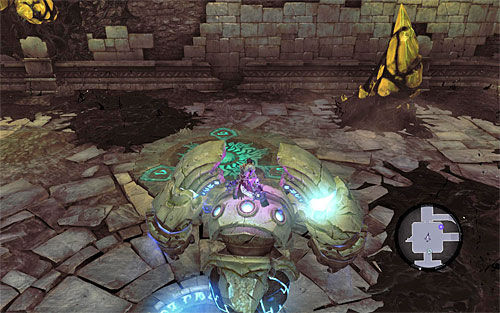
Start exploring the area using the construct. After you reach the larger room destroy all of the yellow formations, and "park" the construct in the hole visible in the above screenshot.
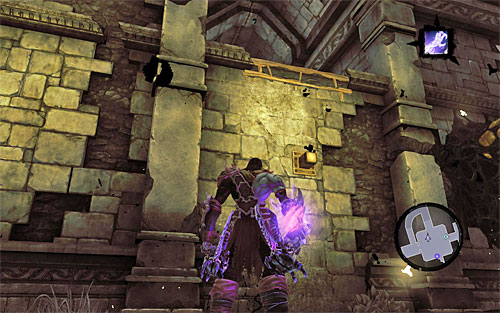
Unmount the construct and find the wall that you can cling to, to start climbing (the above screenshot). Once on top, use death grip on the interactive catch and wait for death to jump to the vertical wooden pole.
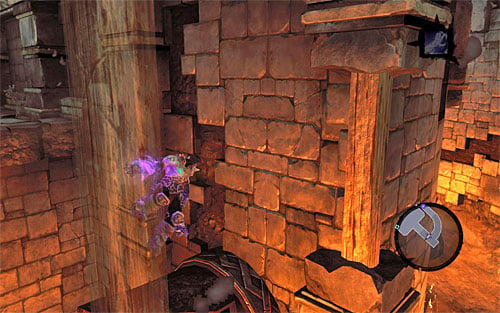
Now, turn slightly, lower yourself and jump to the smaller pole shown in the above screenshot. Now you have to turn again and make two more leaps to reach the neighbouring poles.
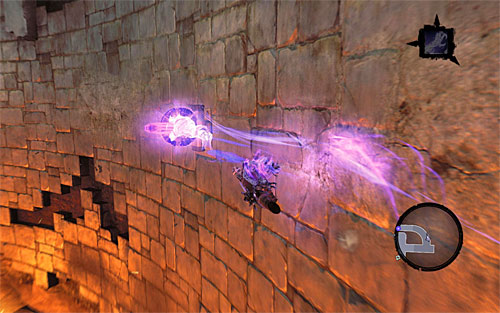
Lean to the left and initiate a long wall run. You need to use death grip twice on the way, but this should be no problem. Now, we can go towards the third heart fragment. Just like with the previous fragments, you need to use death grip. Get ready because you are up for a fight with a fully-fledged boss.
- Darksiders 2 Game Guide
- Darksiders 2: Main Quests
- Darksiders 2: The Heart of the Mountain
- Darksiders 2: Talk to the Keeper
- Darksiders 2: Enter the Foundry
- Darksiders 2: Wake up the Keeper (1)
- Darksiders 2: Wake up the Keeper (2)
- Darksiders 2: Wake up the Keeper (3)
- Darksiders 2: Boss 6 - Corrupted Custodian
- Darksiders 2: Wake up the Keeper (4)
- Darksiders 2: Find the Keeper
- Darksiders 2: Boss 7 - The Guardian
- Darksiders 2: The Heart of the Mountain
- Darksiders 2: Main Quests
You are not permitted to copy any image, text or info from this page. This site is not associated with and/or endorsed by the developers and the publishers. All logos and images are copyrighted by their respective owners.
Copyright © 2000 - 2026 Webedia Polska SA for gamepressure.com, unofficial game guides, walkthroughs, secrets, game tips, maps & strategies for top games.
