Darksiders 2: Find the Eternal Throne (1)
![Your exploration of the [Kingdom of the Dead] starts in the location - Find the Eternal Throne (1) - The Lord of Bones - Darksiders II - Game Guide and Walkthrough](/darksidersii/gfx/word/1319373953.jpg)
Your exploration of the [Kingdom of the Dead] starts in the location. [The Tree of Death], and more precisely with the meeting with Ostegoth. Listen carefully to the conversation with this character, because you will learn about the necessity to gain audience with the bone Lord of Bones home is Eternal Throne.
[TIP: it's also good idea to barter with Ostegoth, and also receive a side quest [Lost Relics]].
[TIP: near the place that you start in there is an active portal. And you may use it to travel, free of charge, between the [ Forge Lands] and the [Kingdom of the Dead].]
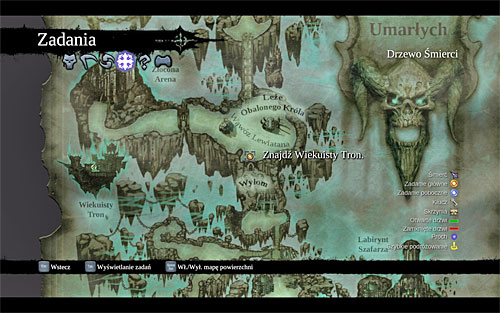
Start with opening the world map in order to establish the current destination (the above screenshot). That is not going to be the Eternal Throne , because in the first place, you need to travel through the Breach and in order to get their need to head south though the Rocky Lands and the [Leviathan's Gorge].
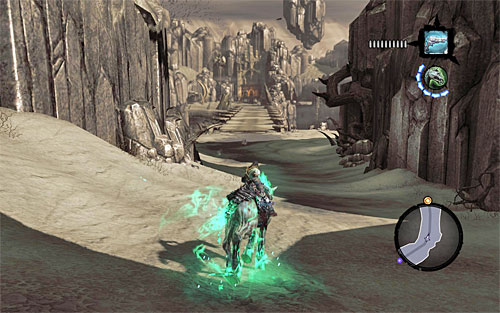
Ride Despair to the south ("C" key). After you reach Rocky Lands , follow the Valley and reach [Leviathan's Gorge]. It isn't here, that you will encounter your first enemies, skeletons. You don't need to fight them, but it's always good to have some practice. The skeletons are very weak, but they are pretty agile, silly needs to be skilful in dodging.
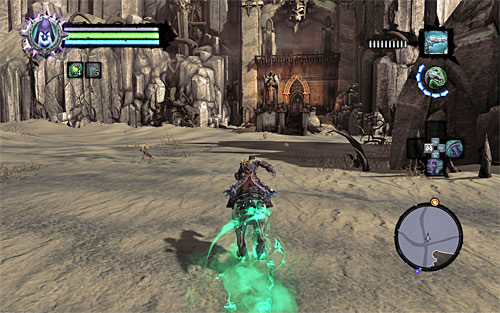
Take the large bridge to the South. As I have already mentioned your current destination. This, to reach the location [Breach]Find the entrance to the dungeon (the above screenshot). Get off the horse and go inside.
[TIP: just like in the case of [Nook] from the main quest [Faith Can move Mountains], Breach is an optional dungeon. What this means is that it's full exploration is not necessary for the completion of the mission. What is even more as of now, you cannot yet reach many of the locations and chests , because you do not yet have appropriate skills and equipment at your disposal. Further description focuses only on the places that that death and currently explore, as a result.]
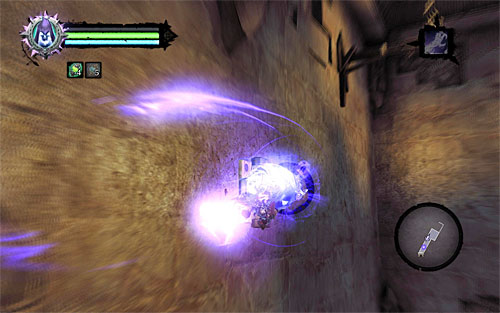
Go straight ahead and start a wall run along the left wall, and catch on the way to the interactive catch using death grip. Be ready to jump onto the enabling wall. After you reach the corner. Continue your wall run until the death reaches interactive creepers.
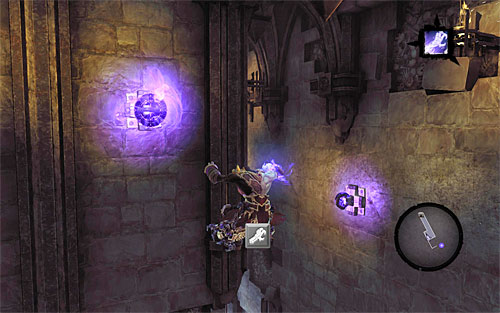
Remain under creepers, lean back and jump catching on the way another interactive catch shown in the screenshot above (once again you need to use death grip).
[TIP: if, for the time being. You don't want to explore the upper floor, you can continue moving to the right, using the interactive creepers.]
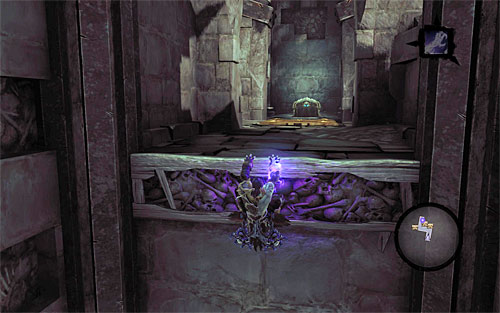
Start moving up now, by using one more catch on your way. You need to wall run a little bit up the vertical wall and bounce off it ( "SPACE" key) , and catch onto the edge behind your back (the above screenshot). All you have to do now, is climb onto a ledge.
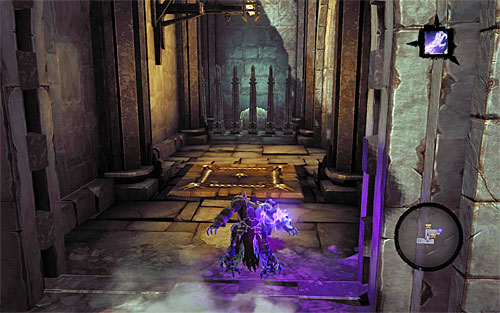
Start by exploring the contents of the chest that you can see in front of you. Position yourself on the pressure plate, and after the grate lowers perform a forward thrust. Move to the right, where you will find yet another chest, but ignore the chest located behind several grates, as you do not yet have the skills necessary to reach it.
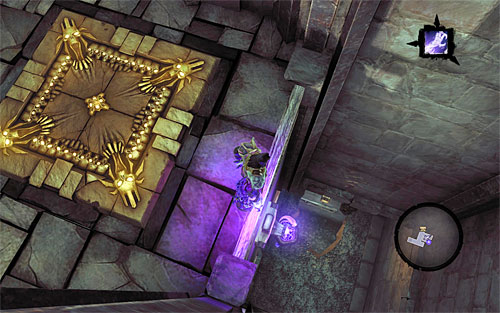
Find the place shown in the above screenshot, and jump down to the lower level. Jump into a yet smaller hole.
[TIP: if you ignored the upper level before, you will know will reach the same room in which you would have been if you had used the interactive creepers and wall running. ]
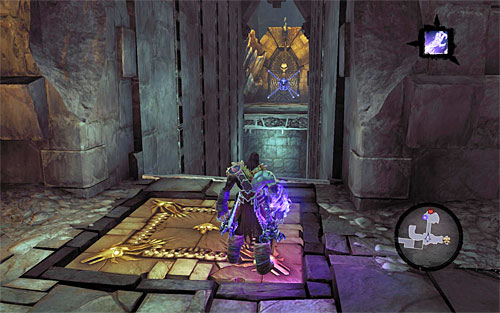
Ignore the chest to the right, because, as of now, you cannot reach it. Instead, position yourself on the pressure plate shown in this screenshot above. Wait for the passage to be unlocked and jump quickly towards any wall and start to wall run. Next, jump towards the interactive edge. Everything should go without major obstacles, assuming of course, that you haven't lost too much time after you got off the pressure plate.
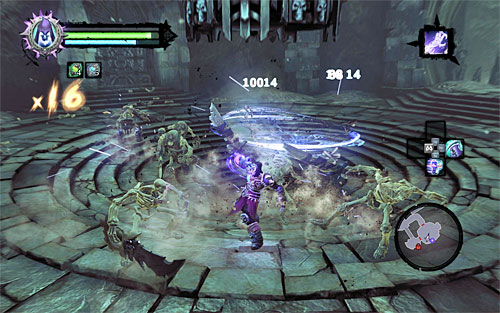
After you get to the closed door go to the neighbouring room. And here you are up for the first serious battle with skeletons and bone warriors (slightly stronger version of skeletons). Remember to dodging and when there is need, use environmental attacks, especially that the monsters are not really tough. And even a single special attack may get rid of them.
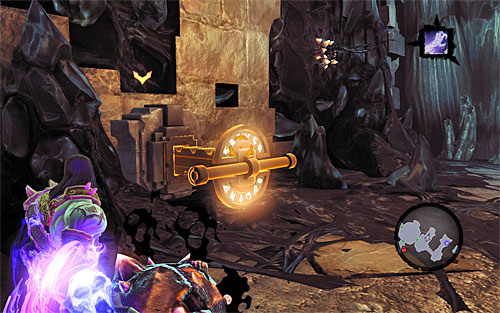
Collect the items that the eliminated monsters left and approach of the Eastern door. After you reach the new cavern turn left and. Using the death grip to catch the dormant shadowbomb, and attach it to the switch visible in the above screen shot .
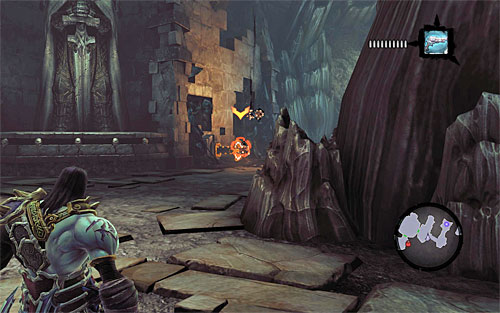
Position yourself like in the screenshot above, which is at the first drawbridge. Aim your pistol at the dormant shadowbomb and, as soon as it explodes, run over the drawbridge jumping when necessary. You need to do it before the drawbridge is lowered.
You are not permitted to copy any image, text or info from this page. This site is not associated with and/or endorsed by the developers and the publishers. All logos and images are copyrighted by their respective owners.
Copyright © 2000 - 2026 Webedia Polska SA for gamepressure.com, unofficial game guides, walkthroughs, secrets, game tips, maps & strategies for top games.
