Darksiders 2: Find the Scribe - eastern part of the Citadel (1)
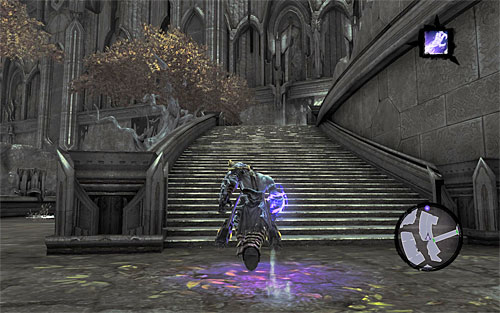
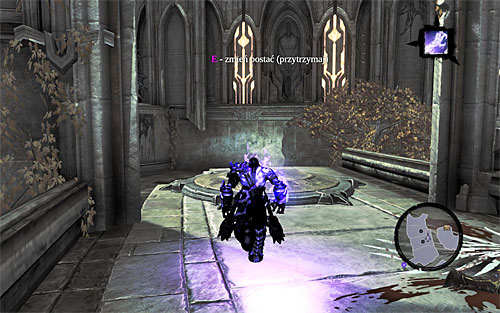
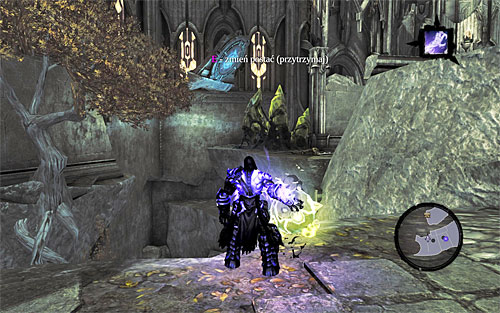
Go east and reach, after a few moments, a large area with floating platforms. First off, turn to the south and examine the area around the tree, where you will find a chest. Return now to the stairs shown in the above screenshot and climb them to reach the upper balcony. Find here a southern entrance to a small tunnel that you, of course, need to go through.
[TIP: Do not worry that you do not have access to some of the areas and secrets yet. Soon this will change].
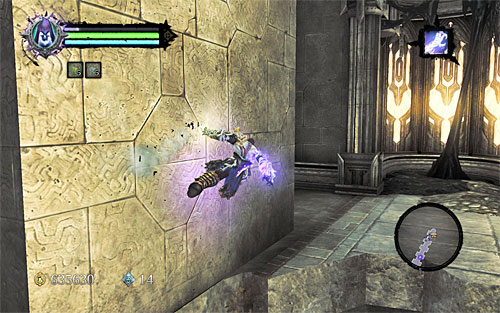
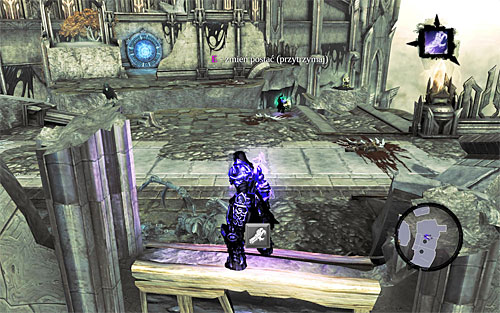
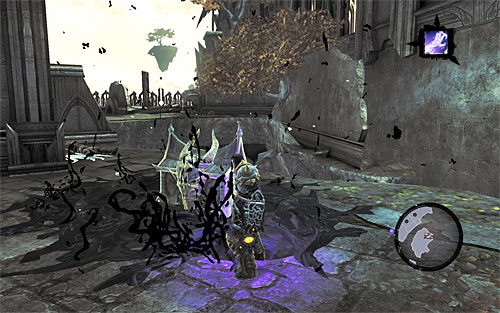
After you reach the last part of the tunnel, have a look around. Start climbing to reach the upper part of the Citadel's wall. Stay in the spot in which you let go of the last of the interactive edges and all run along the wall to reach end of the hole in the ground (the above screenshot) and find <br>a chest. You may now go ahead to the north-west. After a few moment you will get outside.
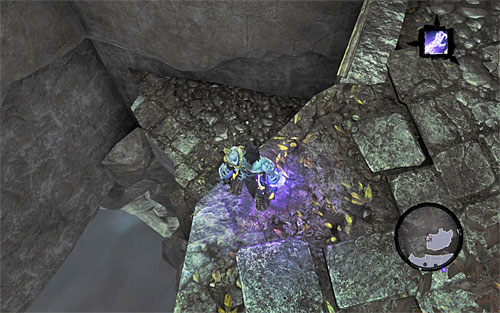
Start using the Death Grip, catch onto the nearby catch and get to a larger platform. Deal with corrupted angels here. Dodge frequently and try to eliminate angels one by one. Ignore the nearby chest the access to is blocked off by yellow formations. Look around for a Boatman Coin and a place in which you can jump down to a rocky ledge below (the above screenshot), where you will find a dungeon map.
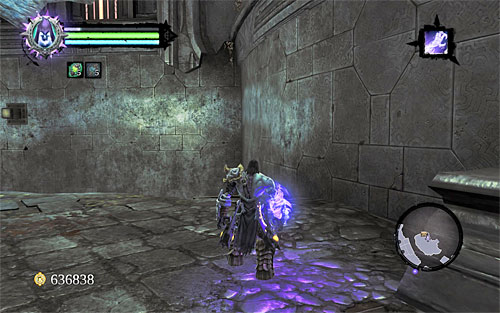
After you examine the abovementioned platform, position yourself in the spot shown in the above screenshot and start wall running along the wall to the right. Do not forget to bounce off after you reach the corner. It is not the only complication, because you will have to bounce off towards the left wall and towards the right one again. Performance of all of these will lead you to a new, large area.
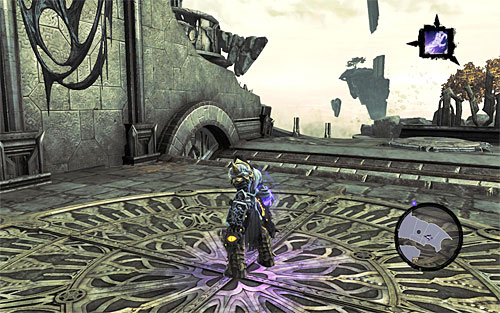
For starters, find another Boatman Coin. Position yourself in the spot shown in the above screenshot and activate Soul Split.
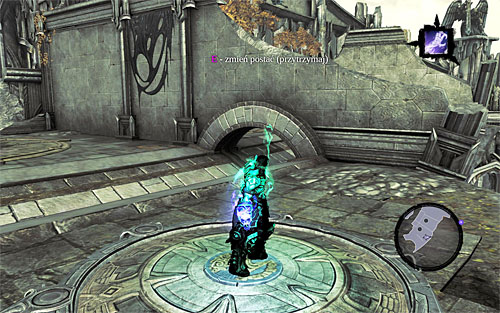
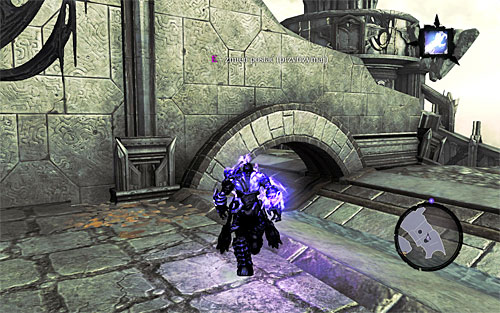
Go with the first half of the soul towards the pressure plate located to the right (screenshot 1). Step onto the plate to unlock the passage mentioned before (screenshot 2).
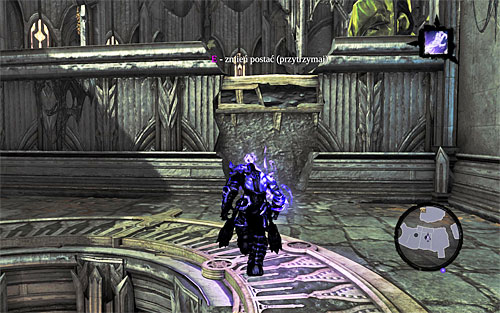
After you reach the new area, turn left and go towards the interactive edge that you can see in the distance (screenshot 1). Jump towards the edge, and after you reach the low wall, turn left again. You have to reach the other pressure plate (screenshot 2). If done correctly, this will unblock the hole that the petrified physical form of the Death was on. You can now terminate Soul Split.
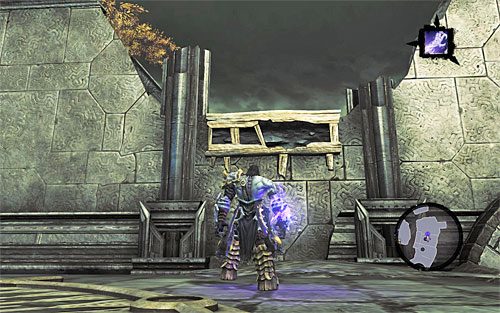
Go straight ahead and use the interactive edges ahead of you, to return to the upper level of the explored area. Go towards the eastern edge shown in the above screenshot. After you enter a new area, deal with the nearby corrupted angels.

Theoretically, you could go on performing the mission, but before you do, I recommend acquiring the treasure you ignored before. Look around to find a shadowbomb and catch it using the Death Grip. Aim the bomb at the yellow formations shown in the above screenshot.
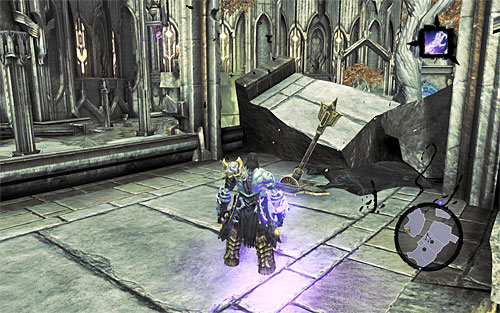
After it explodes, return to the previous area and go to the site of the explosion. Find here a switch (the above screenshot) and use it. This will open the passage that you had to ignore when you had the Soul Split on.

Activate Soul Split and return to the shadowbomb with the first part of the soul. After you acquire the bomb (using Death Grip), switch to the other half of the soul and position it in the spot shown in screenshot 1. Switch back to the first half of the soul and toss the bomb towards the other half of the soul (screenshot 2), thus performing the trick you learned before.
Switch to the second part of the soul for the last time (the one that currently is in the possession of the bomb). Go west and take the passages unlocked with the switch previously. Stop in the spot shown in screenshot 1 and toss the shadowbomb towards the yellow formations seen in the distance. You can go there now, so terminate the Soul Split and wall run again. When you get there, find a chest (screenshot 2)
[TIP: You can get rid of the yellow formations using Voidwalker (only after you obtain it, of course). If you are about to use it right now, you need to activate the portal located above the formations, and send the shadowbomb that way. The choice is yours.]

Backtrack to the place where you obtained the shadowbombs and get yet another one. Use the bomb to unlock the southern passage shown in the above screenshot and go towards the tower that you can see in the distance, using Death Grip to catch onto the interactive catch.
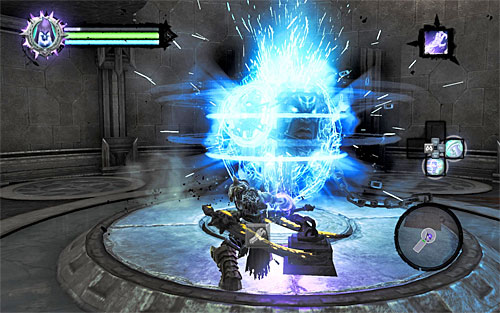
After you get inside the tower, jump down and start attacking the object bound by chains. Thanks to this you will acquire the Voidwalker
[TIP: Voidwalker is a skill activated by pressing the left mouse button, but it can only be used if you are aiming at an interactive portal (it is best to use the option of manual aiming). The entire mechanism hinges on activating two portals of your choice, which you can later on get through or send items through (beams of light, shadowbombs etc.). The discussed skill is, save one occasion, used entirely for solving puzzles and reaching unreachable areas.]
[TIP: It's worth noting that depending on the situation, you may create regular portals (by pressing the middle mouse button) or reinforced portals (by pressing and holding down the middle mouse button). The reinforced portals use more energy to send items or characters, but at this stage of the game, you do not need to worry about that (using this will come in hand later on during your exploration of the citadel).]
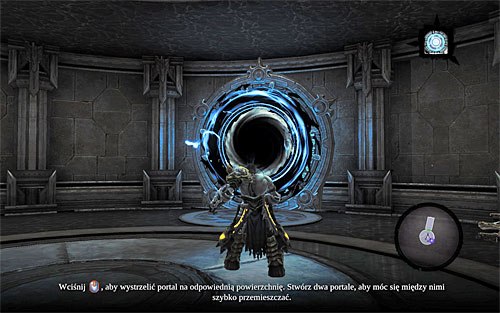
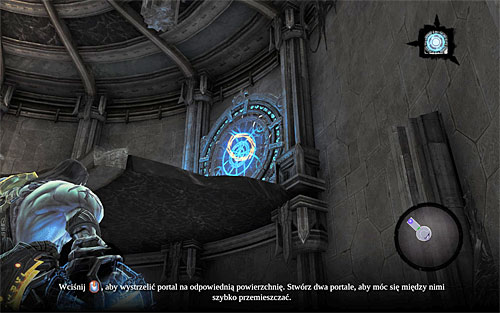
Make sure that your Voidwalker is active (the scroll down menu available after you press the TAB key). Activate the first one of the portals (the middle mouse button) on the lower level (screenshot 1), and another one on the upper level (screenshot 2). You may now go through the first portal to exit the tower and go to the area where you obtained shadowbombs.
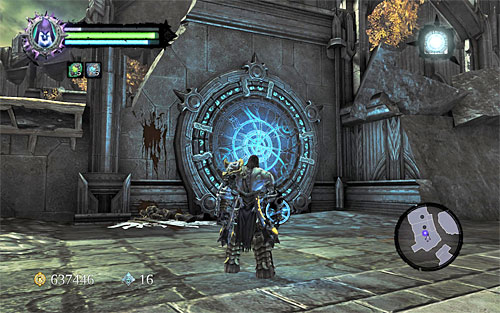
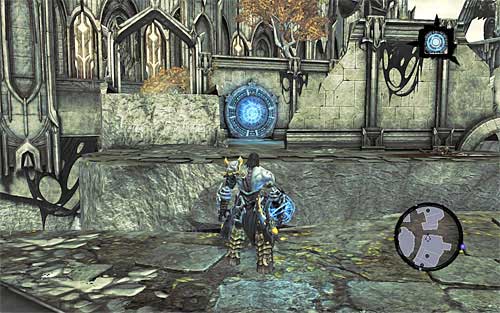
You have to use the Voidwalker once again. Activate the first portal located to your left (screenshot 1) and the other one located on the inaccessible platform to the east (screenshot 2). Go now through the first one of the portals and start exploring this part of the citadel.

Carefully, explore the area around the active portal and reach the lever shown in the above screenshot . Use the switch to unblock a nearby big hole and jump into it. Once downstairs find a chest with random loot.
- Darksiders 2 Game Guide
- Darksiders 2: Main Quests
- Darksiders 2: Stains of Heresy
- Darksiders 2: Reach the Citadel
- Darksiders 2: Find the Scribe - beginning
- Darksiders 2: Find the Scribe - eastern part of the Citadel (1)
- Darksiders 2: Find the Scribe - eastern part of the Citadel (2)
- Darksiders 2: Find the Scribe - western part of the Citadel (1)
- Darksiders 2: Find the Scribe - western part of the Citadel (2)
- Darksiders 2: Find the Scribe - northern part of the Citadel (1)
- Darksiders 2: Find the Scribe - northern part of the Citadel (2)
- Darksiders 2: Find the Scribe - end
- Darksiders 2: Boss 17 - Jamaerah the Scribe
- Darksiders 2: Face the Archon
- Darksiders 2: Boss 18 - Archon
- Darksiders 2: Return to the Crowfather
- Darksiders 2: Go to the Shadow's Edge
- Darksiders 2: Stains of Heresy
- Darksiders 2: Main Quests
You are not permitted to copy any image, text or info from this page. This site is not associated with and/or endorsed by the developers and the publishers. All logos and images are copyrighted by their respective owners.
Copyright © 2000 - 2025 Webedia Polska SA for gamepressure.com, unofficial game guides, walkthroughs, secrets, game tips, maps & strategies for top games.
