Darksiders 2: Wake up the Keeper (1)

Go south and you will reach a small room. Jump into the lake to the left and find a chest there. Return to the surface, open the southern door and enter the [Foundry]. After you enter a big oval room, follow Karn. Stop in the spot in the above screen, approach the primordial and press "E". As a result, Karn will catch the Death and will propel the player character towards the ledge seen in the distance (during the flight you do not need to push any additional, buttons).
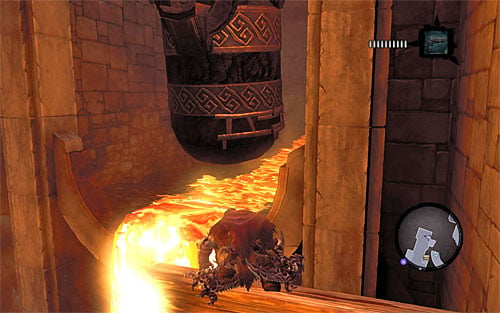
Catch onto the nearby ledge and jump towards the interactive edge. Shimmy to the left as far as you can and jump onto the wooden pole. Wait for one of the cauldrons, seen in the above screen, to appear in front of you, jump in its direction and grab onto its lower interactive edge.
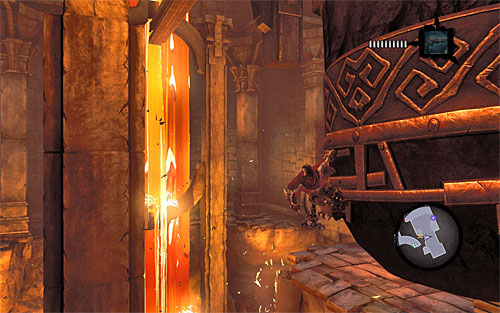
After you catch on to the cauldron's edge, remain in that position and lean back and just in case (press and hold SHIFT). Jump back after you pass the vertical pole shown in the above screenshot. If you have done everything according to the plan, the Death will land on the ledge with a chest.
[TIP: You can also reach the rightmost point of the cauldron so that you can jump towards the larger ledge. If you decide to do that, however, you won't get the chance to get near the above-mentioned chest.]
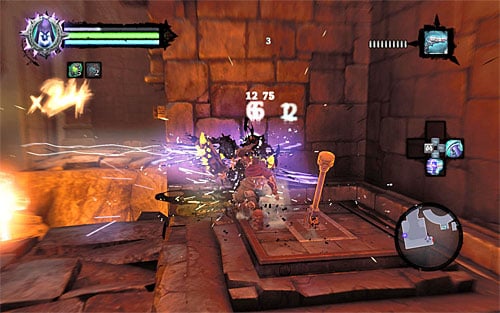
After you examine the chest's contents, wall-run along the left wall and bounce off a single protrusion on the way. After you land, be prepared to face a group of Tainted Constructs. Make sure that you killed all of the enemies, and make use of the nearby switch,
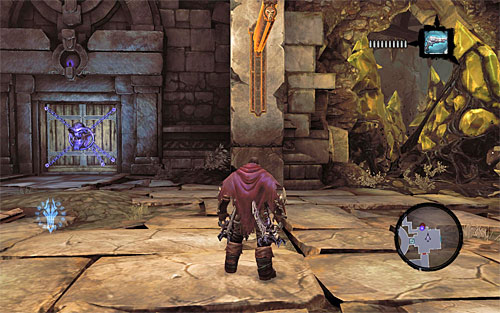
Enter a big room and notice that the door has just shut behind you. Furthermore, the game has also unblocked access a series of narrow corridors. They make it possible to return to the starting point, the oval room, and they will be useful only towards the end of the quest. As you have probably guessed, your next task will be to unblock passage for Karn. Position yourself in the spot shown in the above screenshot, wall run up the wall and stop on the horizontal beam.
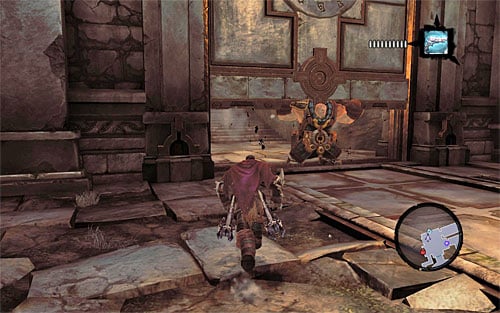
Since you have to wait for Karn to enter the location and position himself near the other big gate, you need to wait on the beam. Jump down to the ground only after you receive the proper confirmation from him, and were around towards the gates supported by him. Now, the both of you can continue exploring the foundry, and go up the stairs.
[TIP: For the time being, ignore the yellow formations and other inaccessible spots, because soon enough, the game will allow you to examine them closely.]
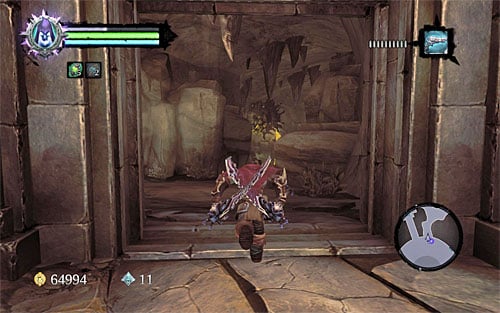
Enter the largest area of the foundry with the sleeping Guardian in it, whom, you will have to visit many times throughout this mission. Begin by dealing with Tainted Constructs, Karn will help you with that. Next, find the tunnel shown in the above screen that leads north-east.
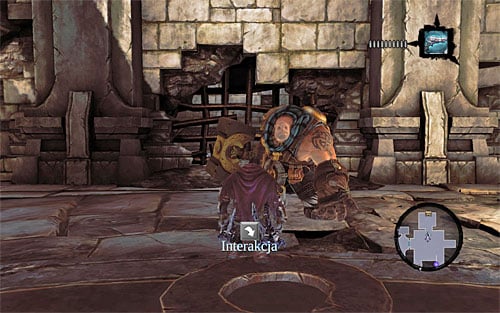
Get rid of the Tainted Constructs and press east. After reaching a new, larger area, stop near the destroyed fragment of the wall shown in the above screen and let Karn toss you towards the ledge above (press "E"). Then examine the balcony, find the chest, and jump down.
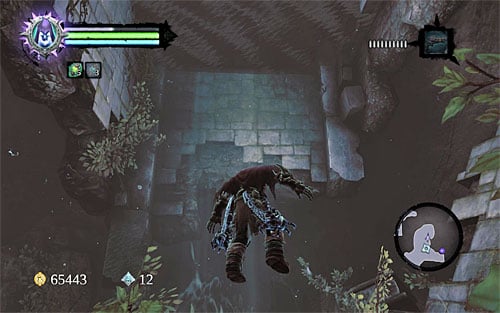
The next step is downright obvious, because you need to jump into the water and dive. Ignore the underwater Construct, because, as of now, you cannot use it anyways. Look for and find a Boatman Coin instead, and emerge in the spot shown in the above screenshot.
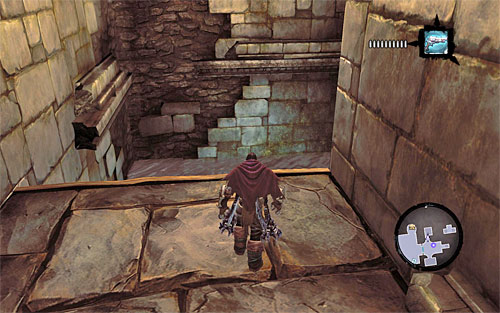
Find the wall with an interactive edge and find your way to it. Ignore the interactive sphere for the time being and go straight ahead to find the above location, where you can jump into water and dive.
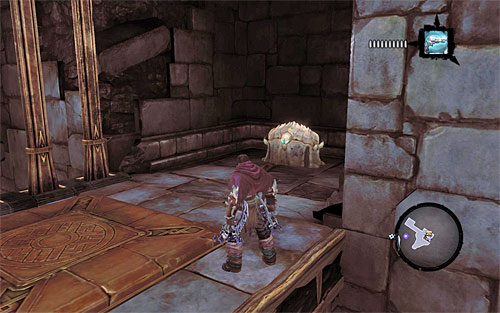
Swim straight ahead until you reach the location in which the path forks. For starters, examine the left tunnel. It will take you to a small niche on the surface, where a small chest has been hidden.
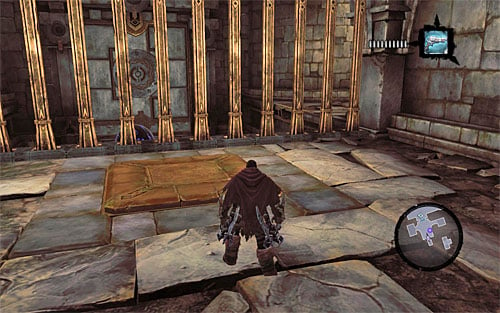
Jump back into water and get back to the forking. This time, go into the right one. Just like before you need to find a place to the to re- surface and wall run to catch an interactive edge. Now you can position yourself on the large pressure plate above, which will result in opening the passage for Karn.
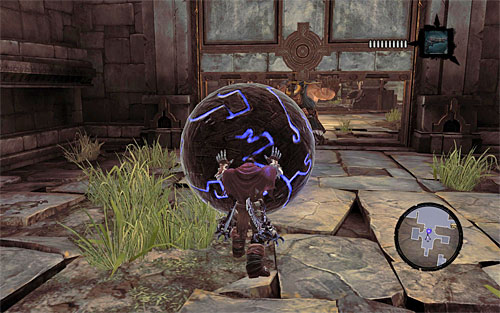
Get off the pressure plate and approach the interactive sphere that has been mentioned before. Take advantage of the fact that Karn is supporting the large gate and roll the sphere into the centre of the location.
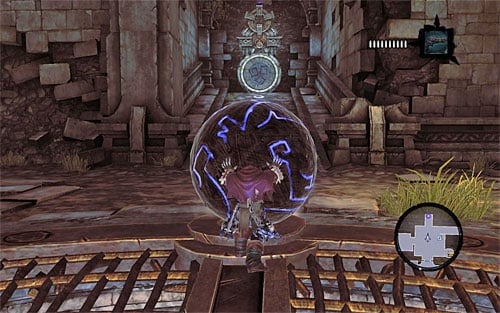
This is not yet the end of the puzzle. Position yourself behind the sphere just like in the screenshot above, which is exactly opposite the hole in the vertical wall ahead. The solution to this puzzle is not that obvious, because you need to push the sphere towards the wall with a lot of force, which you do by pressing the middle mouse button. If you've done everything correctly, the symbols on the ground will light up and the already seen underwater construct will be transported here.
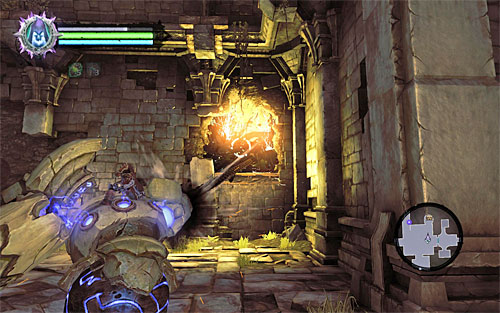
Approach the construct and use Maker's Key to bring it to life. Start attacking the groups of Tainted Constructs by removing, in the first place, champions that are visibly larger. After you win the battle remain in this location and use the construct to destroy the yellow formations visible in the above screenshot. This will lead to making the chest that is hidden behind, accessible.
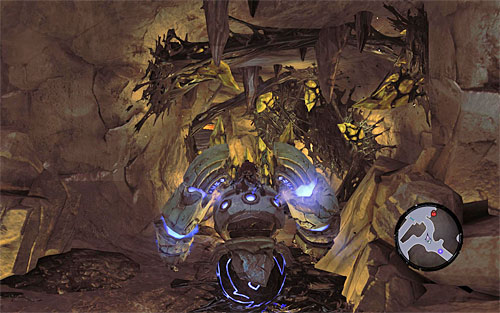
Take a peek into the chest, examine the battleground for items left by the enemies, return to "your" construct and go with it to the neighbouring corridors. On your way there is strongly all of the yellow formations, thanks to which you will unlock yet one more. Just. After you reach forking, go through the right (North Western) passage return NOT to the largest area with the Guardian in it, but to one of the smaller areas examined by you already (the one with the locked door).
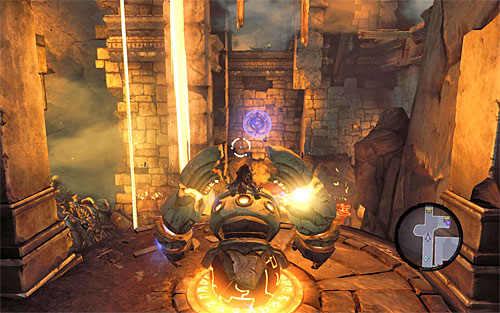
Now, choose the corridor leading to the West, still making use of the construct. Stop the construct in the spot shown in the above screenshot and launch a chain that you need to jump on.
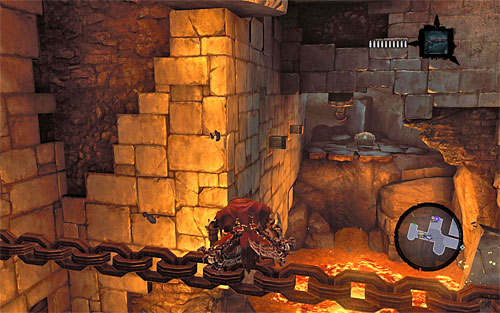
Go straight ahead and stop after you pass some 2/3 of the length of the chain. Turn right to the wall shown in the above screen. Try and jump ideally towards the wall so that you can wall run on it. The Death will approach a small shelf behind a chest. After you examine the contents of the chest return to the chain.
[TIP: If you find it difficult to jump to the wall at the right angle, ignore this for the time being because it will be easier to reach the chest, after you unlock the death grip skill, from the nearby interactive catch. It is important however, not to forget about the whole thing altogether so that you don't have to make it back to the foundry at a later stage of the game.]
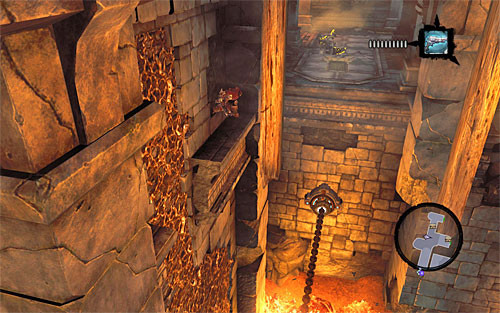
For change now turn towards the interactive part of the creeper and bounce off of the chain to catch it. Climb up the creeper and position yourself so that you can jump towards the wooden pole shown in the above screen after you lean back. Next, jump to the number two poles (a vertical and a horizontal one). After you reach a stable ledge, proceed to the next room.
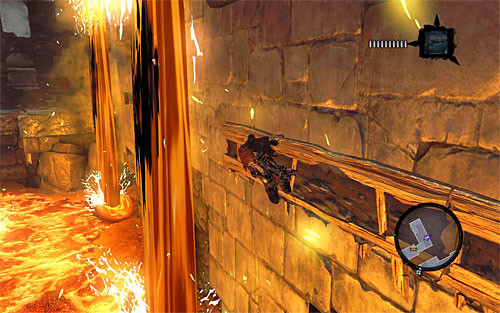
Getting through this room is a series of acrobatic tricks, which you shouldn't probably find difficult anymore. Start by wall-running along the right wall and bounced off of it when you reach the corner. After you catch on to the interactive edge, shimmy to the left and stop in the spot in which lava pours down (the above screenshot). Wait for lava to stop pouring and quickly wall run to the left.
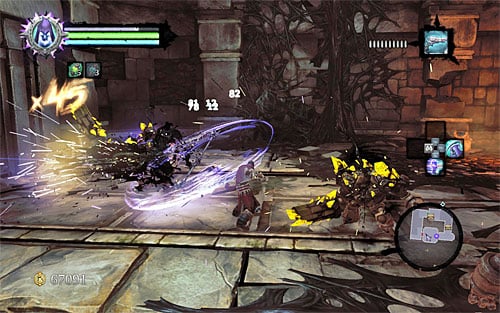
Make it to the next room where you are up for a series of skirmishes with Tainted Constructs. Because of the limited area of the battle, make use of the environmental skills. Also, do not forget about the necessity to dodge very often, and do not let yourself be corner by your enemies.

After you get rid of the "regular" constructs, a construct champion will emerge from below the ground. This means that you need to attach even more attention to dodging (his charges and upper limb attacks at close quarters). You may also consider using the Reaper Form skill, especially that in the nearest future, you will not have to fight that difficult battles.
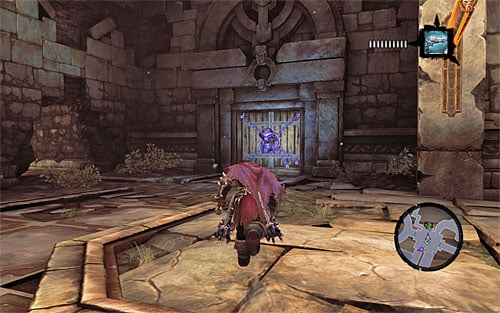
After you get rid of all enemies, make it to the last unexplored room on this part of the foundry. Examining the contents of the chest and find a skeleton key inside. Approach the edge and carefully jump down to the chain that you launched before. Return with the construct to the previous area and use the skeleton key to open the Eastern gate (the screenshot above) that has been locked so far.
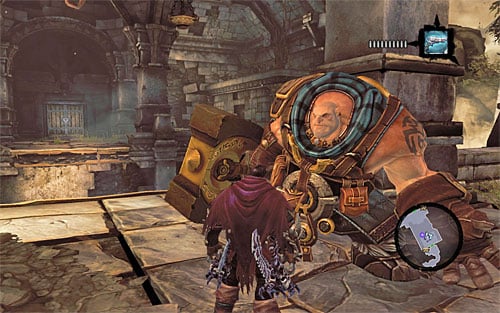
Open the door and go up the stairs to the higher level of the foundry. Enter the larger room and make use of Karn's help, who will toss you over to one of the further ledges. Be vigilant, because right after you land, you'll have to face a group of Tainted Constructs.
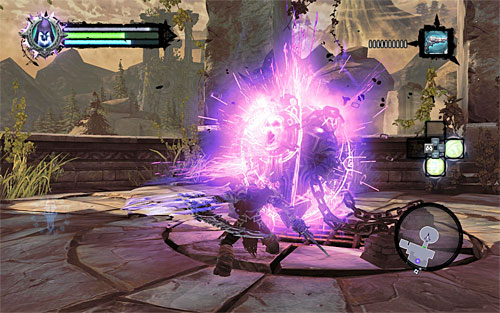
Kill all the constructs and look around for a ledge below, on which there is a chest with a dungeon map. Go to the neighbouring room now. Attack the object bound with chains, and get access to a new very effective skill Death Grip. This skill consists in grabbing onto distant objects and, although you can only interactive catches his arm and are meant, this also applies to enemies.
[TIP: Acquiring the Death Grip means that you can gain access to the areas that were inaccessible before. This does not necessarily have to be an important for you if you only have been doing the main quest, but it's worth knowing, if you've tried visiting optional dungeons also.]
[TIP: To activate death grip you need to press the middle mouse button, but only if it's available. The most convenient method is to take it from the scroll down menu when you need it, by pressing "TAB". As it has been suggested before the Grip is used mainly for avoiding various obstacles and solving puzzles, although it can also be used to drag smaller enemies your way, as well as to approach larger enemies faster, e.g. for a swift initiation of a series of attacks. I also suggest to train using the Death Grip during regular exploration and while fighting.]
- Darksiders 2 Game Guide
- Darksiders 2: Main Quests
- Darksiders 2: The Heart of the Mountain
- Darksiders 2: Talk to the Keeper
- Darksiders 2: Enter the Foundry
- Darksiders 2: Wake up the Keeper (1)
- Darksiders 2: Wake up the Keeper (2)
- Darksiders 2: Wake up the Keeper (3)
- Darksiders 2: Boss 6 - Corrupted Custodian
- Darksiders 2: Wake up the Keeper (4)
- Darksiders 2: Find the Keeper
- Darksiders 2: Boss 7 - The Guardian
- Darksiders 2: The Heart of the Mountain
- Darksiders 2: Main Quests
You are not permitted to copy any image, text or info from this page. This site is not associated with and/or endorsed by the developers and the publishers. All logos and images are copyrighted by their respective owners.
Copyright © 2000 - 2026 Webedia Polska SA for gamepressure.com, unofficial game guides, walkthroughs, secrets, game tips, maps & strategies for top games.
