Darksiders 2: Shattered Forge
Location: Forge Lands
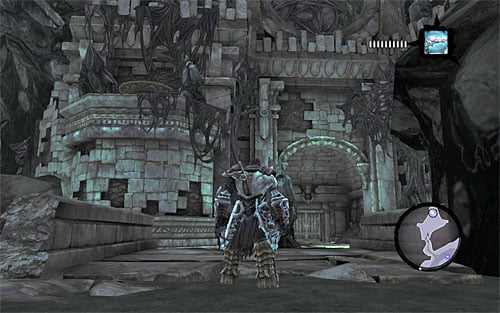
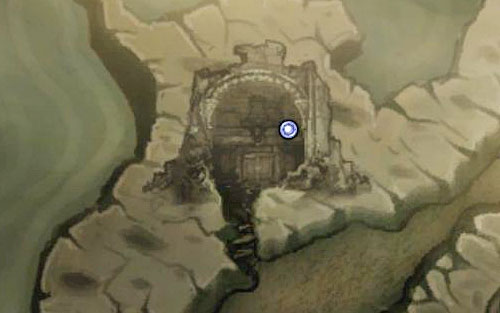
The dungeon lies in the west of the Forge Lands, north of the gate leading to the Fjord, which has to be opened during one of the main quests of the campaign.
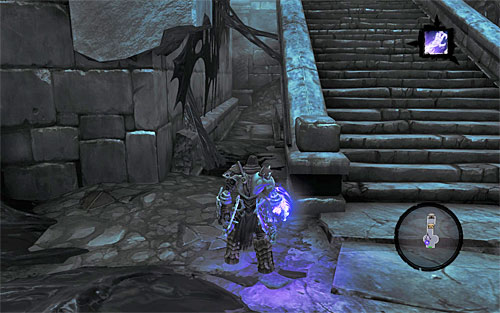
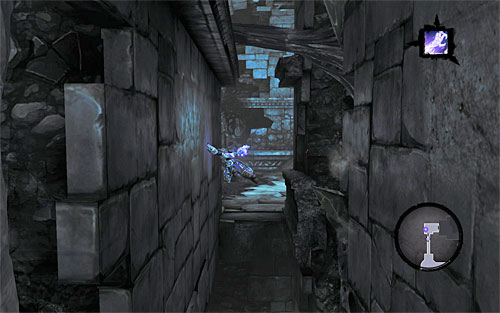
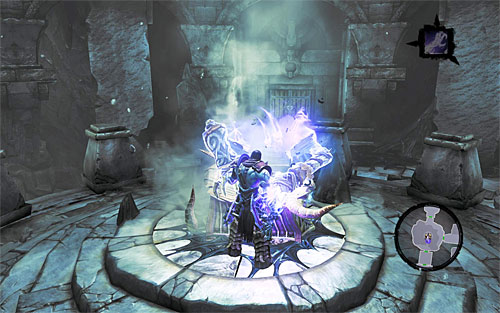
Before heading for the entrance, I suggest you dive underwater first for a Boatman Coin. Backtrack to the starting point, jump down to the demolished bridge, and wall-run up the wall to get across to the dungeon's entrance. Go down the stairs, turn around and take the narrow hallway by the stairs (the above screen) to reach a hidden chest with a random treasure.
![Step into the main chamber of the [Shattered Forge] - its construction clearly suggests that in order to reach the chest on the platform that holds the most valuable treasure here (a hammer), you're going to have to take the roundabout way through the whole dungeon - Shattered Forge - Additional Locations - Darksiders II - Game Guide and Walkthrough](/darksidersii/gfx/word/1140882000.jpg)
Step into the main chamber of the [Shattered Forge] - its construction clearly suggests that in order to reach the chest on the platform that holds the most valuable treasure here (a hammer), you're going to have to take the roundabout way through the whole dungeon. Start off with jumping into the water tank to find another Boatman Coin. Go back to the shelf and head towards the west door (the above screen).
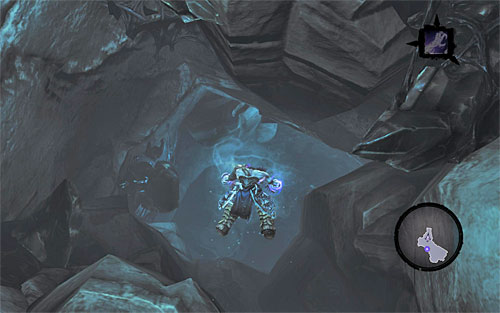
Again, you'll have to dive. Find the underwater tunnel pictured above and swim through it. Get out of the water once you reach a cave, and look around for a chest with a Dungeon Map.
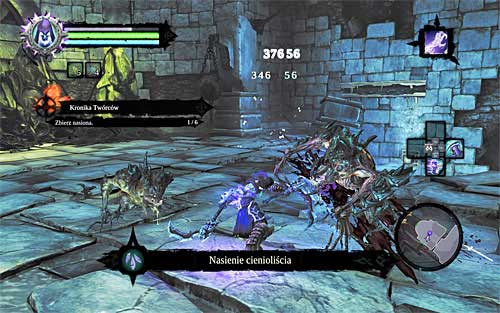
Find an interactive edge on one of the nearby walls. Make your way up. When you get to the upper balcony, you're going to have to fend off a group of Savage Stalkers, but that shouldn't be a problem. When you're done, head for the west door.
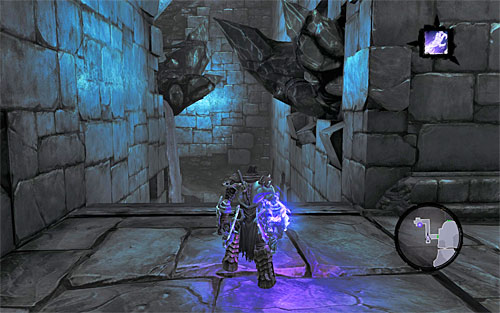
Don't go into the water this time, there are no treasures to find. Instead, stand where the screenshots shows and start wall-running along the left wall. Be ready to bounce off at the corner. Your destination is a safe shelf.

The next step involves a series of wall-runs up the wall, combined with bouncing off them when necessary (the above screen) - you've probably done that before on different occasions, so you shouldn't have any problems getting to the top.
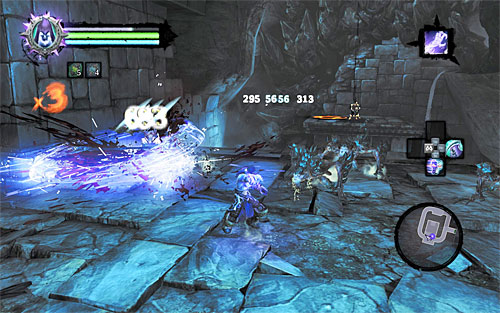
Go through the hallway leading west, and wall-run once you reach a gap - there are two ledges to hold on to on the way. Be cautious when you enter the next chamber - you'll be attacked by a group of Savage Stalkers. Killing them isn't too challenging.
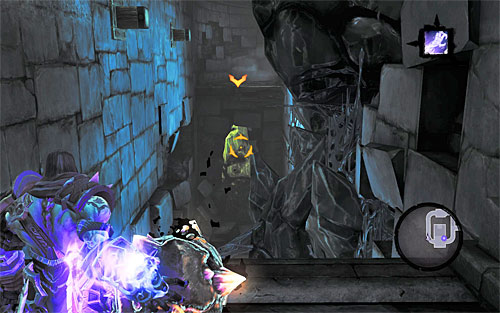
Afterwards, use Death Grip to grab the dormant shadowbomb lying on the neighboring shelf. Take it back to the previous hallway, the one with the gap you passed by using the ledges. Throw it at the yellow crystals in the distance (the above screen) and detonate it by firing the pistol. Check out the newly unlocked area to find a legendary secondary weapon - Omega Blades.
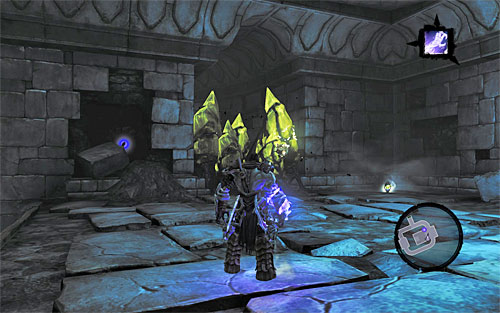
Return to the room where you fought Stalkers, grab another dormant shadowbomb and use it to unlock a nearby passage (the above screen). Before moving forth, grab another dormant shadowbomb and you're free to head east.
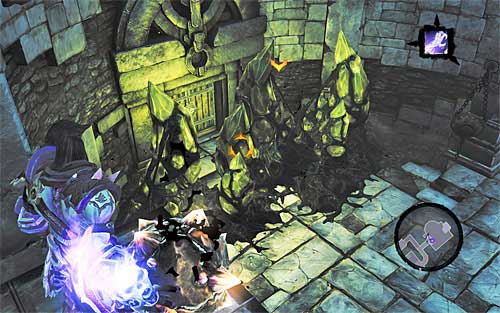
You should get to the east door. Throw the shadowbomb at the nearby wall, open the door and grab the shadowbomb again (without detonating it!), passing through to the next chamber before the door closes. Use the dormant shadowbomb here to destroy the yellow crystals below (the above screen).
[TIP: Using a dormant shadowbomb isn't the only way to destroy the yellow crystals on the lower level. You could also use a switch and perform a series of wall-runs along the walls around here to get to a ledge with "regular" shadowbombs. However, if you've followed my instructions and used the dormant shadowbomb, you can skip that process; you won't find any treasures on that ledge.]
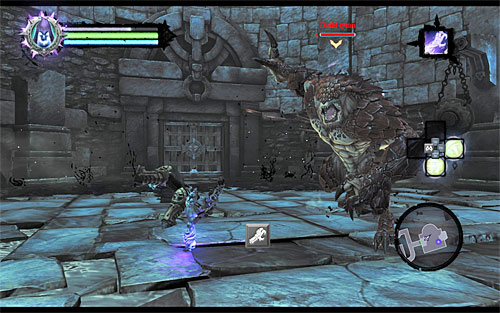
Jump down, to the lower level (you can flip the switch if you want to make sure everything's all right but it's not necessary) and get ready to go up against a Savage Stalker. I'm assuming you're familiar with them by now, so you should know how to act around them (dodge the quick leaps and claw attacks). Apart from the Stalker, there'll also be Savage Prowlers to eliminate. When the battle is over, go through the north door.
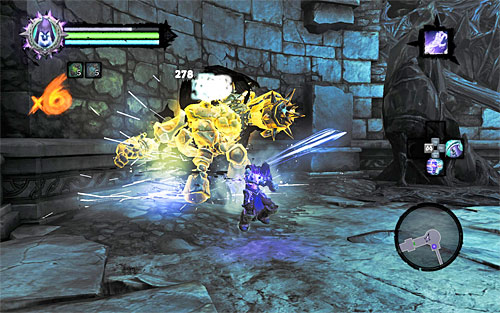
Take a look inside the two chests in the new chamber and continue north. Enter the arena - there will be another battle to fight, against Tainted Construct Warriors and Construct Champions. Watch out for the latter ones especially (I'm talking about the powerful drill attacks). Take them all down.
Go through the newly unlocked east hallway. There is a series of wall-runs and bouncing off ahead of you. Once on the other side, take the south door and enter the largest chamber of the forge.

Jump into the water, dive and look for an underwater tunnel pictured above. Swim through it to reach a small cave. Make your way up, using whatever ledges and handholds you find. You should get to a shelf with shadowbombs.
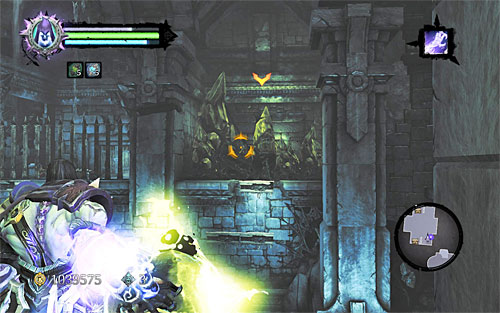
Pick up the first one and throw it at the yellow crystals in front of you (the above screen).
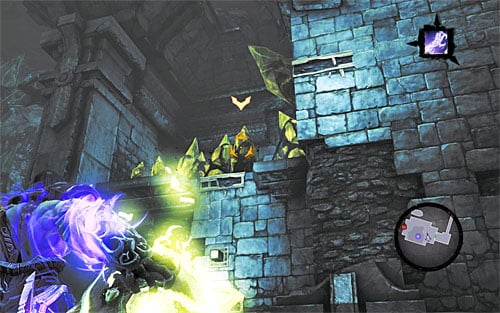
Grab another shadowbomb and jump down to the bottom. Stand as seen on the screen - that way you can throw the bomb at the yellow crystals on the north-west ledge.
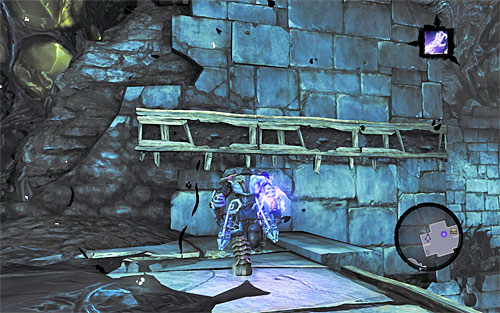
When they're gone, climb the ledge. Loot the chest you find there. Afterwards, face the wall as illustrated above and grab onto the interactive edge. Start moving to the right.
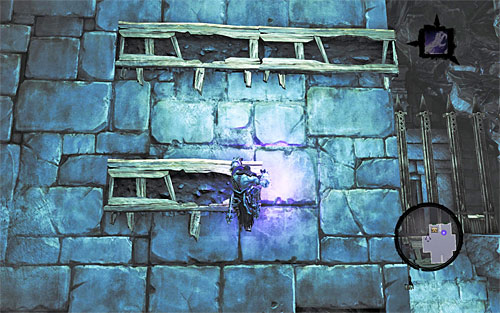
Be prepared to do some wall-running on the surrounding walls, and make sure to bounce off whenever you get close to a corner. Your destination are the interactive edges shown on the above screen. Keep going right.
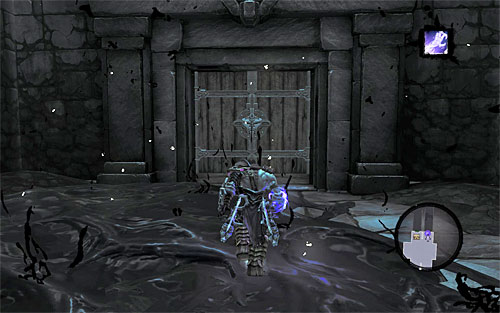
Further way shouldn't give you any more trouble, though you'll have to let go of some edges in order to land on the lower ones. Your current destination is the south-east balcony, pictured above, which has been initially blocked by the now destroyed yellow crystals.
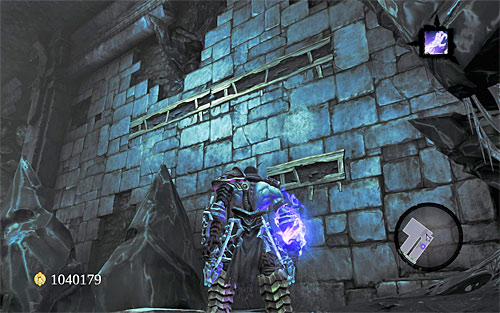
Open the door and move forth, past a gap in the floor. See what's in the nearby chests and then use the edges shown on the screen to go past further obstacles. Get ready, because as soon as you enter a new arena you'll commence the last battle.
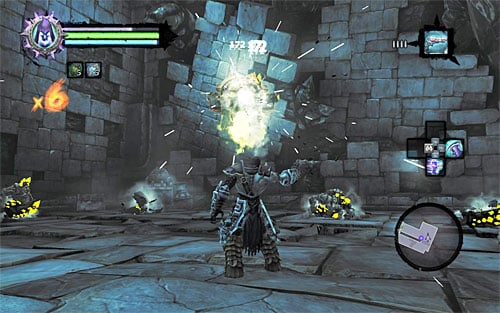
Right from the very start, focus solely on attacking the Construct Sentinel. As you may remember from the main quests, the best way to do that is to use the Redemption pistol supported with manual aiming. Take care of the Sentinel first - only then get rid of the Tainted Construct Warriors. Finally, you'll be pitted against a Construct Champion.
![When the battle is over, examine the area for a Book of the Dead page ([The Book of the Dead] side quest) - Shattered Forge - Additional Locations - Darksiders II - Game Guide and Walkthrough](/darksidersii/gfx/word/1140882312.jpg)
When the battle is over, examine the area for a Book of the Dead page ([The Book of the Dead] side quest). Afterwards, head west. After entering a new chamber, look around for a chest which holds a Skeleton Key, then use a lever. Backtrack to the main hall and use the Skeleton Key to unlock the south door.
Open another door - they will take you back to the first hall of the forge. Approach the above chest and take the Splinter Bone hammer from it, thus concluding the visit to this dungeon.
[TIP: Obtaining the Splinter Bone has been a part of [The Hammer's Forge] side quest. If you haven't unlocked it yet, it will automatically show up in your quest log, so don't worry about missing the reward.]
- Darksiders 2 Game Guide
- Darksiders 2: Side Quests
- Darksiders 2: Additional Locations
- Darksiders 2: Introduction
- Darksiders 2: Weeping Crag
- Darksiders 2: The Nook - Reaching the central area of the dungeon
- Darksiders 2: The Nook - The central part of the dungeon
- Darksiders 2: The Nook - The lower levels of the dungeon
- Darksiders 2: The Scar - Exploring the first part of the dungeon
- Darksiders 2: The Scar - Reaching the central area of the dungeon
- Darksiders 2: The Scar - Obtaining the Skeleton Key
- Darksiders 2: The Scar - Using the Skeleton Key
- Darksiders 2: The Scar - Reaching Gharn
- Darksiders 2: Shattered Forge
- Darksiders 2: Forge Lands - Other Locations
- Darksiders 2: Lair of the Deposed King - Exploring the lower levels of the dungeon
- Darksiders 2: Lair of the Deposed King - Exploring the upper level of the dungeon
- Darksiders 2: The Breach - Exploring The Breach
- Darksiders 2: The Breach - Exploring the ruins
- Darksiders 2: Sentinel's Gaze - Exploring Sentinel's Gaze
- Darksiders 2: Sentinel's Gaze - Exploring Boneriven
- Darksiders 2: Additional Locations
- Darksiders 2: Side Quests
You are not permitted to copy any image, text or info from this page. This site is not associated with and/or endorsed by the developers and the publishers. All logos and images are copyrighted by their respective owners.
Copyright © 2000 - 2026 Webedia Polska SA for gamepressure.com, unofficial game guides, walkthroughs, secrets, game tips, maps & strategies for top games.
