Darksiders 2: Find the Scribe - northern part of the Citadel (2)
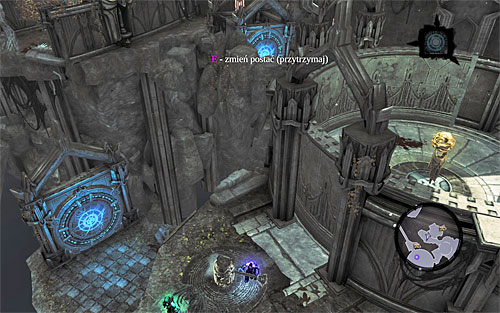
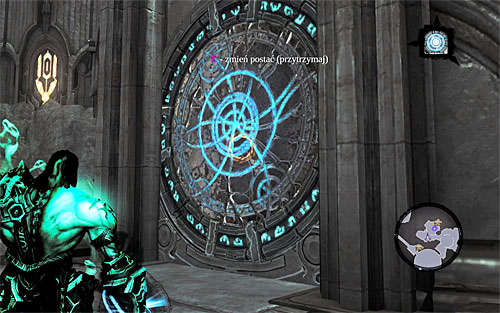
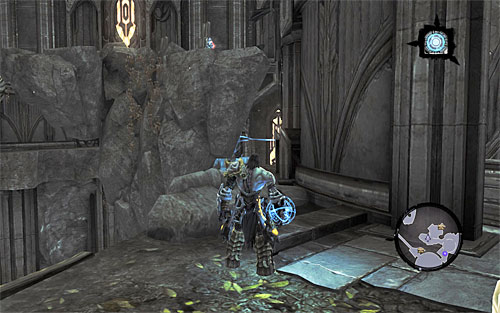
Find another rotary mechanism now, position yourself nearby and initiate Soul Split. Use the first half to interact with the mechanism (screenshot 1), which will result in a portal appearing to the right. Use the other half and Voidwalker to activate the portal (screenshot 2). After you are done, terminate Soul Split.
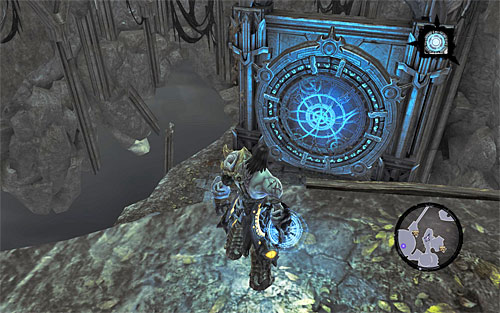
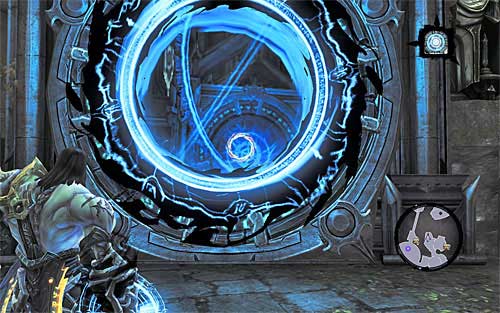
Allow the active portal to return to its previous position and jump down to a ledge below (the one that the relic used to be on). Activate the portal here (screenshot 1) using Voidwalker again. That's not the end yet, because you need to take a peek through the second portal and notice another one. Activate that portal (screenshot 2), but make sure that it has opened as a reinforced one (press and hold down the middle mouse button).
And now, a short synopsis of what has been done so far: if you've done everything correctly, then apart from the portal downstairs, also the portal that you can see behind the rocks (the above screenshot) should be active. Additionally, the portal behind the rocks should be reinforced.
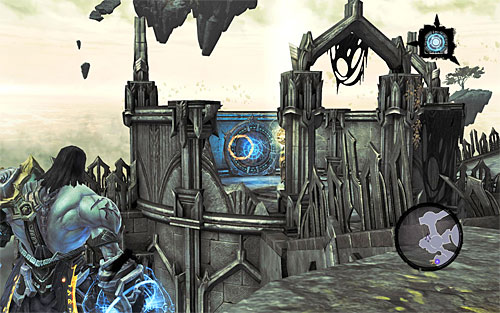
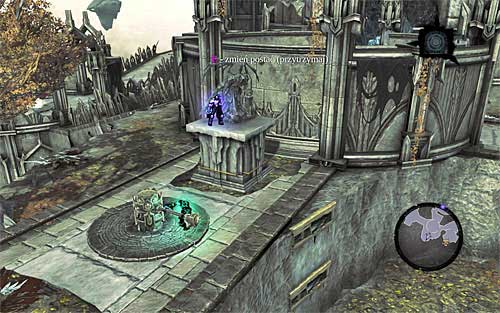
You now need to go back quite a bit and return to the place that you can see a portal with a charged yellow sphere from (screenshot 1). Activate the portal using Soul Split. After you perform the actions mentioned above, you need, once again, to go to the location with the rotary mechanism in it, so once again, you need to do all the activities connected with pushing the platform with Death on it. (Soul Split; screenshot 2).
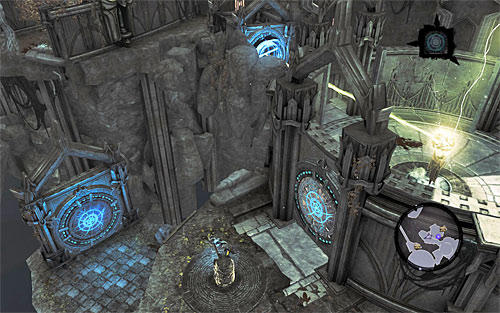
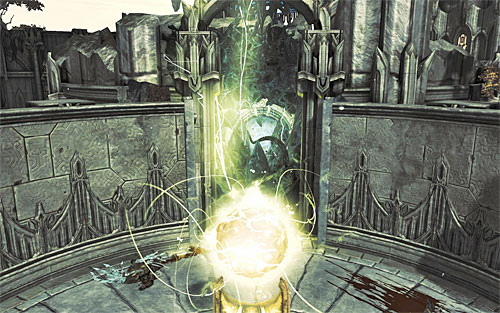
Interact with the second rotary mechanism in person, and notice that moving the wall resulted in the yellow sphere, shown in the above screenshot, being charged. The last step to perform is releasing the rotary mechanism. As a result the beam will be able to reach the last of the spheres, which will destroy the black formations (screenshot 2).
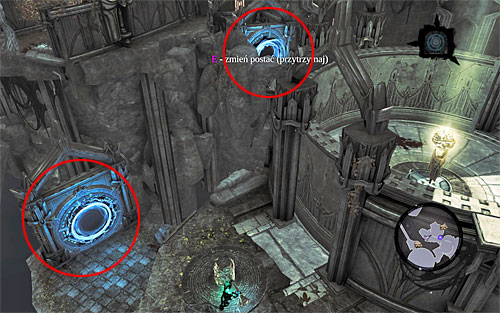
Theoretically, you may now resume your exploration of the area, but if you want to loot the nearby chest, you need to play with the portals once again. Just make sure that they are activated the way presented in the above screenshot (the lower one - regular, the one behind the rocks - reinforced).
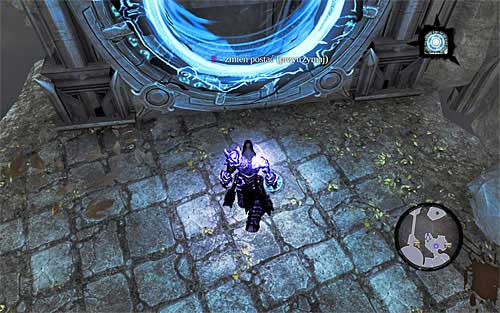
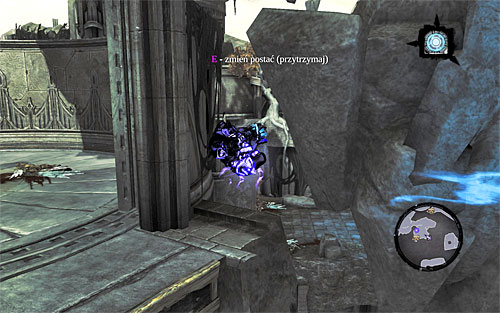
Activate Soul Split and use the first half of the soul to block the rotary mechanism. Switch over to the other half and jump into the lower portal (screenshot 1). Go through that portal to be catapulted into the round area with the charged yellow sphere in it (screenshot 2). The only thing you need to do now is approach the chest.
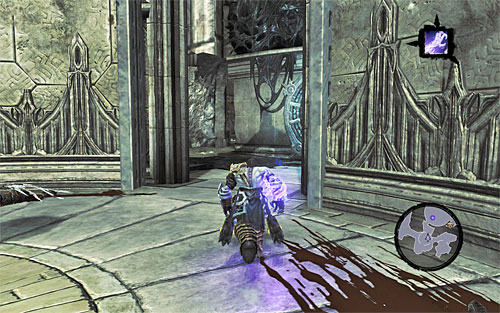
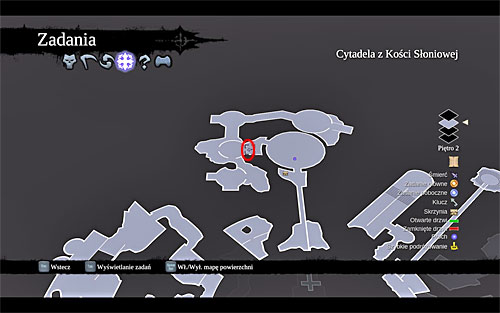
Regardless of whether you decided to go for that chest with random loot in it, or not, you need to return to the yellow sphere that was charged as the last one and destroyed the black formations. Use the newly unlocked passage to the east (screenshot 1 shows the passage itself, whereas screenshot 2 indicates the place on the map).
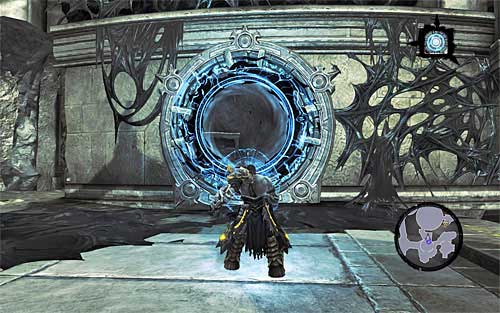
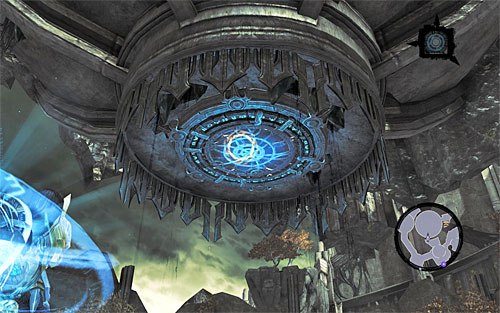
Another puzzle is a simple one and it assumes using Voidwalker again. Activate the first of the portals in the area in which you are right now (screenshot 1), and the one above the reservoir with black goo and the uncharged yellow sphere. You need to open this particular portal as a reinforced one. Correctly performed, this will lead to turning black goo into water.
![Before you jump into the aqueduct, explore the area for a Relic of Khagoth (side quest [Lost Relics]) - Find the Scribe - northern part of the Citadel (2) - Stains of Heresy - Darksiders II - Game Guide and Walkthrough](/darksidersii/gfx/word/444215015.jpg)
Before you jump into the aqueduct, explore the area for a Relic of Khagoth (side quest [Lost Relics]). Only then, go south. On your way you need to jump out of the aqueduct for a moment and take a look into the chest you pass. Ultimately, you need to reach the rocky ledge shown in the above screenshot.
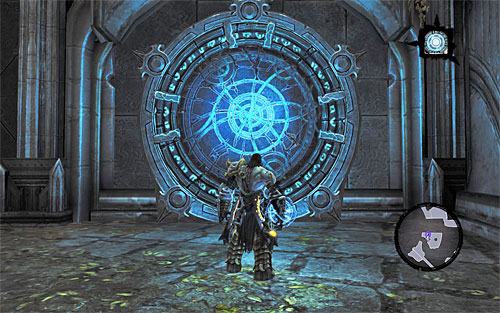
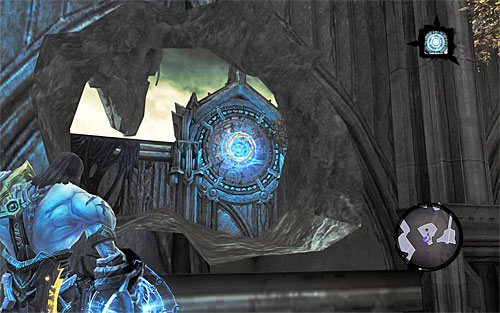
Wall run along the wall on the left and reach the portal. Activate it using Voidwalker (screenshot 1). Next take a peek through a nearby hole and activate the other portal (screenshot 2). You may now enter the first of the portals to reach a new area.
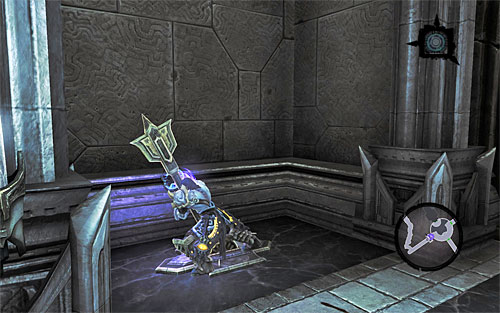
Approach the hole and jump down to explore a long corridor. The tunnel leads up to the central chamber in the citadel that you have already been visiting. To get into the chamber you have to use the lever shown in the above screenshot.
- Darksiders 2 Game Guide
- Darksiders 2: Main Quests
- Darksiders 2: Stains of Heresy
- Darksiders 2: Reach the Citadel
- Darksiders 2: Find the Scribe - beginning
- Darksiders 2: Find the Scribe - eastern part of the Citadel (1)
- Darksiders 2: Find the Scribe - eastern part of the Citadel (2)
- Darksiders 2: Find the Scribe - western part of the Citadel (1)
- Darksiders 2: Find the Scribe - western part of the Citadel (2)
- Darksiders 2: Find the Scribe - northern part of the Citadel (1)
- Darksiders 2: Find the Scribe - northern part of the Citadel (2)
- Darksiders 2: Find the Scribe - end
- Darksiders 2: Boss 17 - Jamaerah the Scribe
- Darksiders 2: Face the Archon
- Darksiders 2: Boss 18 - Archon
- Darksiders 2: Return to the Crowfather
- Darksiders 2: Go to the Shadow's Edge
- Darksiders 2: Stains of Heresy
- Darksiders 2: Main Quests
You are not permitted to copy any image, text or info from this page. This site is not associated with and/or endorsed by the developers and the publishers. All logos and images are copyrighted by their respective owners.
Copyright © 2000 - 2025 Webedia Polska SA for gamepressure.com, unofficial game guides, walkthroughs, secrets, game tips, maps & strategies for top games.
