Darksiders 2: Sentinel's Gaze - Exploring Boneriven
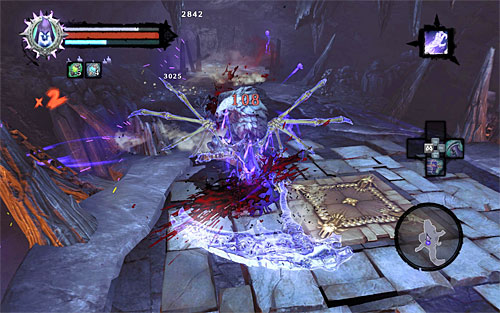
Start exploring the new dungeon by fighting an Undead Stalker and a group of Undead Prowlers. Take down the Prowlers first, leaving the Stalker for last. In the meantime keep an eye out for his attacks, meaning the claws and the long leaps.
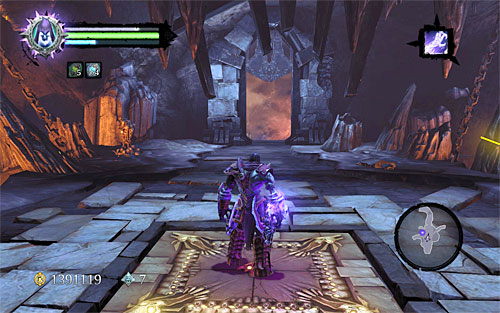
When the battle is over, stand on the above pressure plate and wait patiently until the gate outlined in the distance raises. Run forward to get through it before it closes again (luckily, it closes very slowly, so you don't have to fight for every second).
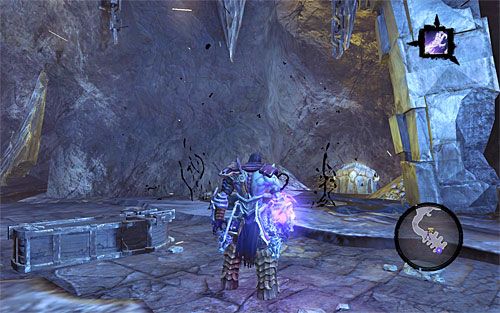
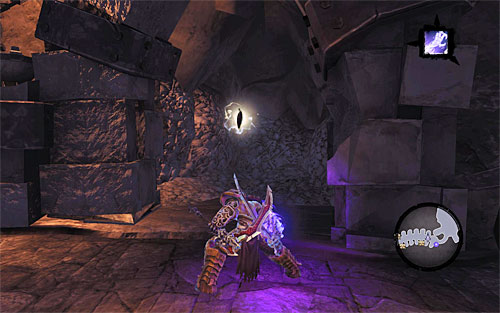
Go past the gap by wall-running and head for the next cave. Eliminate quite a large group of Skeletons there. When the coast is clear, use two shadowbombs to unlock a way to the chest pictured above, which holds a random item, and a pressure plate.
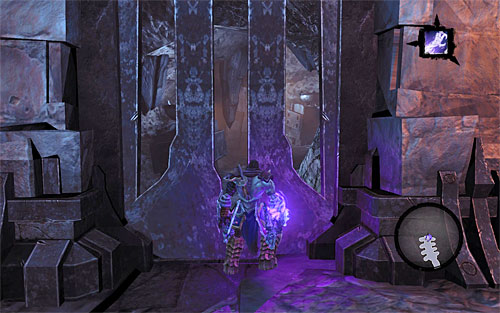
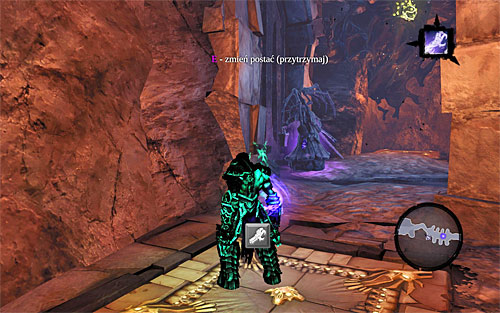
Stand by the newly closed gate (screenshot 1) and activate Soul Splitter. Send both halves of your soul to the nearby pressure plates (screenshot 2). Wait for the gate to rise, then deactivate Soul Splitter and quickly run for the new hallway to carry on with the trip.
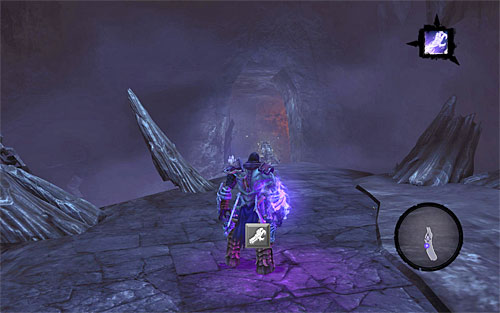
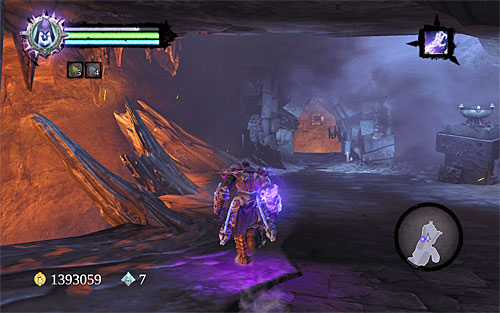
Eliminate every Skeleton, Skeletal Warrior and Undead Stalkers you stumble upon. When you enter the next chamber, look around for a chest. Here you'll have choice: take the upper (screenshot 1) or the lower (screenshot 2) passageway. The choice doesn't have any effect on the events; both paths lead to the same cave and don't have any special valuables for you to find.
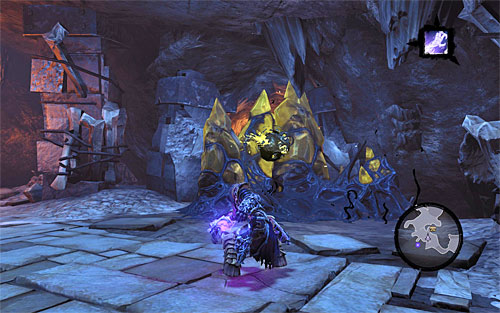
After reaching the next cave, take care of the enemies first, then check out the top level for the spot with shadowbombs. Grab one, go down and throw it at the yellow crystal illustrated above. This will open a way to a pressure plate and a chest with a Dungeon Map.
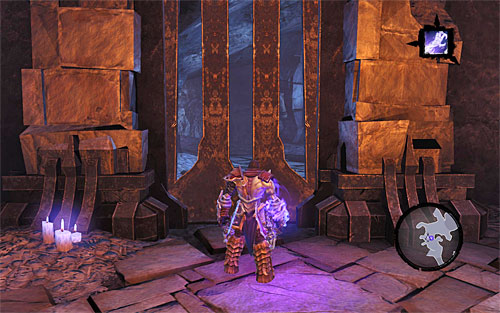
Repeat the same process as in the previous areas: stand in front of the closed gate (the above screen), activate Soul Splitter and send both halves over to the nearby pressure plates. When the gate opens enough for you to go through, go back to your physical form and head forth.
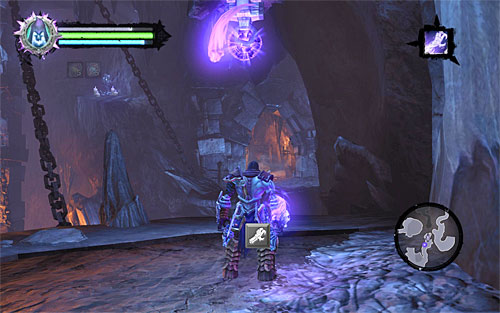
In the new chamber, find a Boatman Coin a fight an Undead Stalker. Follow the linear path, eliminating whatever enemies come at you, and you'll get to a chest. Stand as seen on the screen and use Death Grip on the hook above.
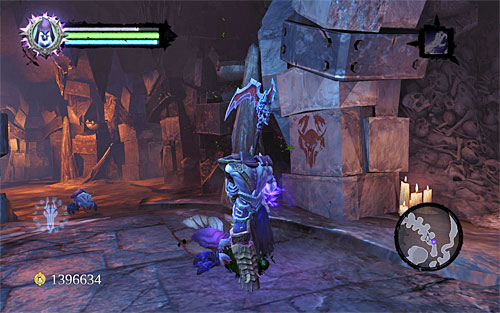
Head south-east. From now you'll also be plagued by Scarabs, but as you may recall, they're not too challenging, and additionally it's very easy to perform quick executions on them. After taking care of the first swarm, look around for a Soul Arbiter's Scroll.
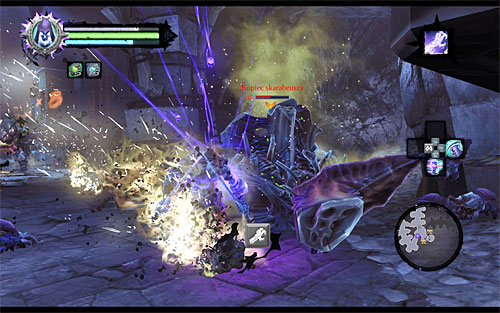
After reaching a precipice, take the tunnel leading south-west. Continue exterminating Scarabs, but don't miss a Boatman Coin. When you get to the last chamber, concentrate on destroying the Scarabs' mounds, pictured above, as quickly as you can - it will stop them from coming out.
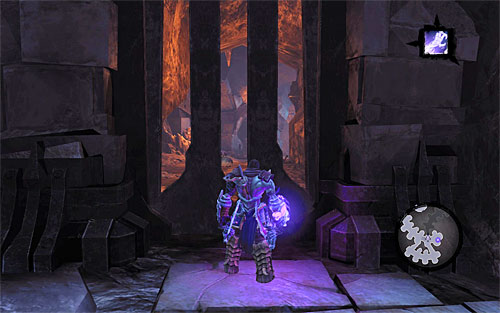
Afterwards, loot the two nearby chests and have Death stand in front of the above gate. Activate Soul Splitter.
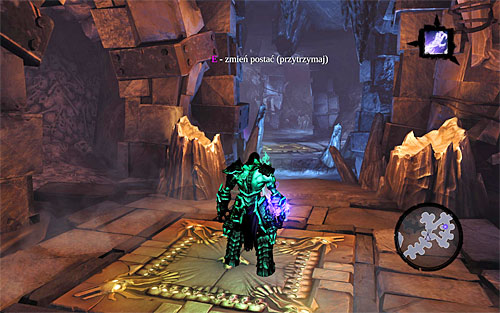
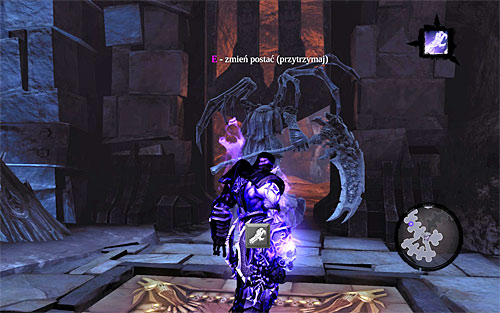
Send the first half over to one of the previously explored hallways and have it stand on the pressure plate shown on screenshot 1. Have the second half stand on the plate right next to it (screenshot 2). Traditionally, wait for the gate to open, deactivate Soul Splitter and quickly run to the other side.
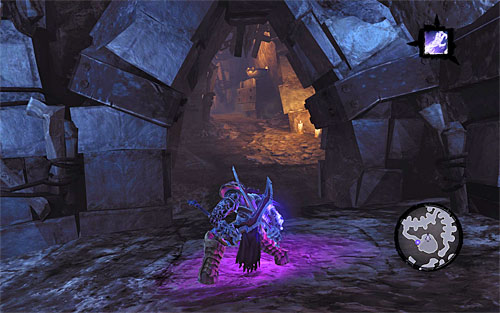
Go straight ahead, all the while eliminating Scarabs. Your destination is the passageway leading to the third level of the dungeon (the above screen). Head for the larger hall - there is a challenging battle for you to win there.
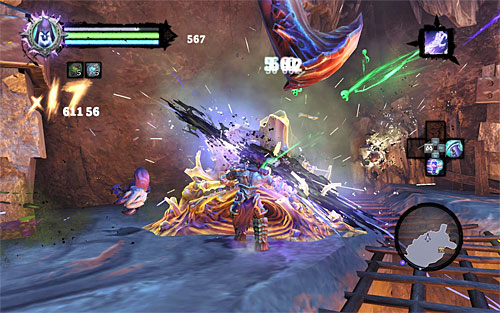
As soon as it starts, focus primarily on destroying the four mounds in the area - it will stop the surge of regular Scarabs. Don't forget to dodge the Undead Scarab Hulk's attacks while you're at it. Use your best special attacks so as to destroy the mounds as quickly as possible. You can also try to use them as cover from the Hulk.
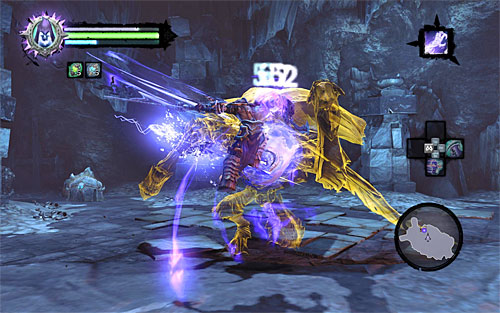
You must have already fought an Undead Scarab Hulk in the course of the main campaign, so I'll only remind you to avoid the upper legs and the shock waves. Since the monster shields itself from your offensive with his shell, use Death Grip to pull yourself to it every time it misses.
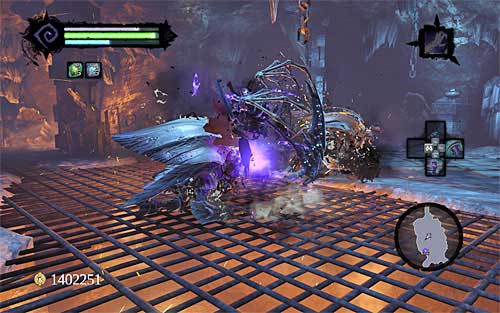
Unfortunately, killing the Undead Scarab Hulk won't end the matter, because two other Hulks will appear on the arena next. There are no more monsters in the dungeon, so consider using the Reaper Form.
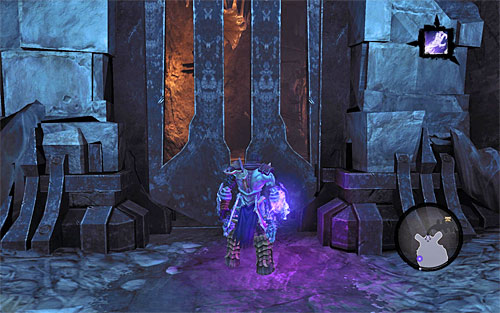
After winning the battle, pick up the dropped items and find a new chest. Stand in front of the above east gate, activate Soul Splitter and repeat the well-known process (putting two halves of the soul on the nearby pressure plates) to unlock the way to the last area of the dungeon.
Head south-east, but don't forget to look around for a legendary Keel Talisman (the above screen), three chests and a Soul Arbiter's Scroll. Finally, go into the larger cave and loot the last chest.
[TIP: In the last chamber of the dungeon you can also fight a monster which is involved in a side quest called [The Bloodless]. You'll find more details under that quest's chapter.]
- Darksiders 2 Game Guide
- Darksiders 2: Side Quests
- Darksiders 2: Additional Locations
- Darksiders 2: Introduction
- Darksiders 2: Weeping Crag
- Darksiders 2: The Nook - Reaching the central area of the dungeon
- Darksiders 2: The Nook - The central part of the dungeon
- Darksiders 2: The Nook - The lower levels of the dungeon
- Darksiders 2: The Scar - Exploring the first part of the dungeon
- Darksiders 2: The Scar - Reaching the central area of the dungeon
- Darksiders 2: The Scar - Obtaining the Skeleton Key
- Darksiders 2: The Scar - Using the Skeleton Key
- Darksiders 2: The Scar - Reaching Gharn
- Darksiders 2: Shattered Forge
- Darksiders 2: Forge Lands - Other Locations
- Darksiders 2: Lair of the Deposed King - Exploring the lower levels of the dungeon
- Darksiders 2: Lair of the Deposed King - Exploring the upper level of the dungeon
- Darksiders 2: The Breach - Exploring The Breach
- Darksiders 2: The Breach - Exploring the ruins
- Darksiders 2: Sentinel's Gaze - Exploring Sentinel's Gaze
- Darksiders 2: Sentinel's Gaze - Exploring Boneriven
- Darksiders 2: Additional Locations
- Darksiders 2: Side Quests
You are not permitted to copy any image, text or info from this page. This site is not associated with and/or endorsed by the developers and the publishers. All logos and images are copyrighted by their respective owners.
Copyright © 2000 - 2025 Webedia Polska SA for gamepressure.com, unofficial game guides, walkthroughs, secrets, game tips, maps & strategies for top games.
