Darksiders 2: Restore the Fire of the Mountain (2)
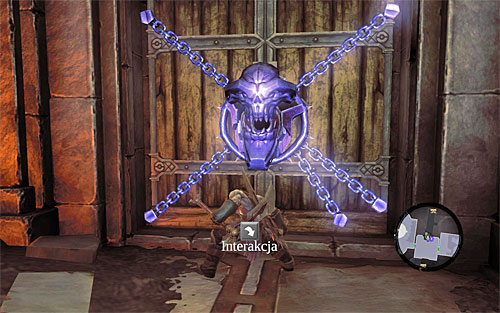
When you reach the closed door, you'll be welcomed by a new group of Constructs, which of course you need to take down. Afterwards, approach the door and automatically use the Skeleton Key.
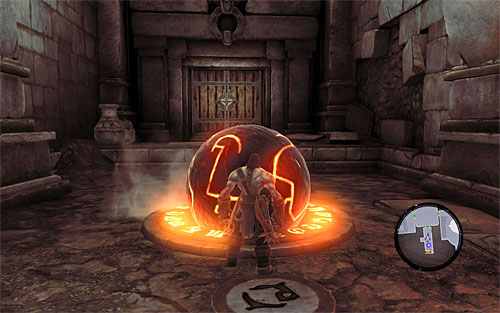
In the newly unlocked room you'll have a simple puzzle to solve. Approach the large interactive wall and press the E button. Roll the ball into the hole shown on the screen.
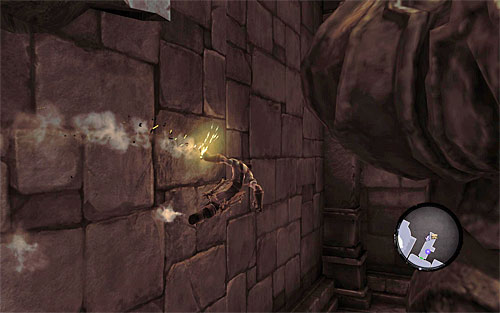
Use the newly unlocked objects on the wall. After reaching the highest interactive edge, there will be two optional things to do. First, lean back (SHIFT) and jump, catching a Boatman Coin in flight (you don't need to press any additional buttons for that). Once you're back to the same edge, run on the right wall (the above screen) to reach a chest hidden behind a statue.
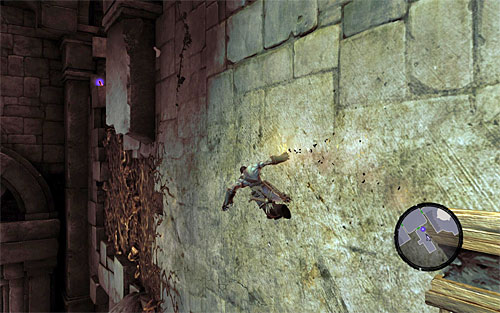
Go back to the highest interactive edge for the last time, but this time start moving left. Wall-run to get to vines. Move up and you're find yourself on the upper level of the dungeon. Take the only available path, also finding a chest on the way.
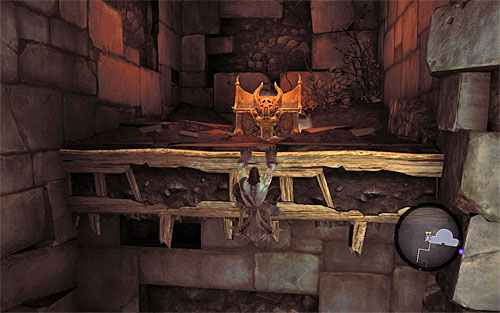
When you reach a collapsed passage, run on the left wall and grab onto the edge. Stay in this position, lean back and jump onto a ledge behind Death's back, with a chest on it (the above screen). See what it hides, then go back to the previous ledge and start moving left this time.
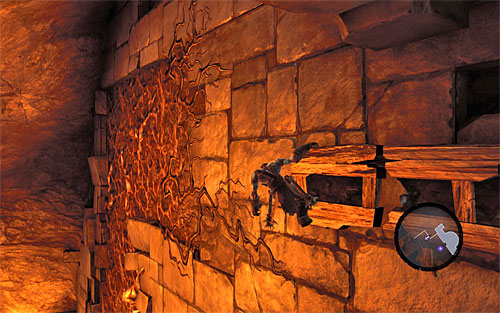
Continue moving left until you're able to reach to the vines. Carefully, go down and jump onto the shelf in front of you. Take the only possible passage and use the switch to unlock access to the south corridor.
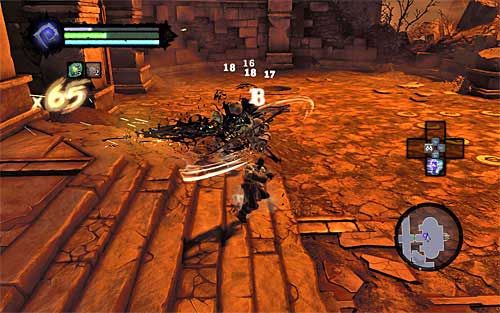
Deal with Constructs gathered in the area of the closed door, then turn towards the west chamber. There will also be Constructs here, including Construct Adjuncts, of which, as I've already mentioned, it's better take care first. There is also a more complicated puzzle to solve, but before you get down to it, look around for a Book of the Dead page (in the corner with one of the large balls) which is connected with the [Book of the Dead] side quest.
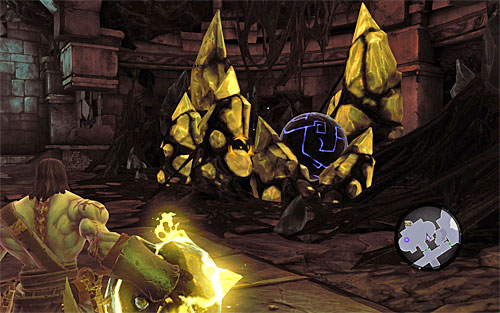
Now we can devote our complete attention to the puzzle. First off, locate the place from which you can take shadowbombs, take one of them and aim it at the yellow pattern which is blocking access to one of the large balls (the above screen).
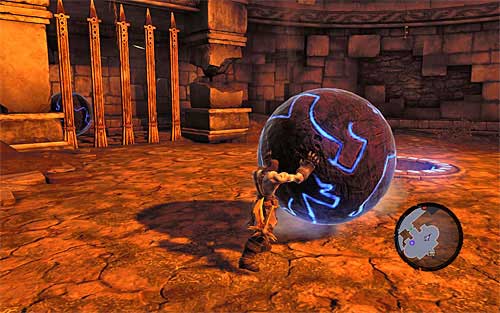
Approach it after the explosion, and start rolling it. You need to push it into the hole close to the gate behind which another ball is hidden (the above screen).
[TIP: If you pushed it in a wrong hole, you need to dislodge by throwing another shadowbomb at it.]
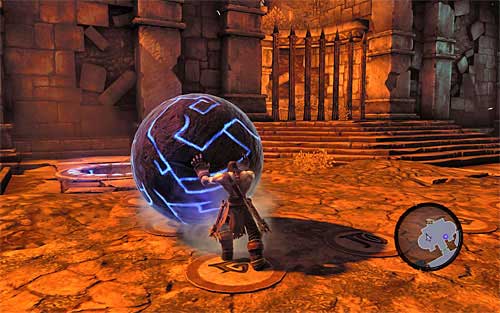
Notice that the gate with the other ball behind it opened. Approach that ball and start rolling it. Push it into any of the empty holes (left or right of the niche with the chest).
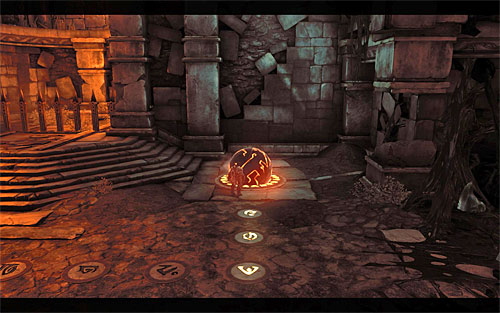
It's not over yet. Take a new shadowbomb and throw it at the first ball, the one you used to open access to the second ball. Pull it out and start rolling it towards the only unused hole (left or right of the niche with the chest).
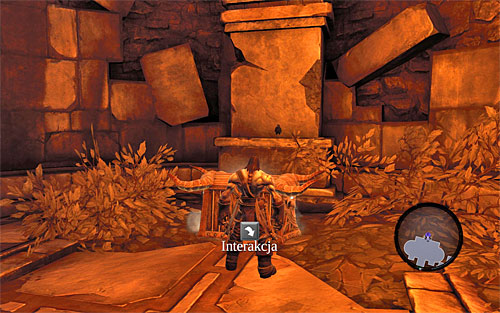
If you did everything right, the large gate will be completely opened and you'll be able to open the chest behind it, which has a Skeleton Key. With it, go back to the previous area and use it to open the door previously guarded by Constructs.
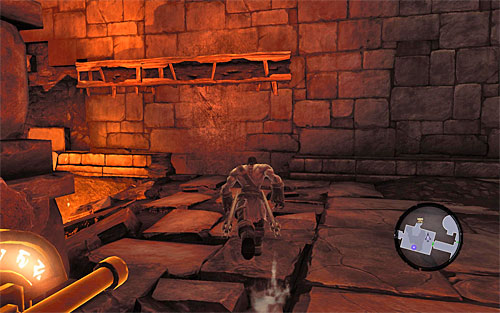
Another puzzle waits for you behind them, this time time-connected. Using the switch will cause the emergence of a cauldron which will stay in the upper room only for a fixed period of time. As a result, right after pressing the switch, run to the right. Grab onto the first interactive edge, then quickly jump onto the left one, and lower yourself down only at its very end.
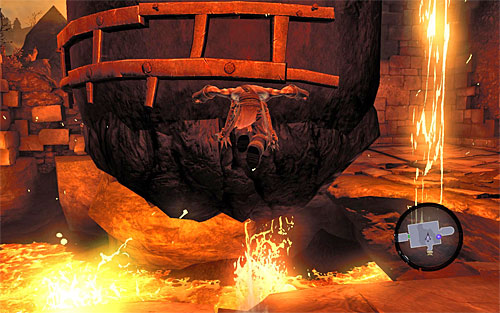
Get to the cauldron and jump onto the first interactive edge. Move as much left as you can and grab onto the upper ledge. Again, move left. Finally, lean back (SHIFT) and jump, and you'll find yourself in a previously inaccessible spot. You can now rest, there's no more running against time.
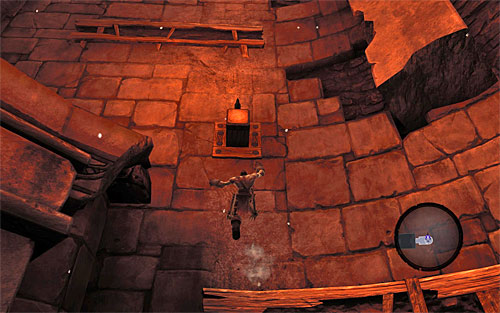
Move into the adjoining room and go up by grabbing onto ledges. When you reach the top one, move left as much as you can, and wall-run. Continue moving left and then up again. You need to get to the highest ledge, move left and only then jump down onto the safe shelf.
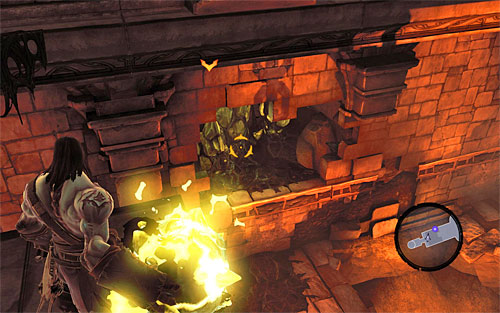
Go straight ahead, turn left and pick up a shadowbomb. First, I suggest aiming it at the yellow formation shown on the above screen. When it explodes, jump down onto the lower edge and get to the previously inaccessible spot with a chest. Now you need to defeat new Constructs and, sadly, repeat all of the actions described above, namely the "race against time" and the climb up.
[TIP: I strongly advise not to ignore the chest mentioned above, because there is a high chance it holds a rare, and therefore valuable item.]
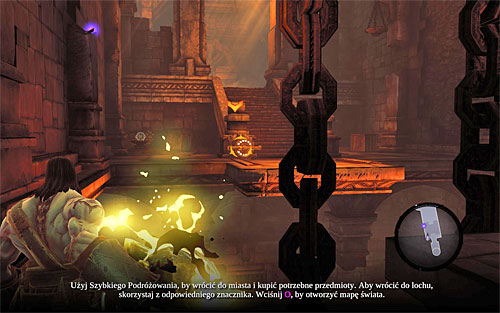
Pick up a shadowbomb again and aim it at the switch shown on the above screen. Run across the newly created bridge without stopping, because after a few seconds it will be raised.
![Before proceeding forth, examine the area left of the switch to find a Silver Platter needed to complete the [Lost and Found] side quest - Restore the Fire of the Mountain (2) - The Fire of the Mountain - Darksiders II - Game Guide and Walkthrough](/darksidersii/gfx/word/1316385218.jpg)
Before proceeding forth, examine the area left of the switch to find a Silver Platter needed to complete the [Lost and Found] side quest. Only then take the stairs to the boss area.
- Darksiders 2 Game Guide
- Darksiders 2: Main Quests
- Darksiders 2: The Fire of the Mountain
- Darksiders 2: Talk to Alya
- Darksiders 2: Talk to Thane
- Darksiders 2: Find the Cauldron
- Darksiders 2: Help Karn defeat Constructs
- Darksiders 2: Restore the Fire of the Mountain (1)
- Darksiders 2: Restore the Fire of the Mountain (2)
- Darksiders 2: Boss 3 - Gharn
- Darksiders 2: Restore the Fire of the Mountain (3)
- Darksiders 2: Return to Alya
- Darksiders 2: The Fire of the Mountain
- Darksiders 2: Main Quests
You are not permitted to copy any image, text or info from this page. This site is not associated with and/or endorsed by the developers and the publishers. All logos and images are copyrighted by their respective owners.
Copyright © 2000 - 2025 Webedia Polska SA for gamepressure.com, unofficial game guides, walkthroughs, secrets, game tips, maps & strategies for top games.
