Darksiders 2: Restore the Fire of the Mountain (1)
![Collect loot from the defeated Constructs and head towards the entrance to [The Cauldron], but before you open the main gate, check out the small path on the right to find a chest hidden at the end - Restore the Fire of the Mountain (1) - The Fire of the Mountain - Darksiders II - Game Guide and Walkthrough](/darksidersii/gfx/word/1316270734.jpg)
Collect loot from the defeated Constructs and head towards the entrance to [The Cauldron], but before you open the main gate, check out the small path on the right to find a chest hidden at the end. You can now go back to the gate and enter the dungeon.
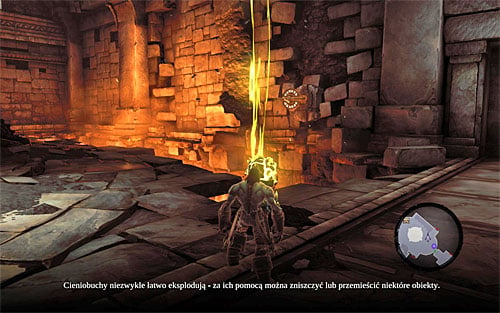
Inside, use the switch to unlock access to the west room. Here, take care of Construct Warriors in the area. Remember to take them on one by one and to dodge their most powerful strikes. Afterwards, approach the shadowbomb shown on the above screen and take it by pressing the E button.
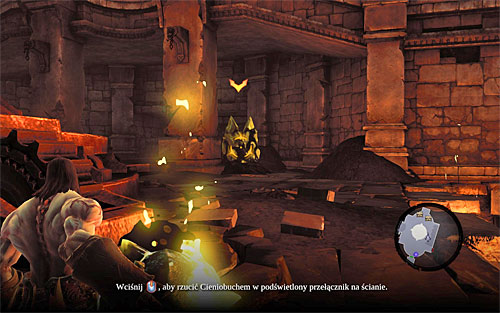
As the game suggests, enter Aim Mode by pressing the Q button. First, aim at the yellow object shown on the above screen which is blocking the way to one of the chests in this area. Throw the shadowbomb by pressing the middle mouse button. After the explosion, loot both of the surrounding chests, but be on your guard as more Constructs may appear at any time.
[TIP: If you aim poorly, nothing bad will happen, because the shadowbomb you've just taken will be momentarily replaced by another one. This is also true for puzzles which require throwing shadowbombs in more than one place.]
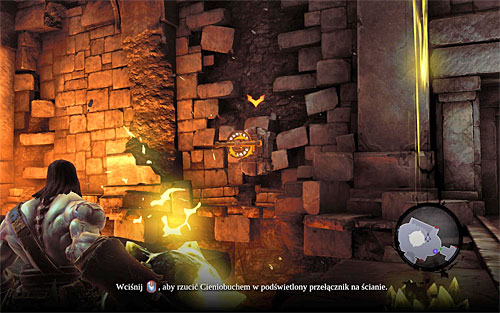
Go back to where you've taken the first shadowbomb and take another one. Now, for a change, aim at the switch shown on the above screen, which is physically inaccessible. The explosion will open the northern passageway, so use it.
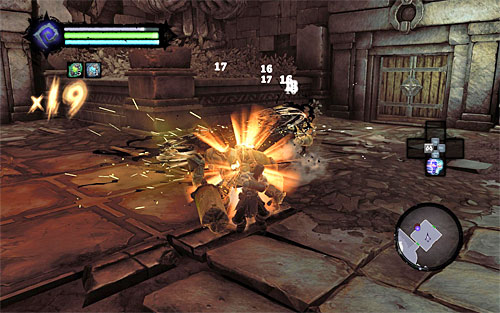
Enter the new chamber and start off with eliminating another group of Construct Warriors. While fighting, try not to fall into the lava because it's tantamount to dying. Ignore the closed west door for the moment, and use the northern passageway.
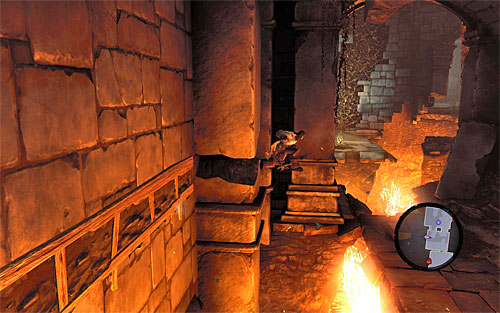
For starters, take a few steps forward and pick up a Boatman Coin. Now turn left and grab onto the interactive edge. Move as far to the right as you can, then lean back (SHIFT) and jump (SPACE; the above screen). After landing on a ledge, continue through the chamber, jumping over a small pit.
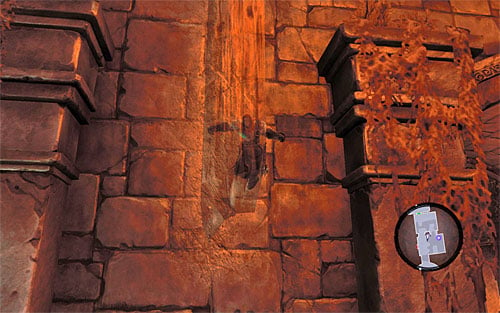
There's another climb ahead of you. Stand in front of the proper wall and reach the interactive ledge above you. Repeat the same process again, but after reaching the top, bounce off the wall (SPACE) - it will cause Death to jump onto the vertical wooden pillar behind his back (the above screen).
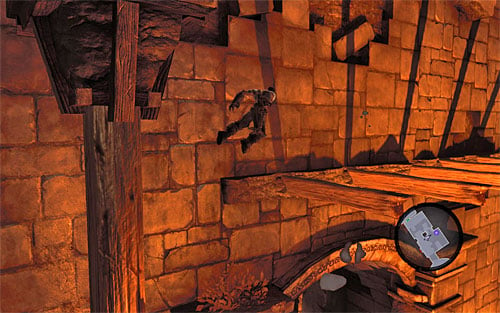
Get to the top of the vertical pillar, and then turn around so that you could jump onto the first of the few horizontal poles (the above screen). Jump from one to another and finally onto the interactive edge. Move right, as far as you can, and run on the wall. Keep moving right. Another wall-run will take you to vines. All that's left to do is reach the bottom and let go.
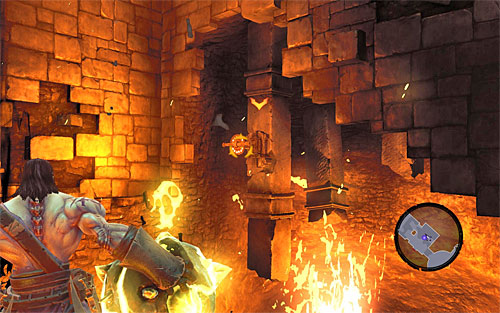
Approach the shadowbomb, take it (E), enter Aim Mode (Q) and point it at the switch visible on the above screen. Throw the shadowbomb at it (middle mouse button) to unlock access to the east room. Drop down onto the ledge below (watch the lava!), and head for the newly opened door.
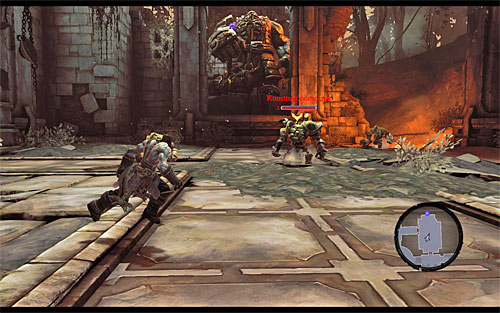
In a minute, the game will trigger a short cutscene which will inform you that apart from Construct Warriors which you've been dealing with before, from now on you'll also be encountering Constructs Adjuncts. They're different in that they can attack Death from a distance, so try to kill them first whenever you can. Clear the room of all of them.
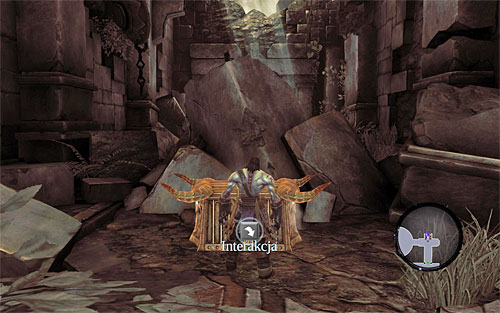
Afterwards, choose the north door. Go through the narrow corridor. On your way you'll find a chest definitely worth opening, as it holds a Dungeon Map. Now, go west and get ready for a much harder battle.
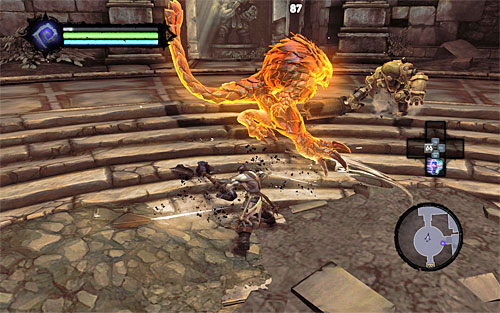
In the adjoining room you'll find Constructs fighting a Stalker, and if you haven't encountered this type of monster during your free exploration of the world, it's safest to treat it as a mini-boss for now. Grab the opportunity and attack it, trying to weaken it before it gets the chance to eliminate all Constructs and focus all of its attention on you. In the meantime, dodge its attacks (described below) and the attacks of the Constructs, since you can't count on them not to pay any attention to you.
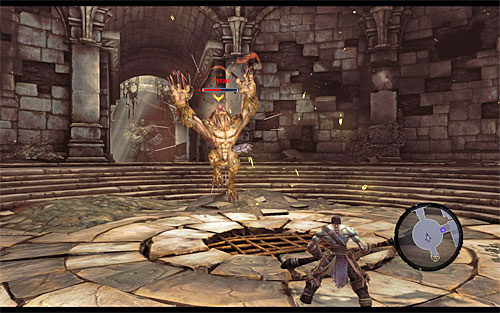
As I mentioned before, the proper battle will begin only after the Stalker has gotten rid of every Construct. The first thing to know is that the beast is very agile, so the ability to dodge effectively is utterly important here. The Stalker attacks with claws and uses a much powerful spring attack, which in both cases means a loss of a substantial amount of health.
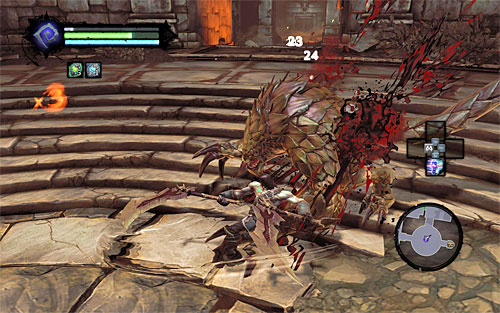
Look for opportunities to attack quickly and make use of special attacks available for Skill Points, fighting until you empty the Stalker's health bar. Afterwards, apart from random loot you should also receive Stalker Bones, which is needed to complete the [Shaman's Craft] side quest.
[TIP: If you wish to practice your fighting skills before the start of this quest, you can go, among other places, to a fort in the Weeping Crag, although I don't think it's necessary.]
[TIP: It's a good idea to smash up the surrounding objects even before the end of the battle, because there is a high chance of finding Health Potions helpful in keeping your character alive. I recommend this option only if you don't have enough of them in your supply, though.]
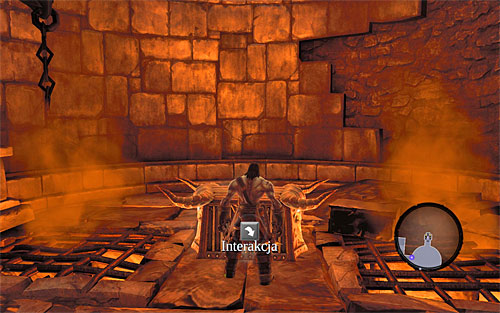
Look around the chamber for a Boatman Coin, and then look inside the chest to find a Skeleton Key.
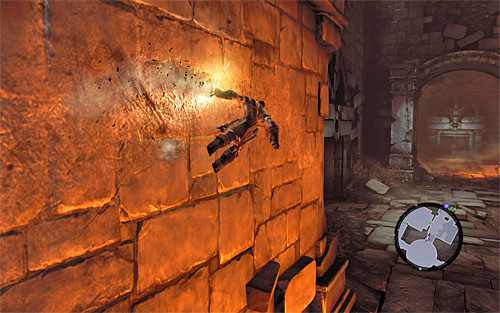
Now you need to go back to the closed door you've previously omitted, which are south from where you are now. Luckily, you don't have to take a detour, because you can easily get to the south chamber by wall-running on the left wall shown on the above screen. After that, jump onto the lower ledge (the one which had a Boatman Coin).
- Darksiders 2 Game Guide
- Darksiders 2: Main Quests
- Darksiders 2: The Fire of the Mountain
- Darksiders 2: Talk to Alya
- Darksiders 2: Talk to Thane
- Darksiders 2: Find the Cauldron
- Darksiders 2: Help Karn defeat Constructs
- Darksiders 2: Restore the Fire of the Mountain (1)
- Darksiders 2: Restore the Fire of the Mountain (2)
- Darksiders 2: Boss 3 - Gharn
- Darksiders 2: Restore the Fire of the Mountain (3)
- Darksiders 2: Return to Alya
- Darksiders 2: The Fire of the Mountain
- Darksiders 2: Main Quests
You are not permitted to copy any image, text or info from this page. This site is not associated with and/or endorsed by the developers and the publishers. All logos and images are copyrighted by their respective owners.
Copyright © 2000 - 2026 Webedia Polska SA for gamepressure.com, unofficial game guides, walkthroughs, secrets, game tips, maps & strategies for top games.
