Darksiders 2: Resurrect Phariseer (2)
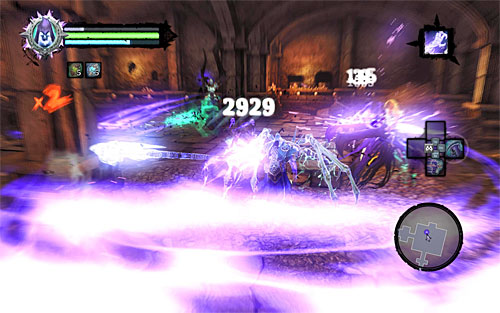
This is where you'll face one of the hardest battles of the current quest. First off, take on several Wraiths. Same as before, I recommend using your best attacks to eliminate them one by one. Try to dodge as often as you can so as not to lose health points too quickly.
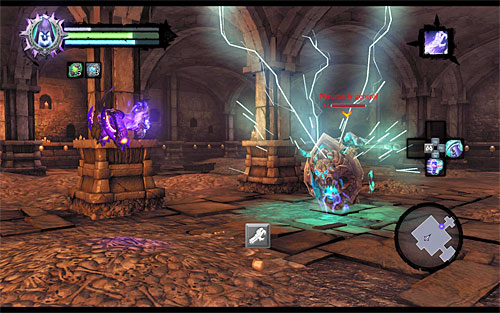
Once they're down, you'll advance to a mini-boss fight with an Undead General. I strongly recommend targeting him all the time to avoid his distinctive charges (the above screen) and quite a long ranging spear attacks.
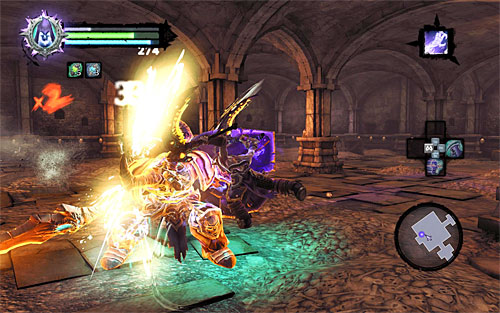
Regular attacks won't be particularly useful against the General since he'll be blocking them with his shield. Consequently, I suggest using Death Grip to pull yourself to him after each of his charges. Given that he's not as agile as the Wraiths, you should be able to perform a full series of strikes. Repeat this pattern until you defeat him.
![Afterwards, look closely around the chamber because apart from random treasures you can also find a Relic of Etu-Goth in one of the destroyable objects (the [Lost Relics] side quest) - Resurrect Phariseer (2) - Phariseer - Darksiders II - Game Guide and Walkthrough](/darksidersii/gfx/word/1659367140.jpg)
Afterwards, look closely around the chamber because apart from random treasures you can also find a Relic of Etu-Goth in one of the destroyable objects (the [Lost Relics] side quest). Take the corridor leading north (the above screen). Keep looking around for a Soul Arbiter's Sacred Scroll hidden behind a cage. Your destination is the east door.
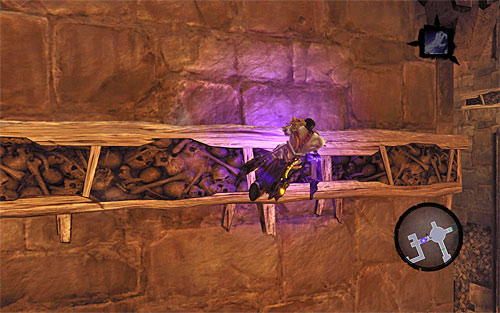
Notice that you've come back to the area with the lift, but this time you're on one of the upper balconies which have been previously inaccessible. Grab onto an interactive edge and start moving right, wall-running on your way.
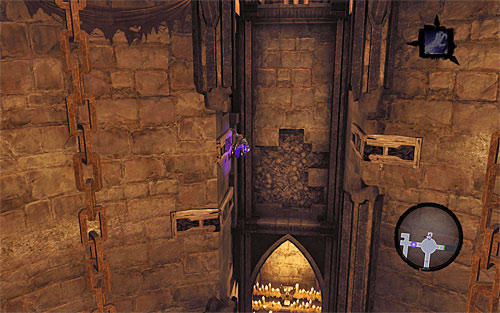
After reaching the end of the edge, grab onto the upper one to place yourself as seen on the screen. Now, lean back and jump over to the opposite edge. Resume moving right, performing two other wall-runs. Finally, let go of the wooden pole to land on the neighboring balcony. You're free to open the new door.
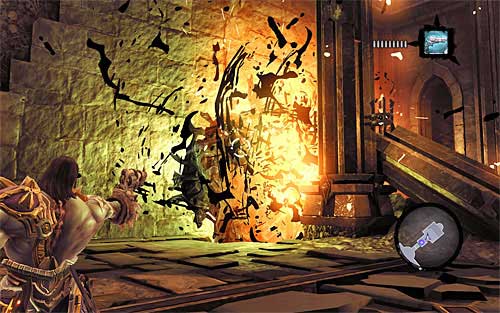
Upon entering the east chamber, look around for a dormant shadowbomb - aim at it with the pistol to destroy the yellow formation.
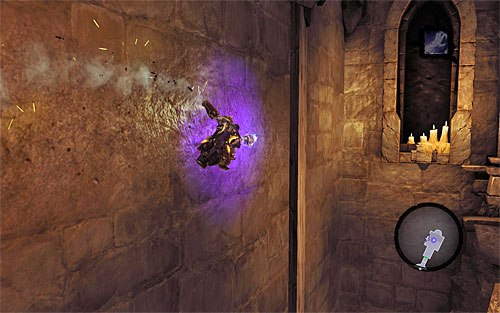
You're free to continue the journey forth. Begin by running on the left wall to grab onto the vertical wooden pole you see in the distance. Gradually, start descending.
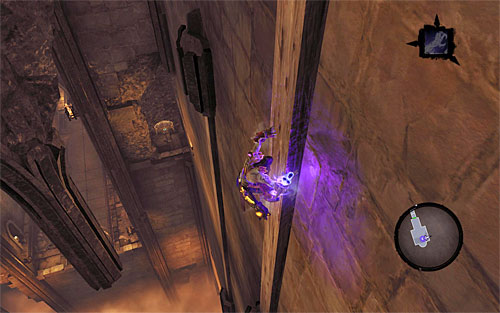
If you turn the camera to the left, you should notice a chest in the distance - it pays off to get to it. To do it, wall-run to the left pole. Lower down and wall-run the second time, but this time to grab onto the interactive edges. Carefully, move over a small shelf and drop down on it - that way you can loot the chest.
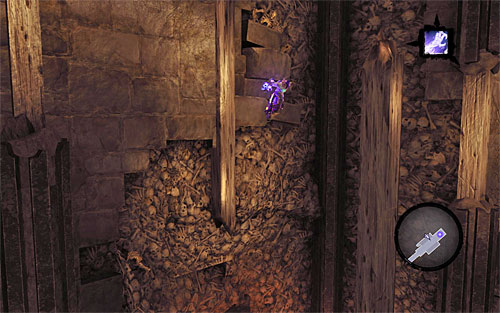
Go back to one of the wooden poles and resume the descent. Now, for a change, wall-run to the right pole. Lower down a little more, then lean back (the above screen) and jump.
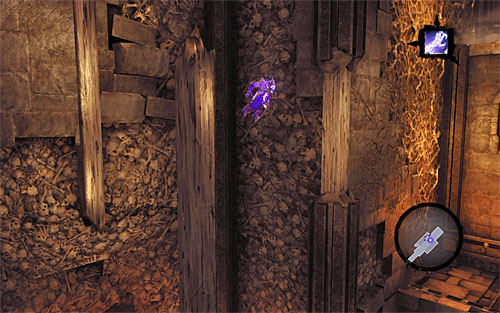
On the pole, turn around so that you could jump over to the last pole, shown on the above screen. When you do it, wall-run to get to the interactive edges.
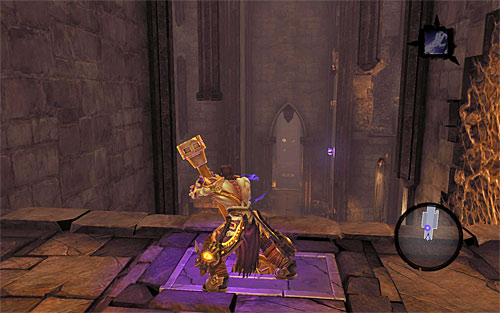
Use vines to get to the nearby upper balcony. Use the switch to open a huge drawbridge which is separating your balcony from the previously used lift. Jump down carefully and for a good start eliminate every Mummy under the bridge.
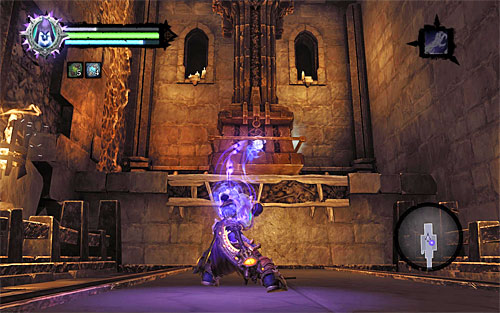
Afterwards, return to the switch and apply the well-known technique of using Death Grip to pull the pillar towards you (the above screen).
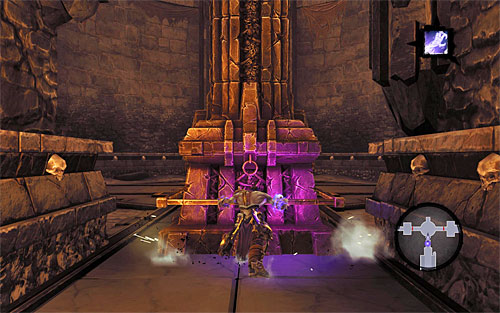
Push the pillar over the recently lifted drawbridge. It has to be pushed all the way to the lift shaft (the above screen). Place it in its central part to trigger a cutscene confirming it's been put where it belongs.
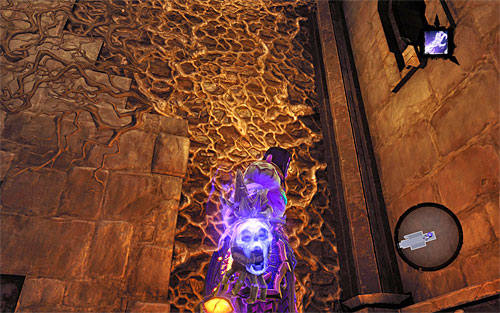
You now need go back to the third floor of the tomb, but since you can't use the lift at the moment, you'll have go through the last few locations again. Head east, towards the balcony with the recently used switch. Here, start climbing.
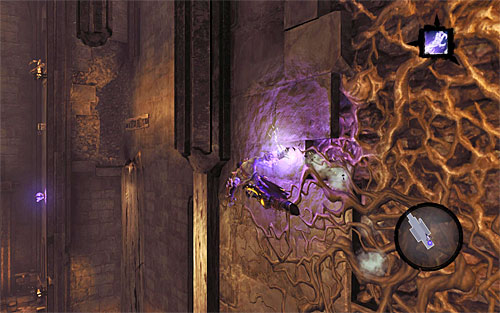
Since you don't need to get to the balcony with the switch anymore, wall-run towards the left wooden pole (the above screen). Turn around, lean back and jump over to the neighboring pillar.
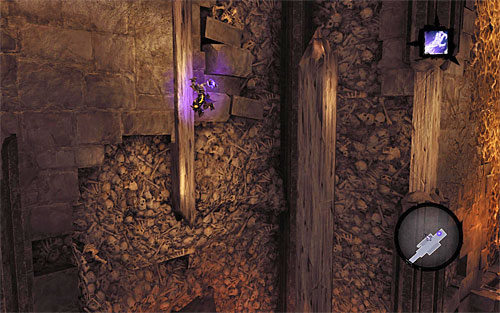
Jump backwards again, this time aiming at the pole right by the wall (the above screen). The further climb shouldn't be a problem anymore since it's only involves moving up and wall-running towards neighboring poles when necessary.
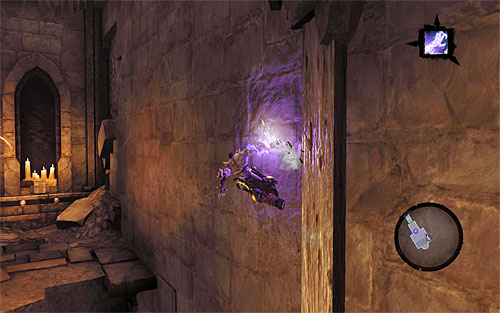
Finally, run on the left wall (the above screen) to get to the top balcony. Then, head west. After opening the door, jump down to the lower level to land on the lift presently at the tomb's third floor.
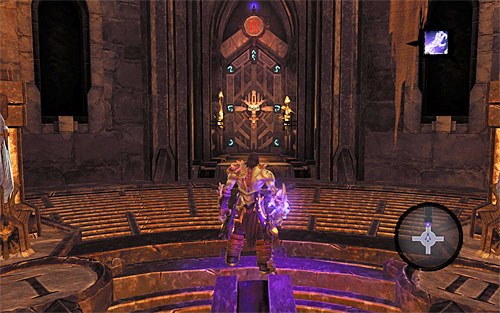
Strike the crystal corresponding to the second floor. Notice that pushing the pillar under the lift prevented it from automatically going down to bottom level. It means you can use the passage shown on the above screen. Go down the stairs and enter the boss fight arena.
You are not permitted to copy any image, text or info from this page. This site is not associated with and/or endorsed by the developers and the publishers. All logos and images are copyrighted by their respective owners.
Copyright © 2000 - 2025 Webedia Polska SA for gamepressure.com, unofficial game guides, walkthroughs, secrets, game tips, maps & strategies for top games.
