Darksiders 2: Resurrect Phariseer (1)
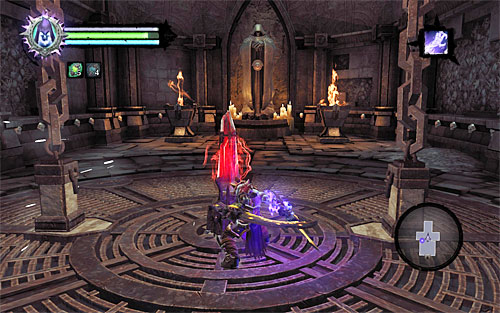
Approach the large lift and, following the tip, strike crystal with your primary weapon (left mouse button) to activate the whole mechanism. Wait until the lift takes you to the proper part of [Phariseer's Tomb].
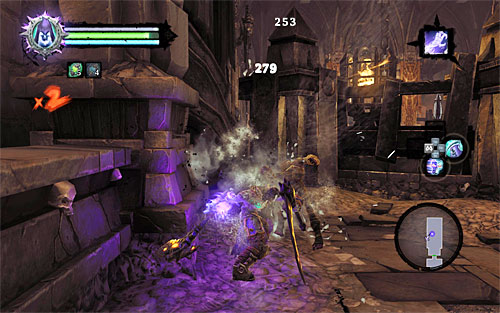
After it drops you at the fourth floor, go east. There will be Mummies on the way, although they're not interested in attacking Death by default. It only changes when the character approaches them too closely. Personally, I advise killing the Mummies, because they die instantly and it makes them an easy source of XP. Once you've dealt with them, look around for a Boatman Coin.
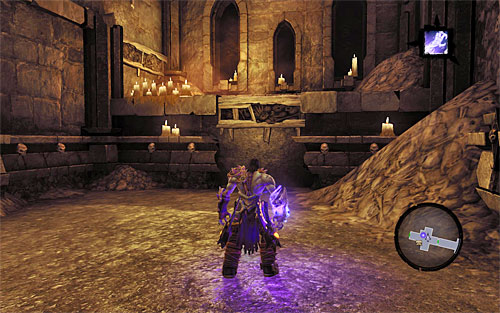
You'll encounter Mummies in another chamber as well, so take them down. Follow the path east. There is a puzzle in the next room, but it's very easy. First off, go up where seen on the screen to get to the upper balcony.
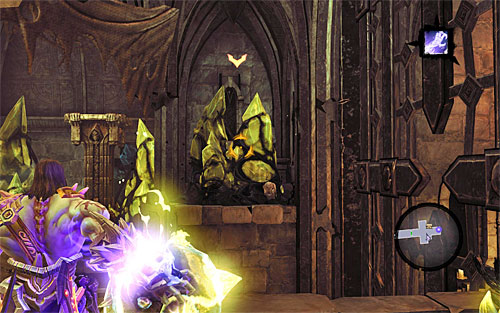
On the balcony, start using shadowbombs to destroy all yellow formations visible in the area. Jump down afterwards and grab onto the edge of the opposite balcony to get to a hidden chest.
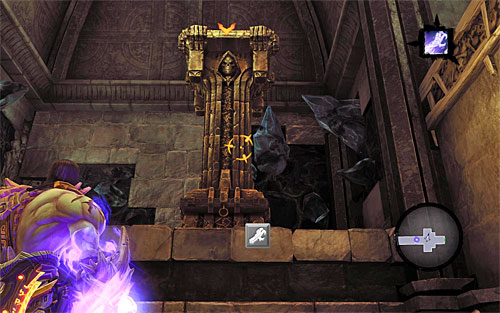
Again, jump down and this time stand in front of the above pillar. Use Death Grip on it to pull it towards you (it has to fall on the floor you're on).
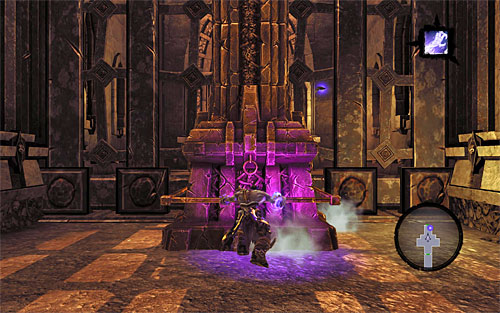
Once the pillar is down, push it the usual way. Leave it as close as possible to the closed gate on the right.
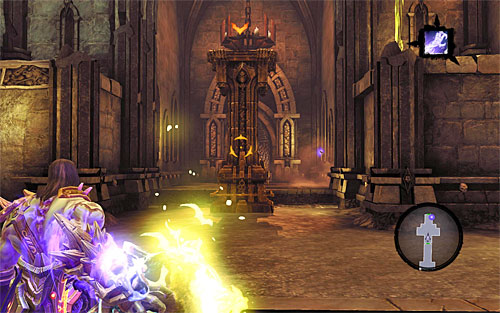
Go back to the upper balcony for a new shadowbomb. Jump down and stand on the pressure plate. While on it, throw the shadowbomb at the pillar (the above screen) - that should push it directly under the closed gate.
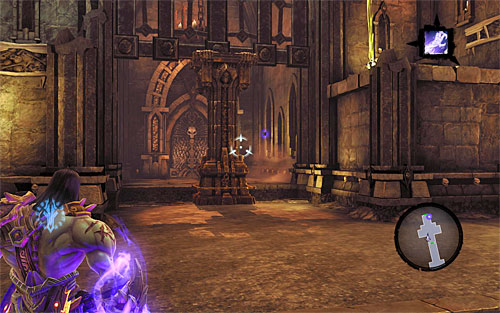
Step off the pressure plate. As you may have noticed, the pillar prevented the gate from closing, so you can now use the newly unlocked passage. Proceed forth. After entering a chamber with a new lift, approach the east door first - it would be good to complete the exploration of this floor of the tomb.
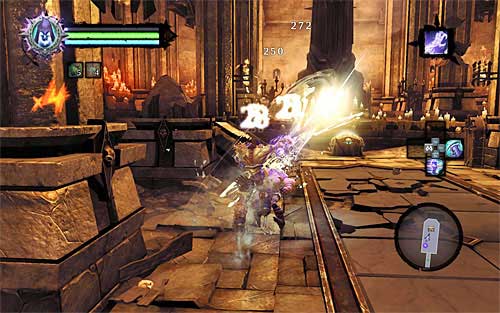
At the new chamber, eliminate the nearby Mummies and then look inside the nearby chest. There is a also a secret behind the large statue, which is a Book of the Dead page ([The Book of the Dead] side quest). Picking up the page will prompt new monsters to spawn in the area, so watch out.
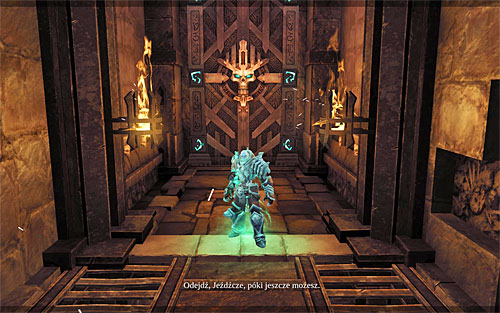
Now, go back to the chamber with the lift and notice that striking the right crystals is an equivalent of choosing floors. On the third floor you'll only find a currently closed door. When you attempt to choose the second floor, you'll be stopped by Phariseer (the above screen). Wait until the lift, after encountering the Dead Lord, takes you down to the first floor; this is from where you'll need to begin.
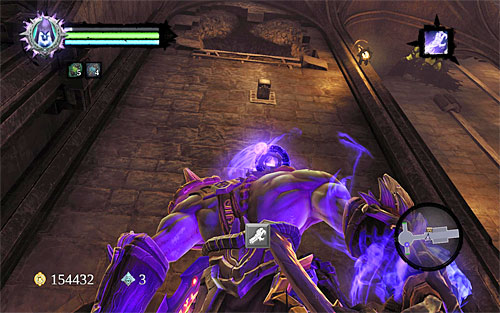
For starters, go west. Ignore the huge opening and face the north wall to climb it where the screen shows (Death Grip necessary). Your destination is a small shelf with another Book of the Dead page ([Book of the Dead] side quest). Having taken the secret, go back to the lift and head towards the north door.
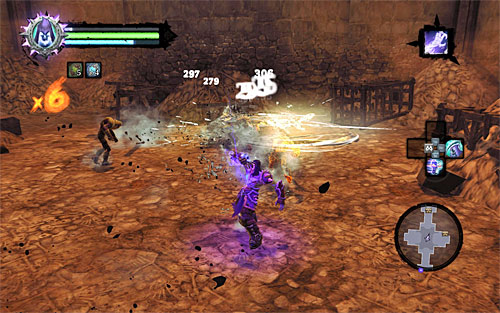
A rather complicated puzzle awaits you there, but before you do anything go straight ahead and jump down into the hole in front of you. Take care of the Mummies down there and go back up only after securing the area (interactive handhold).
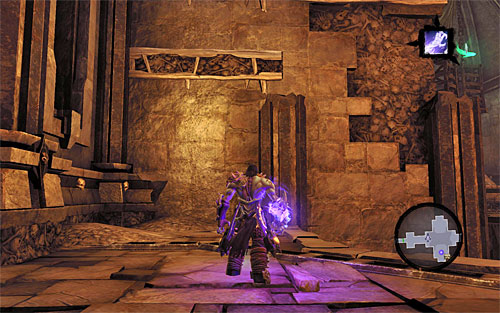
Ignore the interactive handle and turn left to scale the wall where shown on the screen. Keep moving right. At the end, lean back and jump backwards, catching a Boatman Coin in flight. Wait until Death lands safely on a new shelf.
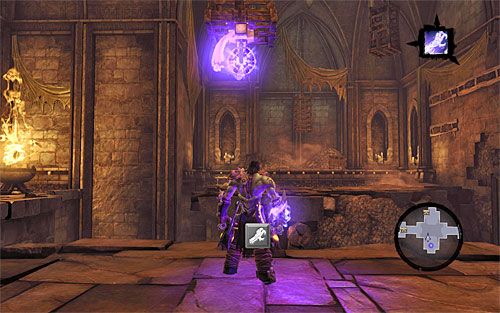
Interact with the switch here. It will change the layout of the handles. The one you could initially grab onto has been lifted, and the other one of the same type has been lowered. Approach the second one (the above screen) and use Death Grip on it to reach the balcony in front of you.
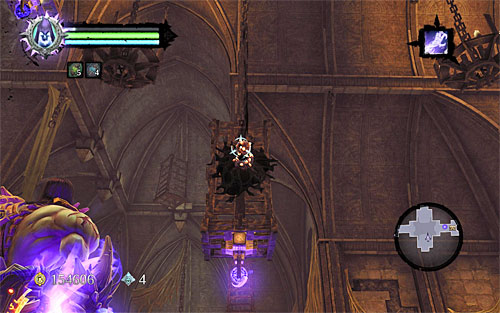
After a successful landing, look around for a chest with a Dungeon Map. Then, turn towards the handhold you've just used and take a look at it. You should notice a shadowbomb, pictured on the above screen - grab it using Death Grip.
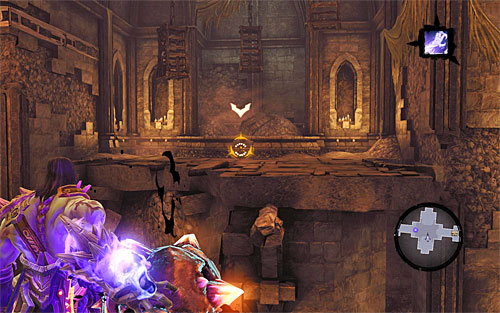
Approach the edge of the shelf and throw the shadowbomb at the switch you've used earlier (the above screen). DON'T detonate the shadowbomb yet, because first you need to place yourself in the right spot.
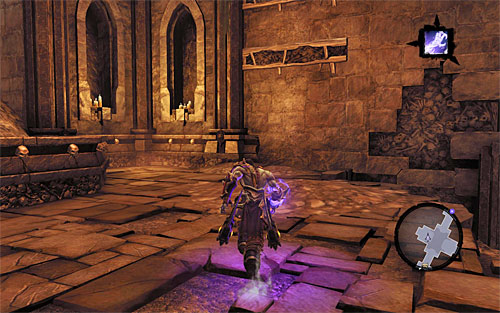
Go left and climb up where the screen shows, thought it's not particularly challenging. You need to get to the place where you started exploring this chamber.
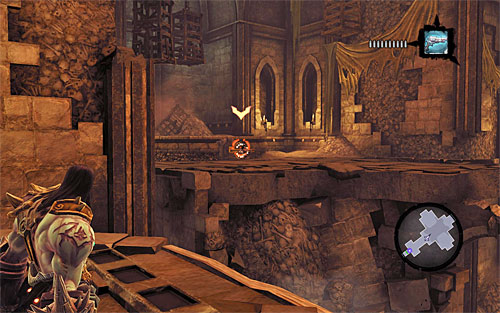
Stand in front of the handles (one lifted, one lowered), select the pistol from the inventory and aim it at the shadowbomb attached to the left switch (the above screen).
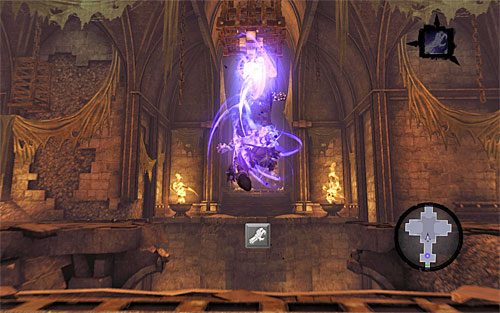
Right after detonating the shadowbomb, select Death Grip and wait until you can grab onto the first interactive handhold (the one that's gradually lowering).
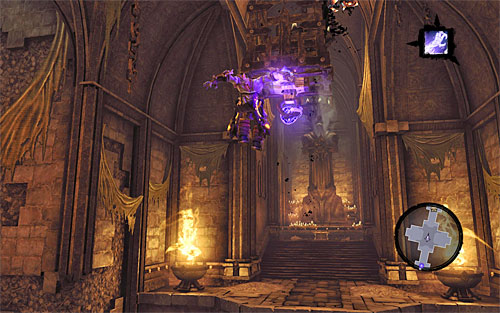
After using the first interactive handle, grab onto the second one instantly (the above screen). You need to do it before it moves closer to the ceiling because then it will become unreachable. If you did everything according to plan, you'll safely land on the north shelf.
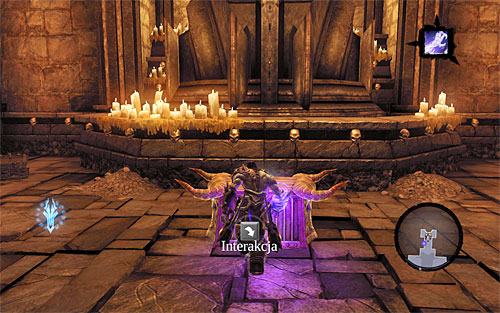
Go north to reach a chest with a Skeleton Key. You now need to go back to the lift, so go south and jump into the hole secured earlier.
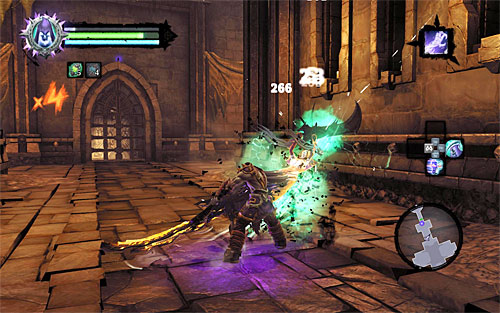
The way to the lift will be interrupted by a Wraith soon after exiting the hole. As soon as the battle begins, I recommend targeting the monster to make it easier to dodge its attacks. It's also a good idea to use Death Grip so that after each of the Wraith's attacks you can pull yourself to it and perform some quick hits.
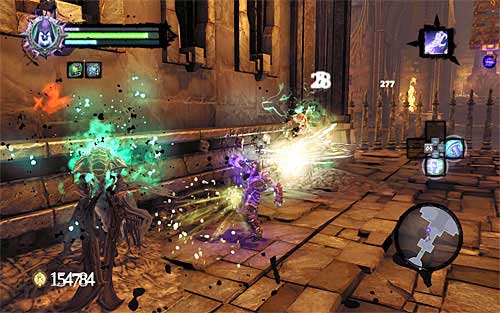
Killing the monster doesn't end the battle, because other Wraiths will appear in the area. This time I suggest eliminating at least one of them as quickly as you can using your best available attacks (with the exclusion of the Reaper Form, which is best to save for more challenging enemies).
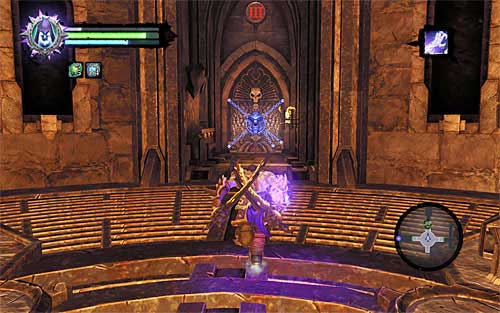
When the fights are over, head for the lift. Strike the crystal which corresponds to the third floor of the tomb. Here, run towards the closed door (the above screen) and use the key you've just acquired. After opening the door, head south. Deal with Mummies, turn west and enter a larger chamber.
You are not permitted to copy any image, text or info from this page. This site is not associated with and/or endorsed by the developers and the publishers. All logos and images are copyrighted by their respective owners.
Copyright © 2000 - 2025 Webedia Polska SA for gamepressure.com, unofficial game guides, walkthroughs, secrets, game tips, maps & strategies for top games.
