Darksiders 2: Explore the City of the Dead - upper levels (2)
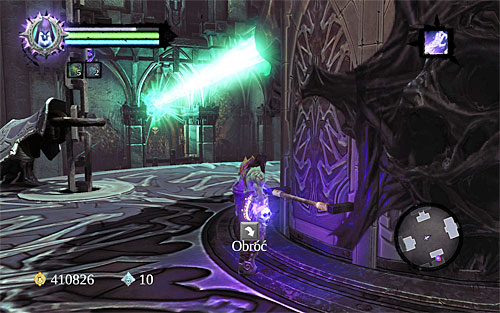
Notice that the switch that controls the small elevator is inactive, because it's blocked by the yellow formations. You may still turn the upper part of the structure (there are a few handles to do that), by directing the green beam to the spot of your choice. First they direct the beam towards the western door shown in the above screenshot. Go there using the Death Grip.
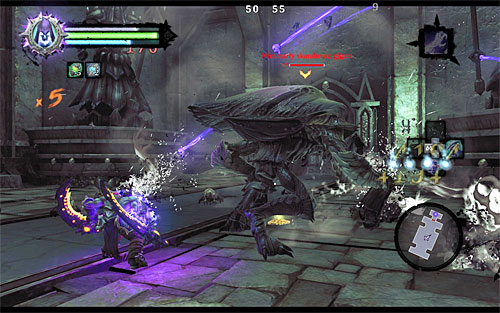
In the new location there is a fight with the undead giant scarab, accompanied by smaller scarabs waiting for you. At the beginning, rely on your territorial attacks, although you should also watch out for the giant monster, and especially for the heavy landing performed by him. Deal damage to the scarab only when he is left without any further reinforcements.

This is not the end yet, because killing all the monsters led to the appearance of another two giant scarabs around. During the battle, you may use the Reaper Form. Unless you are good at avoiding attacks and dealing damage at the same time. Just like before, territorial attacks may turn out to be a good asset. After you're done, collect all of the items left by the killed monsters.
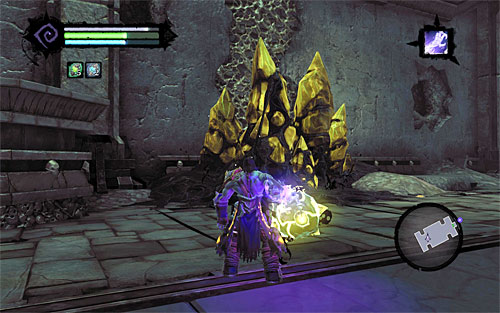
Go to the place you can collect shadowbombs from and use the Death Grip to catch one of them. Toss the bomb towards the yellow formations shown in the above screenshot, and start climbing up the interactive creeper, to reach the upper balcony.
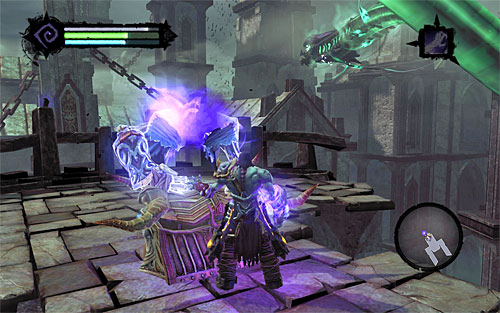
For starters, go to the balcony shown in the above screenshot, and open the chest to obtain the Skeleton Key. Return to the previous room and use death grip to catch on to three consecutive catches. This will take you to a ledge with a chest on it. After you examine the contents of the chest, return using the same way (catches under the ceiling), thanks to which you will be able to catch an Boatman Coin on the way.
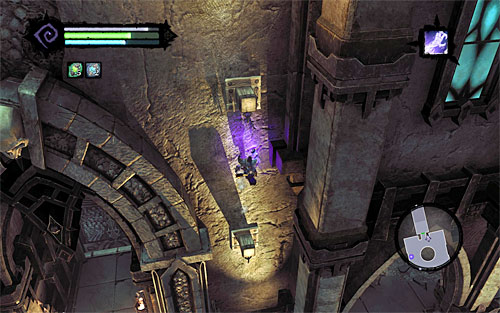
You must now return to the main room, i.e. to the place with the big elevator. After you land on the central platform, jump down. Start climbing in the spot shown in the above screenshot, and reach the locked eastern passage that can fortunately be unlocked, thanks to the key you have just acquired.
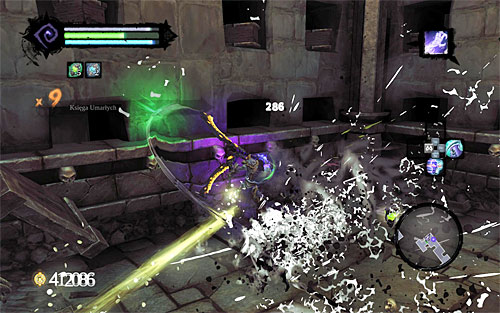
Start with wrecking havoc around. This will lead to the appearance of undead scarabs, but, in return, you will be able to acquire a new Book of the Dead Page (the side quest [The Book of the Dead]). After you collect it, go on, by catching onto interactive edges , and perform a simple wall run. You need to reach a new balcony.
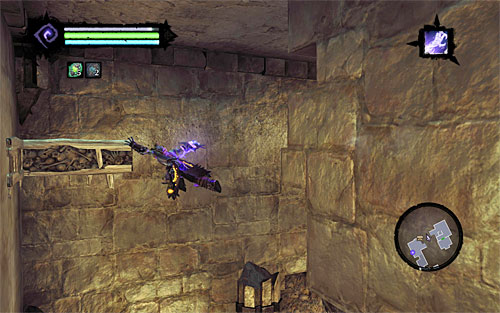
Start climbing again, and catch onto the interactive edges and onto the upper edge in the end. Move to the left, and perform a few wall runs on your way. The most important moment has been shown in the above screenshot, because that is when you need to bounce off the wall.
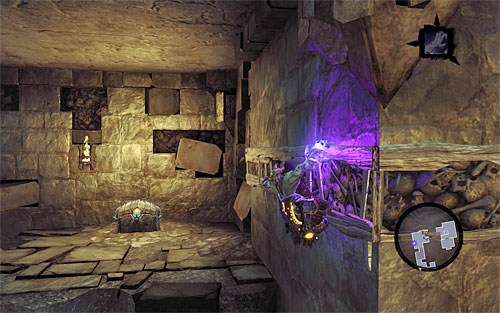
Remain in place in which the player character caught on to an edge, and start moving the left first, thanks to which you will be able to reach a ledge with a treasure. Return to the place you began in, and go right, and run towards the vertical wooden pole, at the end. Let go and fall on the balcony, that's below, you. There is another, quite complicated, puzzle, ahead of you.
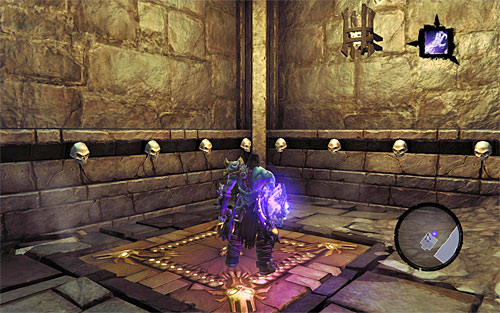
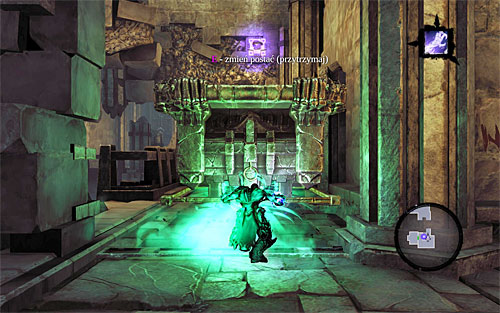
Jump down to a lower balcony once again, position yourself on the pressure plate that lowers a grate . That is closer to you (screenshot one) and initiate Soul Split. Using the first half of the soul, return upstairs and explore the area for Arbiter Scroll (you just need to approach the symbols on the wall). Catch on to the platform now (screenshot two) and move it into the vicinity of the lower ledge, on which there is your petrified physical form.
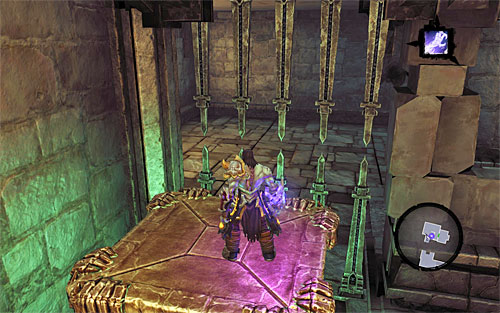
Terminate Soul Split, and climb up to the upper balcony and then to the platform that you have just been operating (in the above screenshot). Make sure that you are standing on the platform and initiate Soul Split again.
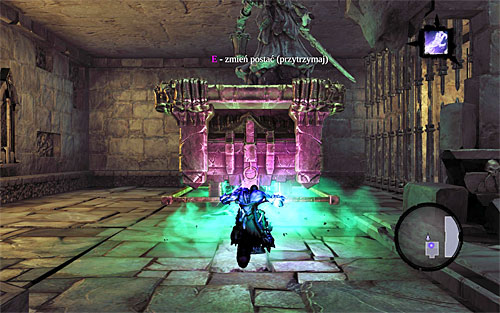
Return with the first half of the soul downstairs and position yourself on the very same plate that your physical form a leader was on. Switch to the other half of the soul and move the platform with your petrified form to the central room (the above screenshot).
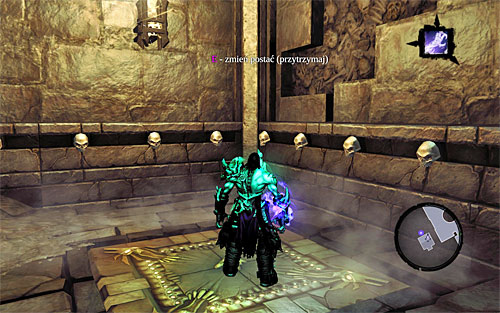
Switch to the first half again and move to the right pressure plate shown in the above screenshot. Switch to the other half, and push the platform to the other part of the room, taking advantage of the fact that the other one of the grates has been lowered. You may now return to your physical form.
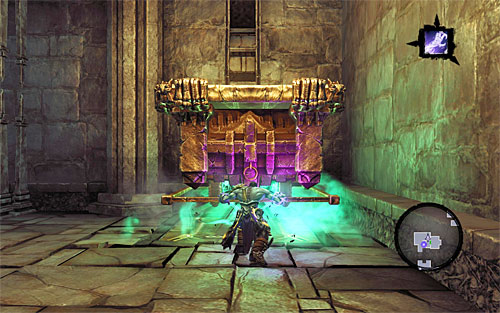
Jump down from the platform and move it to the single pressure plate. You may now open the nearby door, and proceed to another location. Make use of the switch on the left here.
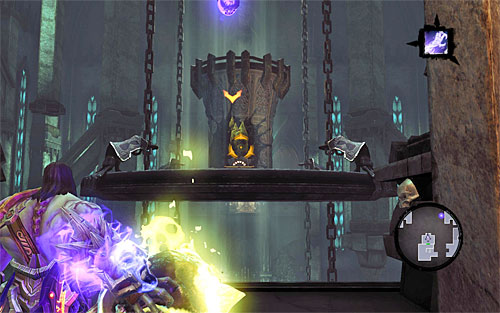
Make a jump, using Death Grip on the elevator and turn the upper structure, so as to make the United switch with a yellow formations facing towards the balcony that you have just came from. Jump to the balcony again, collect shadowbomb . And toss it into the yellow formations (the above screenshot).
- Darksiders 2 Game Guide
- Darksiders 2: Main Quests
- Darksiders 2: The City of the Dead
- Darksiders 2: Go to The City of the Dead
- Darksiders 2: Explore the City of the Dead - beginning
- Darksiders 2: Explore the City of the Dead - western part
- Darksiders 2: Explore the City of the Dead - eastern part
- Darksiders 2: Explore the City of the Dead - return to the western part
- Darksiders 2: Explore the City of the Dead - return to the eastern part
- Darksiders 2: Explore the City of the Dead - upper levels (1)
- Darksiders 2: Explore the City of the Dead - upper levels (2)
- Darksiders 2: Explore the City of the Dead - end
- Darksiders 2: Boss 15 - The Wailing Host
- Darksiders 2: Meet up with The Soul
- Darksiders 2: Return to the Tree of Death
- Darksiders 2: Go through the Angelic portal
- Darksiders 2: The City of the Dead
- Darksiders 2: Main Quests
You are not permitted to copy any image, text or info from this page. This site is not associated with and/or endorsed by the developers and the publishers. All logos and images are copyrighted by their respective owners.
Copyright © 2000 - 2026 Webedia Polska SA for gamepressure.com, unofficial game guides, walkthroughs, secrets, game tips, maps & strategies for top games.
