Darksiders 2: Sentinel's Gaze - Exploring Sentinel's Gaze
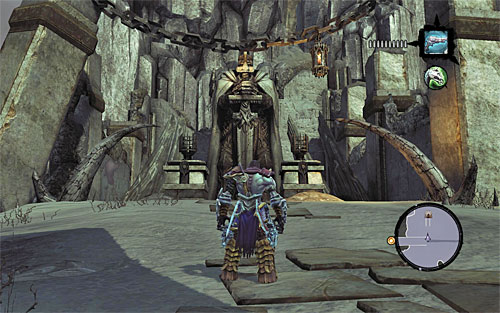
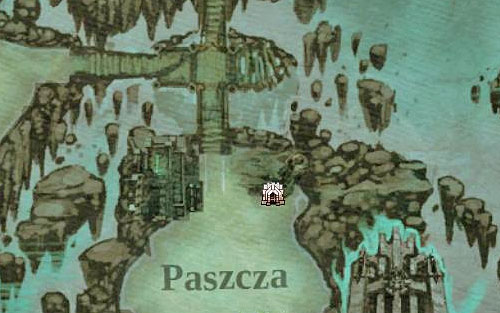
Location: The Kingdom of the Dead
The dungeon lies in the north of the Maw, not far from the bridges that lead to other parts of the Kingdom of the Dead.
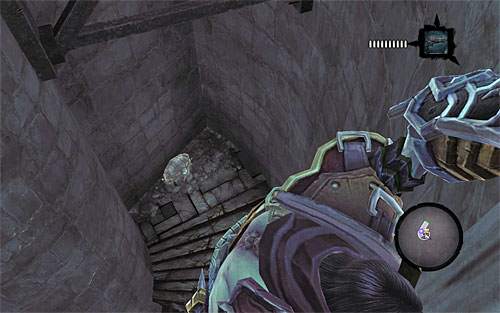
Look around for a Boatman Coin, then go down the stairs leading to the dungeon's entrance. Stop when you reach a demolished staircase. Wall-run towards the vertical wooden pole, and then wall-run left to get to the above ledge with a chest.
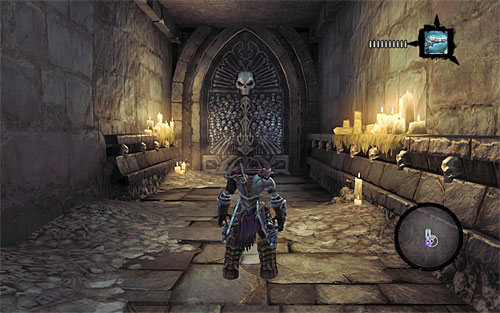
Backtrack to the vertical pole, pull yourself up a little and wall-run right to get to the further part of the staircase. You should reach a door on the first level of the basement, therefore officially entering [Sentinel's Gaze].
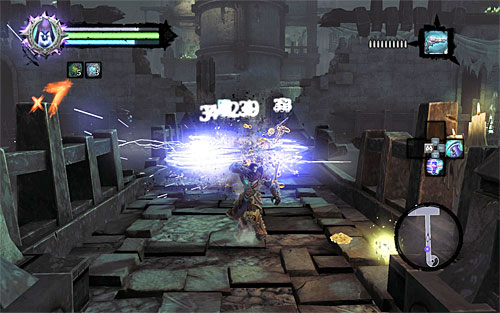
Go straight ahead and deal with the nearby Skeletons and Skeletal Warriors. New Skeletons will keep spawning for a while, so it's a perfect opportunity to get some additional XP, especially since these monsters are very weak.
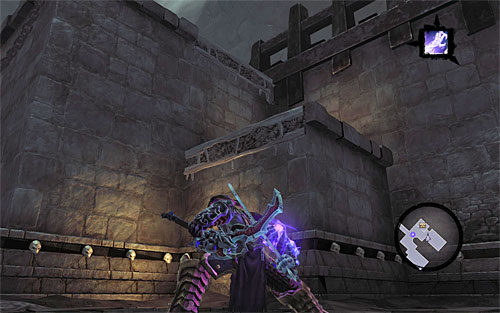
Afterwards, look around for a Boatman Coin and the ledges illustrated above; they will take you to interactive edges. When you're at the top, grab a Relic of Etu-Goth ([Lost Relics] side quest) and pick up a shadowbomb.
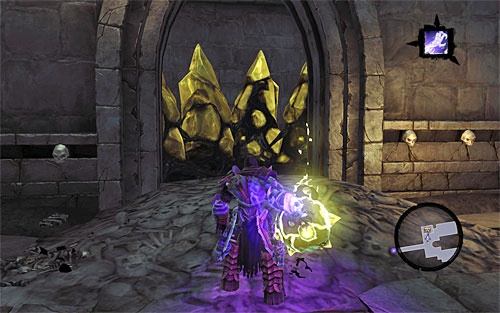
Jump down and use the shadowbomb to destroy the above yellow crystals. This will unlock a way to a small room with a random treasure.
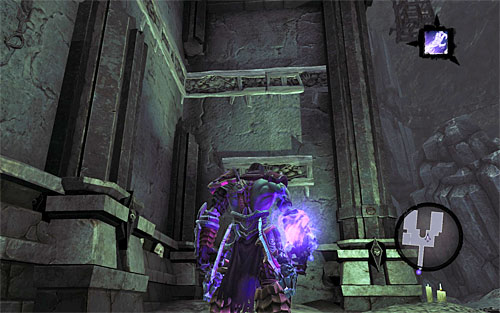
Head south now, turn east and make your way up where shown. There will be ledges and some wall-running along the way. Get to the larger balcony and get rid of Skeletal Warriors occupying it.
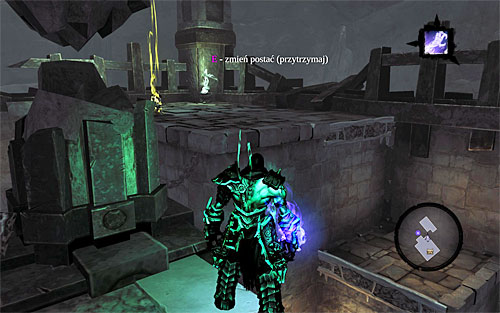

Stay on the secured balcony and activate Soul Splitter. Have the first half stand where shown on screenshot 1, by the edge (it's important that you see the ledge with shadowbombs). Switch to the other half and have it pick up a new shadowbomb. Aim it at the first half (screenshot 2) and trade it between the two souls.
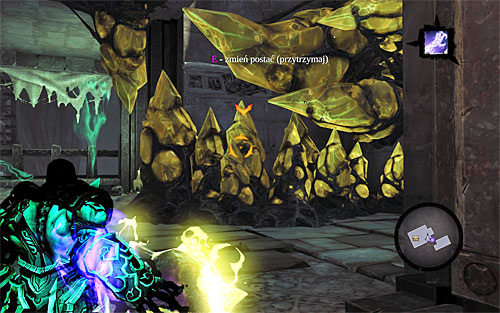
Switch back to the first half and use the shadowbomb to destroy the above yellow crystals.
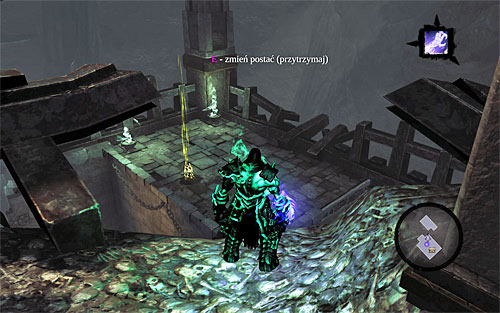

Don't deactivate Soul Splitter yet; instead take the first half to the larger balcony, using of course the newly unlocked edges. Same as before, stand so that you can see the ledge with shadowbombs (screenshot 1). Switch to the second half, grab a shadowbomb and trade again (screenshot 2).

Take control over the first half for the last time, and use the traded shadowbomb to unlock the passageway pictured above.
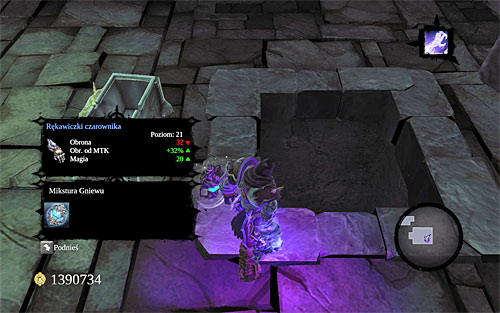
Take your physical form back, get to the upper balcony and go through the passageway unlocked after destroying the crystals. Check out the nearby chest, then jump into the gap shown above - you're now moving into a new location, [Boneriven].
- Darksiders 2 Game Guide
- Darksiders 2: Side Quests
- Darksiders 2: Additional Locations
- Darksiders 2: Introduction
- Darksiders 2: Weeping Crag
- Darksiders 2: The Nook - Reaching the central area of the dungeon
- Darksiders 2: The Nook - The central part of the dungeon
- Darksiders 2: The Nook - The lower levels of the dungeon
- Darksiders 2: The Scar - Exploring the first part of the dungeon
- Darksiders 2: The Scar - Reaching the central area of the dungeon
- Darksiders 2: The Scar - Obtaining the Skeleton Key
- Darksiders 2: The Scar - Using the Skeleton Key
- Darksiders 2: The Scar - Reaching Gharn
- Darksiders 2: Shattered Forge
- Darksiders 2: Forge Lands - Other Locations
- Darksiders 2: Lair of the Deposed King - Exploring the lower levels of the dungeon
- Darksiders 2: Lair of the Deposed King - Exploring the upper level of the dungeon
- Darksiders 2: The Breach - Exploring The Breach
- Darksiders 2: The Breach - Exploring the ruins
- Darksiders 2: Sentinel's Gaze - Exploring Sentinel's Gaze
- Darksiders 2: Sentinel's Gaze - Exploring Boneriven
- Darksiders 2: Additional Locations
- Darksiders 2: Side Quests
You are not permitted to copy any image, text or info from this page. This site is not associated with and/or endorsed by the developers and the publishers. All logos and images are copyrighted by their respective owners.
Copyright © 2000 - 2025 Webedia Polska SA for gamepressure.com, unofficial game guides, walkthroughs, secrets, game tips, maps & strategies for top games.
