Darksiders 2: Wake up the Keeper (2)
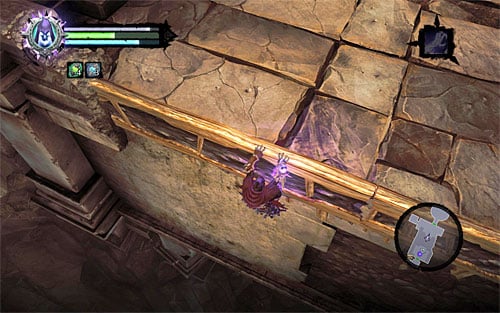
Return to the previous area and approach it the gap in your ledge and Karn. Catch on to the ledge in the spot presented in the above screen.
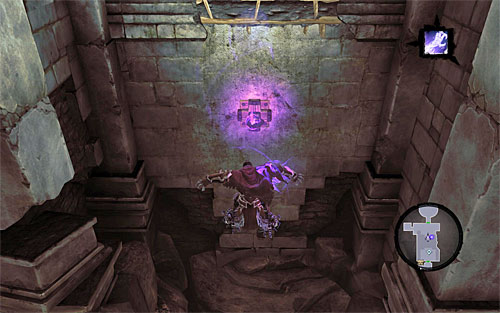
Let go and use the Death Grip on your way down, trying to catch the interactive catch presented in the screenshot above (middle mouse button). Fortunately, even if you fall you will re-spawn on the ledge above and you will be able to give it another try.
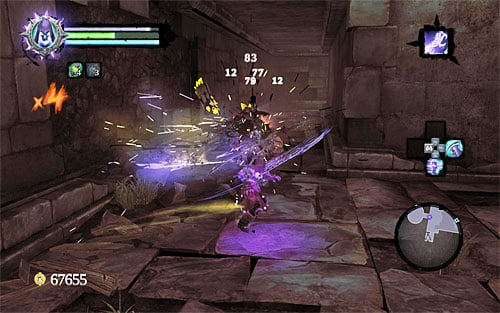
After the Death reaches a new interactive ledge, climb up and go through the narrow corridor ahead. On the way expects to find a small group of Tainted Constructs that shouldn't be much of a challenge.
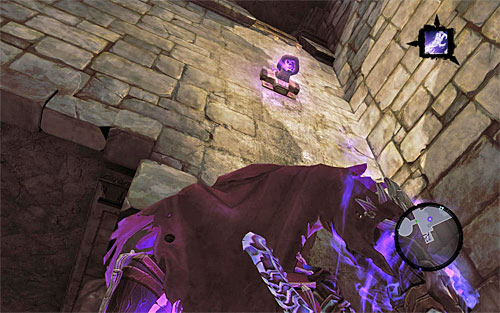
Reach the end of the corridor all and find the above interactive catch. Wall run, and by using the Death Grip skills catch on to the catch. Get onto the ledge and find the treasure that was so hard to reach, which is Book of the Dead page (side quest [The book of the Dead]).
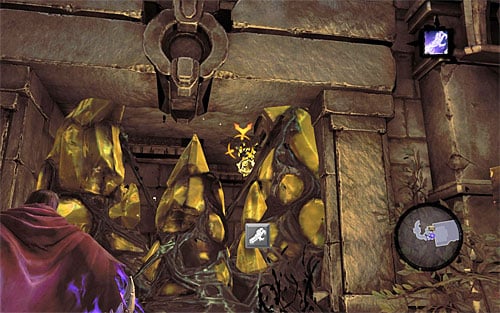
Jump down to the lower ledge and join Karn by using the Death Grip on the interactive catch between you and him. Before you use of esters than turn right and grab the shadowbomb shown on the above screen (you need to use Death Grip again). After you do that, hurl the shadowbomb at the yellow formation, which will result in an explosion and allow access to another chest.
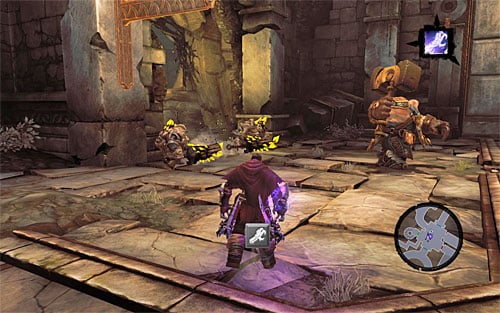
Return to the area with the door that has been locked so far. After you fight another group of Tainted Constructs, go to the Main location in which there is the sleeping, Guardian. Go West.
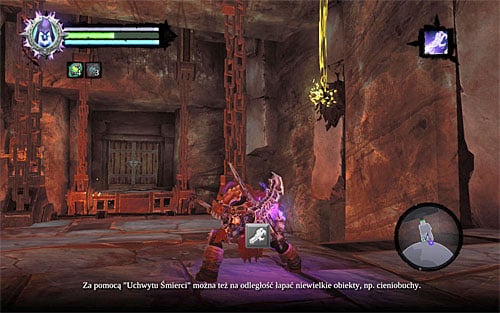
Help Karn get rid of the Tainted Constructs and use death grip to catch the shadowbomb that you can see in the distance. Another step is, of course, tossing the shadowbomb towards the switch on the left, which will result in opening the bridge. Made it to the next area in which you will have to do some acrobatics.
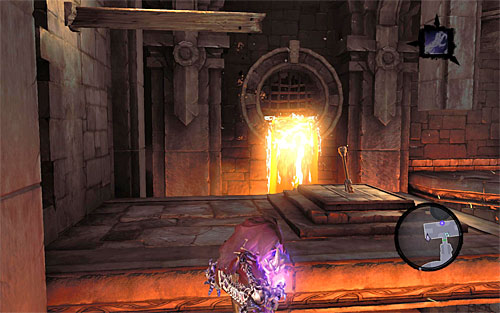
Turn left and start by jumping onto the first vertical wooden pole. He jumping from one pole to the another, and after you reach the last one turn right and jump to the latch on which there is the first one of the two switches around. Of course, you need to interact with it.
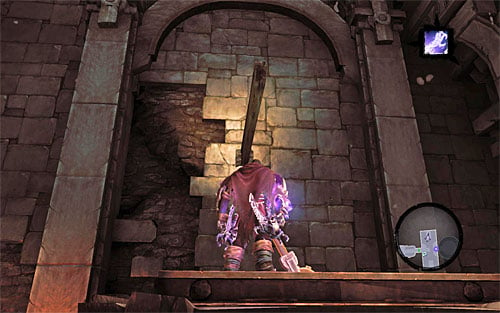
You need to resume climbing from the spot presented on the above screenshot. Run towards the wall, and the Death will automatically climb up to the new vertical pole.

Next steps require the skills using the Death Grip. Start by jumping towards the catch located right in front of you and when you are airborne, press the middle mouse button to catch on to it (above screen).
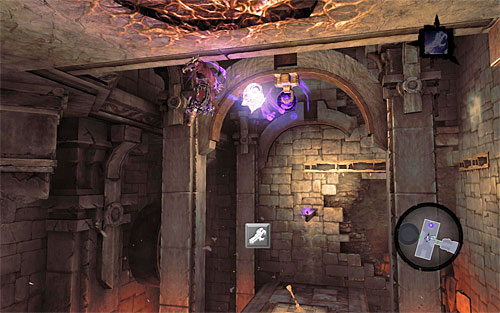
The character should be able to reach the interactive creeper. Go down as far as you can and continue by clinging to the creeper with upper limbs only. Get close to the interactive catch, let go and use the Death Grip. If everything goes according to plan, the Death will land on the horizontal wooden beam. Shimmy down, carefully onto the ledge below and interact with the other switch.
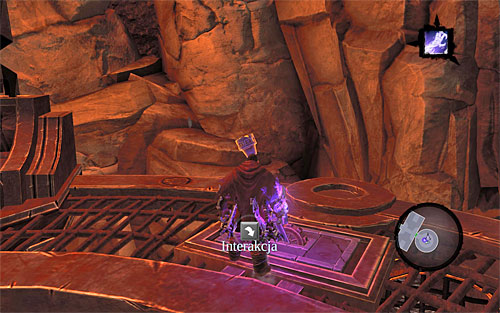
Returning to Karn is relatively easy. Start with returning to the horizontal pole that you have just jumped off from. Grab onto the interactive ledge and shimmy to the right jumping once on the way and wall running. Move into the next area, which is a huge elevator. Set the elevator into motion using the switch, and wait for it to take you to a new level.
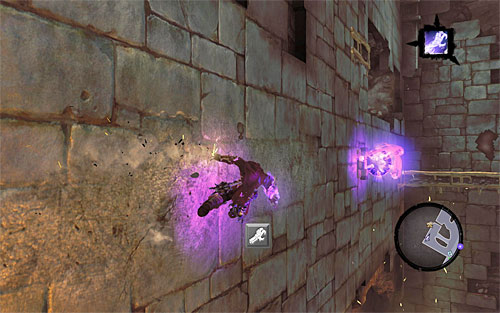
Go straight ahead to the room with the first heart fragment. Traditionally, start by approaching Karn and letting him to toss you to a new ledge. Go straight ahead. Jump over wooden poles, and reach the interactive ledge. Shimmy to the right and wall run using Death Grip on the way (the above screen). Shimmy to the right, and perform one more wall run on the way.

Your aim now is to reach the place in which you can lower yourself to a ledge located below. Remain in the place, turn around to face the interactive catch that you've been using before. Leap towards it, and catch on to it. using the Death Grip. The player character should now be climbing up. Let him do it and you should reach the upper ledge with a chest on it.
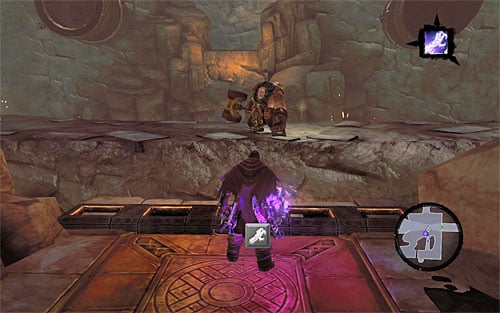
After you examine the above-mentioned chest, you should return to the previous ledge. Go straight ahead until you reach a pressure plate shown in the above screenshot. Turn to Karn and use the Death Grip (middle mouse button) to pull yourself his way and let him catapult Death into an entirely new area.
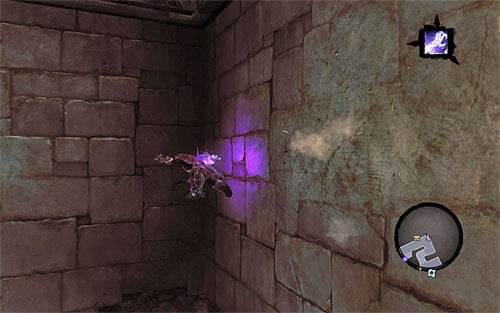
Go right. Use the Death Grip on another interactive catch. After the player character catches on to the interactive edge, shimmy to the left, perform wall run and bounce off the wall when you reach the corner. After you finish the wall run, move slightly to the left and catch on to the upper edge, thus reaching a hidden chest.
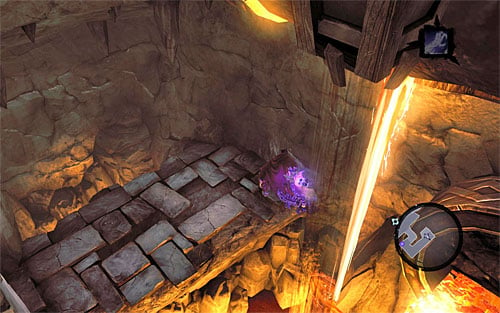
Return to the lower edge and continue left by wall running along the wall. After you catch on to the wooden pole, leaned back and jump over to the next one. Repeat the manoeuvre with yet another pole and jump towards the nearby rocky shelf (the above screen).
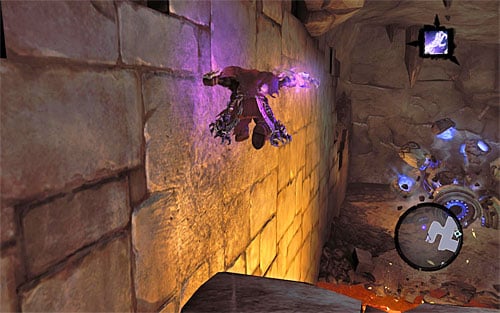
Carefully, jump down to other lower ledge and wall run along the left wall, thanks to which you will reach the place where the construct was left. Of course, you need to activate the construct with the Creator Key.
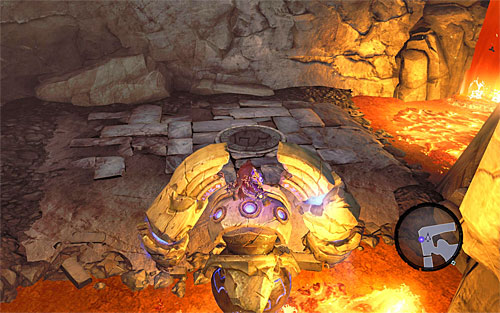
Start exploring the lowest level of the foundry, taking advantage of the fact that the construct can freely move over lava. Find a small island to the left with a chest located on it and carefully jump off the construct there. After you examine the chest return to exploring the area and destroy yellow formations here and there. At the end stop the construct in the hole shown in the above screenshot and launch a chain towards the catch visible in the distance.
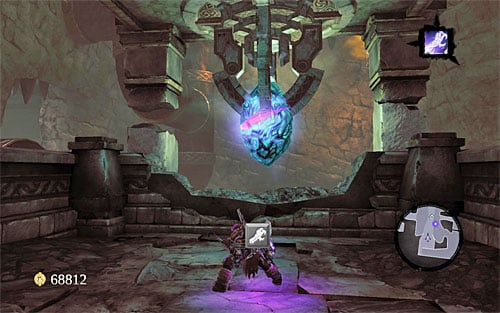
Jump onto the chain, and go straight ahead. After you reach the end turn left and jumped towards the interactive edge. Make use of the neighbouring edges, to reach another rocky ledge. Now you can come up to the first Heart Fragment and catch it by means of Death Grip.
[TIP: You don't really need to carry around heart fragments personally, because it's Karn that will be the doing that. What is even more, he will never lose the carried items even if you are attacked by monsters.]
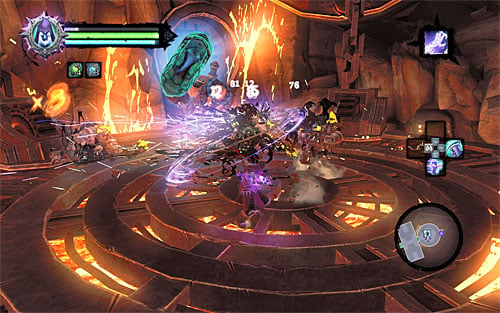
As you can probably guess, now you and Kern will have to make it back to the main area with the dormant Guardian. Go east and set the large elevator into motion. Do not expect that journey to be devoid of problems. On your way. You will be attacked by Tainted Constructs. Help Kern eliminate them, but don't forget about using appropriate attacks and frequent dodging.

After the elevator reaches the higher level, resume your march towards the main area of the location. Approach the Guardian and wait for Karn to mount the first fragment of the heart, and watch the cut scene. It will also inform you of the possibility to explore area of the foundry that has not been accessible until now.
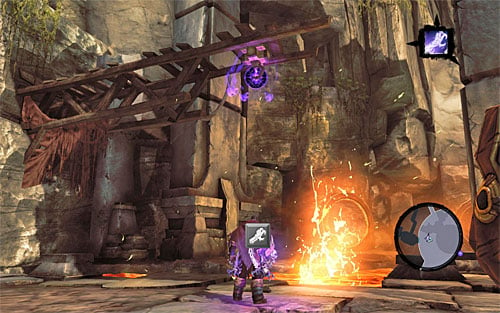
Go towards the dilapidated wooden structure that has been located in the Western part of the main area (the above screenshot). Use the Death Grip and pass through a small tunnel. Be careful because there are stingers around. It's best to eliminate them at a distance (with a pistol), so that they have no chance of coming near and shock the Death with electricity. After you win the battle, look around for a Boatman Coin.
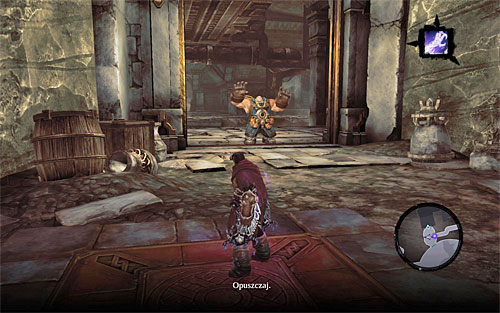
From among the two tunnels, choose to the left, one that leads North. You need to stand on the pressure plate and wait for Karn to reach the Eastern gate. Only then, can you step off the plate. Run next to Karn, so that both of you can go and explore the new part of the foundry.
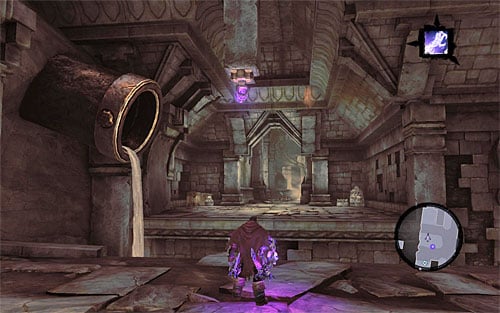
First of all, ask Karn to toss you to the neighbouring ledge. Go straight ahead and use the Death Grip on the catch. Be wary, because there are Savage Stalkers around . And you need to handle them without using the help of the Primordial One. Above all, remember about swift dodging every time a monster wants to launch at you (characteristic aura appears around the enemy then).
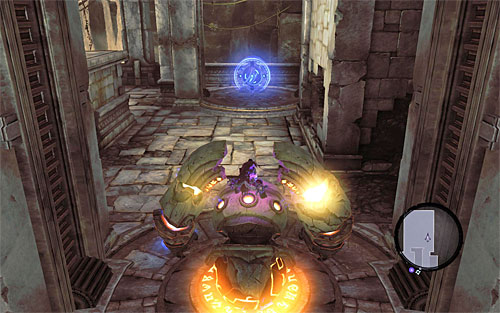
After you eliminate the enemies explore the area and find yet another Boatman Coin. Then, find an inactive construct and bring it back to life using Creator Key. Move the construct into the hole shown in the above screenshot, and, after you park it, launch a chain. Don't jump on the chain. Just jump off the construct.
- Darksiders 2 Game Guide
- Darksiders 2: Main Quests
- Darksiders 2: The Heart of the Mountain
- Darksiders 2: Talk to the Keeper
- Darksiders 2: Enter the Foundry
- Darksiders 2: Wake up the Keeper (1)
- Darksiders 2: Wake up the Keeper (2)
- Darksiders 2: Wake up the Keeper (3)
- Darksiders 2: Boss 6 - Corrupted Custodian
- Darksiders 2: Wake up the Keeper (4)
- Darksiders 2: Find the Keeper
- Darksiders 2: Boss 7 - The Guardian
- Darksiders 2: The Heart of the Mountain
- Darksiders 2: Main Quests
You are not permitted to copy any image, text or info from this page. This site is not associated with and/or endorsed by the developers and the publishers. All logos and images are copyrighted by their respective owners.
Copyright © 2000 - 2025 Webedia Polska SA for gamepressure.com, unofficial game guides, walkthroughs, secrets, game tips, maps & strategies for top games.
