Darksiders 2: Wake the Construct (1)
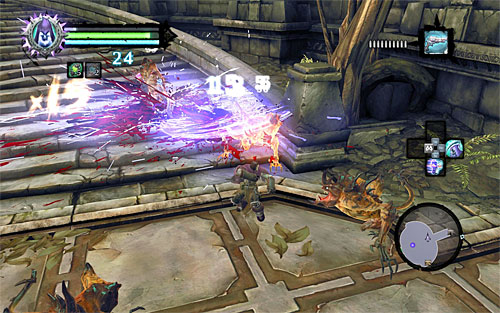
Take the stairs up. When you enter the large oval chamber, get ready to take down quite a large group of Stalkers. The job is made much easier thanks to your extended mobility which will help you dodge any attacks. Afterwards, explore the area left of the stairs to find a chest. Go back to the stairs and go to the next level, reaching a new door on the west.
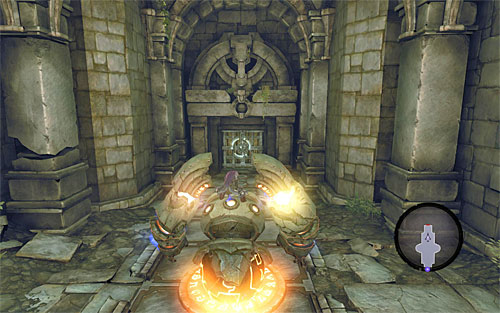
Approach the Construct on the left and wake it by using the Maker's Key (E button). When you mount it, pave your way by destroying the yellow objects on the left, and then "park it" in the hole shown on the screen. You can now through another door.
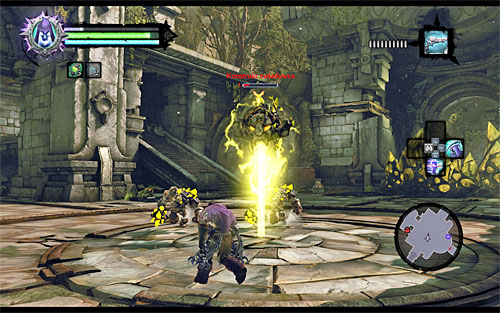
The new location will have you fight Tainted Construct Warriors summoned by a mini-boss of sorts called Construct Sentinel. I suggest taking care of the Sentinel first so that he couldn't summon anything anymore. The best way to do this is to aim and use the pistol. A single clip should be enough to defeat it, though make sure you DON'T stand right under it because you can be hurt by the yellow ray.
[TIP: After defeating the Construct Sentinel you should receive a Cracen Stone needed in the [Shaman's Craft] side quest. It's also a good idea to practice aiming at the Sentinel, because you'll be fighting more of them further in this quest.]
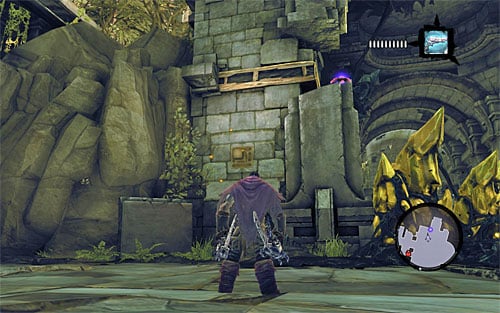
As for the aforementioned Tainted Construct Warriors, get to them only after eliminatingthe Sentinel, and you shouldn't have any problems with them. Once the battle is over, look around the whole area to find a Boatman Coin hidden in one of the bashable objects. Afterwards, approach the ledge shown on the screen (north wall) and grab onto the upper interactive edge. Move as far to the right as you can, go around the yellow objects blocking your way and drop down below.
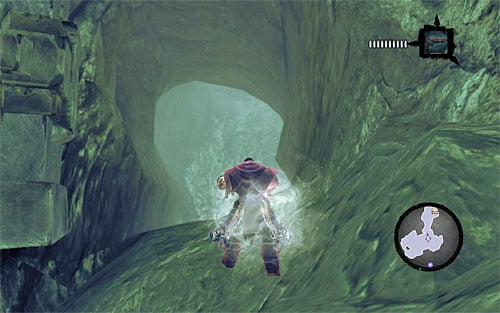
Take the corridor leading east, ignoring, for now, the new chest somewhere along the way (you can't look inside it any more). Your destination is the large area in the northern part of the temple. First off, I suggest diving to find a Boatman Coin and an underwater tunnel (the above screen) which leads to the place with the hidden chest.
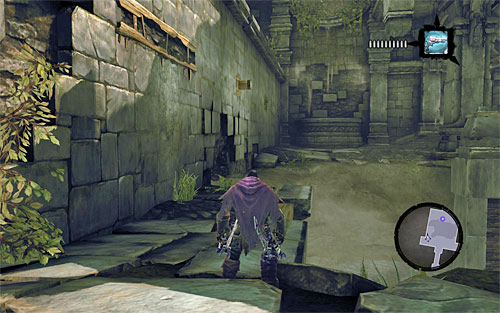
Return to the surface and take a look at the left wall (the above screen). Grab onto the interactive edge, move right to the very end and perform a wall-run, bouncing off the single ledge on the way. It will allow you to get to the opposite end of the currently explored area.
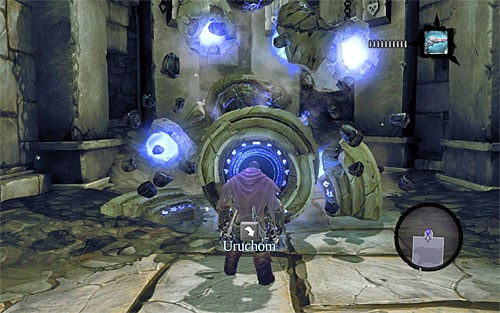
Start by taking down new Tainted Constructs, among which there are also Warriors and Adjuncts (try to evade their long-distance attack if you can). Afterwards, approach the new Construct and activate it with the Maker's Key.
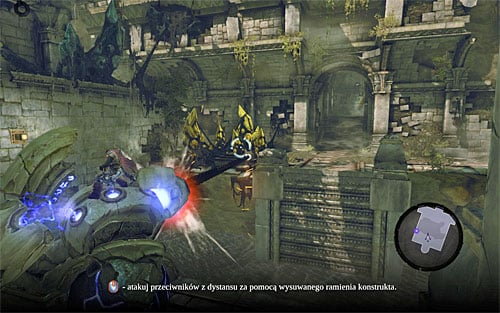
Once "on board", lead the Construct towards the water pool which separates the two small islands. Turn around to face the yellow objects on the left and press the middle mouse button to shoot a chain at them (the above screen). If you're successful, there should be an explosion which will uncover a switch.
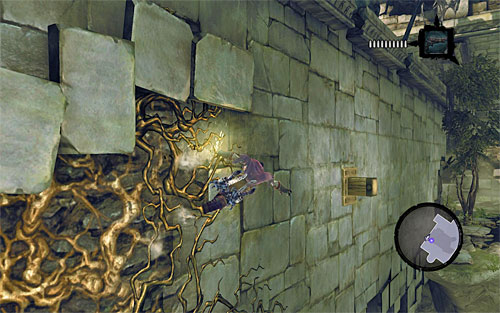
Dismount the Construct and grab onto the vines. Move right in order to wall-run towards the ledge, and then go back to starting point of this area. When you do it, approach the newly unlocked switch and use it to lower a bridge connecting the two islands.
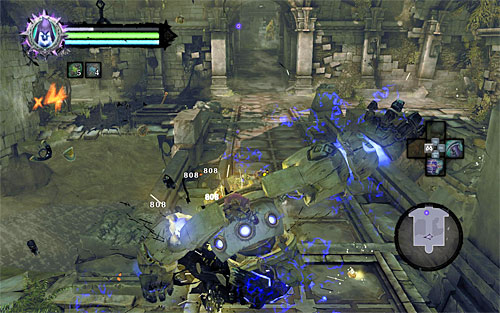
Notice that new Tainted Constructs had started appearing in the area. Don't try to fight them personally, but immediately get back on the Construct. Attack now, but instead of the chain, use regular attacks triggered by the left (weaker) and the right (stronger) mouse buttons. Get rid of all enemies and take whatever loot they drop.
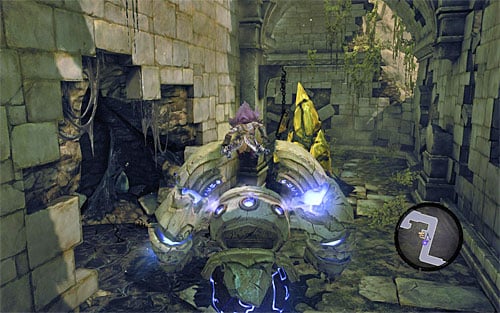
Continue forth on the back of the Construct, going south and then turning west. Stop at the chest you have passed by before. Destroy the yellow object blocking access to it (the above screen), dismount Construct and see what's inside. Resume the journey to reach the well-known large temple area.
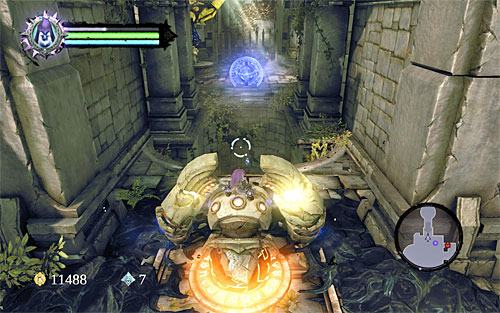
There is a new puzzle ahead of you which begins with destroying the yellow objects in the south. After clearing the area, stop the Construct at the hole seen on the screen and shoot the chain (middle mouse button).
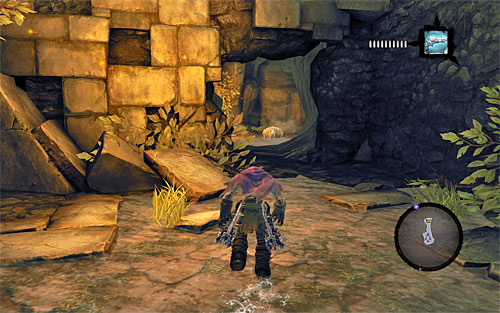
Before you decide to go across the chain, jump into the large hole you see here (don't worry - there's no damage involved). There, find a chest (the above screen), loot it and go back to the Construct. You can use the chain (E button after mounting the Construct) and walk across to the shelf visible in the distance.
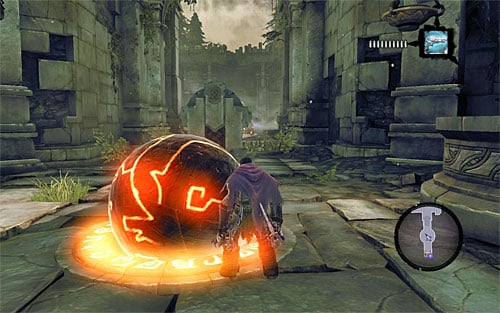
Once in the new area, use the pistol to destroy the dormant shadowbombs and "free" a new large ball. Roll it into a hole close by, which will raise the first of the two grates. Be cautious because as soon as you do it a large group of Tainted Constructs will appear.
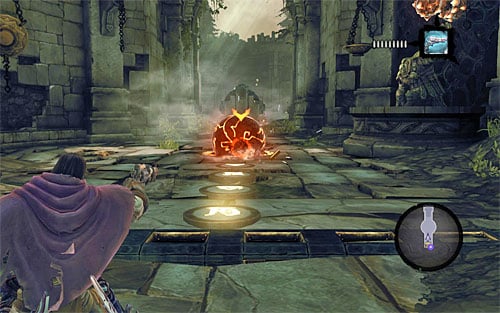
Approach the dormant shadowbomb and take it. Stand as seen on the screen, which is between the first opened grate and the lowered second one. Throw the shadowbomb at the ball in the hole and detonate it from a distance (with the pistol). It will dislodge the ball and open the second grate.
[TIP: If the actions described above don't have any results, make sure you're standing right between the grates. It's all about not getting blocked by the first grate again.]
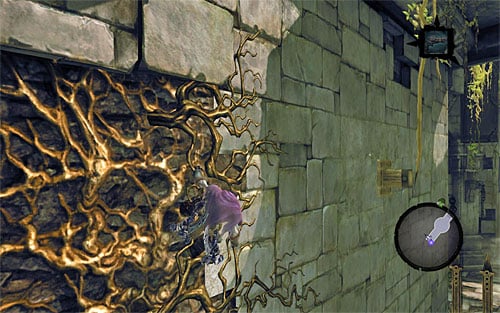
You can now approach the chest and take a Skeleton Key. In order to leave this area, use the vines shown on the above screen and wall-running. To go back to where you left "your" Construct, best use the chain shot earlier.
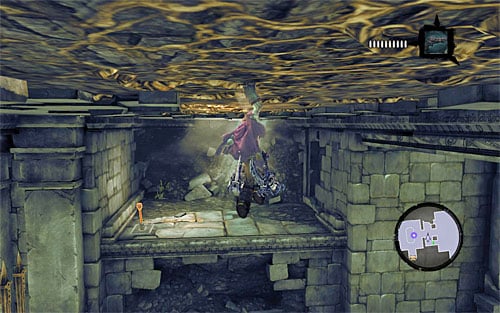
The door you have the key to is west of here. When you go through it, grab onto the vines. Move up so that you can clutch at the vines at the ceiling (the above screen). Move towards the ledge in the distance. Drop down safely and take down another batch of Tainted Constructs. Afterwards, use the switch to open a nearby grate.
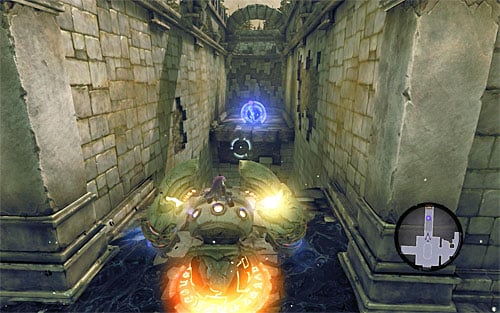
Go back to your Construct again and begin by detaching the chain (middle mouse button). Head towards the west corridor unlocked by the grate. When you get to a new area, destroy all yellow objects. You'll also find a Dungeon Map here as well as a hole with a spot to attach the chain to (the above screen). Run over it and you'll get to another chest.
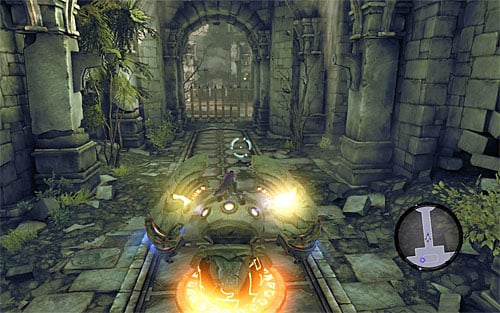
Go back to the Construct, detach the chain and continue with the exploration of the temple. The run will come to a finish at where the screen shows. Stop the Construct at the new hole, dismount and use your own two legs to get to the arena west of here.
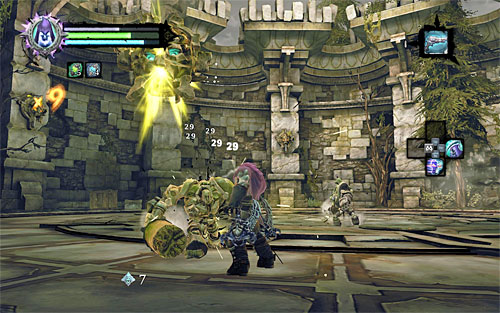
The arena will greet you will a difficult battle divided into several parts. At the start of each, a Construct Sentinel will appear, which will also summon Tainted Constructs for assistance. The procedure is the same as with the previous encounter with the same enemy, so take down the Sentinel first (by aiming and shooting with the pistol). Once he's gone, eliminate the regular Constructs.
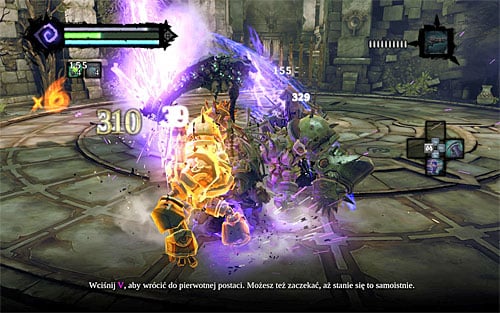
The last two parts are the hardest, because apart from Sentinels you'll also have Construct Champions to defeat. As a result, pay very close attention to what's happening since both enemies can deal lots of damage to you. Dodge frequently and use your best attacks available. In the final stage you'll be attacked by two Champions, so it's worth using the Reaper Form attack, assuming of course you've managed to accumulate enough energy and you're not saving it for later.
[TIP: If Construct Champions are accompanied by other enemies, try to eliminate them first. This is helpful not only because you'll clear the area to focus solely on the bosses, but also because it will give you the chance to accumulate Wrath Points for special attacks.]
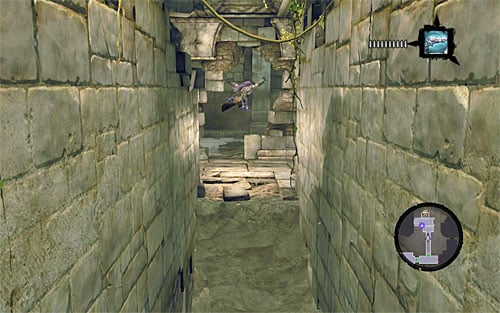
After winning all the battles, explore the arena thoroughly for dropped items and look inside the chest that appeared nearby. You can now head west first and then turn south. In order to get to the opposite side of the new corridor, bounce off the walls repeatedly by pressing SPACE while wall-running. Each time you press it, Death will jump to the adjacent wall and continue moving towards the target.

Once you land, look around for a Boatman Coin. Afterwards, head towards the small waterfall; this is where you'll need to climb up again. Same as before, you need to bounce off the walls by pressing SPACE every time you notice that Death is visibly slowing down. This way you'll reach the upper level of the temple.
You are not permitted to copy any image, text or info from this page. This site is not associated with and/or endorsed by the developers and the publishers. All logos and images are copyrighted by their respective owners.
Copyright © 2000 - 2025 Webedia Polska SA for gamepressure.com, unofficial game guides, walkthroughs, secrets, game tips, maps & strategies for top games.
