DARK: Harding Museum - second medieval exhibit
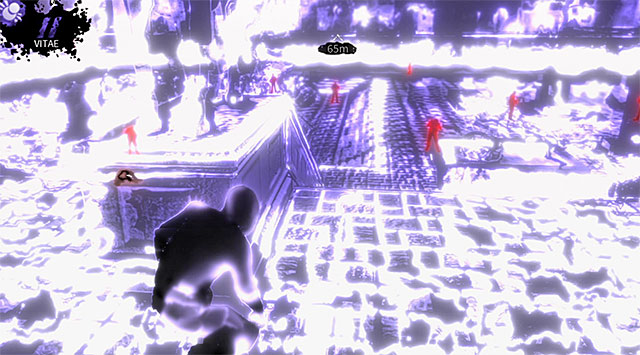
This is a very vast location and as always you shouldn't be trying to leave it as soon as possible. It's best to take some time to familiarize yourself with the surroundings, preferably using the Vampire Vision ability. Your current objective is to reach a door located on the lower level on the opposite of the siege machines display. Naturally it's not going to be easy to get there, because the area is heavily occupied by armed museum guards.
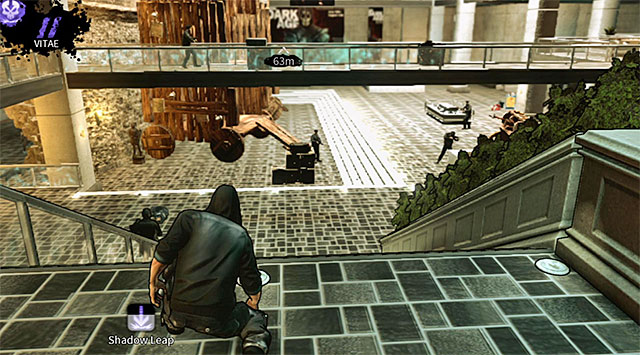
Let's start off by saying a few things about each of the three levels of the siege machines exhibit. The lower level is the one that's guarded by the largest number of enemies. Furthermore, most of the museum guards are facing the balcony you start on so it's not recommended to use the main stairs to get to the ground floor. Thankfully you will be able to reach the lower level using other staircases or by relying on teleportation.
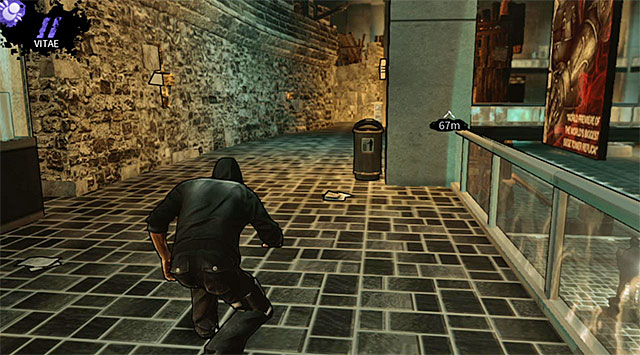
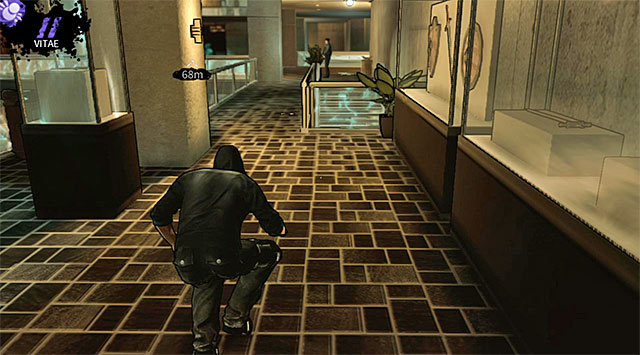
The main level of the exhibit is the one where you start your exploration. There are balconies to the left and to the right of the main part of the exhibit. Both balconies are connected by a small bridge and by default the bridge is being patrolled by a single guard. It's also worth mentioning that during your time spent on the main level you will often come across staircases leading to other floors.
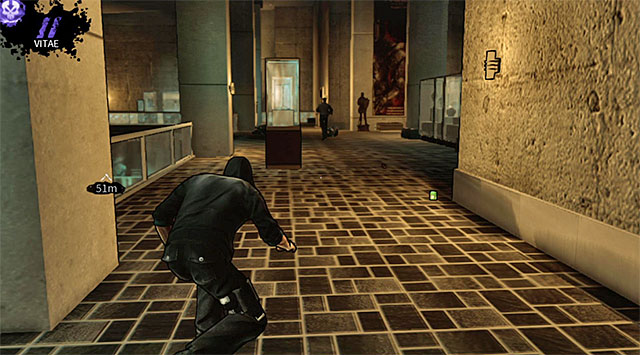
The upper level of the exhibit consists of a replica of a wall surrounding a medieval stronghold and of a group of metal balconies (there aren't as many balconies in here as on the main floor). The largest group of museum guards resides in the right section of the level. You can skip visiting this floor of the museum entirely, because you won't find any collectibles here and going through the upper level won't bring you any closer to reaching the exit. As a result the only exception is if you plan on eliminating as many guards as possible in order to obtain additional experience points.
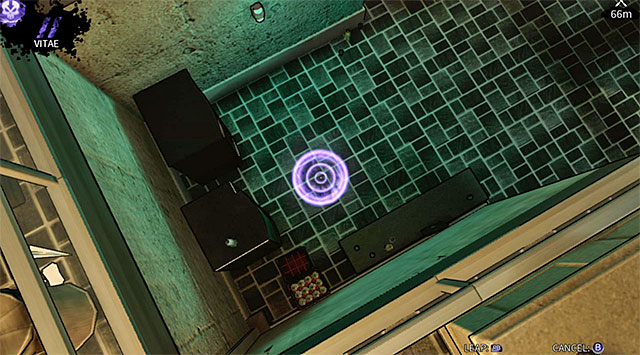
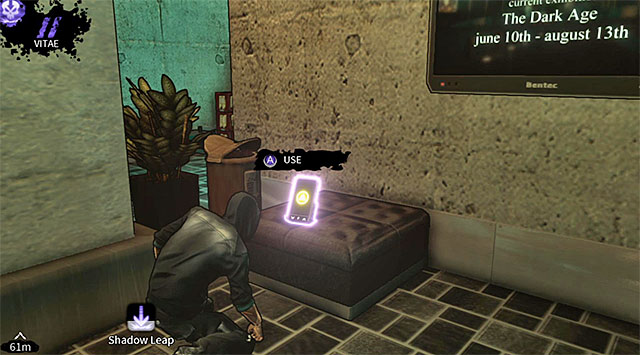
Enough with the preparations - we may begin. The first thing you should do is to approach the stairs leading to the lower level. Don't use the stairs, but instead activate Shadow Leap ability to teleport yourself to an area to the left of the stairs (screen 1). Explore the left part of the main hall with the siege machines and you'll uncover a PDA (200 experience points) seen on screen 2. Once you've taken the collectible use the teleportation again to return to the starting point.
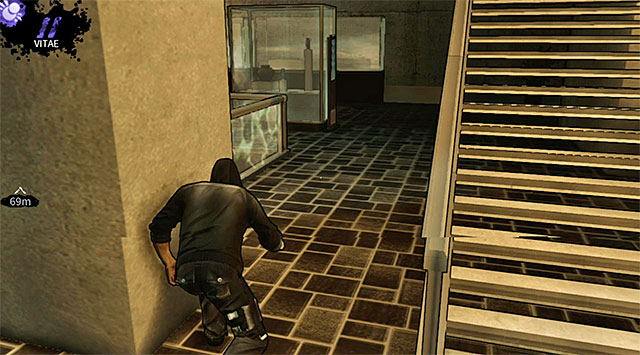
I strongly recommend that you follow my instructions from this point onward so that you'll reach the exit from the second exhibit without experiencing too many problems. Proceed to your right, ignoring a staircase found along the way.
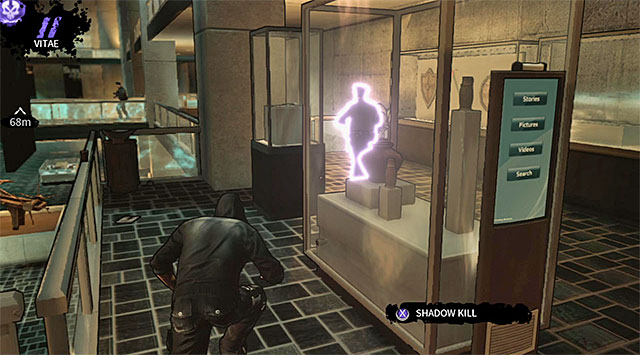
Make a stop once you're close enough to new showcases (this location also contains motion sensors so you must avoid them!) and wait for one of the museum guards to arrive. It's highly recommend that you eliminate this person and a perfect moment for an attack is when the guard is moving away from Eric. If you want to leave this person alone you'd have to spend a lot of time using vampire powers and other tricks trying to stay hidden.
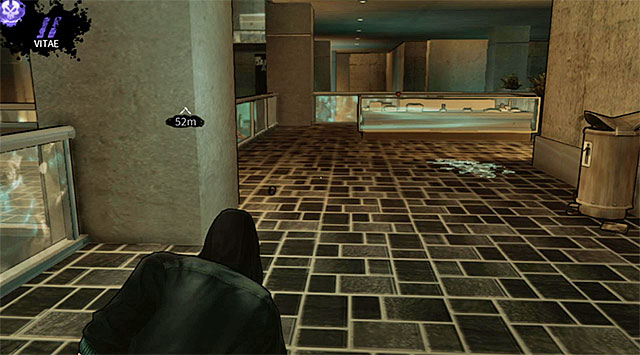
Keep moving forward, staying on the right side of the main exhibit. Don't forget about a single guard patrolling the middle bridge. Thankfully this person should be moving towards the left balcony at this point so the guard won't cause any serious problems.
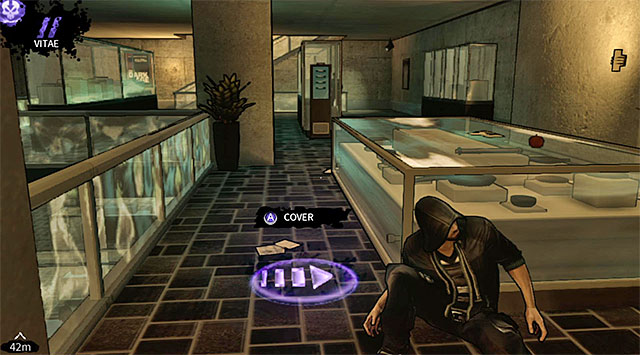
Turn right the first chance you get and carefully approach two new museum guards. The person standing to the right is facing in your direction so it's important not to remain in the open for too long. As for the left guard, he's constantly moving between two areas of this balcony and you don't have worry about him starting to go towards Eric all of a sudden.
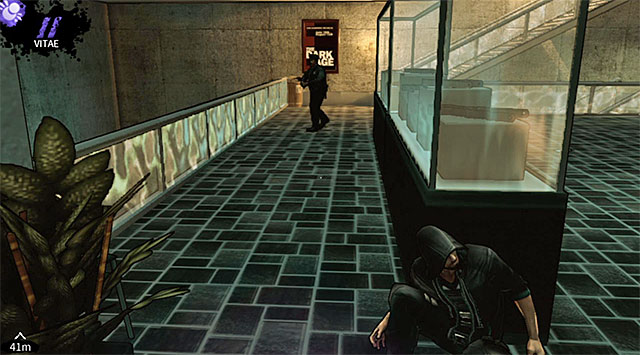
If you plan on eliminating both guards mentioned above then you should begin with the one to the left. An ideal moment to attack him is when he's close to the balustrade (make sure to grab his body quickly so it doesn't fly over the railing and land on the lower level). Once this person is dead carefully approach the second guard from the back. He shouldn't move so it'll be an easy kill. The biggest advantage of getting rid of both enemies is that you can now use the stairs to safely reach the ground floor. If on the other hand you've decided to let both enemies live then you should remain close to the left balustrade and wait for a good moment to use Shadow Leap to teleport Eric to the lower level.
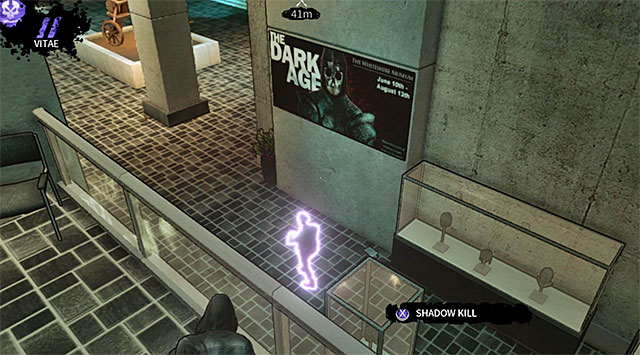
An area under the balcony you've just visited (the one with two guards you've avoided or killed) is being patrolled by a single enemy shown on the screen above. The best method of eliminating this person is to use a long-distance vampiric powers like Shadow Kill or Shadow Grip. If you can't use these abilities or don't want to then you can take cover behind one of the showcases on the ground floor and start following the guard, trying to kill him before he gets too close to the main area. It's going to get even more complicated if you don't intend on killing anyone - in this case you should consider using powers good for distracting enemies (Obfuscation, Distract or Domination) and rely on teleportation in combination with hiding behind showcases.
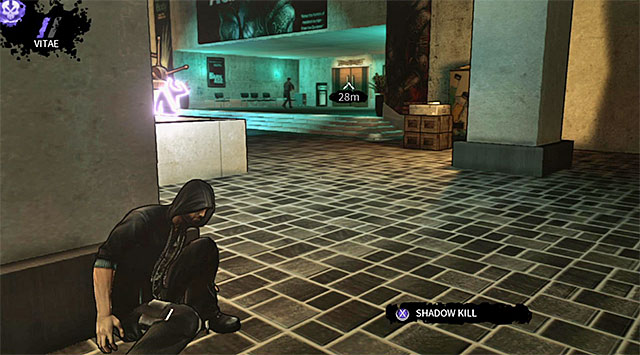
All of the methods described earlier in the text will allow you to get closer to the exit from the second exhibit. Turn right and you'll notice a door in a distance. Don't try getting there too fast, because the exit is well guarded.
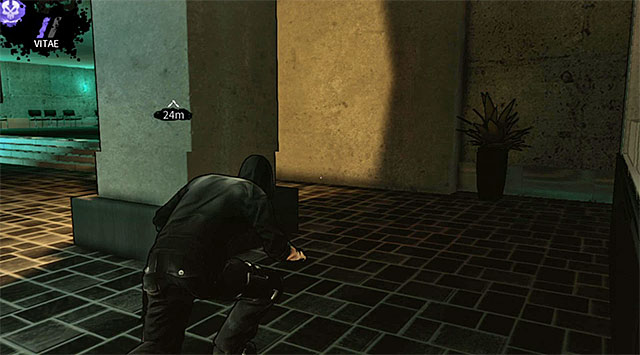
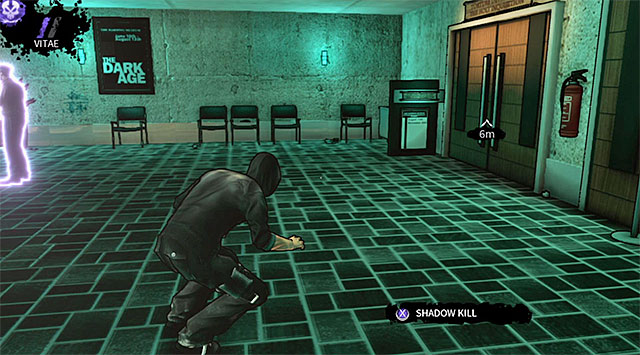
If you want to leave the second exhibit without any additional kills then you can start moving slowly towards the exit. It's important to stay close to the right wall and use pillars found along the way for cover (screen 2). Wait for the enemy that's guarding the exit to move left a little and then quickly approach the door (screen 2). Consider using Obfuscation ability here to lower the chances of being spotted.
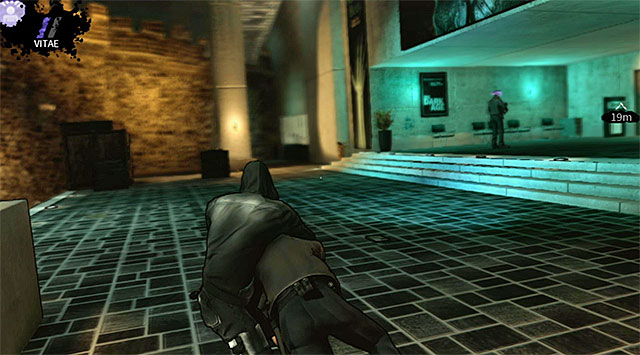
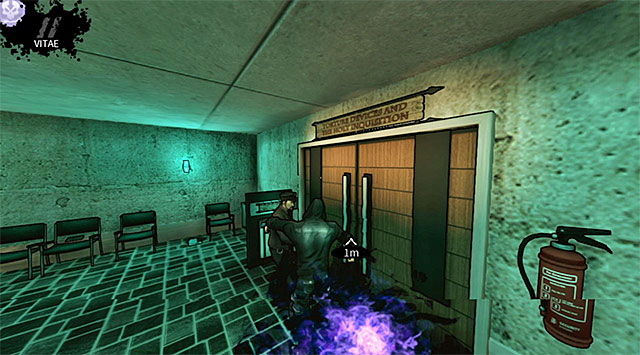
If you don't have anything against killing all the guards stationed near the exit from the exhibit then you should rely a lot on your vampiric abilities. I recommend that you start off by performing a quick execution on an enemy stationed to the left (screen 1). Once he's gone use Shadow Kill or Shadow Grip power on the person guarding the exit (screen 2). You must do this before the second guard turns around and sees the body of his colleague. You should also wait until a third guard moves far away from this area (he's patrolling the large siege machines located to the left) so you'll have enough time to hide both bodies.
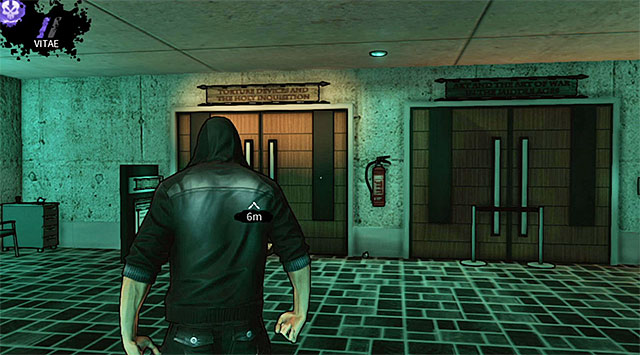
You can leave the second exhibit right away using the door seen on the screen above. If you plan on staying here longer and eliminating all of the remaining museum guards then you'll have to be prepared for a long and challenging journey, especially since a lot of your enemies are observing each other instead of patrolling the area without any backup. I recommend that you start securing the exhibit by clearing the main level. Once it's safe there move to the upper level using the stairs found on the right balcony. Finish off by eliminating all hostiles from the lower level (begin near the exit, not where you've originally started exploring the exhibit).
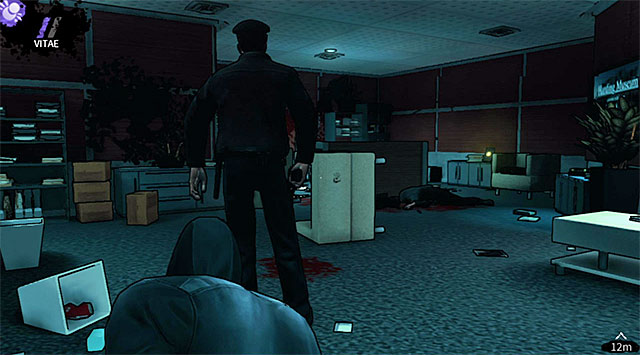
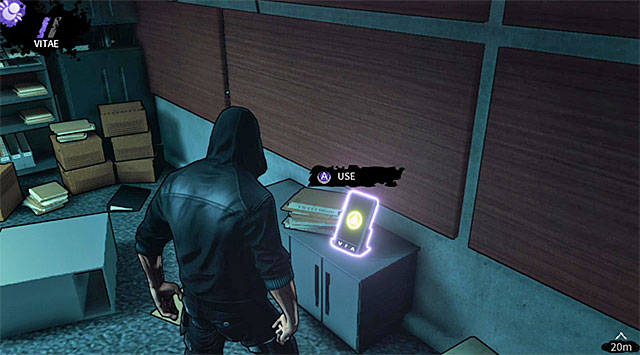
Open the door and start exploring narrow corridors. I recommend that you visit a small office found along the way (screen 1). Eliminate a single guard present in this location and then spend some time exploring the room in order to locate a PDA (200 experience points) seen on screen 2. You may now leave this area by entering an elevator which will transport you to a new floor of the building. The game will also reward you here - 500 experience points is the basic reward for making it through the exhibits, however if you didn't trigger any alarms in the locations you've recently visited you'll receive an additional prize of 2000 experience points.
- DARK Game Guide
- DARK: Game Guide
- DARK: Chapter 1
- DARK: Harding Museum - plaza
- DARK: Harding Museum - pavilion
- DARK: Harding Museum - main hall
- DARK: Harding Museum - first medieval exhibit
- DARK: Harding Museum - second medieval exhibit
- DARK: Harding Museum - catacombs
- DARK: Harding Museum - cellar
- DARK: Harding Museum - Blooming's hideout
- DARK: A New Hope
- DARK: Chapter 1
- DARK: Game Guide
You are not permitted to copy any image, text or info from this page. This site is not associated with and/or endorsed by the developers and the publishers. All logos and images are copyrighted by their respective owners.
Copyright © 2000 - 2025 Webedia Polska SA for gamepressure.com, unofficial game guides, walkthroughs, secrets, game tips, maps & strategies for top games.
