Cryogenic - atrium | Chapter 5
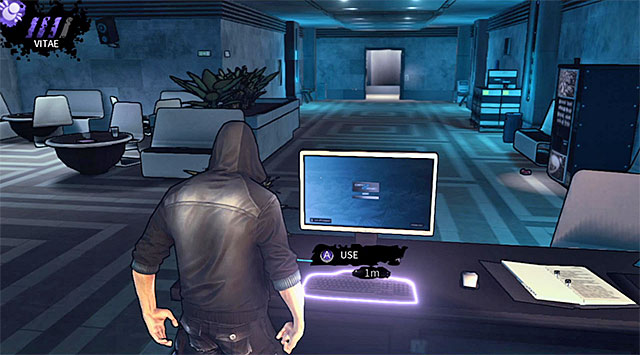
Start moving forward and interact with a designated computer terminal so that you'll unlock access to the side corridors leading to the next area. You may now approach the atrium, however you must be careful, because you'll start encountering all kinds of threats very soon - vampire hunters, motion sensors, security cameras, UV generators and interactive information posts.
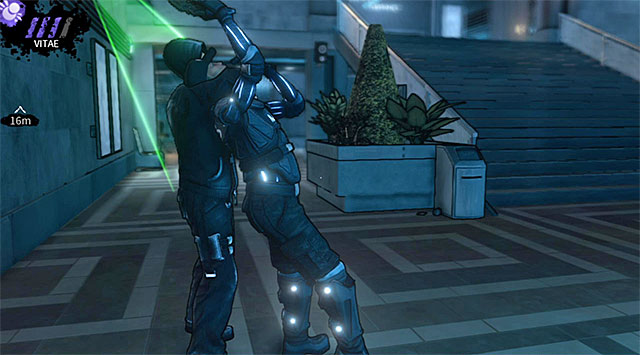
The first guard is patrolling the area close to the entrance to the atrium and he's stopping near a security camera. Obviously you should consider attacking this person, however make sure to do it when the camera is facing in another direction. It's also important to hide the corpse quickly, preferably in a corridor you came from.
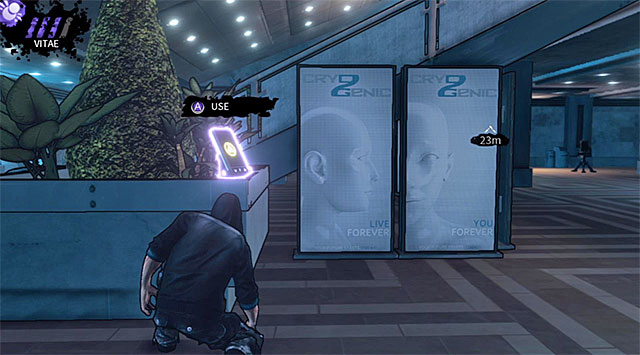
Move closer to the stairs leading to the upper levels of the atrium. Don't use the stairs just yet and instead inspect the area to the right so that you'll come across a PDA (200 experience points) displayed on the screen above.
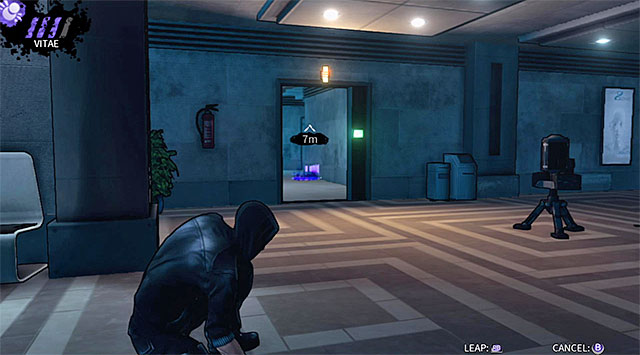
You should now approach the marked passageway on the ground floor . Use teleportation to avoid a local UV generator. Start exploring a series of unguarded corridors and it won't take long for the main character to get to a locked door. An attempt of opening the door to the warehouse will be unsuccessful and as a result your next job will be to find a key to unlock this passageway.
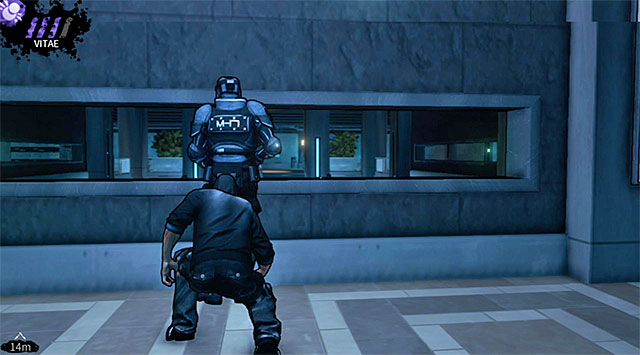
Return to the area where you've started exploring the atrium. This time you should use the stairs (the ones located close to the secret you've already collected) to reach the second floor. Don't go all the way up, because you must make sure that the guards patrolling side corridors are far away from here. Once it's safe approach a single enemy who will be observing the ground floor and eliminate him. Quickly grab the body and drag it down to the first floor.
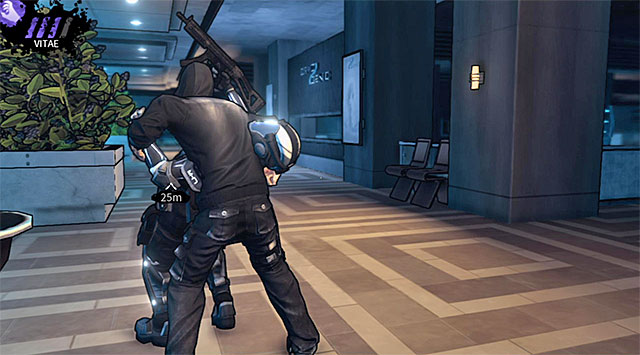
I recommend that you now take some time securing the rest of the upper balconies. Start by killing a person patrolling the corridor to your right.
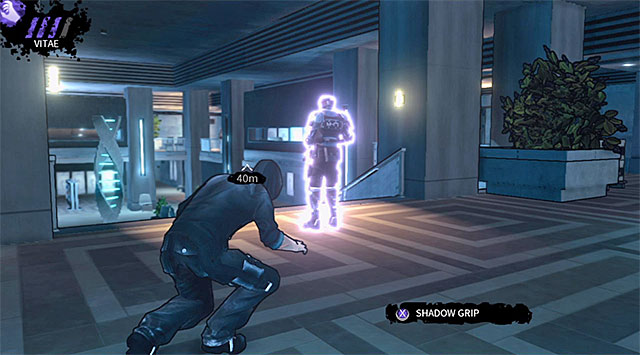
Head on towards the opposite end of the upper balconies. Notice that there's a second armored hunter standing next to a new staircase and you should attack him when it's safe. Hide the corpse in the corridor you've used to reach this location.
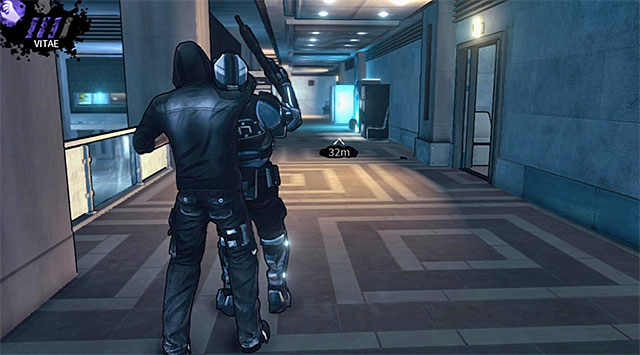
There's one more guard here and he's patrolling the left corridor. The best moment to attack this hunter is when he's far away from a security camera so that his death won't be noticed . If you don't like killing enemies you can attempt to avoid them and in this case you should be relying on Vampire Vision to constantly monitor their movements.
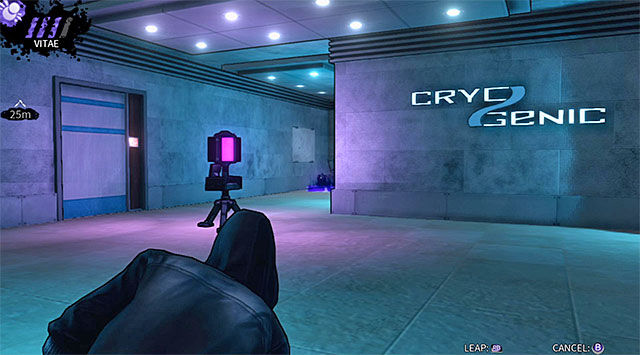
As you've probably noticed your HUD is telling you that the key you're looking for is on the second floor, inside one of the rooms to the right of where you've started exploring the upper balconies. Choose the first passageway to the right and make a stop once you're close enough to an UV generator seen on the screen above. Use teleportation here (Shadow Leap ability) to safely move past the generator. Continue your journey and you'll soon reach a door leading to an office.
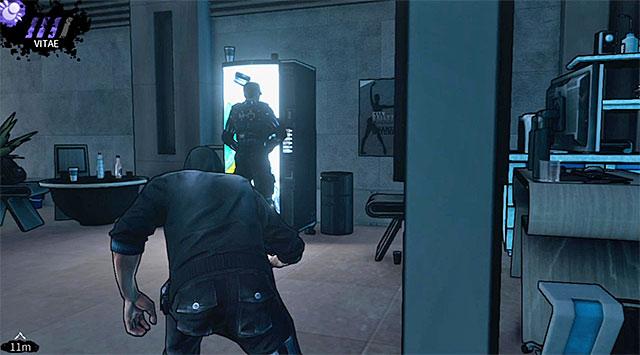
Activate Vampire Vision and wait for an armored hunter to go left. You may now enter this office space and you should start using nearby obstacles for cover. Make sure that the armored soldier is far away from Eric's current location and attack a single guard standing close to a vending machine. I guess I don't have to add that you must immediately hide his body, leaving it close to one of the desks.
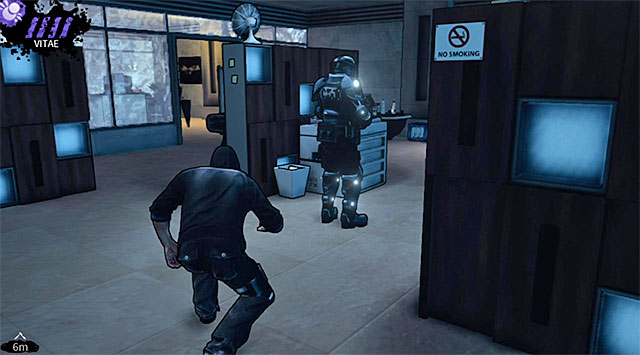
Your last kill resulted in something useful, because the armored enemy mentioned above is no longer observed by other hunters and as a result you will be allowed to easily surprise him from behind when he shows up here.
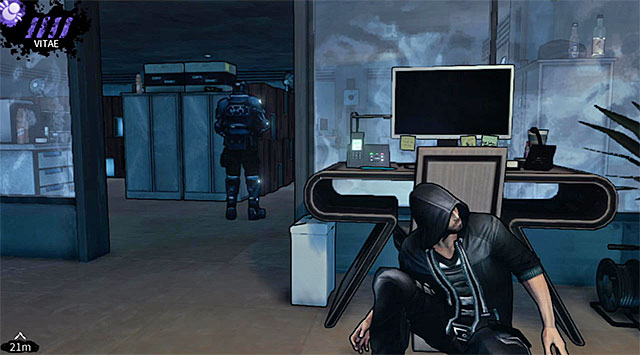
You may now move closer to the second office which is also occupied by two enemies. Start off by attacking an armored hunter, preferably when he stops near the passageway between the offices and turns in another direction.
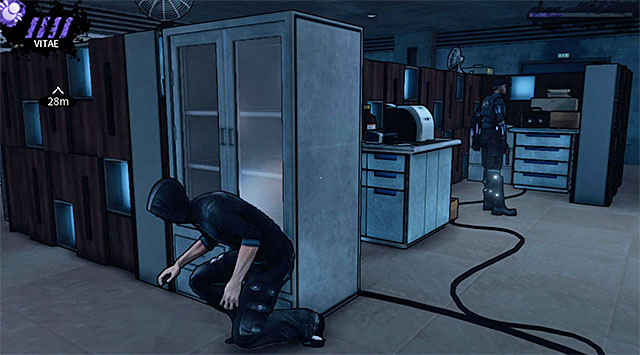
Eliminating the last guard from this group may prove to be harder, because he won't leave his post even for a second. You can resolve this problem either by running next to a cover to make him suspicious or by using a long-distance attack on him. If you plan on distracting the hunter then don't forget to hide the bodies of all other enemies so he won't discover them while inspecting a disturbance.
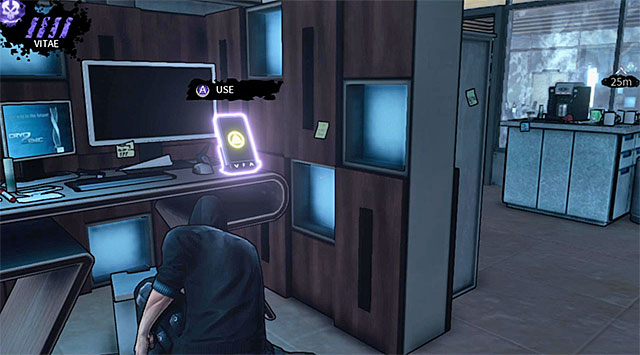
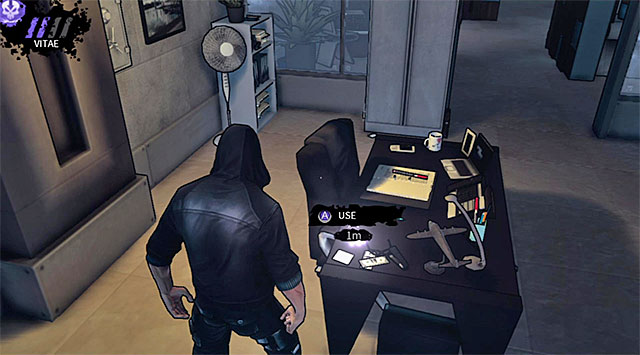
Since you have successfully secured both offices now is a good time to explore them. There are two important objects here for you to find: a PDA (200 experience points) (screen 1) and a key needed to unlock access to the next location (screen 2).
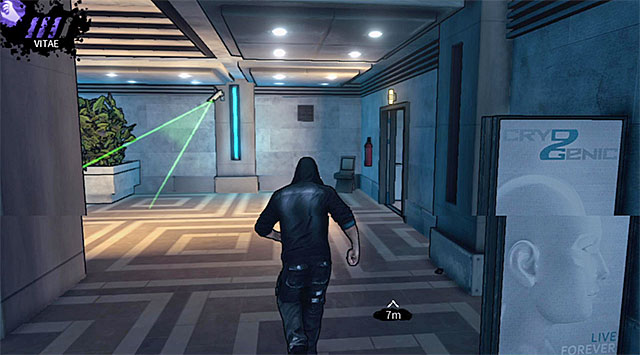
Return to the main part of the atrium. I don't recommend leaving this location right away, because there are also two rooms in the left section of the second floor and it's a good idea to visit them as well. Choose the passageway located under a security camera seen on the screen above. You'll also come across a new UV generator and once again you should rely on teleportation to avoid this obstacle. It may seem like I want to make things more difficult for you, but choosing the corridor defended by the generator will allow you to start exploring new rooms from a better position and as a result it'll be easier to get rid of enemy units.
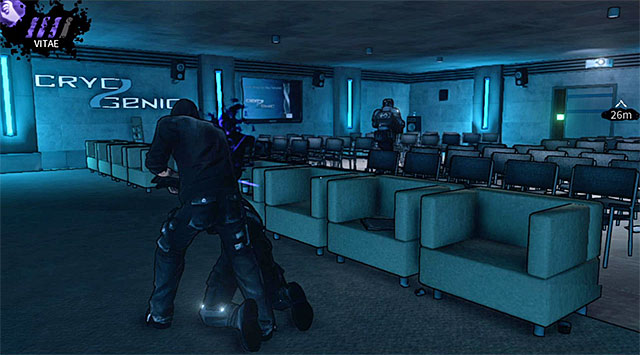
There are two vampire hunters inside the conference room. Wait for an armored opponent to start moving right and quickly attack his colleague, hiding his body in the corridor you've used to get here. Wait for a good opportunity and approach the armored enemy to get rid of him as well. You may now proceed to the door leading to an adjacent room, however don't open it without using Vampire Vision to scan the area first.
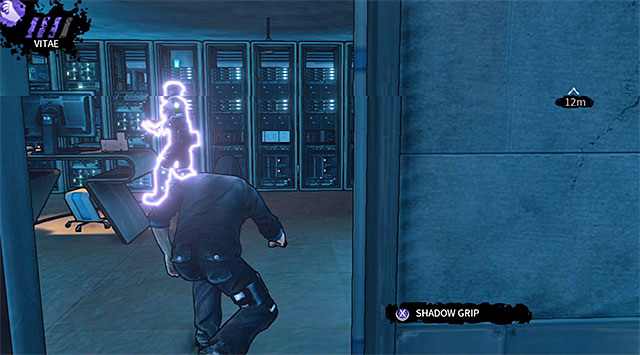
Begin securing the server room by attacking a new armored hunter, preferably when he's passing near the door where you're currently hiding.
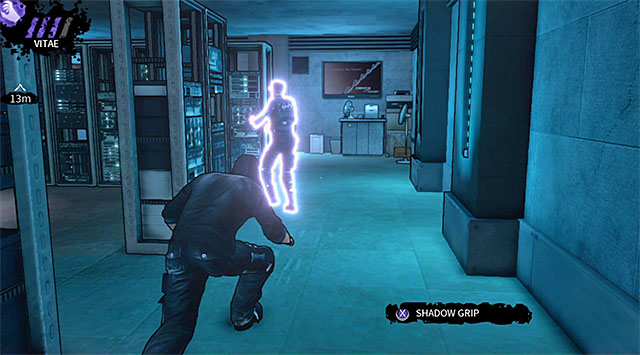
The second guard is patrolling the central part of the server room. You can easily approach him from behind and it's also a good opportunity to drain him of his blood.
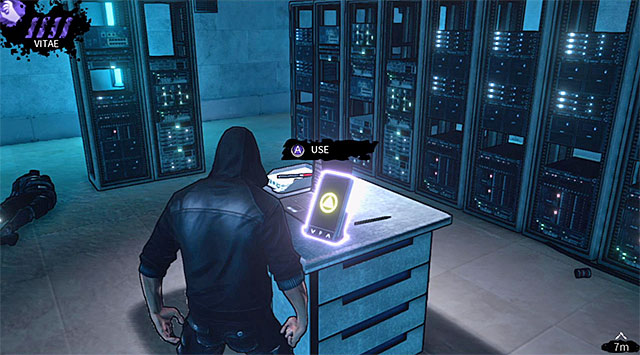
Once you've secured the entire upper floor you may finally check the server room in order to find a PDA (200 experience points) (screen).
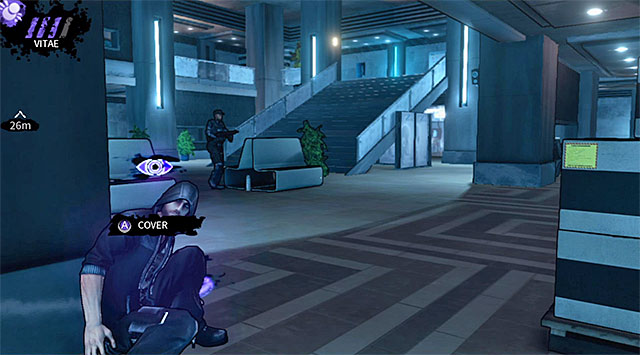
Return to the main part of the atrium for the last time. There are only two guards left here and they're both patrolling the lower level of the atrium. Eliminating the hunters may prove to be risky so think it through if it's really worth it to fight for additional XP. If you still want to try then start off with the opponent who is patrolling the center of the atrium.
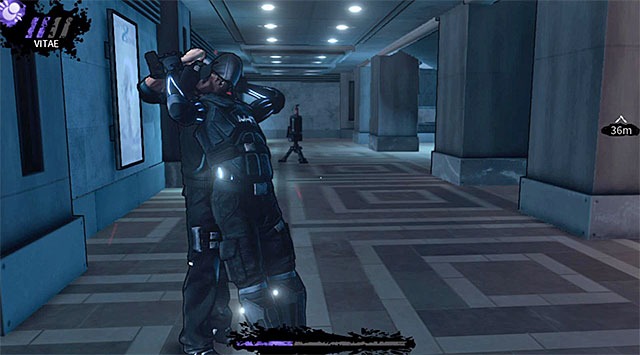
The second vampire hunter is patrolling the area under the balconies you've visited before. I recommend attacking him when he's close to one of the corners of the atrium, because there's an UV generator in the middle of his path and you could alarm him unintentionally.
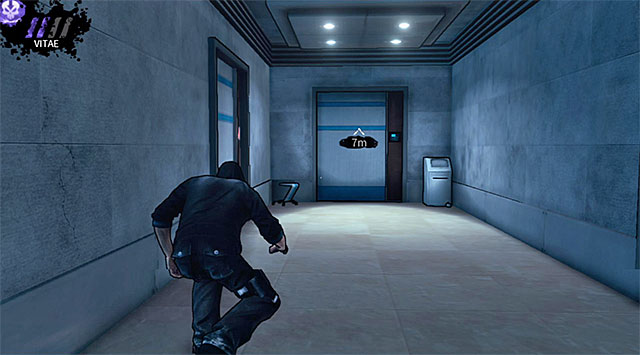
That's it for the atrium so once again choose one of the corridors on the left side of this location (ground floor). Approach the door leading to the warehouse and use the key acquired from one of the offices to open this passageway.
You are not permitted to copy any image, text or info from this page. This site is not associated with and/or endorsed by the Kalypso Media or Realmforge Studios. All logos and images are copyrighted by their respective owners.
Copyright © 2000 - 2025 Webedia Polska SA for gamepressure.com, unofficial game guides, walkthroughs, secrets, game tips, maps & strategies for top games.
