DARK: Geoforge - security office
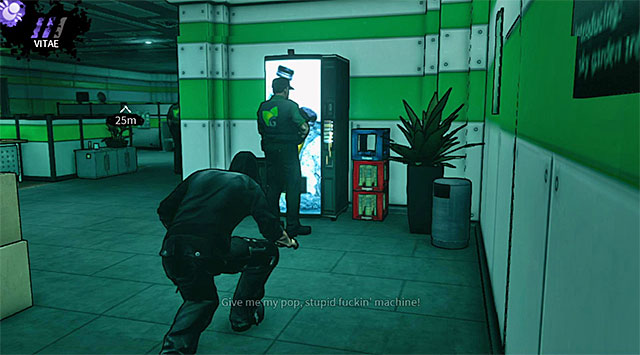
Use the narrow corridors to reach the security room. There are five guards in total in this area. The first guard is standing next to a broken vending machine. If you plan on killing this person then wait for the second opponent to go left. Once you've killed the soldier quickly drag his corpse to the previous corridor.
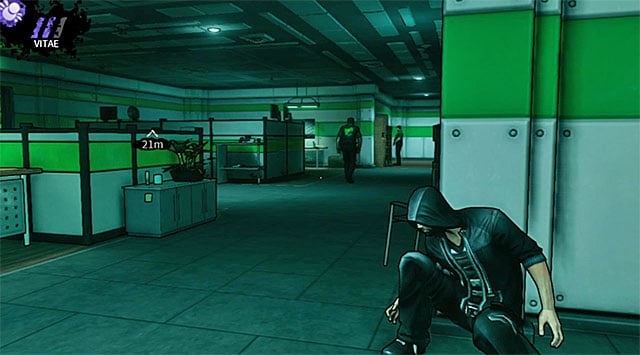
Wait for the second guard to move away for the second time (he will enter a room located to your left). Quickly start moving towards two other guards seen on the screen above. Perform quick executions on your enemies and then hide their bodies. It's also important to do that before the second guard shows up again and finds his dead colleagues.
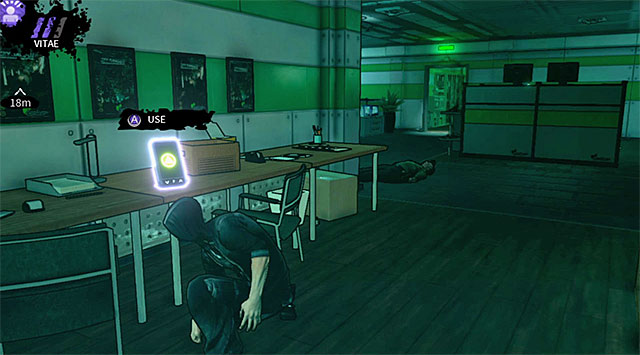
Remain in the central part of the security room and search the area located to your right. There's a PDA (200 experience points) here (screen above).
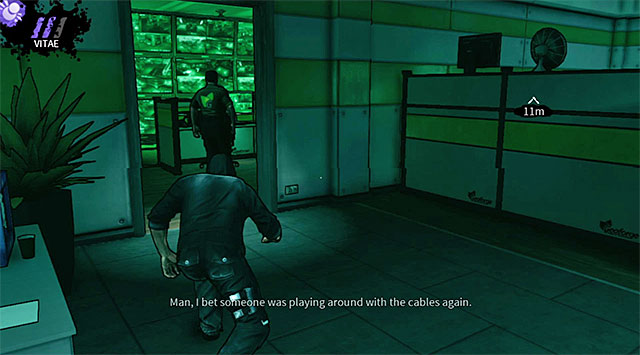
Once again you must wait for one of the security guards to proceed to the left room. Follow him there and eliminate him.
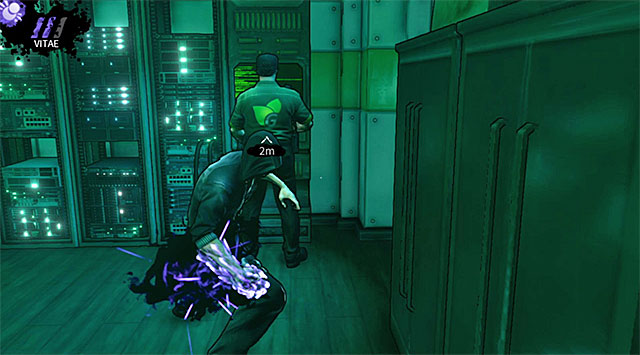
The last opponent from the security room is standing next to a computer terminal found to the right of the entrance and it's the only person you really MUST kill in order to proceed with the mission (if other guards are still alive then don't forget to hide the corpse somewhere near the monitors).
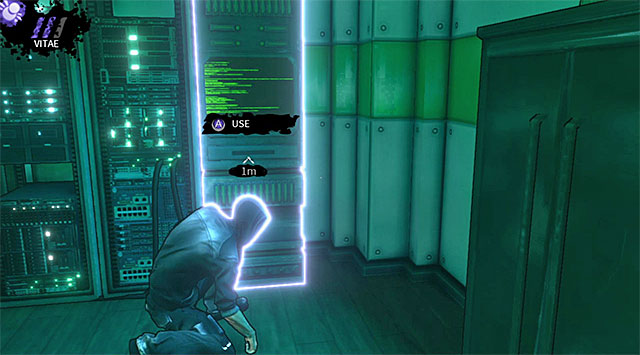
You may finally interact with a computer station shown on the screen above. Doing this will shut down the tower's security system.
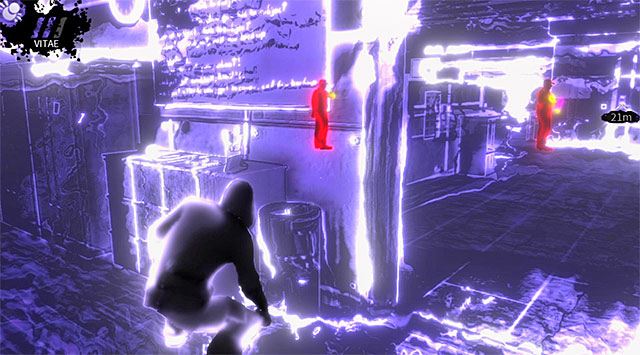
Exit the side room. If you've already killed all nearby guards then you may start moving towards the reception right away. Otherwise you will have to remember about avoiding the guards seen on the screen above (they also make it really difficult to reach a secret found in the security room). In this case you should rely on Shadow Leap, as well as on such powers as Domination, Distract or Presence. Watch a cut-scene from a new meeting with the "angel" and then finish going back to the reception.
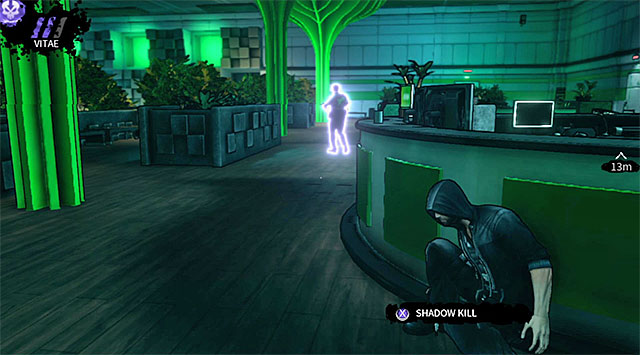
Once you've returned to the lobby you should notice that the receptionist has vanished and instead a new guard is stationed near the reception. The guard will soon start a patrol so you should kill him rather quickly before he finds the bodies of the people you've killed at the beginning of this chapter.
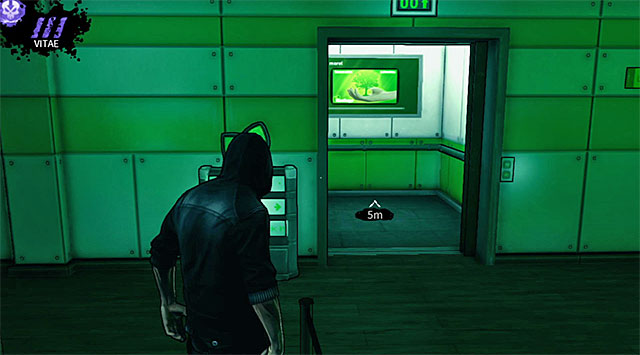
Once you're done here locate an active elevator seen on the screen above. Enter the elevator and wait for Eric to be transported to one of the tower's higher levels. The game will reward you with 500 experience points for finishing the first part of this chapter, however if you didn't raise any alarms in the lobby and in the security room you'll also receive a bonus - 1000 experience points.
You are not permitted to copy any image, text or info from this page. This site is not associated with and/or endorsed by the developers and the publishers. All logos and images are copyrighted by their respective owners.
Copyright © 2000 - 2025 Webedia Polska SA for gamepressure.com, unofficial game guides, walkthroughs, secrets, game tips, maps & strategies for top games.
