Harding Museum - catacombs | Chapter 1
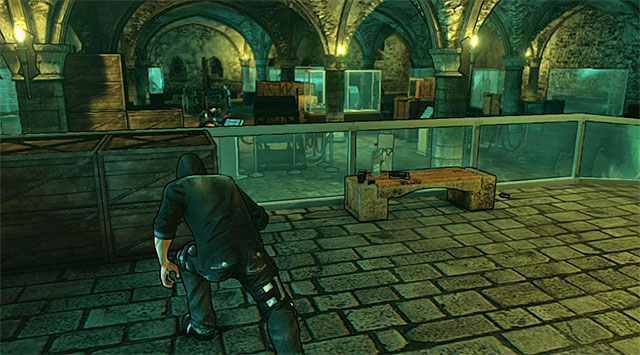
Wait for the elevator to transport you to the catacombs. Exit the elevator, hide behind the nearest crates and take some time to get to know your new surroundings. During your time spent in the catacombs you'll be dealing not only with new museum guards, but also with undead monsters called ghouls. These creatures don't have good eyesight and you definitely can use this to your advantage. There's also some bad news, because alarming the ghouls means serious trouble and is essentially equal to restarting the level from the last checkpoint. The reason for that is because alarmed ghouls start to move very fast and they can inflict poisonous attacks.
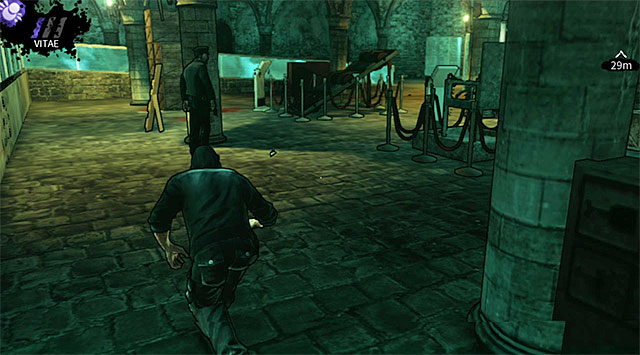
Go to your right and don't forget to use the balustrade for much needed cover. There are two guards in the vicinity and they'll soon go in different directions. Focus on a guard that will go left and eliminate him so that he doesn't surprise you later in this stage. An interesting thing to know is that you can drink the blood of this opponent, because even though this action will get the ghoul's attention it won't convince them to check the source of strange noises and as a result you won't be discovered. Once the guard has been killed move his corpse slightly to the left.
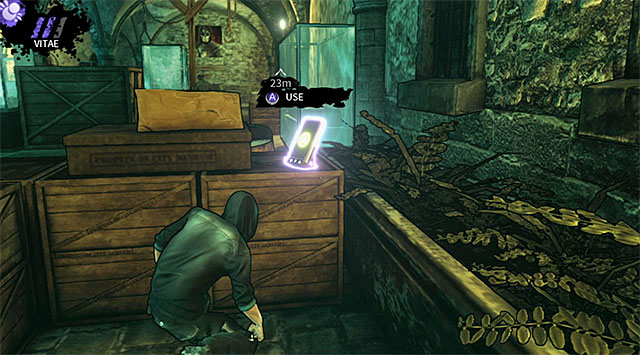
Return to the area where both guards were recently having a conversation. Watch out for the remaining enemy, because he's still active and he may have returned to this area in the meantime. There are also new motion sensors in the catacombs and you'll have to remember about them. Find the crates seen on the screen above and collect a new PDA (200 experience points).
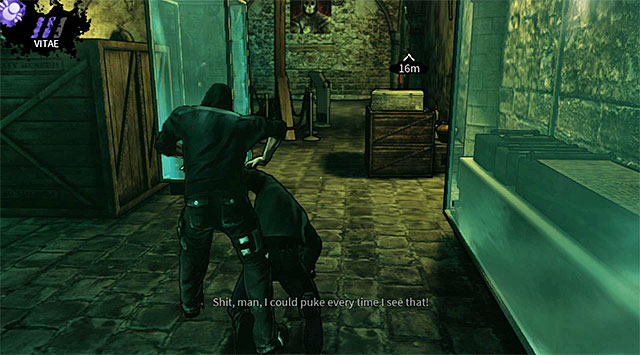
It's strongly recommended that you kill the second museum guard as well. Wait for this person to turn around and immediately start closing in on your opponent. You must kill the guard before he gets too close to other enemies from the catacombs, because otherwise he may enter their line of sight. Drag the body to the area where you've found the last collectible and leave it there. Important - If you plan on keeping all of the nearby guards alive you will have to use nearby showcases for cover. Relying on vampiric abilities is also a good idea.
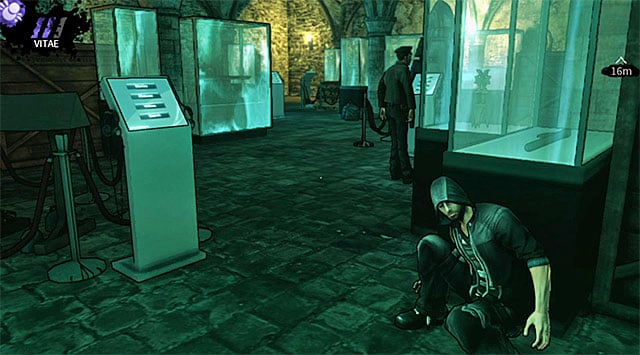
The third opponent is standing in the middle of the room, near the ghouls that are consuming one of the corpses. This person shouldn't move from his original post, so eliminating the guard won't be a big problem. The only thing you need to watch out for is to stay away from new motion sensors, because otherwise you'll alarm the guard about your position.
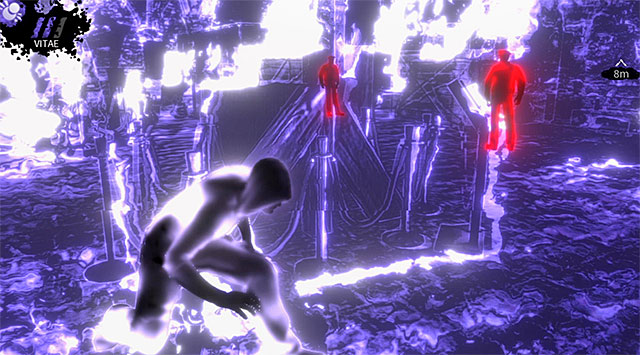
You may now carefully approach the last two guards from the first area of the catacombs. It's crucial that you wait for them to end their conversation, because that's when one of them will start moving in a different direction.
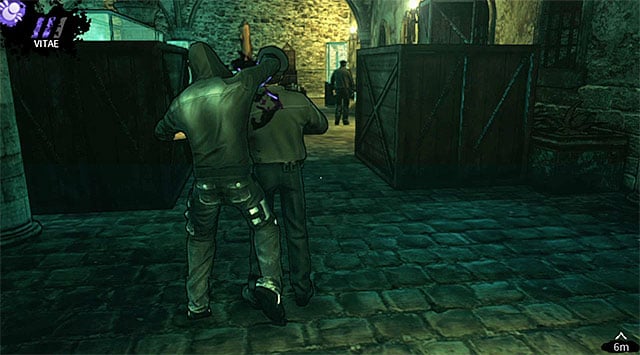
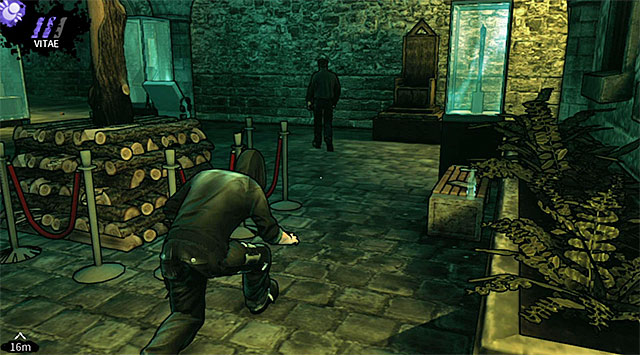
You can avoid both guards mentioned above if you want to, however I recommend killing them, especially since it won't be hard. Start off by attacking the guard that doesn't plan on leaving his post (screen 1) and then quickly get to his colleague before he manages to turn around (screen 2).
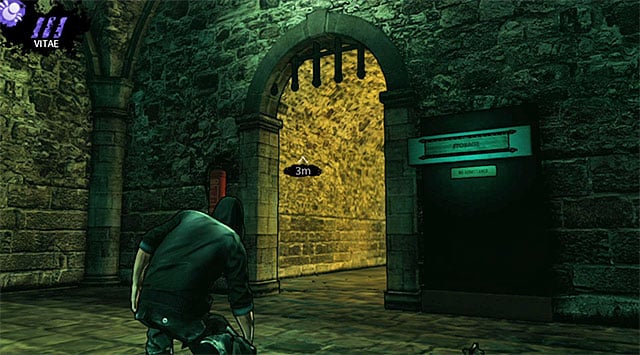
If you've followed my instructions then you've eliminated all the guards and there are only ghouls left here. The monsters are stationed close to each other so it's best that you leave them alone, because even using more advanced vampiric abilities will be risky here and can cause an alarm. The exit from the first part of the catacombs can be seen on the screen above.
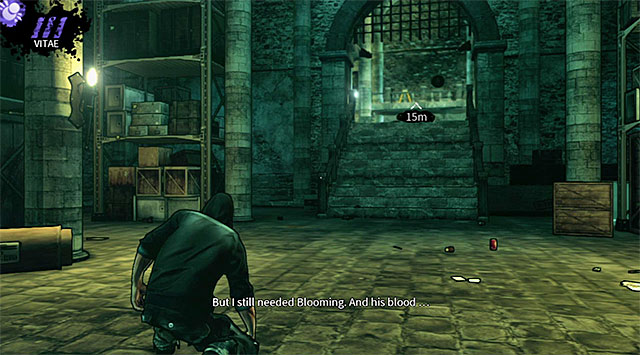
Use the narrow corridors to reach the next area, witnessing a new cut-scene featuring an "angel" along the way. You'll soon get to a larger cellar. Ignore exploring the cellar and proceed directly to the stairs leading to Blooming's hideout.
You are not permitted to copy any image, text or info from this page. This site is not associated with and/or endorsed by the Kalypso Media or Realmforge Studios. All logos and images are copyrighted by their respective owners.
Copyright © 2000 - 2025 Webedia Polska SA for gamepressure.com, unofficial game guides, walkthroughs, secrets, game tips, maps & strategies for top games.
