Harding Museum - cellar | Chapter 1

Sadly you can't expect for Blooming to give you his blood voluntarily. Instead the vampire will begin a (long) escape and he will also send two of this guards after you. Make sure that Eric is taking cover behind a large crate, because you can't be exposed too early. Wait for the more distant guard to go left and move to your right, because you've probably noticed that his colleague is heading your way.
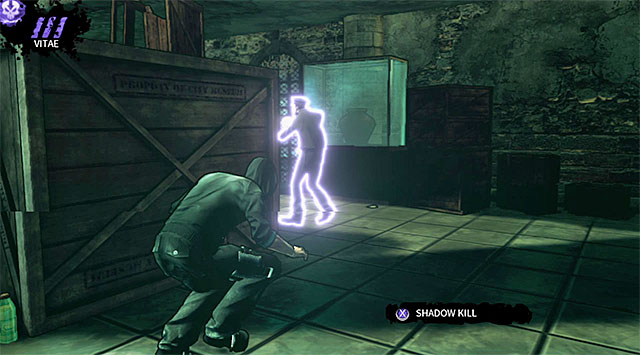
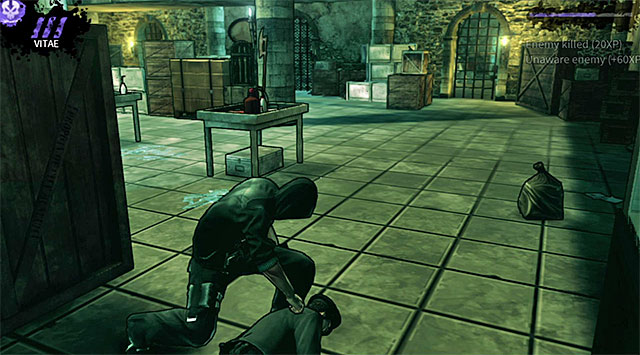
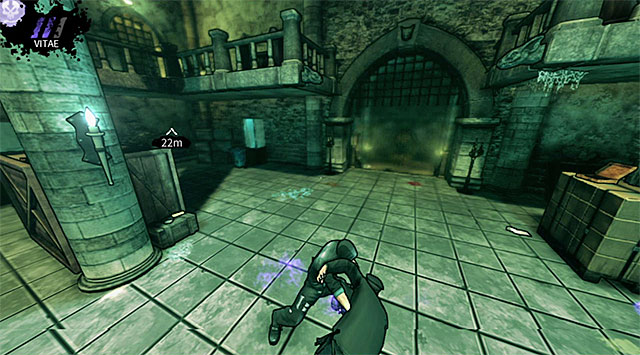
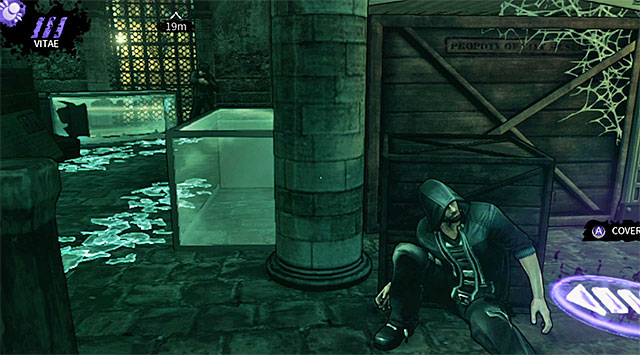
Walk around the large crate so you're not caught while trying to stay in the original position. Use the large crate to surprise the first guard from the back (screen 1). You must kill this person, because it's the only way to move on with the mission. Grab the corpse and hide it behind the crate (screen 2). This is extremely important, because a new guard will show up in this room later on and he will turn hostile if he finds the body.
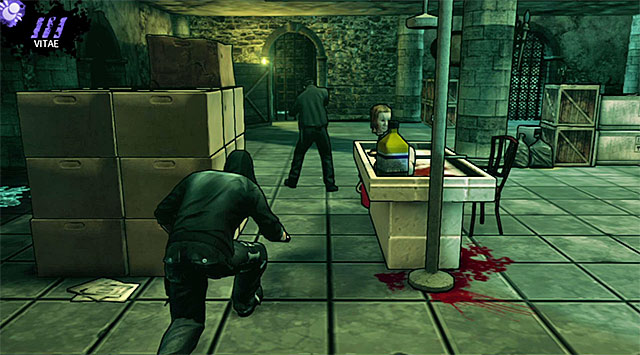
Notice that the second guard has stopped in the left part of the room. Start moving towards him and make sure not to step on the broken glass while trying to close the distance to him. Perform a silent kill and also take care of hiding the body. Leave the corpse behind one of the big obstacles so that it won't be seen from the middle of the room.
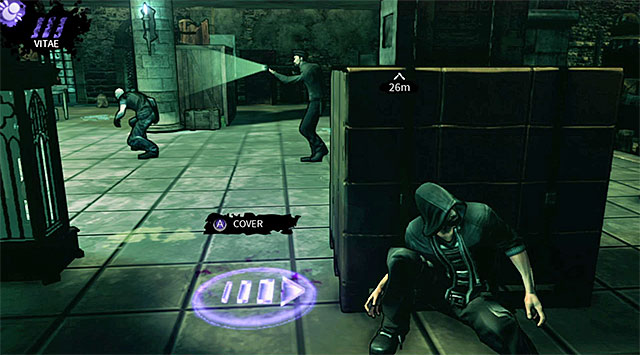
Blooming will soon send more enemies after you. To be specific - you will have to deal with a single ghoul and with two museum guards. Take cover behind the crate seen on the screen above. Wait here for the monster and for one of the opponents to show up. If you hid the bodies then the guard shouldn't be alarmed and he'll stop for a while in the center of the room (next to the ghoul).
Useful tip - Ghouls can't be seen by default when using the Vampire Vision ability. You can change that by purchasing a Clairvoyance upgrade (Auspex category) and it's certainly a good idea, because you'll be dealing with these monsters rather frequently.
Notice that the guard is commanding the ghoul and wait for him to send the creature to the first room of the cellar that you've been to some time ago. You can now either immediately attack the unprotected guard (Shadow Kill and Shadow Grip abilities) or you can wait for him to go past you and approach him to perform a quick execution. If you chose a standard kill then you must also make sure that you're not seen by the other guard from the adjacent room.
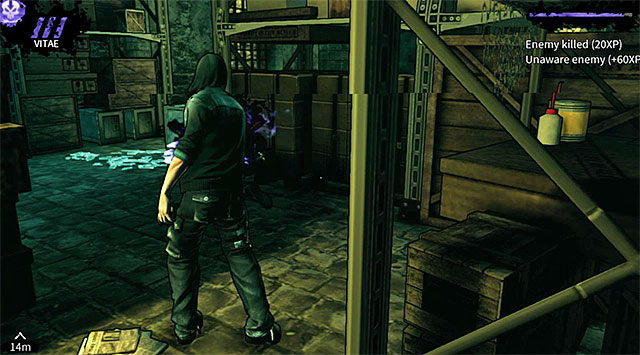
Use the stairs and return to the previous area of the cellar. You must be careful, because aside from a ghoul there's also a second guard here. I recommend that you turn left immediately after using the stairs and take cover behind the crates seen on screen 1. Wait for the guard to start moving away and follow him, avoiding new broken glass along the way. You can leave the guard alone and leave this area right now or go after him and kill him (screen 2).
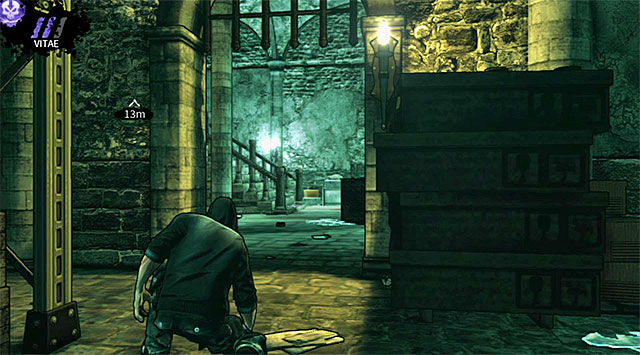
Before you decide to leave the main area of the cellar you can also murder the ghoul that was commanded by one of the museum guards. It's not mandatory, however it's an easy way of scoring additional experience points. Approach the ghoul from the back and press the key/button responsible for performing quick executions (sadly you can't drink the creature's blood to regain Vitae). Once you're done here use the passageway seen on the screen above - it's located next to a corridor which was patrolled by the last guard.
You are not permitted to copy any image, text or info from this page. This site is not associated with and/or endorsed by the Kalypso Media or Realmforge Studios. All logos and images are copyrighted by their respective owners.
Copyright © 2000 - 2025 Webedia Polska SA for gamepressure.com, unofficial game guides, walkthroughs, secrets, game tips, maps & strategies for top games.
