DARK: Harding Museum - first medieval exhibit
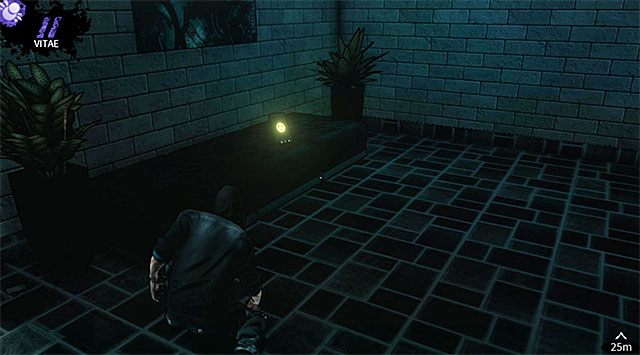
Turn left and make a mandatory stop after reaching the nearest corner. There's a PDA (200 experience points) here and it's shown on the screen above.
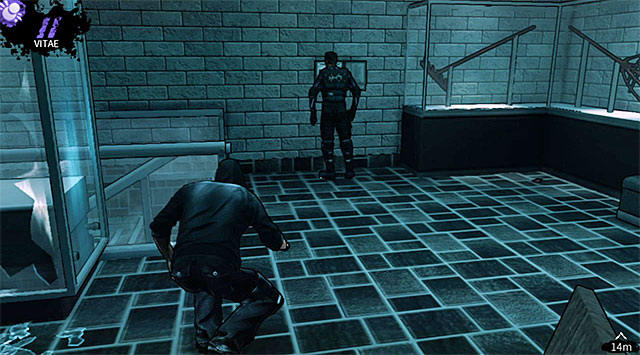
Proceed to your right and watch out for new broken glass found along the way. There's also a guard stationed here and you can either kill him or easily avoid him.
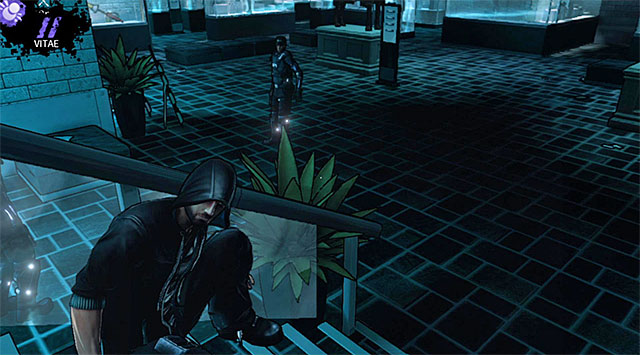
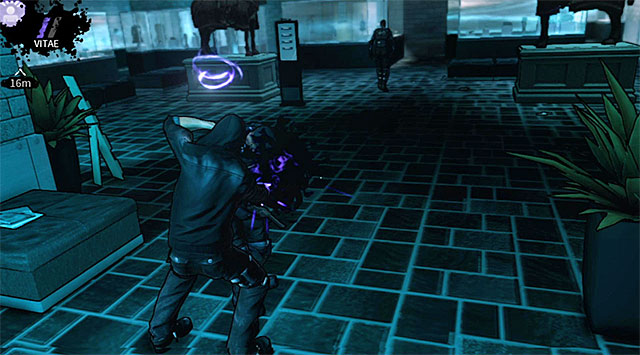
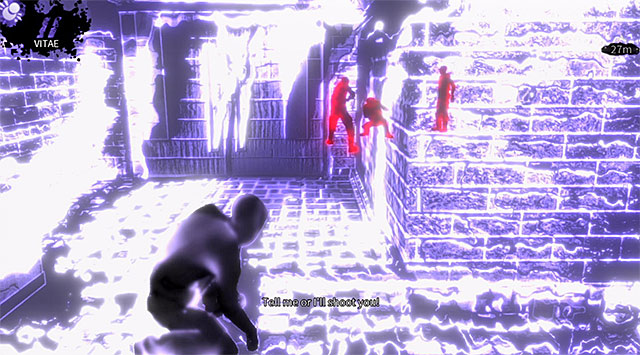
Choose the stairs leading to the ground floor. Stop when you're in a position shown on screen 1 and make sure that you're using the left balustrade for cover. There are two enemies here and sadly eliminating them can be tricky, because they're both observing each other. A good idea for resolving this situation is to use Domination ability on one of the enemies. You must follow this through by performing a quick execution on the stunned guard (screen 2) and then catching up with the other mercenary before he manages to turn around. You can also practice with such powers as Distract and Presence (stunning both enemies at the same time) or try and lure out the guards to the upper floor (running next to a cover or using a basic version of Shadow Leap).
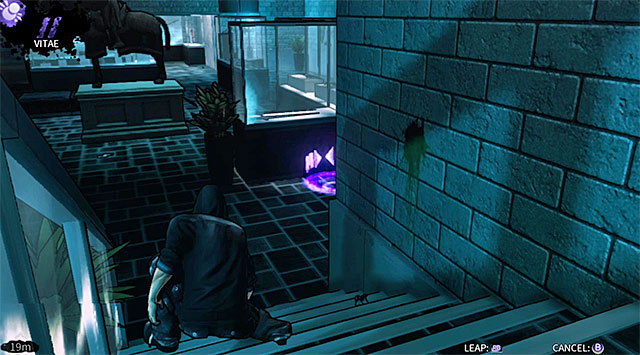
If you don't have any of the vampiric powers mentioned above or don't want to experiment too much then it would be best to avoid both enemies. Make sure that the soldier standing close to the staircase is looking the other way and quickly teleport yourself towards the glass cases located to the right.
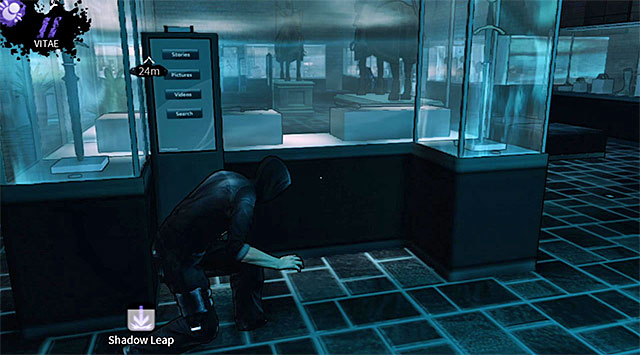
Choosing the longer route to your destination will be safer, however you must remember about an additional thing you found out about after arriving at the exhibition. Some of the showcases here have motion sensors, like the one seen on the screen above. It means that a showcase may start playing a recording if you get really close to it. Activating a showcase isn't equal to raising an alarm, however you can be sure that at least one of the nearby guards will show up to inspect the problem. This can be a complication, but you can also turn it into an advanced tactic, separating a certain person from the rest of the pack and performing an execution when it's safe to do so.
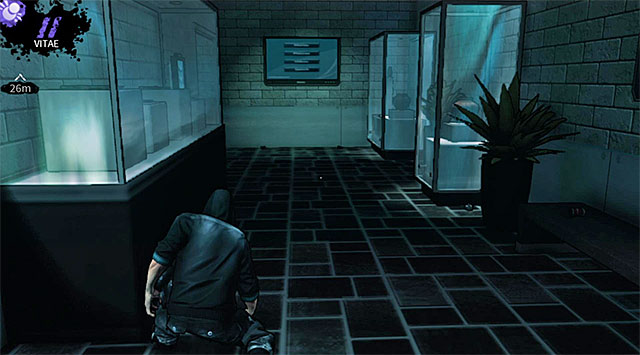
The longer path mentioned above leads through a smaller room located on the opposite end of the hall. You won't encounter any enemies here, but watch out for a new motion sensor.
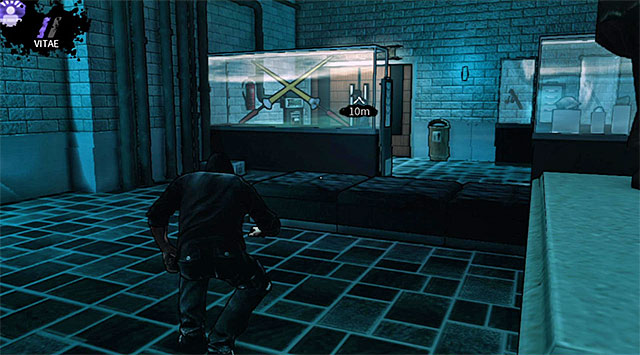
Whether you've killed both guards or decided to avoid them you'll still have to leave this area. Don't rush towards the exit from the first part of the exhibit, because there are other soldiers in the area.
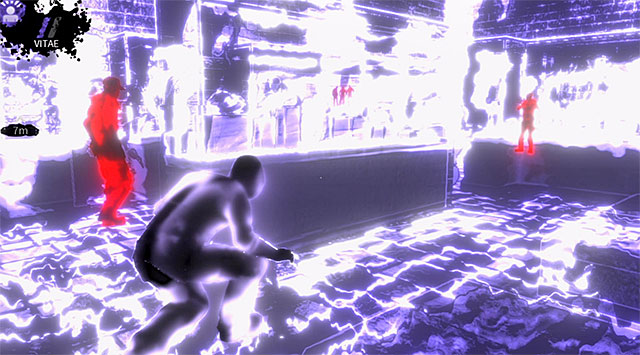
If you want to leave this area as soon as possible then you must wait for a nearby guard to start moving right before heading towards the exit. If you plan on eliminating this person then start sneaking close to the guard, remembering to avoid new motion sensors along the way.
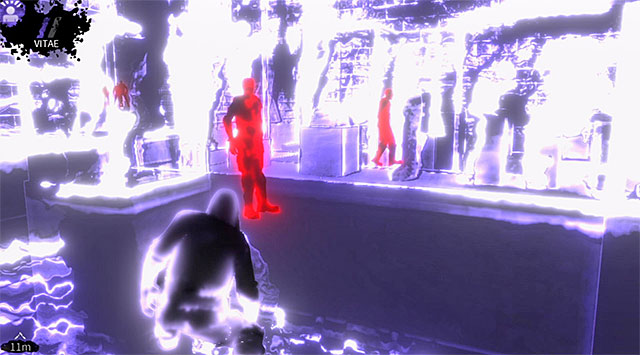
Make a stop once you've reached a showcase seen on the screen above. It's very important to use Vampire Vision here, because there's a second soldier in a new side room. Wait for this person to turn around and move away before attacking the guard you were following up to this point.
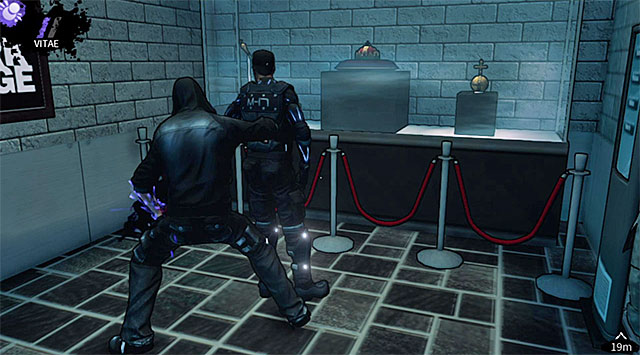
You can now either take your time and carefully drag away the corpse to safety or immediately enter the second side room to kill the last guard before he manages to turn around.
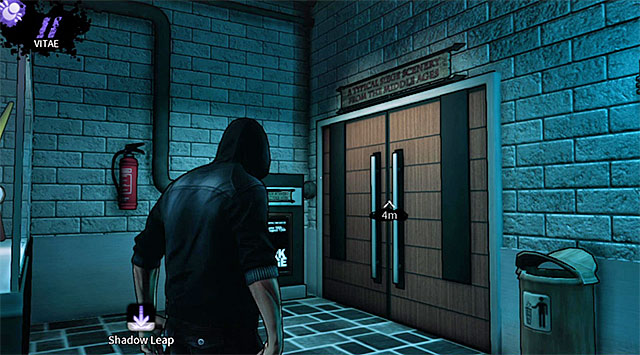
The exit from the first part of the exhibit is located in a corner to the left of the stairs you've used to get to the ground floor and you can see it on the screen above.
Start exploring very linear corridors, witnessing a new cut-scene featuring "the angel". Ignore a conference room found along the way, because it doesn't hold any valuable treasures. You should on the other hand approach the entrance to the left room. There are two enemies inside this room and they're interrogating a museum guard. Wait for this person to be killed (unless of course you're not planning to kill the soldiers - in that case it's best to leave this area as soon as possible).
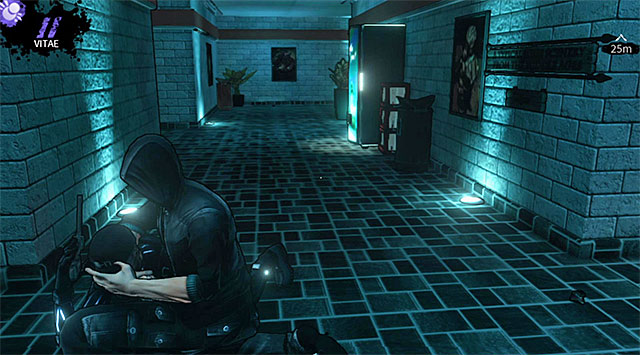
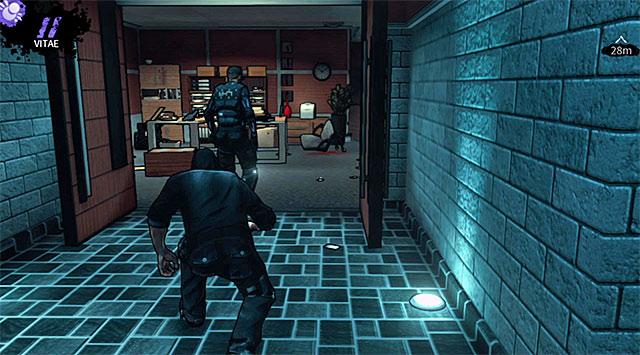
Move away to one of the previous corridors, because enemy soldiers will soon leave the room and one of them will start moving your way. It's best to surprise this person near one of the corners in order to perform a silent kill (screen 1). As for the other opponent, he will begin patrolling between the corridor and the room with the killed museum guard. Make a surprise attack when the mercenary is facing the other way (screen 2).
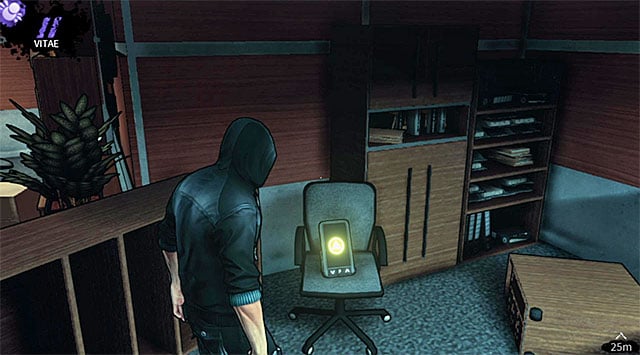
The biggest advantage of killing both enemies described above isn't earning additional experience, but gaining access to the room where they were interrogating the museum guard. Explore this room to find a PDA (200 experience points) shown on the screen.
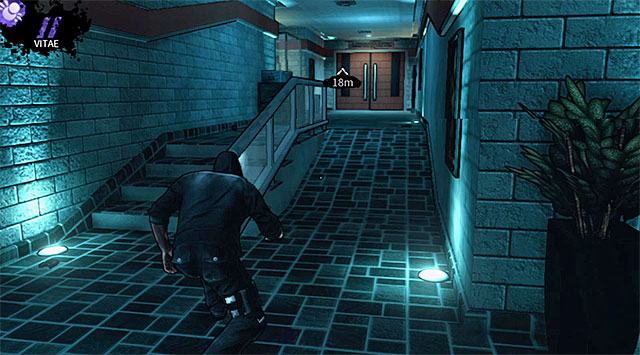
You may resume exploring the narrow corridors and you'll soon get to a door leading to a much larger medieval exhibit.
- DARK Game Guide
- DARK: Game Guide
- DARK: Chapter 1
- DARK: Harding Museum - plaza
- DARK: Harding Museum - pavilion
- DARK: Harding Museum - main hall
- DARK: Harding Museum - first medieval exhibit
- DARK: Harding Museum - second medieval exhibit
- DARK: Harding Museum - catacombs
- DARK: Harding Museum - cellar
- DARK: Harding Museum - Blooming's hideout
- DARK: A New Hope
- DARK: Chapter 1
- DARK: Game Guide
You are not permitted to copy any image, text or info from this page. This site is not associated with and/or endorsed by the developers and the publishers. All logos and images are copyrighted by their respective owners.
Copyright © 2000 - 2025 Webedia Polska SA for gamepressure.com, unofficial game guides, walkthroughs, secrets, game tips, maps & strategies for top games.
