DARK: Cryogenic - warehouse

The warehouse is a large location which consists of three areas. An important to thing to know about this place is that you'll be dealing with very large groups of vampire hunters and you'll be exploring small rooms. As a result avoiding killing other people will be practically impossible. I recommend that you follow the instructions published below, especially since aside from living opponents you'll also have to watch out for UV generators and security cameras.
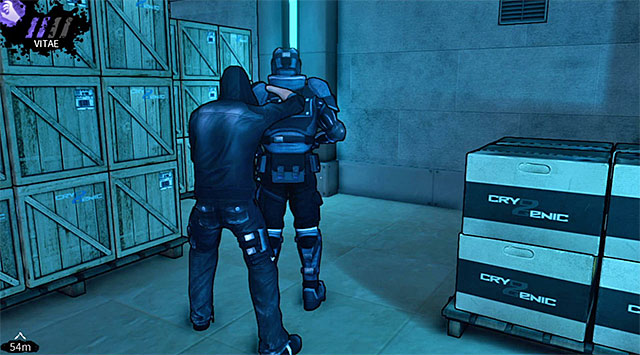
Head left as soon as you've regained control over Eric and attack an armored hunter who's currently patrolling this side passageway. Once the soldier is dead hide his corpse behind the crates.
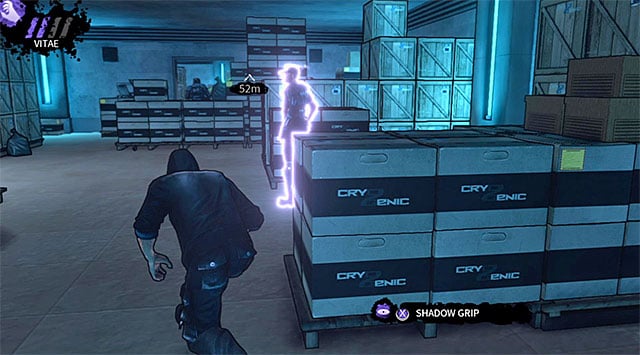
You should now move to the right side of this room, using teleportation if necessary. Wait for a new hunter seen in the distance to turn around and leave this room. Once this has occurred deal with a standard guard seen on the screen above. Make sure to grab the body afterwards and to drag it to the right.
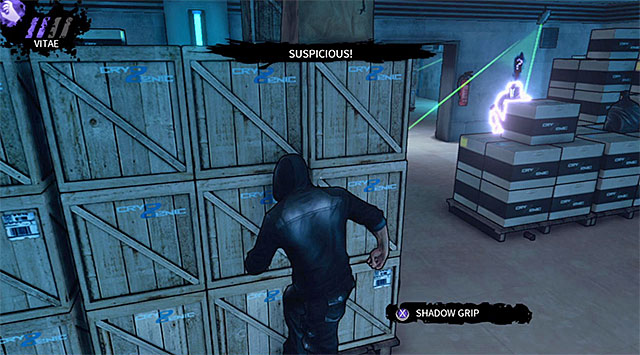
Take cover near the large crates located close to the exit from the first area of the warehouse and wait for the armored opponent mentioned earlier to show up here again. Stand up and start running to attract the attention of this hunter. Wait for the suspicious guard to start moving your way, approach him from the other side of the crates and eliminate him.
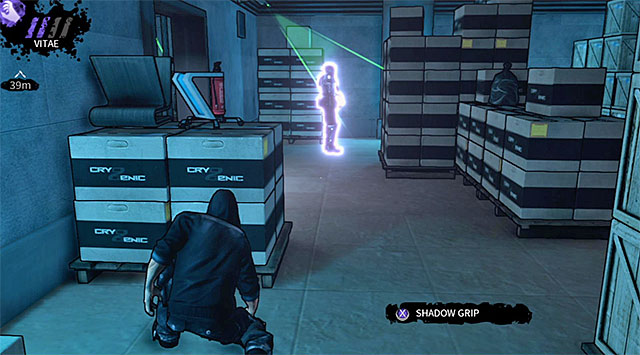
The last guard from the first area of the warehouse is standing directly underneath a security camera. The best way to get rid of this person is to use Shadow Grip and if that's not possible you should avoid this hunter, because relying on running to make him suspicious may prove to be quite risky.
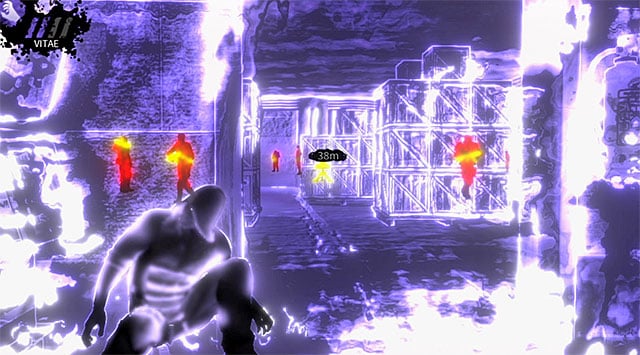
Don't rush to enter the second area as soon as possible and instead take cover close to the entrance. Activate Vampire Vision and notice that new hunters are occasionally stopping to the left and to the right.
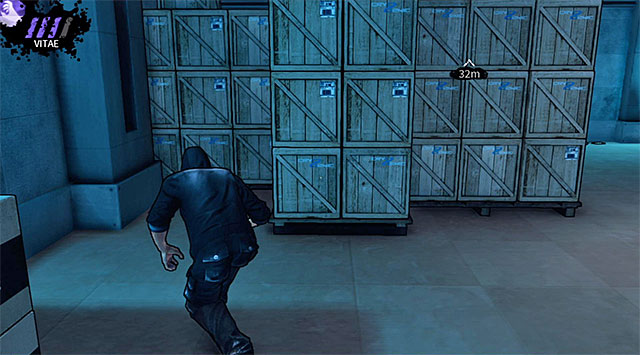
Wait for both guards to start moving in an opposite direction. Quickly enter the second area and move left, avoiding a new security camera along the way. Take cover behind the crates seen on the screen above (they're located directly behind a standard guard you're trying to avoid).

Remain hidden and wait for the enemies to once again start moving towards the passageway you've recently used to get here. Attack a standard soldier from behind and attempt to drain him of his blood, because having a lot of Vitae will come in handy very soon. As for the body of this opponent, you should consider dragging it to the previous area. I must warn you though, because it may prove to be risky since Eric will have to avoid a second hunter and both cameras at the same time.
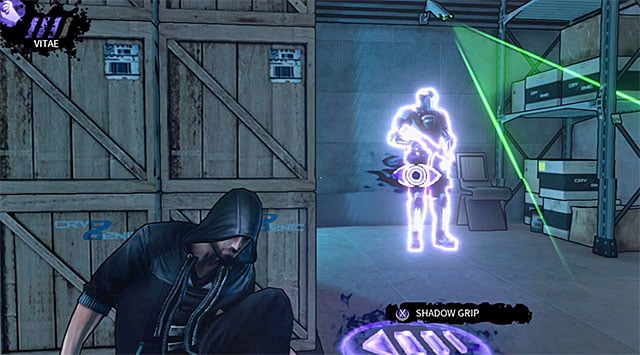
There are still two armored hunters in the second area of the warehouse and the first person to die should be the soldier guarding a passageway located to the right of the entrance. If you don't want to take any risks you can use Shadow Grip on him. If you didn't fully develop this ability or if you want to spend Vitae somewhere else then you may consider using running to distract this soldier, allowing you to eliminate him someplace quieter.
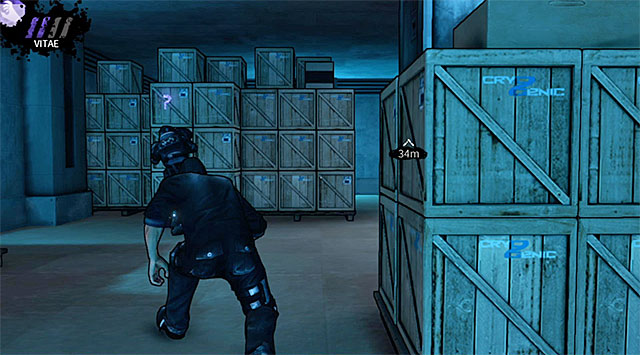
The second armored opponent is guarding the exit from this room. In this case you should rely on your running to make the guard suspicious so that he leaves his post. Attack him when he's close to the crates and leave his body there.
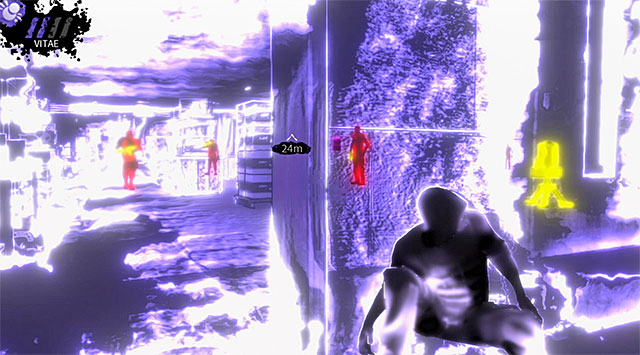
You may now carefully move closer to the entrance to the third area of the warehouse. Get ready for the most challenging part of your journey during which you will be dealing with three hunters and an UV generator.
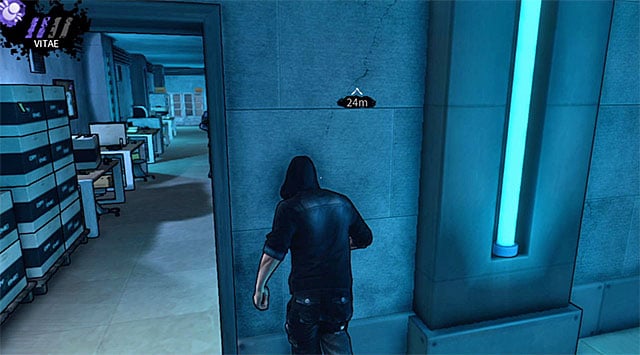
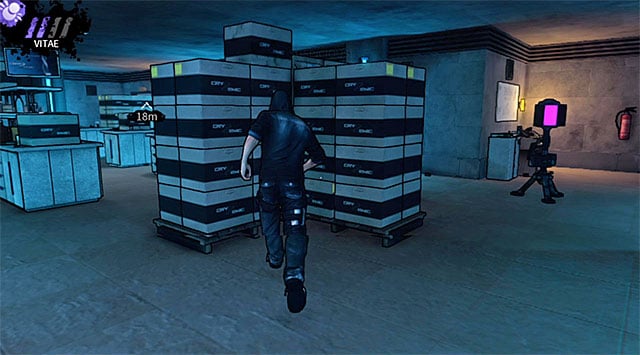
Eric by default should be able to distract the opponents from the third area using running. You can use this method to lure out an armored hunter by running close to a wall (screen 1) and then on a standard guard by running close to the crates (screen 2).
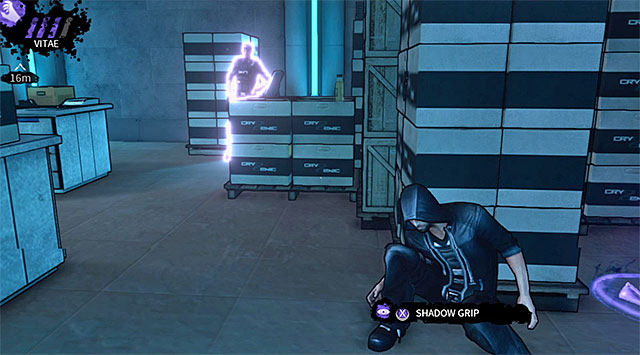
If you've been regularly improving your vampiric abilities then you've probably unlocked silent running and as a result the method described above may not work, because your enemies simply won't hear you from a larger distance. This means that you'll have to think of an alternative way of how to get rid of them. Wait for an armored opponent to move far away from you (don't forget that this hunter will turn around soon after he starts moving!) and take cover behind the crates to the right, not too close to an UV generator. Use Shadow Grip to kill a guard to the right and dispose of his body or quickly teleport yourself behind him to perform a standard execution (in this case you'll have to hide his body yourself behind one of the larger obstacles).
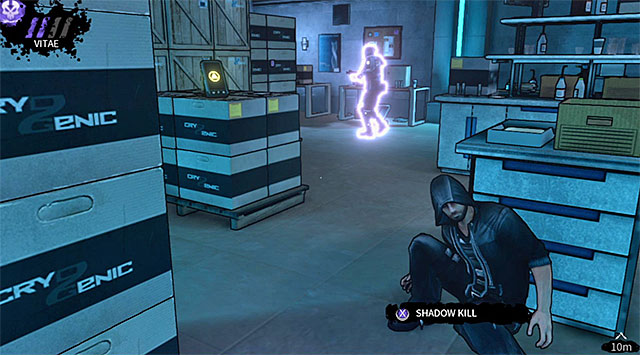
Once you've eliminated the guard who was standing to the right you may finally focus on an armored hunter who is patrolling the center of the third area. Once again the safest way to go is to rely on a long-distance kill, because otherwise you would have to approach him very carefully, making sure not to move too close to the UV generator.
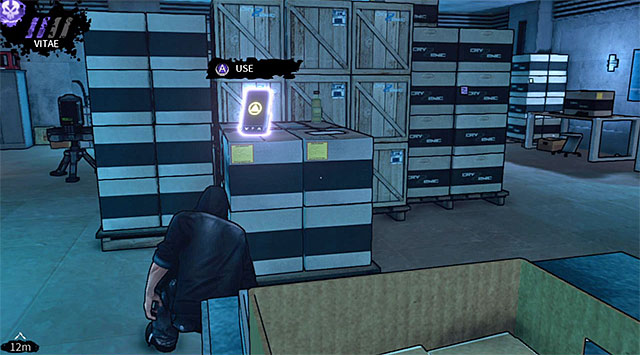
Go back to where you've killed the first guard and inspect the crates located near the generator to find a PDA (200 experience points) seen on the screen above.
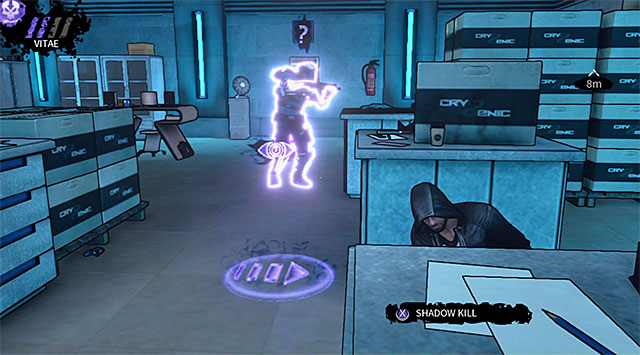
There's only one more armored hunter left in this area and you should take interest in him right now. In this case using a long-distance power isn't the only good option, because you may as well perform a sprint near a cover and surprise him from behind when he shows up here to inspect the source of the disturbance.
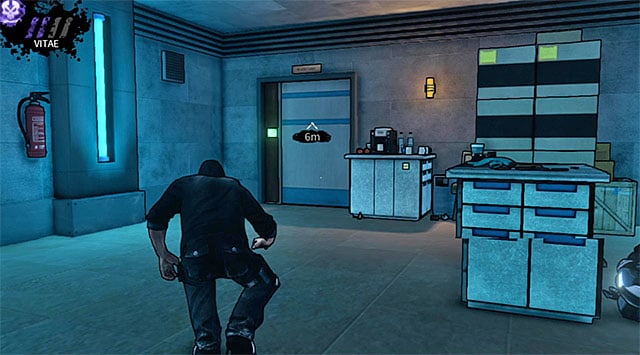
Proceed towards the exit from the final third area of the warehouse, arriving in a short corridor leading to the laboratory.
You are not permitted to copy any image, text or info from this page. This site is not associated with and/or endorsed by the developers and the publishers. All logos and images are copyrighted by their respective owners.
Copyright © 2000 - 2025 Webedia Polska SA for gamepressure.com, unofficial game guides, walkthroughs, secrets, game tips, maps & strategies for top games.
