Thief: Exploration of the second part of the foundry
The [Old Foundry - Manufacturing Area] is the second area in the foundry. Also here, Garrett can follow several different paths. The destination now is the second hook, but it is located behind a door that requires a special key to open (Machinery Room Key). The information about different ways to obtain the key (the scientist, the chest) can be found further in the text.
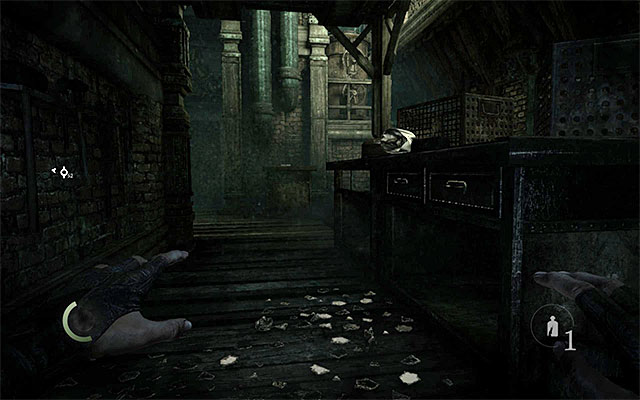
Start sneaking straight away and avoid walking faster over the fragments of shattered glass around (crouch over them and slow down your movements), because there will appear an opponent with a cross bow here, otherwise and, as a result, you will have to try to avoid detection. At the same time, it is worth adding that the opponent has a Coin Purse - 12G attached to his belt. You should not ignore the area with the shattered glass, because there is a locked drawer there, where you can find a Magnifying Glass - 10G. Apart from that, you can also find Scissors - 3G in the area, as well as a note (Break Spot). After you have explored the first area, walk towards the locked door and open it, using the lockpicks. In this location, you can find a Knife - 2G, a Fork - 2G), a Flask - 4G), a letter (Renovation Notice) and a Telescope - 45G; you need to reach the wooden planks under the ceiling).
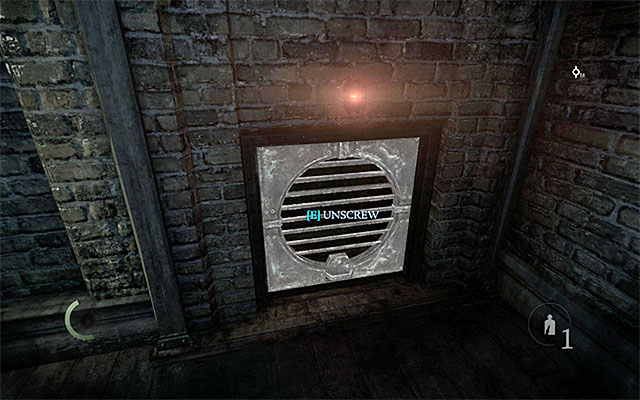
Now, you need to decide, for the first time, about which path to take. If Garrett has the wrench on him, you can gain access to the venting shaft. While following the shaft, you will find a Magnifying Glass - 10G, two Candlesticks - 2x15G and a chest with arrows (3x Blunt Arrow, 1x Rope Arrow, 1x Broadhead Arrow). The tunnel will take you to the area to the North, where there is, among others, the scientist who has the key. A more detailed description of this area can be found further in this guide.
An alternative solution is using the North-Western door to a corridor and stairs. I recommend that you go for this variant, because this is the easier way to get to some valuable collectibles and also, you will get the opportunity to explore the abovementioned area with the scientist.
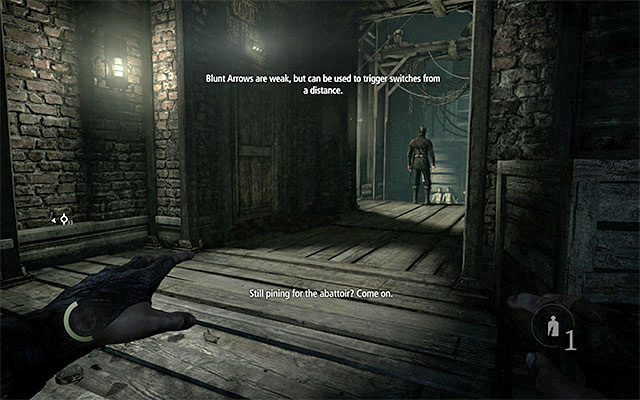
You need to watch out, while following the corridors here, because there are two guards around and you will also need to avoid the glass shards again. Locate the chest and collect the four Blunt Arrows. You can also rob the guards of their Coin Purses. When it comes to walking around the enemies, you can divert the attention of the first guard, by shutting down the lights and dashing past him. In the case of the second one, it is best to wait until he goes the opposite direction, or use a throwable. At the same time, note the door that you pass by - you can also take this one to reach the area with the abovementioned scientist.
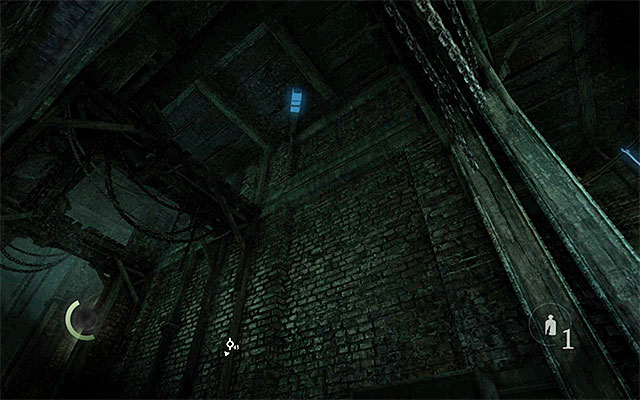
Close to the area , where there were guards at first, you should notice the interactive point shown in the above screenshot. If you have a Rope Arrow you can use the bow to target that point, grab on to the rope and reach the wooden platform above. Jump over to the neighboring ledge and collect the Flowers Eternal - Daisy Brooch from there. You can now jump back down and start following the side corridors to the East. Along your path, turn off the lights and use shadows to your aid.
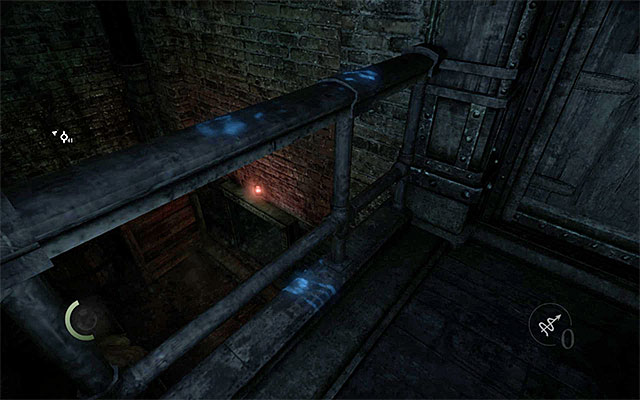
Continue to the North, collect the Knife - 6G, Scissors - 3G and a Gear - 3G. Stop after you reach the North-most area and locate the balustrade shown in the above screenshot. Hop over the balustrade, turn right and walk through the venting shaft, which will take you to a secret chamber.
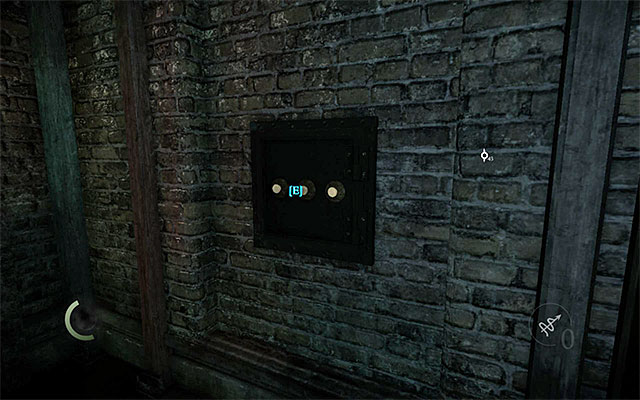
In the secret chamber, you will find, first of all, some new items - a Telescope - 45G, a Magnifying Glass - 15G, a Candlestick - 15G and a Cryptic Letter. This document reveals a hint at how to open the safe, because examining the nearby robots will allow you to determine the first and the second digit of the combination. The correct combination is 314 and entering it will gain you a new unique collectible (Unique Loot - Soul of the Automaton).
If you want to, right after you leave the secret chamber, you can go West immediately. After several moments, you will get near your current destination point. It would be a good thing if you, along your way, climbed onto the metal structure to the north, which will take you to the secret area under the ceiling. Around here, you can find a Coin Purse - 15G and a Flask - 8G.
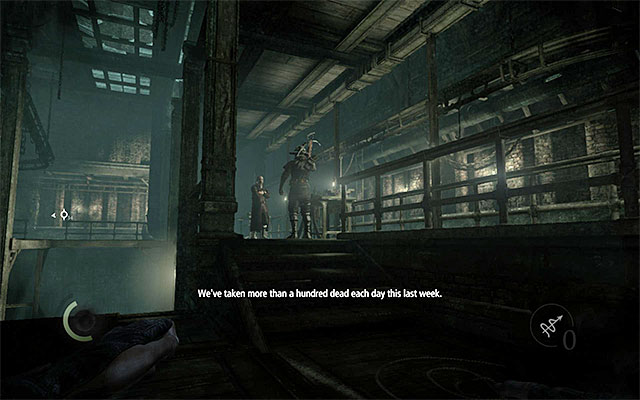
I recommend that, before you leave, you turn your attention to the abovementioned room with the scientist and two guards. As a reminder, you can reach that area, among others, by going back towards the starting points and taking the passage through the venting shaft, or by returning to the corridor with the two guards and opening the door that you have ignored earlier. After you get there, listen to the conversation and learn the current situation. Which is sticky - the scientist and one of the guards are standing on the balcony above, and the second guard is standing in a brightly-lit area below. What is even more, you cannot count e.g. that the objects that you throw will make them change positions.
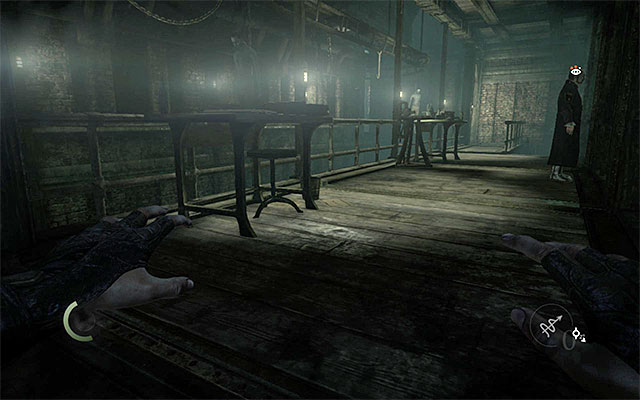
The solution to the problem of disadvantageous deployment of the enemy forces is to approach the opponents from North-West (the above screenshot) while making use of the beams located high above, that Garrett can reach using the claw. If you have come through the venting shaft, it is enough to walk around the opponents from the East. If, on the other hand, you have taken the door, after you walk into this area, take a turn to the right and hop over the balustrade. The main reason, for which you do that, is so that you can approach the scientist safely, because this will allow you to steal his Machinery Room Key. This is not the only person that you can rob, because one of the guards has two Coin Purses - 5+7G on him. The items that you can find here are a Magnifying Glass - 10G, Scissors - 5G, a Pile of Coins - 5G, a Broadhead Arrow, a Gear - 3G, a Candlestick - 6G and a journal (Dead List) on one of the tables. Finally, locate the interactive catch under the ceiling and shoot a rope arrow at it. Climb up the rope to reach the balconies above and find here a Turquise Brooch - 28G.
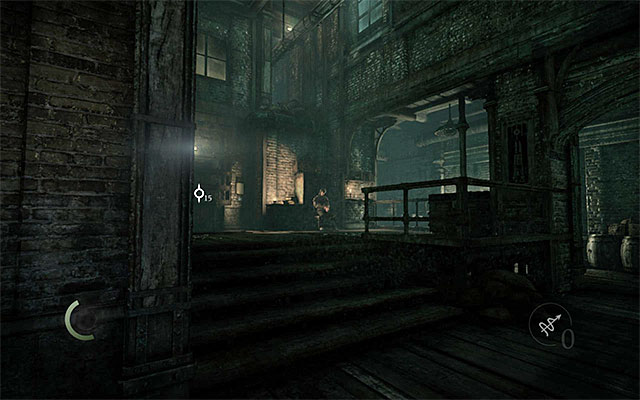
Both of the above variants (using the side corridors or crossing the location with the scientist) will allow you to reach the area shown in the above screenshot, where you will run into a sleeping guard. Start sneaking and watch out for the smashed glass again. Here, you can find a Coin Purse - 13G (on the wooden beams under the ceiling), a Flask - 4G, a Fork - 2G and a note (Off-Limits) attached to a wall. The most important thing to find, however, waits you in the locked chest, which you can get to by walking over the shattered glass carefully. Opening this chest results in the obtaining of the Machinery Room Key, the same which you have (probably) already stolen from the scientist. This means, of course, that you do not need to approach the scientist at all because, to leave this part of the foundry, you only need one key.
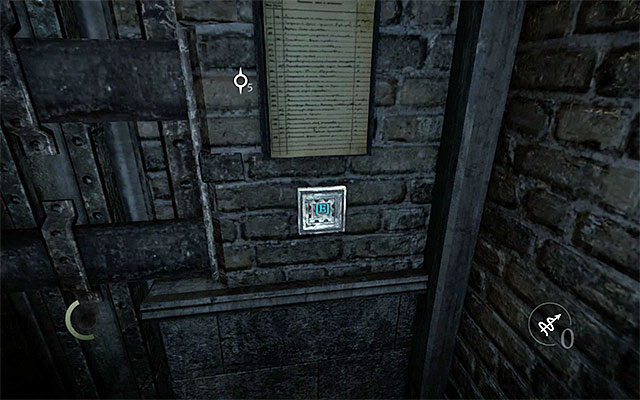
Regardless of the method in which you have obtained the Machinery Room Key you now need to approach the mechanism to the left of the sleeping guard. Explore this area and collect the two Blunt Arrows, a Broadhead Arrow, a Water Arrow, two Forks - 2x6G, two Spoons - 2x6G and a Knife - 6G. Once you decide that you are ready, grab onto one of the hooks again and wait until you are transported to the location with the furnace [Old Foundry - Furnace Hall]. Also in this case, you need to let off before you are spotted by a guard.
- Thief Game Guide
- Thief: Game Guide
- Thief: Chapter 2 Dust to Dust
- Thief: Gain access to the foundry
- Thief: Determine the whereabouts of the corpse stash
- Thief: Exploration of the foundry - map
- Thief: Exploration of the first part of the foundry
- Thief: Exploration of the second part of the foundry
- Thief: Exploration of the third part of the foundry
- Thief: Ring theft
- Thief: Escape from the foundry
- Thief: Mission summary
- Thief: Chapter 2 Dust to Dust
- Thief: Game Guide
You are not permitted to copy any image, text or info from this page. This site is not associated with and/or endorsed by the developers and the publishers. All logos and images are copyrighted by their respective owners.
Copyright © 2000 - 2025 Webedia Polska SA for gamepressure.com, unofficial game guides, walkthroughs, secrets, game tips, maps & strategies for top games.
