Thief: Cross the loading docks of the Hidden City
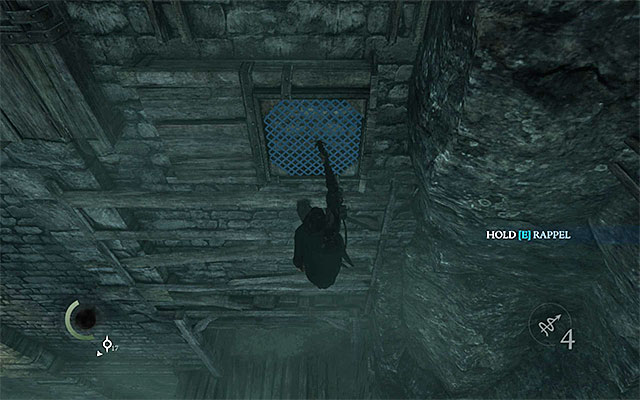
The loading docks is a multi-storey location, although you will be following a quite linear path, for the most part of your stay here. I recommend that you start by letting off the ledge and jumping down onto the one at the bottom. Explore this area carefully, thanks to which Garrett will obtain an Ancient Ingot - 17G. You can now return to the higher level and grab onto the ledge again. Shimmy to the right, turn around the corner and grab onto successive interactive elements. Finally, hold down the key/button that the game prompts you to and slide down the rope, carefully, to land onto another ledge.
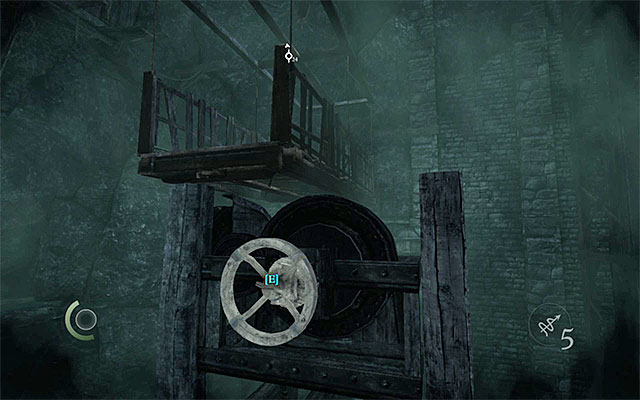
I recommend that you remain in this area and jump down to a much large wooden platform. Locate Scissors - 3G around and examine the turning wheel shown in the above screenshot. Interact with the wheel and lower the wooden bridge, as far as possible. Walk away from the wheel and leap towards the bridge, because it will start coming up again. Leap towards the Southern ledge and turn left. Around, there are an Ancient Armlet - 32G, a Poppy and an artifact(Unique Loot - City Artifact), which is quite well hidden among rocks.
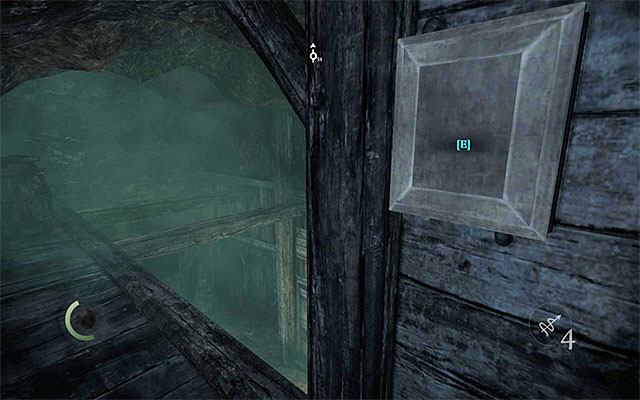
Return to the central bridge and use the turning wheel here, to lower it again. Walk over the bridge and, after you get back to the platform to the North, turn North-Westwards. Start climbing here and enter the cave. After you reach the door that is not barricaded, find a small shaft on the left and take it. DO NOT go to the right, straight away, because there is a trap there and you could die or get wounded severely. Instead, climb onto the ledge above and find a box here to disable it with the wirecutter.
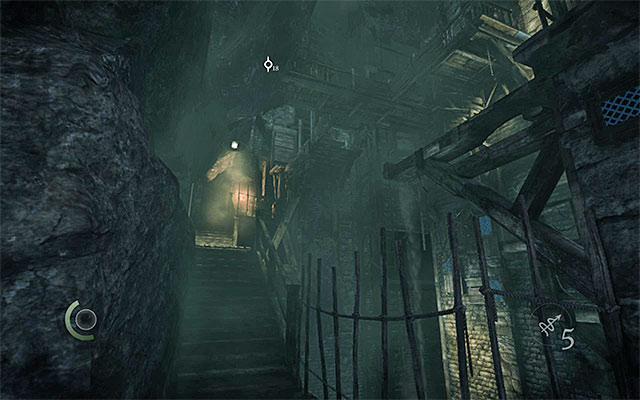
Remain where the box was and find an Ancient Ingot - 17G. Only then, jump down and turn your interest to the treasure that you ignored earlier, i.e. a Pile of Gold - 20G and a Rope Arrow. While you are here, also take a look into the nearby cupboard, to collect a Pen - 10G and a letter (Storage Room). You can now go Eastwards. After several moments, you will approach the upper level of the loading docks. Around, there are three opponents and there are two paths that can take you to your current destination so, it is a good idea to stop for a moment here and plan on the next steps to take.
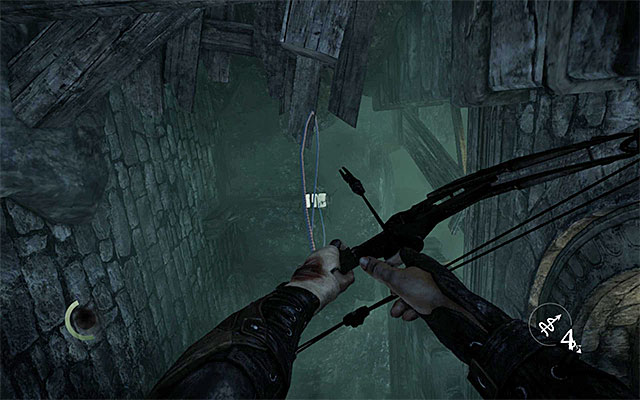
I strongly recommend that you explore (in parts, at least) both of the paths, because this will allow you to obtain all of the loot around. First of all, it would be a good idea to take the path to the right (the Western). Start climbing here, jump towards the nearby ledge and, just like always, try to limit the time that you spend in lit areas. Cross the next cave and find a Coin Purse - 17G there. Apart from that, you should take a look around to locate an interactive catch to shoot a Rope Arrow at. After you do that, use the rope to reach a location with an Ancient Vessel - 48G and an Ancient Armlet - 32G that is just as valuable.
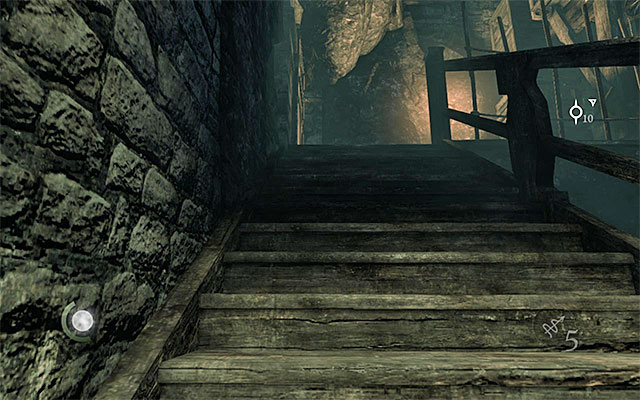
I recommend that you return to the fork now, because this path is not the safest one to leave this part of the docks. After you get to the fork, take the left (Southern) path and take the stairs. Jump over the chasm and use the water arrow to put out the nearby torch (this is not required but will make things much easier, when it comes to staying in shadows). Before you proceed, use the lockpicks to open the door on the left. After you walk into a small room, start by locating the box and disable it with the wirecutter. Only after that, open the large chest here and collect a Broadhead Arrow and a Flash Bomb.
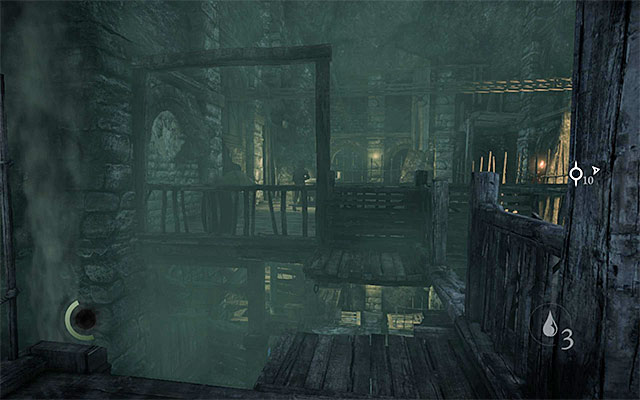
Exit the room and start climbing again, onto the ledges above. If you have followed my suggestion and taken this way to reach the higher level, you will end up in the area shown in the above screenshot. Use the fact that you are standing in the shadows now and learn about the routes of the enemies in this area. If you want to, you can rob the opponent with a crossbow, of two Coin Purses - 12+9G. apart from that, on the table on the left, there is a Gold Coin - 1G and a Coin Purse - 28G, although it is very risky to steal them.
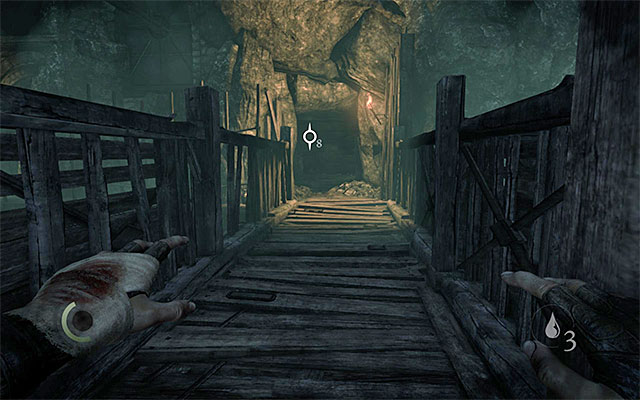
To leave this part of the docks, you need to go to the entrance in the cave on the right. Before you do that, I recommend that you use the water arrow again to put out the nearby torch. Also, it would be a good idea to wait for the single guard, walking around that area walks away from you. After that happens, follow him. Along your path, you should watch out for the broken glass and the pitchers, and avoid a situation in which Garrett is spotted prematurely. You should also remember that the guard will, sooner or later, turn back so, hide somewhere in the shadows and allow him to pass you by.
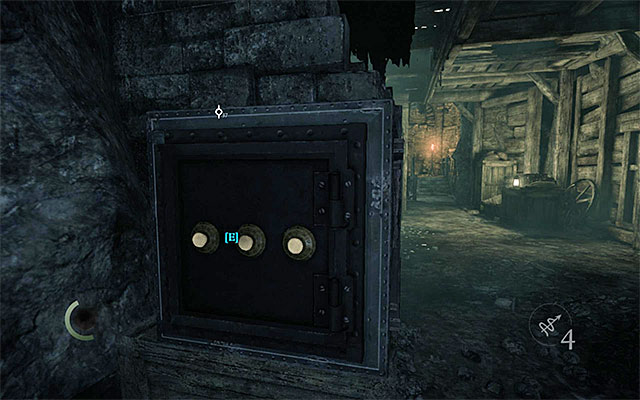
While exploring the next part of the docks [The Hidden City - Loading Docks Interior] remember that you need to examine the surroundings, to find a Brooch - 7G and a safe. The hint, concerning the correct combination is on the document that you find a bit further but, if you want to open it straight away, enter 673. From the safe, you can collect, as many as, five Bonds - 5x20G. Go South now.
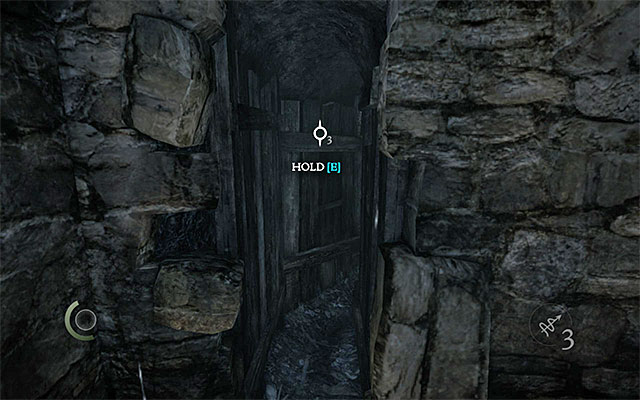
After you get into another big part of the docks, it would be a good thing to explore the platforms below, where you will find an Ancient Armlet - 32G and the abovementioned note (Scavenger's Note). If you still have Rope Arrows, you can also use one on the catch to the left and make it over to the upper balcony, where you find a Hand Mirror - 28G. After you have explored the area, take the entrance to the catacombs [The Hidden City - Catacomb Chamber]. Pick up the Urn - 15G and start along the linear path, crouch where you need to walk under crates. Towards the end of the walk, explore the corridor that the dying opponent crawled out of and collect the Coin Purse - 10G. You can now squeeze between rocks and walk into the main part of the catacombs [The Hidden City - Catacomb Passages].
- Thief Game Guide
- Thief: Game Guide
- Thief: Chapter 7 The Hidden City
- Thief: Explore the yard and the cathedral - map
- Thief: Access the cathedral
- Thief: Reach the main hall of the cathedral
- Thief: Explore the Pit
- Thief: Take the cargo elevator
- Thief: Cross the loading docks of the Hidden City
- Thief: Get through the catacombs - map
- Thief: Get through the catacombs - description
- Thief: Reach the Hidden City
- Thief: Get to the rotunda - map
- Thief: Get to the rotunda - description
- Thief: Meeting with Thief-Taker General - introduction
- Thief: Meeting with Thief-Taker General - avoiding the General
- Thief: Meeting with Thief-Taker General - defeating the General
- Thief: Meeting with Thief-Taker General - leaving the Rotunda
- Thief: Mission summary
- Thief: Chapter 7 The Hidden City
- Thief: Game Guide
You are not permitted to copy any image, text or info from this page. This site is not associated with and/or endorsed by the developers and the publishers. All logos and images are copyrighted by their respective owners.
Copyright © 2000 - 2025 Webedia Polska SA for gamepressure.com, unofficial game guides, walkthroughs, secrets, game tips, maps & strategies for top games.
