Thief: Access the jeweler's - description
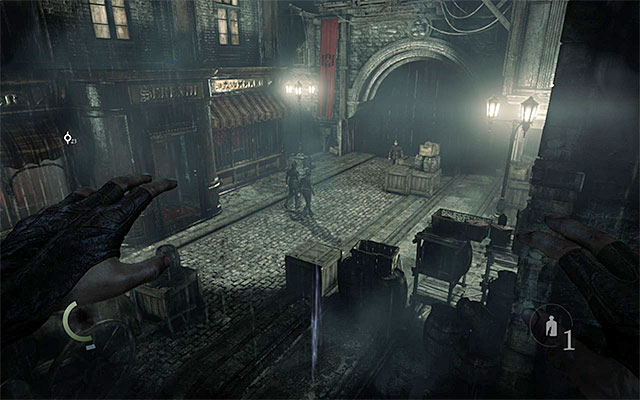
I strongly recommend that you spend some time learning about the current situation, especially that you will have quite a wider freedom of action, soon. The main yard [Stonemarket - Stonecutter's Court] is being watched by three guards - two of them patrol together, across the square and take a quite long route, whereas the third guard is watching the area to the North of the jeweler's main entrance. For obvious reasons, this also means that reaching the main entrance will not be an easy task. When it comes to the items, you can loot a Gold Coin - 1G and a purse that the Northern guard has attached to his belt (Coin Purse - 7G).
![The Eastern court [Stonemarket - Stonecutters Court East] is not being watched by anyone, but you will not find anything especially valuable, here - Access the jewelers - description - Chapter 1: Lockdown - Thief - Game Guide and Walkthrough](/thief/gfx/word/601497438.jpg)
The Eastern court [Stonemarket - Stonecutter's Court East] is not being watched by anyone, but you will not find anything especially valuable, here. There are only Gold Coin - 2x1G and a Broadhead Arrow here. The main advantage of this location, however, is that you can take the stairs shown in the above screenshot, which will lead you to the Stonemarket - Underpass. There, you will find Food, a Coin Purse - 7G (it has been well-hidden behind the door) and a Newspaper - Clock Tower Stops Again!. Also, this will ensure you safe passage to the alleys to the West [Stonemarket - Stonecutter's Court West].
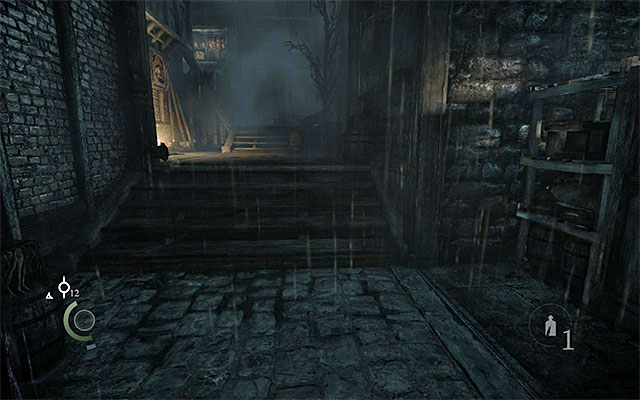
You can reach the Stonemarket - Stonecutter's Court West in two other ways, i.e. by using the claw and jumping over the wall to the South of the jeweler's, or by walking around the Northern guard (you could help yourself by throwing a bottle) and taking the traditional path (in this case, this will mean the necessity to open a locked gate). While walking down the abovementioned side-alleys Garrett will encounter several beggars, who will not give him in, and he will also find a Knife - 2G. The main reason for which to visit this place is so that you can ensure yourself with an alternative access to the building that is your current objective (to learn more about this, see further in the text).
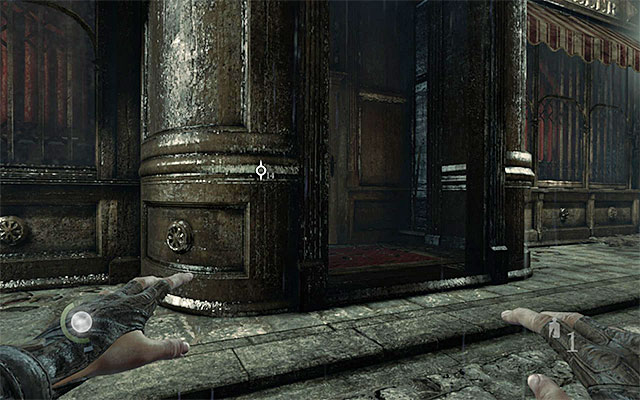
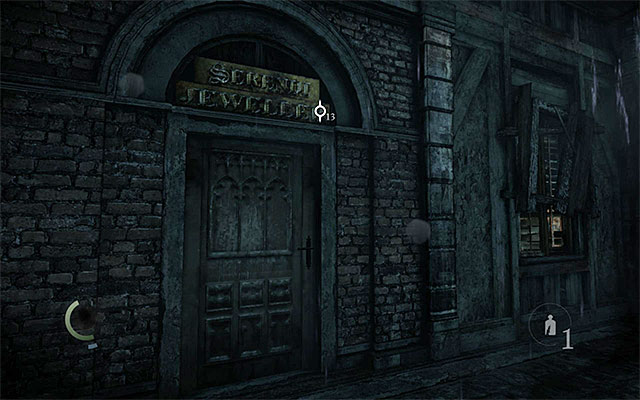
There are four ways in which you can access the jeweler's, and their locations have been marked on the map. Variant A assumes that you take the main entrance to the building. I recommend against this option, because you will have to avoid three guards right at the beginning, who are watching the Stonemarket - Stonecutter's Court. I recommend that you distract the two guards that patrol together, by throwing e.g. a bottle, thanks to which you will gain more time to open the door to the shop. Note - after you have picked the lock, do not enter immediately, and take a look through the keyhole and wait for the shop's security guard to walk past the door. After you enter, also do not forget to close the door and hide in the shadows.
Variant B assumes that you take back entrance in the Stonemarket - Stonecutter's Court West, which leads to the shop's cellar. This is a definitely better option, than the one provided above, especially that there is one of the two masks, required to complete another objective. The back entrance is also locked, but you do not need to worry that someone will spot you, while you are tampering with the lock What is even more, you can enter immediately after you pick the lock.
![Variant C assumes taking a quite well hidden entrance at the Northern wall of the jeweler's, between [Stonemarket - Stonecutters Court] and [Stonemarket - Stonecutters Court West] - Access the jewelers - description - Chapter 1: Lockdown - Thief - Game Guide and Walkthrough](/thief/gfx/word/601497500.jpg)
Variant C assumes taking a quite well hidden entrance at the Northern wall of the jeweler's, between [Stonemarket - Stonecutter's Court] and [Stonemarket - Stonecutter's Court West]. Walk around the single guard and locate the area shown in the above screenshot. As you have probably noticed, you can use the claw here, to reach the ledge above. Walk through the hole in the building's wall and reach the shop's main area (the one that you would have reached if you followed Variant A).
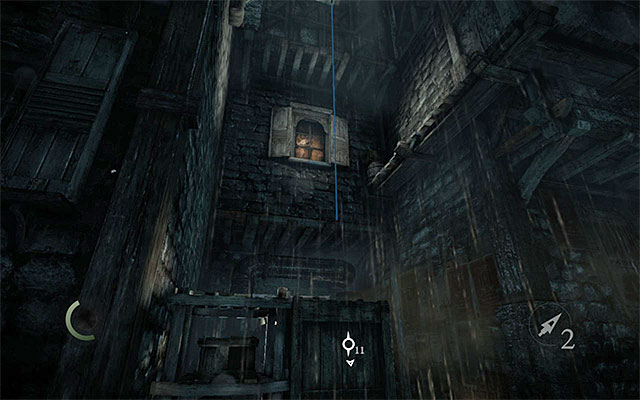
Variant D assumes that you find, in the Western alleys, [Stonemarket - Stonecutter's Court West] a rope, which Garrett can grab onto. Using the rope will allow you to reach the plank located above, and through there, you can make it over to the window of the jeweller's, located at the first floor. This is, definitely, the variant that requires the least work, because you do not need to open any locks, nor avoid any guards.
You are not permitted to copy any image, text or info from this page. This site is not associated with and/or endorsed by the developers and the publishers. All logos and images are copyrighted by their respective owners.
Copyright © 2000 - 2026 Webedia Polska SA for gamepressure.com, unofficial game guides, walkthroughs, secrets, game tips, maps & strategies for top games.
