Hogwarts Legacy: Percival Rackham's Trial
This page of the guide describes the second trial from the game Hogwarts Legacy - the main quest Percival Rackham's Trial. From the walkthrough you will learn how to explore the tower with Professor Fig, how to pass all the puzzles of the First Trial and how to defeat the boss the Pensieve Guardian.
On this page of our Hogwarts Legacy guide you can find the walkthrough for Percival Rackham's Trial story mission. Our guide shows the exploration of the tower while accompanied by Professor Fig, how to begin the trial, how to solve the First Trial puzzles, how to defeat the animated statues and how to defeat the boss (Pensieve Guardian).
- Rewards for completing the quest
- Meet Professor Fig at the tower
- Investigate the goblin presence
- Search the tower
- Find the Entrance to the first trial
- Complete Percival Rackham's trial
- Defeat the Guards
- Learn the trial's secret
Rewards for completing the quest
- XP;
- Beasts Class story quest unlocked;
- The Caretaker's Lunar Lament story quest unlocked;
- The Helm of Urtkot story quest unlocked.
Meet Professor Fig at the tower
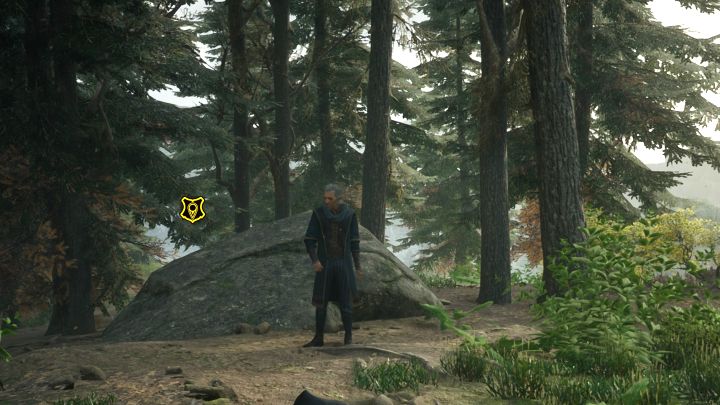
To be able to start this quest, your hero needs to be on level 11. Your new destination, The San Bakar's Tower, is in the northern part of the map in the North Ford Bog region. If you want to avoid being hassled by monsters along the way, use the Broom.
Investigate the goblin presence
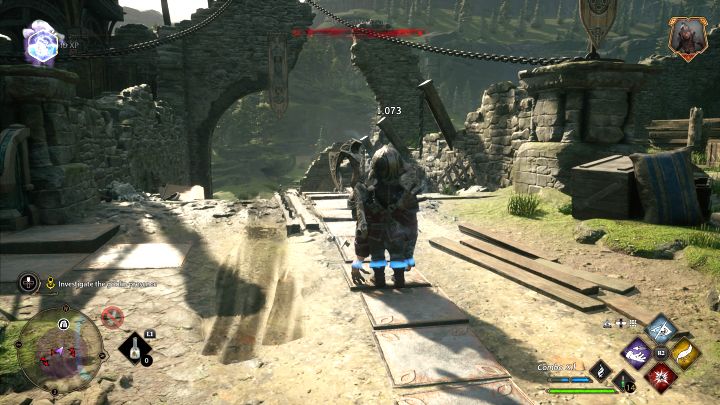
There is a goblin camp in front of the tower through which recommended approach is stealth (a tutorial depicting stealth and stealth attacks will activate here). Maintaining stealth is a good idea, as thanks to it you'll be able to eliminate at least some opponents without engaging in direct combat.
To start sneaking, cast Disillusionment, but remember that it doesn't offer full invisibility. As you sneak to your first opponent, you'll receive the ability to cast Petrificus Totalus - this spell can instantly incapacitate standard opponents and severely weaken elite ones. Either clear the whole camp through stealth or engage in standard combat.
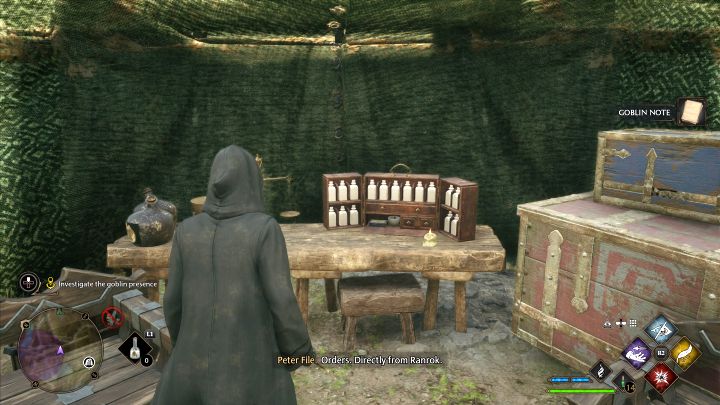
In one of the tents, there is a Goblin Note containing orders from Ranrok. A new group of goblins will arrive at the camp. Remember to juggle spells in order to destroy different types of shields.
Search the tower
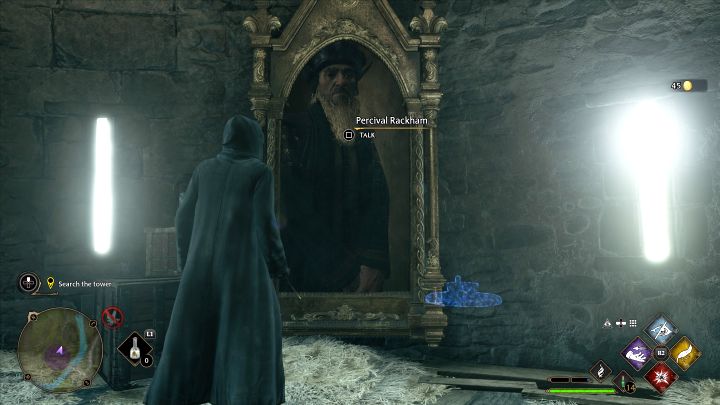
Approach the tower and wait for Professor Fig to unlock the door. Follow the stairs on the right and use the destroyed balconies to reach Percival Rackham's portrait. Listen to the conversation.
Find the Entrance to the first trial
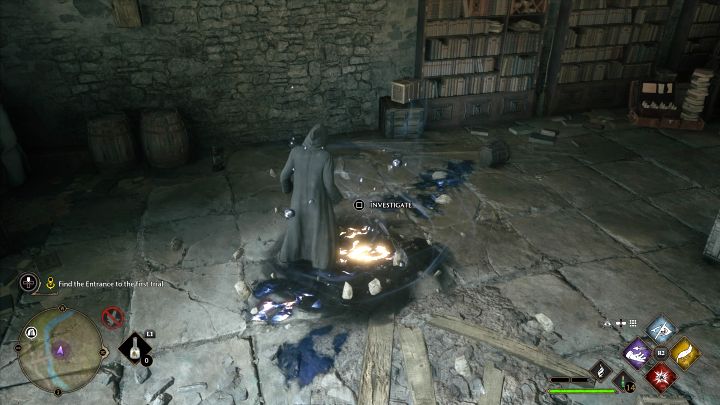
Return to the ground floor of the tower and find the reservoir of Ancient Magic . Interacting with it will reveal a secret passage. Follow it to reach the gate to The First Trial .
Complete Percival Rackham's trial
This trial involves completing a vast dungeon . Our walkthrough will show all mandatory actions needed to complete the Trial. However, there are optional side rooms in the dungeon and many chests containing loot.
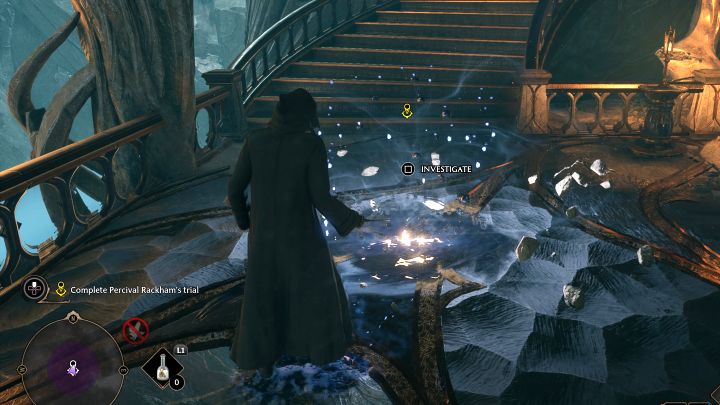
Continue along the path until you reach a hall with missing bridge fragment. Go down the stairs and activate the nearby circle of Ancient Magic . A magic gate will appear at the top and you can go through it.
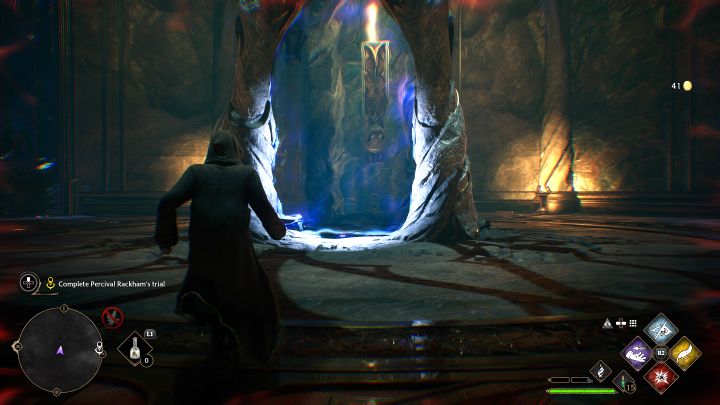
Run up the stairs. There is another circle of Ancient Magic in the new hall.
This will activate another magic gate. Run through the blue side of the gate and you'll be able to continue on your path.

As you enter the new chamber, the statues here will come to life and you have to take care of them. Among the opponents, there is a stronger one (Protector) - watch out for him.
During this encounter, Expelliarmus may come in handy, as you can use it to snatch statues' weapons and optionally throw them back at them (Ancient Magic Throw Expertise talent required).

Once all opponents are defeated, approach the levitating platform - bring it closer using Accio and climb on it.
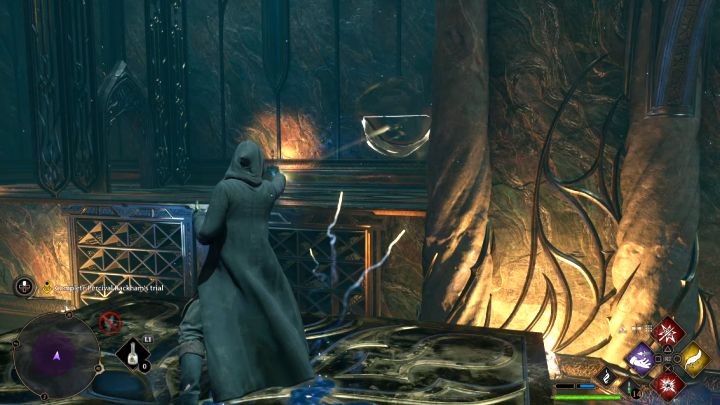
Once on the platform, use Accio again, this time on a hitch located in front of you. After you get closer to it, use Accio on the right hitch (screenshot) and you'll bring yourself closer to new balconies.
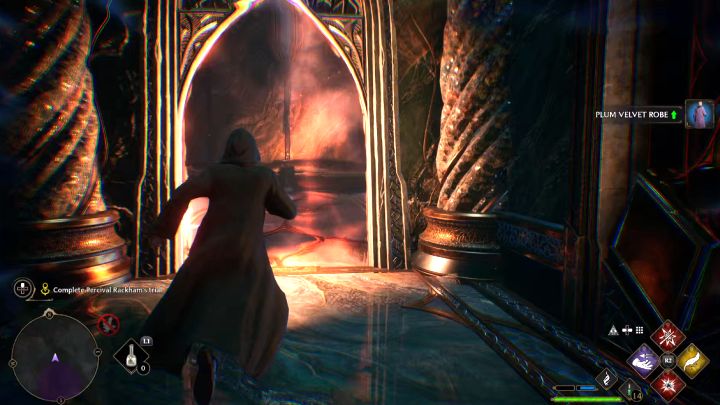
In the new area, you'll encounter another circle of Ancient Magic - interact with it. This will unlock another Magic Gate. The next steps are as follows:
- cross through the blue gate ;
- turn 180 degrees and go through the red gate(screenshot).
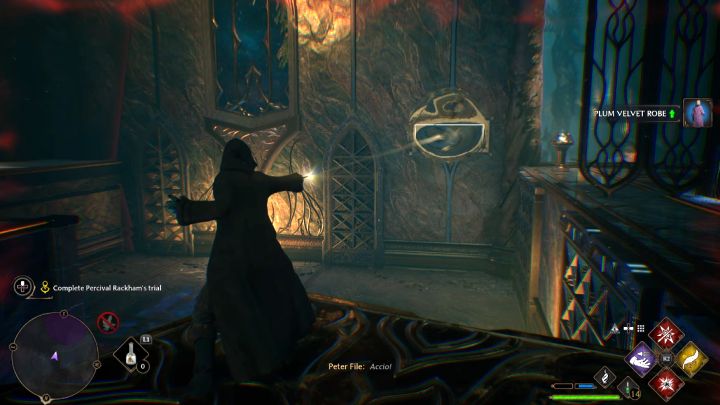
Jump again on the levitating platform you were using recently. Now you can use Accio on a new right hitch (screenshot). This way you'll avoid the magic gate and reach a new part of the dungeon.
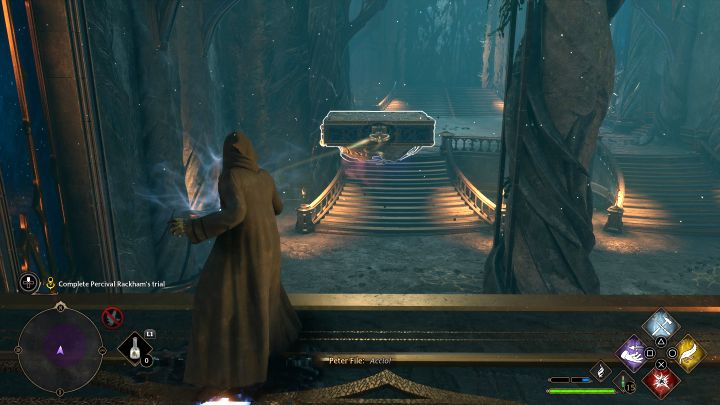
There are more animated statues in the new location and the battle ensuing is same as the previous one.
Once the enemies are taken care of, reach the remote balconies. Stand in the place shown in the screenshot and use Accio on the levitating platform.
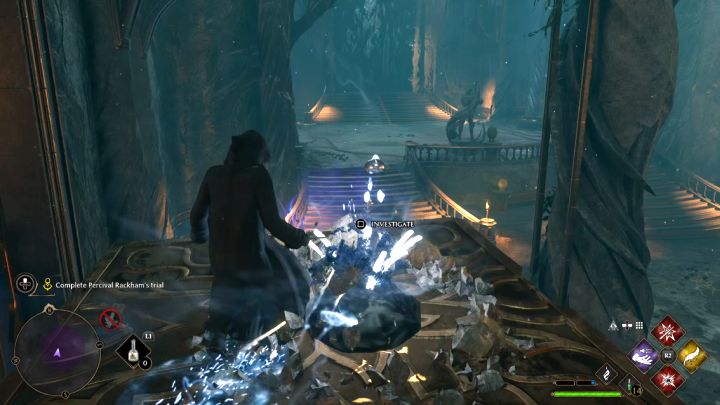
After bringing the platform closer, climb on it and you'll reveal another circle of Ancient Magic (it can only be accessed from the platform) - investigate it.
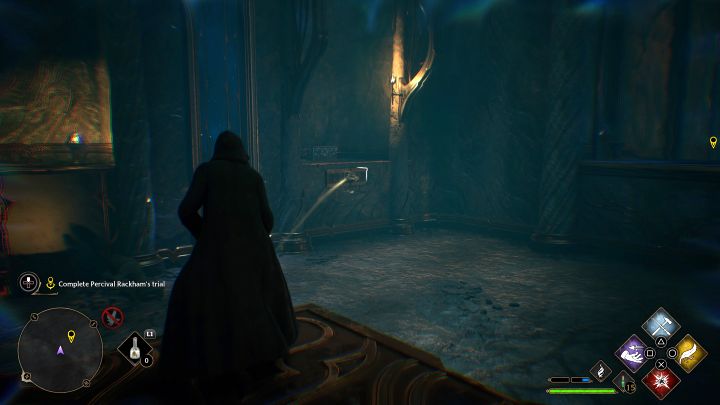
This will unlock a new magic gate found below. Run through the blue gate and return to the upper balconies.
Jump over to the levitating platform. You can use Accio on the distant hitch (screenshot) (the central bridge disappeared after you crossed through the blue gate).
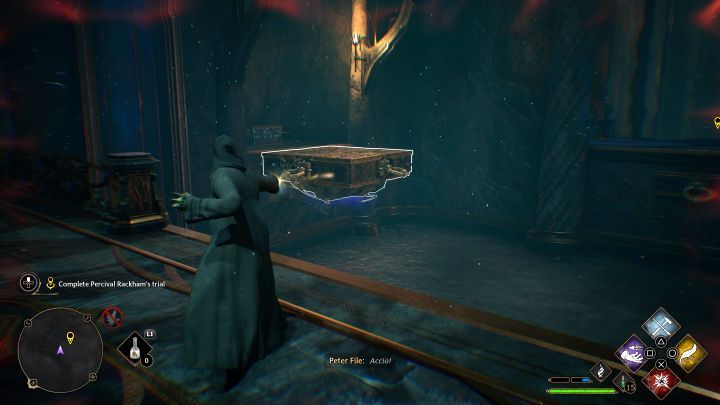
Search the loot chest and jump down.
Run through the red gate and return to the upper platform. Bring the levitating platform closer while standing on the central platform.
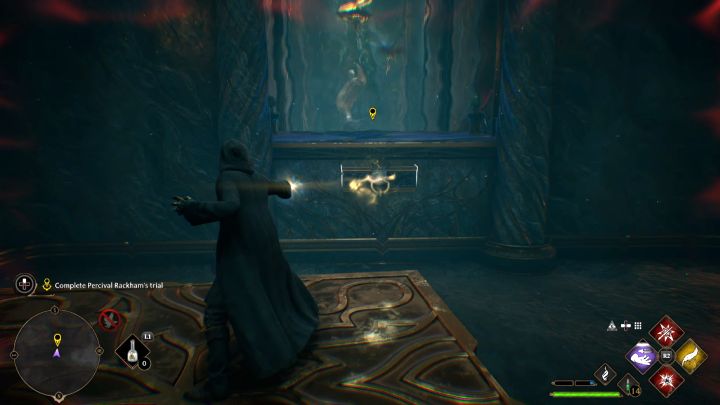
Jump to the levitating platform. The final step is to grab the hitch in front of you. You've made it to the end of this location.
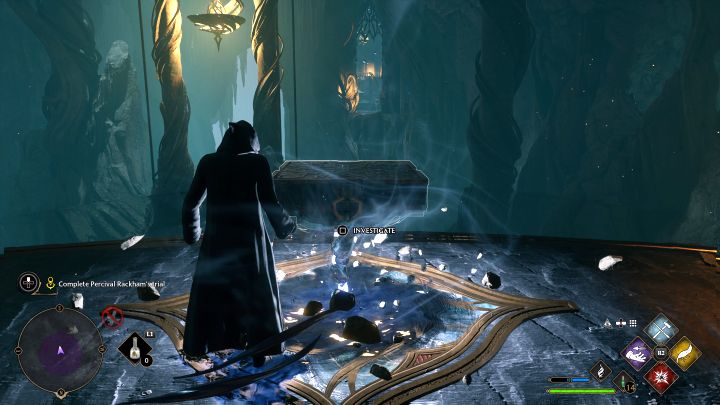
Use the stairs to reach a large hall with animated statues. You need to defeat all opponents.
Once the enemies are taken care of, approach the circle of Ancient Magic (screenshot) and activate it.

Bring the platform closer using Accio, climb on it, and grab the hitch in front of you (screenshot). Thanks to this, you'll get closer to the balconies and the magic gate.
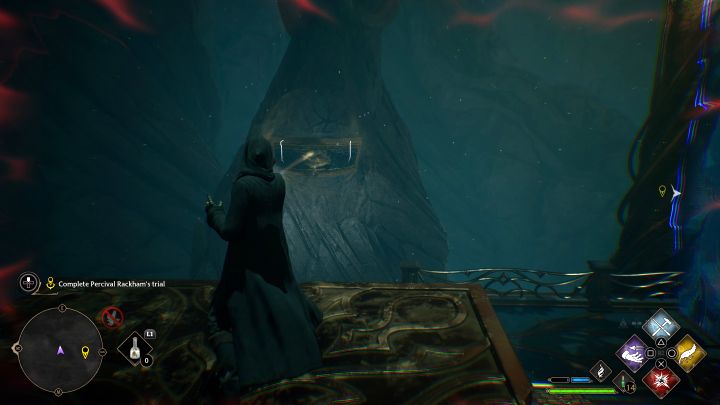
Don't jump off the levitating platform yet. Turn left and use Accio on the left hitch as shown in the screenshot above.
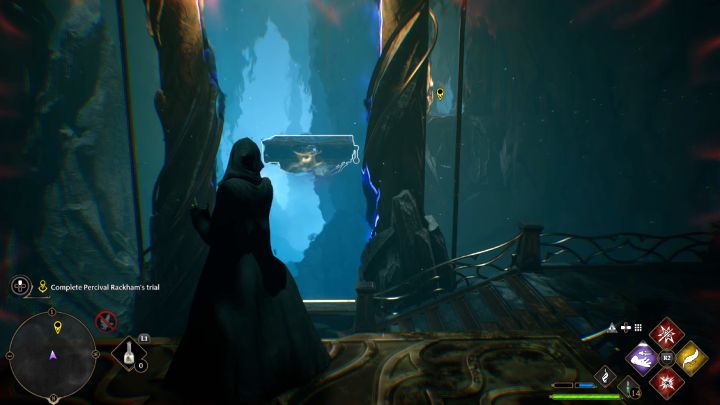
However, don't go to the other end. Line up with the magic gate, turn right and grab onto the levitating platform on the other side of the magic gate (screenshot above).
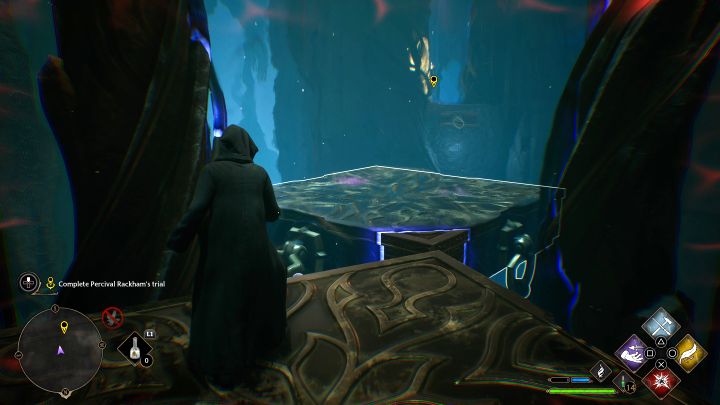
Thanks to your efforts , both levitating platforms should reach the magic gate and you can go through it (from one platform to the other).
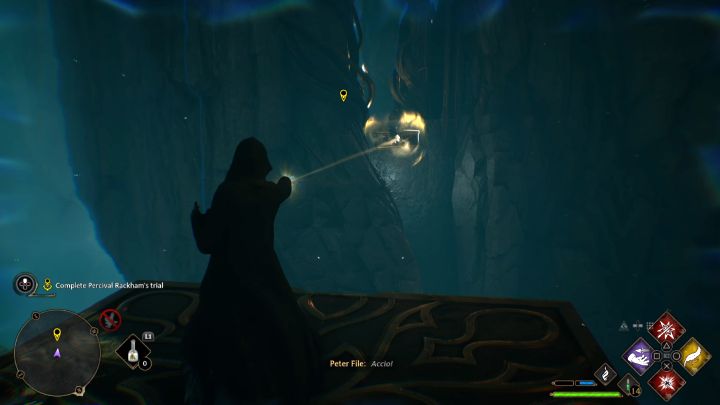
Continue using Accio as you find yourself on a new platform - grab the left hitch and then a remote right hitch (screenshot). You're through this difficult area.
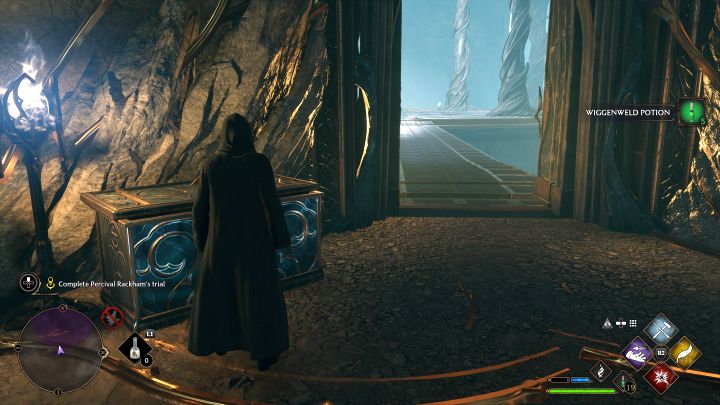
Follow the stairs up to reach a large chest . There are some Wiggenweld Potions inside - make sure to collect them, as a boss battle awaits you further.
Defeat the Guards
Follow the bridge to reach a large arena . As can be expected, a few combat sequences (and a boss encounter) await you here.
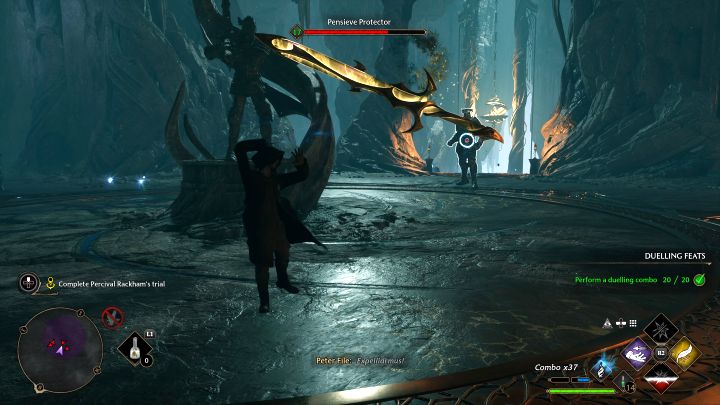
First obstacle is a group of smaller animated statues. Don't forget to use Expelliarmus - you can grab enemies' weapons and throw them back at them. Be careful not to fall off the arena - make sure to stay away from its borders.
Remember to dodge red attacks and when the statues go up into the air - move away from the circles on the ground that symbolize the landing spots. There are items in the area that you can throw. However, don't use the Ancient Magic now, because it will be more useful in the fight against the main boss.
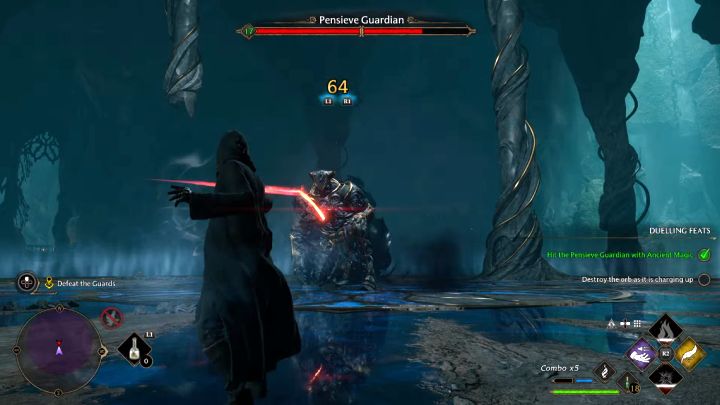
After defeating the first group of statues, a boss (Pensieve Guardian) will appear - focus your attacks on him.
Ancient magic (L1+R1/LB+RB) can be very helpful in weakening the boss. After hitting the boss it will lose a lot of health points and kneel for a moment, making it an easy target for next attacks. It's a good idea to have two red spells ready to use those that deal more damage.
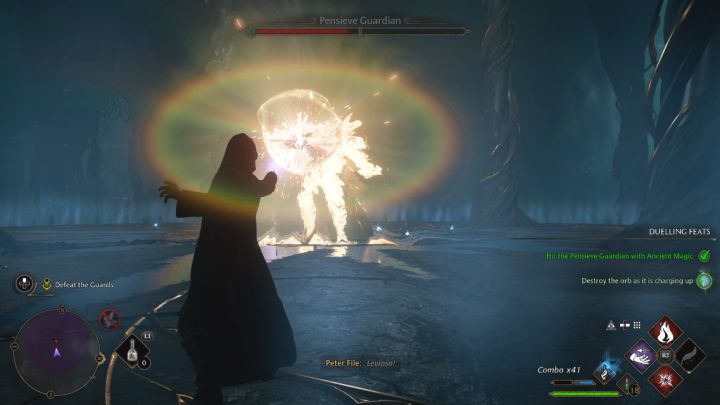
From time to time, the boss will use a powerful orb attack - try to stop it before it is used, because then you won't be able to avoid it and the orb will deal you a lot of damage.
Use a spell of the same color as the orb, so for example:
- Accio if the boss has created a purple orb;
- Levioso if the boss has created a yellow orb.
If hit with the right spell, the orb will explode and cancel the attack.
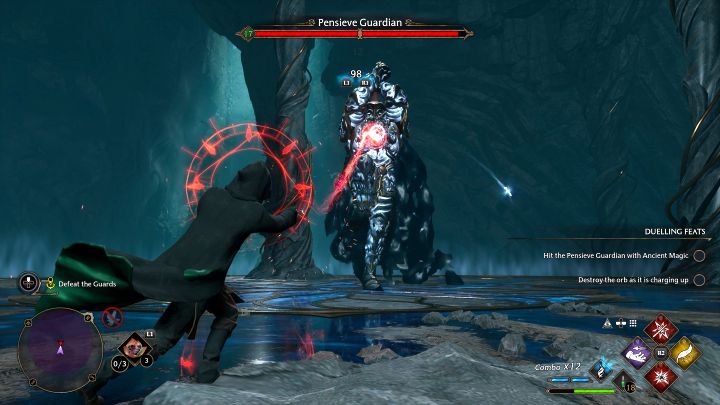
During the boss fight, you have to watch out for red attacks again - dodge to the sides right after the red circle appears above the hero's head. The boss can also shoot projectiles and cast Protego block or dodge.
Deplete Pensieve Guardian's health bar to finish the fight.
Learn the trial's secret
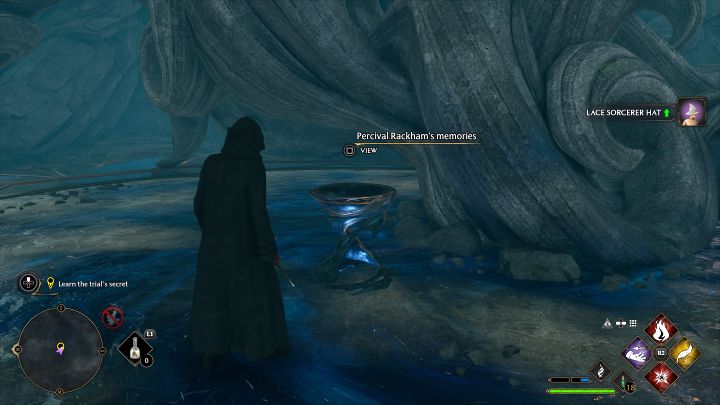
Go through the newly unlocked bridge which leads to the final chamber of the dungeon. There is some loot to collect here. You can now investigate Percival Rackham's Memories.
You'll receive the Pensieve Artifact. Use the portal to get back to The Map Chamber. The portrait of Charles Rookwood is here - talk with it. This concludes the quest and you'll be taken back to your Dormitory.
- Hogwarts Legacy Guide
- Hogwarts Legacy: Walkthrough
- Hogwarts Legacy: Main quests
- Hogwarts Legacy: The Path to Hogwarts
- Hogwarts Legacy: Welcome to Hogwarts
- Hogwarts Legacy: Charms Class
- Hogwarts Legacy: Defence Against the Dark Arts Class
- Hogwarts Legacy: Weasley After Class
- Hogwarts Legacy: Welcome to Hogsmeade
- Hogwarts Legacy: The Locket's Secret
- Hogwarts Legacy: Secrets of the Restricted Section
- Hogwarts Legacy: Tomes and Tribulations
- Hogwarts Legacy: Herbology Class
- Hogwarts Legacy: Potions Class
- Hogwarts Legacy: The Girl from Uagadou
- Hogwarts Legacy: Trials of Merlin
- Hogwarts Legacy: The Hunt for the Missing Pages - Gryffindor quest
- Hogwarts Legacy: Scrope's Last Hope - Slytherin quest
- Hogwarts Legacy: Ollivander's Heirloom
- Hogwarts Legacy: Jackdaw's Rest
- Hogwarts Legacy: Flying Class
- Hogwarts Legacy: The Room of Requirement
- Hogwarts Legacy: In the Shadow of the Undercroft
- Hogwarts Legacy: The Map Chamber
- Hogwarts Legacy: Percival Rackham's Trial
- Hogwarts Legacy: The Caretaker's Lunar Lament
- Hogwarts Legacy: Beasts Class
- Hogwarts Legacy: The Helm of Urtkot
- Hogwarts Legacy: The Elf, The Nab-Sack, and the Loom
- Hogwarts Legacy: In the Shadow of the Estate
- Hogwarts Legacy: The High Keep
- Hogwarts Legacy: Astronomy Class
- Hogwarts Legacy: Back on the Path
- Hogwarts Legacy: Charles Rookwood's Trial
- Hogwarts Legacy: Fire and Vice
- Hogwarts Legacy: In the Shadow of the Mine
- Hogwarts Legacy: It's all Gobbledegook
- Hogwarts Legacy: The Headmistress Speaks
- Hogwarts Legacy: The Polyjuice Plot
- Hogwarts Legacy: Niamh Fitzgerald's Trial
- Hogwarts Legacy: In the Shadow of the Mountain
- Hogwarts Legacy: Lodgok's Loyalty
- Hogwarts Legacy: San Bakar's Trial
- Hogwarts Legacy: Wand Mastery
- Hogwarts Legacy: The Final Repository
- Hogwarts Legacy: Weasley's Watchful Eye
- Hogwarts Legacy: The House Cup
- Hogwarts Legacy: Main quests
- Hogwarts Legacy: Walkthrough
You are not permitted to copy any image, text or info from this page. This site is not associated with and/or endorsed by the developers and the publishers. All logos and images are copyrighted by their respective owners.
Copyright © 2000 - 2026 Webedia Polska SA for gamepressure.com, unofficial game guides, walkthroughs, secrets, game tips, maps & strategies for top games.
