Hogwarts Legacy: Jackdaw's Rest
On this page of the guide you will find a description of how to get through Jackdaw's Tomb from the quest Jackdaw's Rest from the game Hogwarts Legacy. Our guide explains how to get to the cave, how to pass the switch puzzles in the tomb, where to find the lost pages and how to defeat the animated statues.
Jackdaw's Rest is a major main quest in Hogwarts Legacy. Our walkthrough explains how to unlock the quest, how to reach Jackdaw's Tomb, how to complete three button puzzles inside the tomb, where to find Jackdaw's corpse and the missing pages, how to beat the defenders and reach the map chamber.
- Unlocking the quest
- Rewards for completing the quest
- Meet Richard Jackdaw at the Forbidden Forest
- Follow Jackdaw through the Forbidden Forest
- Defeat Ranrok's loyalists
- Find the missing pages
- Defend yourself against the Ancient Defenders
- Investigate the traces of ancient magic
- Speak to the portrait
Unlocking the quest
You can start this quest after the Merlin Trials main quest, as well as the house-exclusive quest during which you'll meet Richard Jackdaw's ghost.
In addition, you must complete Professor Hecat's Assignment 2 - you need the Expelliarmus spell, with that quest being the only way to learn it.
Rewards for completing the quest

- XP;
- unlocking the talents menu - talents are passive abilities you can purchase with talent points (which are granted on every level up);
- unlocking Professor Sharp's Assignment 1;
- unlocking the Flying Class main quest.
Meet Richard Jackdaw at the Forbidden Forest
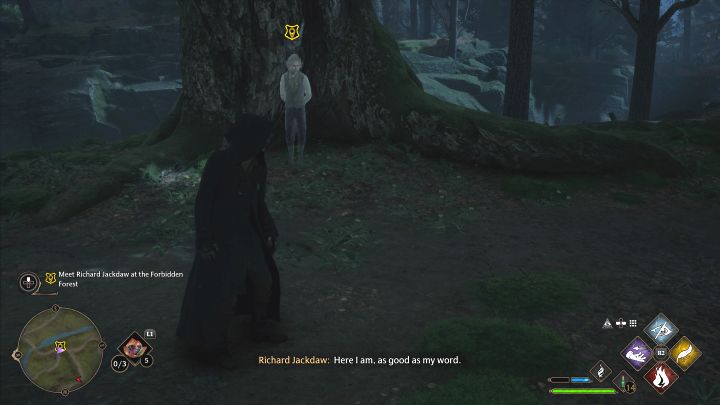
You'll meet up with the ghost in the North Hogwarts Region. We recommend fast traveling to the Forbidden Forest Floo Flame and heading north from there.
Follow Jackdaw through the Forbidden Forest

While you're making your way through the forest you may encounter wolves and other monsters - you don't need to fight them, you can avoid them or run away.
You must find a cave - the place Jackdaw died. The charmed compass will lead you there, so you don't need to search the forest. You'll reach the entrance to Jackdaw's Tomb. Approach the inactive fountain to say the password.
Defeat Ranrok's loyalists
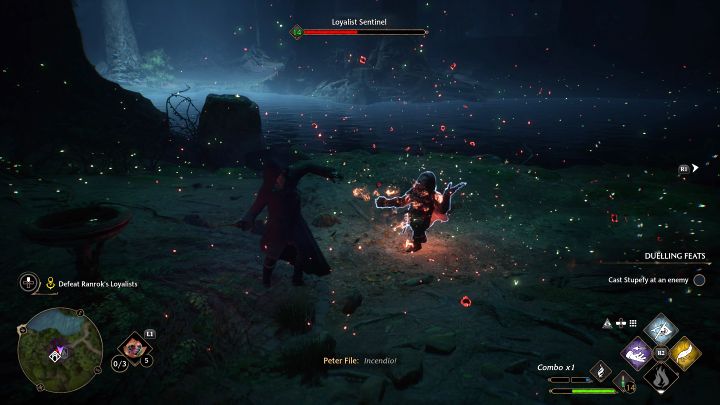
Trying to enter the tomb spawns a group of enemies you must deal with. Remember to block their attacks with Protego and cast spells whose colors match the shields activated by the goblins.
After the battle enter Jackdaw's Tomb.
Find the missing pages
Jackdaw's Tomb is a large dungeon you must pass through on your way to Jackdaw's corpse. You don't need to explore the entire dungeon, but doing so lets you find optional areas and chests with random loot. Our walkthrough only focuses on the mandatory path to the end of the tomb.

Soon after you start exploring the cave you'll reach the first locked gate with three switches. The solution is simple - cast spells on the switches in quick succession. These can be any spells you'd like, including basic cast - (R2 / right trigger with no other input). Hit the switches one by one until the gate opens.

Along the way destroy large cobwebs with Incendio. You'll encounter spiders throughout the tomb as well. Not all battles are mandatory and some monsters can be escaped from. React to circles - either cast Protego (yellow circle) or dodge (red attacks).
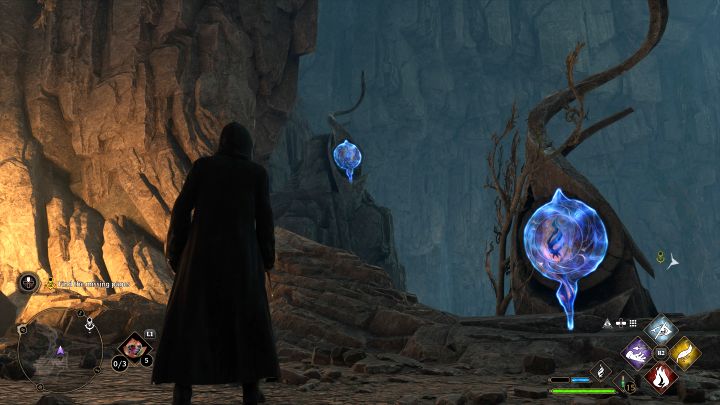
Go down the linear path until you reach the second gate with three switches. This puzzle is just slightly more difficult, as the left switch is hidden behind the rocks (pictured above). As before, activate the switches by casting any spell in quick succession.

Keep going down the main path until you reach a pit. Cast Accio (attract) - first pull the levitating platform closer, get onto it and grapple to the hook in front of you (the area to the left is optional).
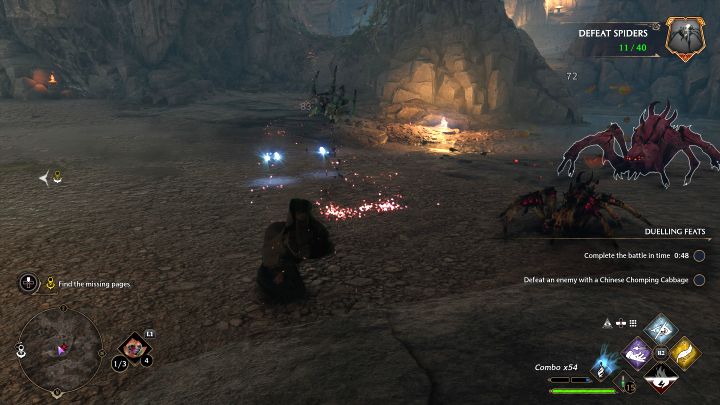
To reach the end of the tomb keep taking the paths leading left. You'll reach a larger cavern where larger red spiders will appear alongside the regular ones. Incendio works well against them and there's a chance you'll manage to flip them over. Dodge and block often, especially if fighting several spiders at once.
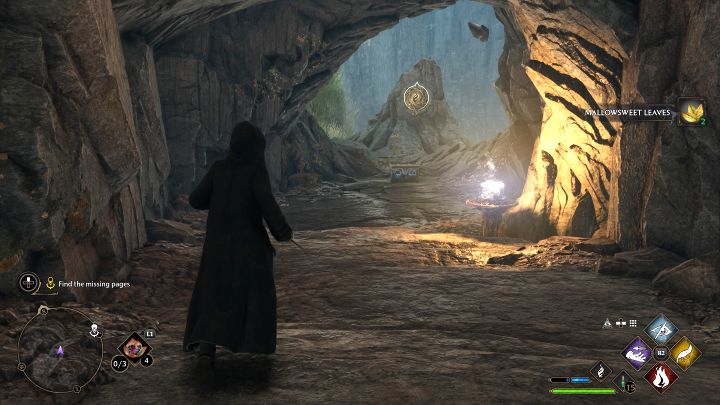
Behind the spider area there's a third locked gate, the three switches of which are located further apart. One of the switches is lower than the rest (pictured), and after hitting it you must quickly run towards the higher switches to activate them in time.

You'll unlock a long bridge on the upper level, letting you reach the ruins. That's where you'll find Jackdaw's corpse, alongside the Missing Pages.
Defend yourself against the Ancient Defenders
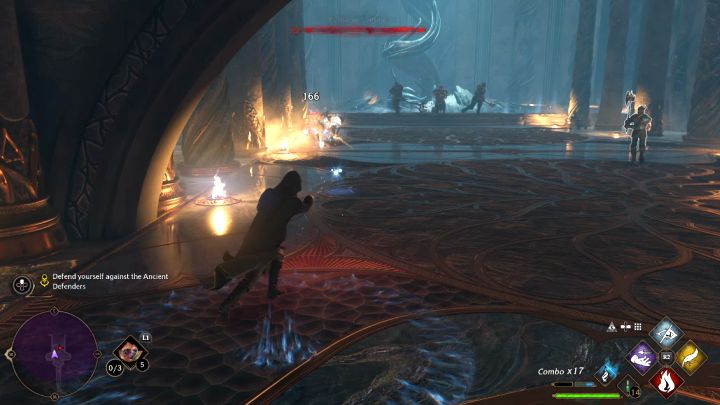
You must now battle animated statues, like the ones you faced in the prologue.
Expelliarmus is a very useful spell here, as it lets you disarm enemies. Watch out for aerial attacks, telegraphed by circles on the ground (pictured above) - quickly move away from where they're about to strike.
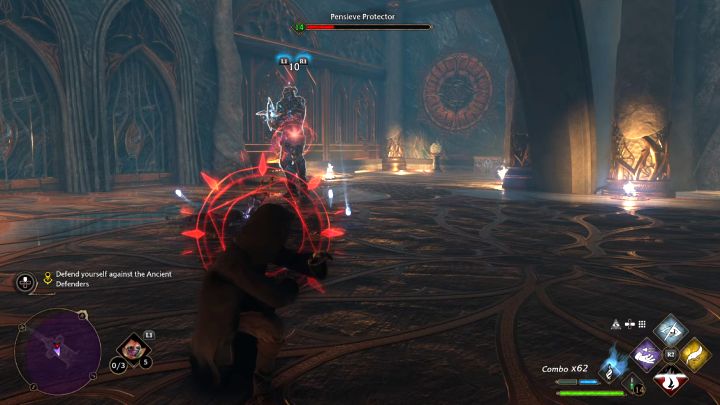
In the second part of the battle you'll face three larger defenders, more durable than the previous ones. Again, watch out for aerial attacks and dodge roll to the sides when you see a red circle, telegraphing the statue's most powerful attacks.
Investigate the traces of ancient magic

After the battle gather all nearby loot (including from large chests) and locate the magic circle on the ground. Interact with it to activate a magic gate.
Go through it. The caves will be flooded, but you don't need to worry. Keep walking underwater - there's only a single path to your destination.
Speak to the portrait

You'll reach The Map Chamber. Once inside, talk to Percival Rackham's portrait.
You'll unlock access to talents and add The Map Chamber to your Hogwarts fast travel destinations. Reach the chamber's exit to return to Hogwarts' underground, completing the quest.
- Hogwarts Legacy Guide
- Hogwarts Legacy: Walkthrough
- Hogwarts Legacy: Main quests
- Hogwarts Legacy: The Path to Hogwarts
- Hogwarts Legacy: Welcome to Hogwarts
- Hogwarts Legacy: Charms Class
- Hogwarts Legacy: Defence Against the Dark Arts Class
- Hogwarts Legacy: Weasley After Class
- Hogwarts Legacy: Welcome to Hogsmeade
- Hogwarts Legacy: The Locket's Secret
- Hogwarts Legacy: Secrets of the Restricted Section
- Hogwarts Legacy: Tomes and Tribulations
- Hogwarts Legacy: Herbology Class
- Hogwarts Legacy: Potions Class
- Hogwarts Legacy: The Girl from Uagadou
- Hogwarts Legacy: Trials of Merlin
- Hogwarts Legacy: The Hunt for the Missing Pages - Gryffindor quest
- Hogwarts Legacy: Scrope's Last Hope - Slytherin quest
- Hogwarts Legacy: Ollivander's Heirloom
- Hogwarts Legacy: Jackdaw's Rest
- Hogwarts Legacy: Flying Class
- Hogwarts Legacy: The Room of Requirement
- Hogwarts Legacy: In the Shadow of the Undercroft
- Hogwarts Legacy: The Map Chamber
- Hogwarts Legacy: Percival Rackham's Trial
- Hogwarts Legacy: The Caretaker's Lunar Lament
- Hogwarts Legacy: Beasts Class
- Hogwarts Legacy: The Helm of Urtkot
- Hogwarts Legacy: The Elf, The Nab-Sack, and the Loom
- Hogwarts Legacy: In the Shadow of the Estate
- Hogwarts Legacy: The High Keep
- Hogwarts Legacy: Astronomy Class
- Hogwarts Legacy: Back on the Path
- Hogwarts Legacy: Charles Rookwood's Trial
- Hogwarts Legacy: Fire and Vice
- Hogwarts Legacy: In the Shadow of the Mine
- Hogwarts Legacy: It's all Gobbledegook
- Hogwarts Legacy: The Headmistress Speaks
- Hogwarts Legacy: The Polyjuice Plot
- Hogwarts Legacy: Niamh Fitzgerald's Trial
- Hogwarts Legacy: In the Shadow of the Mountain
- Hogwarts Legacy: Lodgok's Loyalty
- Hogwarts Legacy: San Bakar's Trial
- Hogwarts Legacy: Wand Mastery
- Hogwarts Legacy: The Final Repository
- Hogwarts Legacy: Weasley's Watchful Eye
- Hogwarts Legacy: The House Cup
- Hogwarts Legacy: Main quests
- Hogwarts Legacy: Walkthrough
You are not permitted to copy any image, text or info from this page. This site is not associated with and/or endorsed by the developers and the publishers. All logos and images are copyrighted by their respective owners.
Copyright © 2000 - 2025 Webedia Polska SA for gamepressure.com, unofficial game guides, walkthroughs, secrets, game tips, maps & strategies for top games.
