Hogwarts Legacy: Minding Your Own Business
The Hogwarts Legacy includes a PlayStation-exclusive side quest. Here you'll find a walkthrough of the Minding Your Own Business quest.
Minding Your Own Business is a quest in Hogwarts Legacy available only for PS4 and PS5 users. Our guide shows how to explore the library and atrium of the haunted house. Moreover, we supply solutions for the lantern puzzles and explain how to defeat Fastidio. The final part of the page is a description of a battle against Cassandra Mason.
If you want, you can view a video depicting and explaining all the puzzles and fights in this side quest, one of the rewards of which is your own shop which gives 10% better prices for sold Gear.
- Unlocking the quest
- Rewards for completing the quest
- Speak with Cassandra Mason
- Clean up and make repairs
- Open the mysterious chest
- Explore what lies below
- Explore the atrium
- First fight with Fastidio
- Explore the library
- Second fight with Fastidio
- Challenge Fastidio
- Seek out Officer Singer
- Confront Cassandra Mason
- Return to the shop
Unlocking the quest
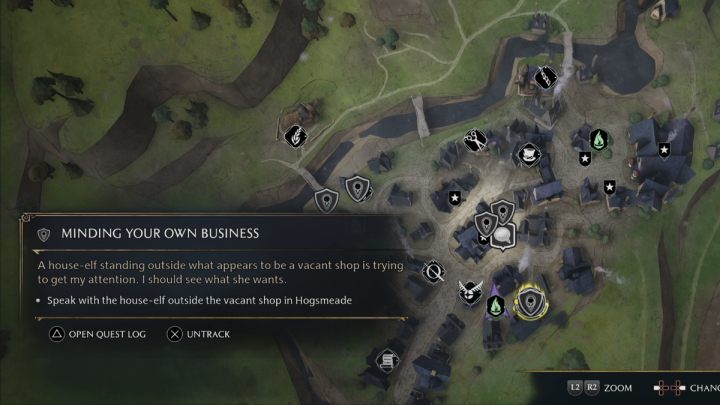

This quest is premium content for PS4 and PS5 owners. The quest becomes available after enough progress in the main storyline, once you get to know the basic spells.
To start the quest, talk to a house-elf who sweeps the street in front of a small abandoned shop in Hogsmeade, near Ollivander's.
Rewards for completing the quest

- 180 XP;
- Shop in Hogsmeade unlocked - you can sell items there for a better price than the standard one.
Speak with Cassandra Mason

Go to the northern end of the village and talk to the woman standing in front of the small house . She presents you with an opportunity - you can buy the abandoned shop from her for 1,500 coins.
A good way of gaining money needed for the purchase is finding and looting eye chests. Each of these contains as much as 500 coins.
Clean up and make repairs
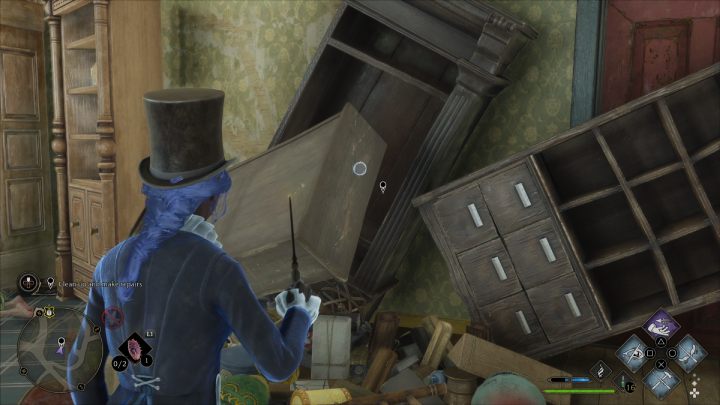
After you buy the shop, go back to Penny and talk to her. Enter the shop and use Reparo on:
- items on the wall opposite the entrance,
- cabinets on the left side of the room.
Open the mysterious chest
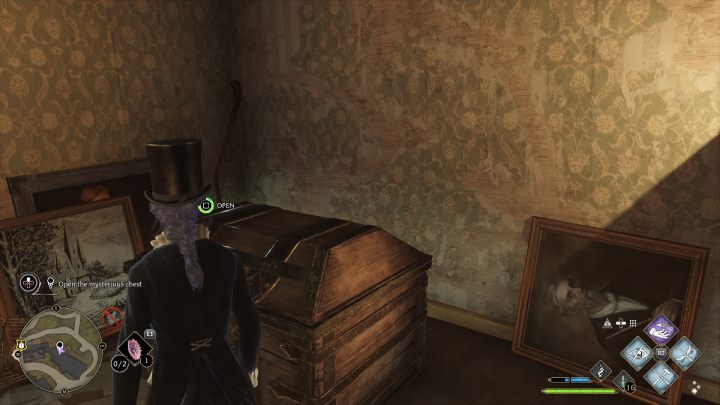
You've received a key from Penny - go to the back of the shop and open the chest.
Explore what lies below
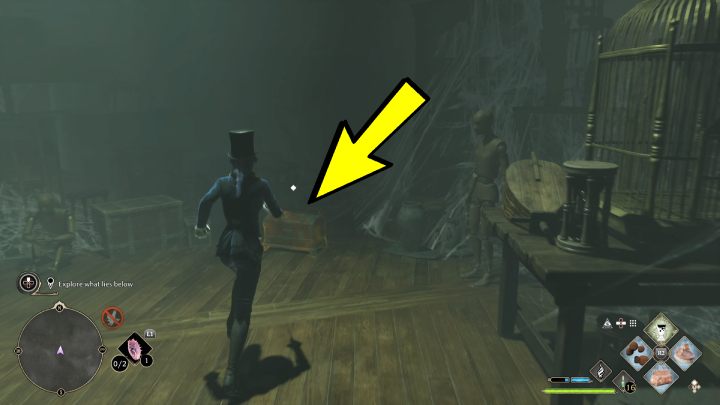
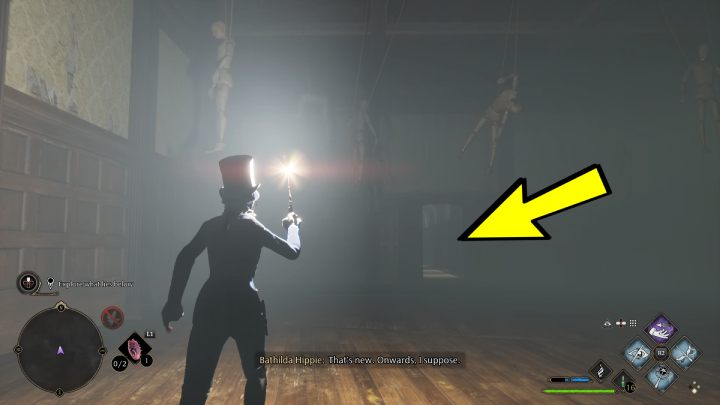
After descending, move between the barrels until you reach the room with manequinns. There is a small chest on the floor - open it, as the hat found inside will be useful later.
Return to the entrance. Suddenly, the door in front of you will close, and the lights will go out. Activate Lumos and walk around the room. After a while, the door at the end of the room should open.
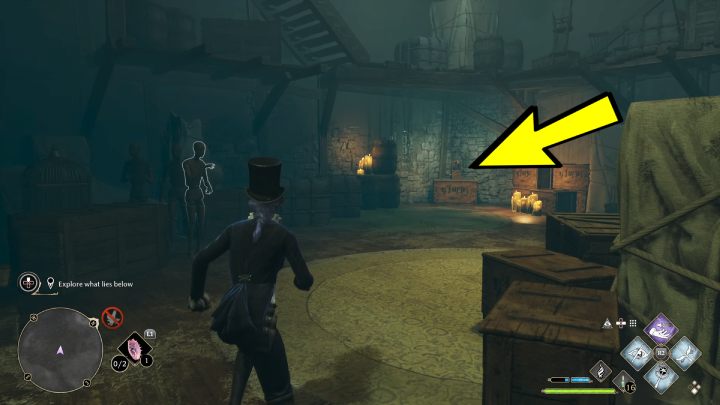
Use the door, follow the corridor and enter the next room. Approach the music box and once the light goes out, activate Lumos and search for the music box again. A new corridor will appear in front of you. Follow it until you reach a door with 2 lantern stands.
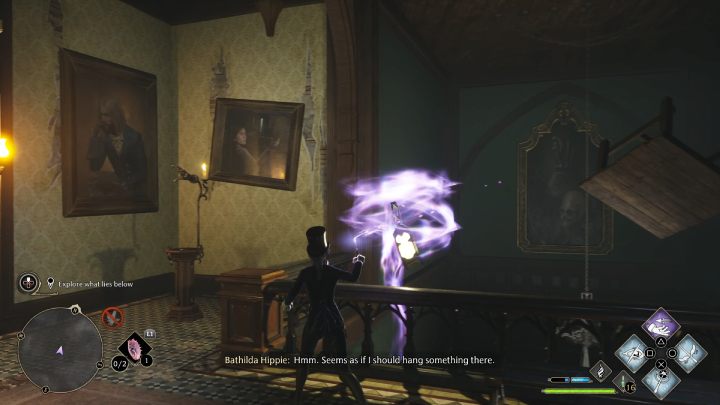
The hand-shaped stand on the right doesn't have a lantern. Look at the balustrade and turn right - you should see a levitating lantern in the distance. Use Accio to bring the lantern about and place it on the stand. You can do that by holding the spell button and getting closer to the stand.
Go through the door and keep moving forward. When the light goes out again, activate Lumos and wait for the door to open.
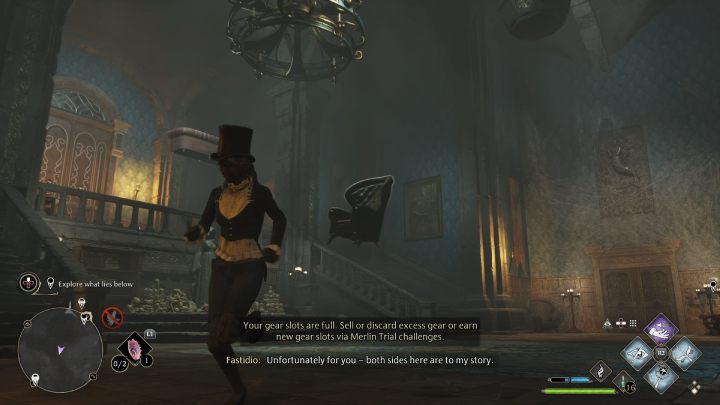
After talking to the ghost, you have to avoid or shoot down the furniture that he throws at you.
Doors will open on both sides of the room. Both passages lead to different areas of the house and you'll need to visit both pathways in order to fully complete the quest.
Explore the atrium
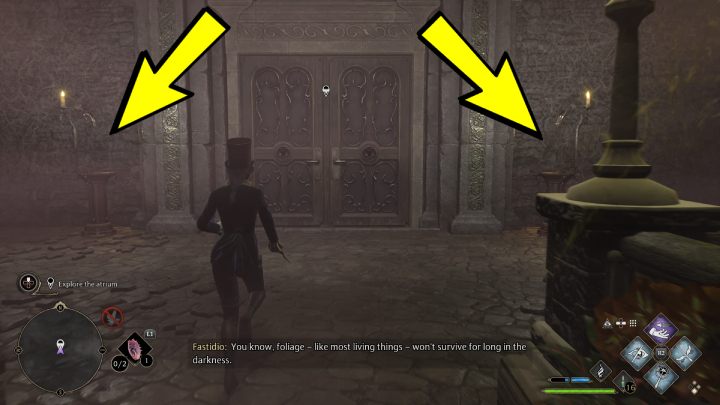
To go to the atrium, you need to choose the door on the right. Go through the door and continue to the end of the room. Your task now is to find 2 lanterns and place them into the hand-shaped stands.
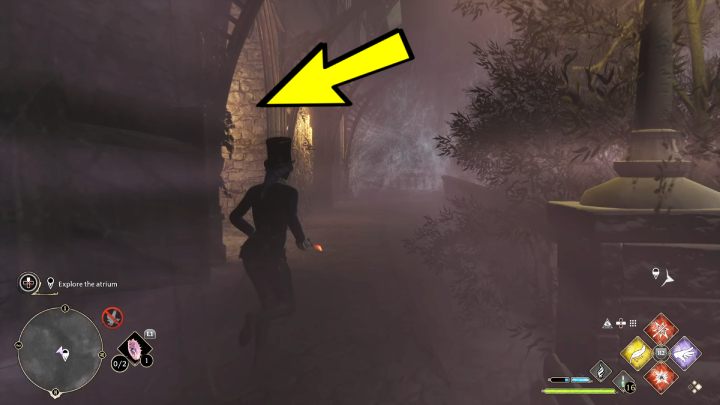
Start by lighting all cobwebs in the area on fire and continue to the room on the right side of the atrium. When the door disappears behind you, another lantern stand will appear in the room.
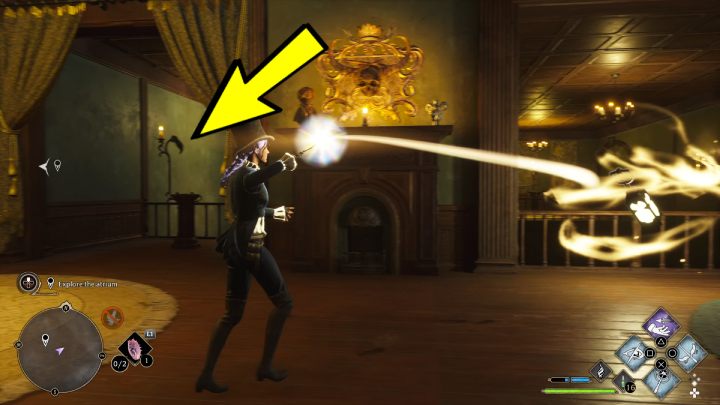
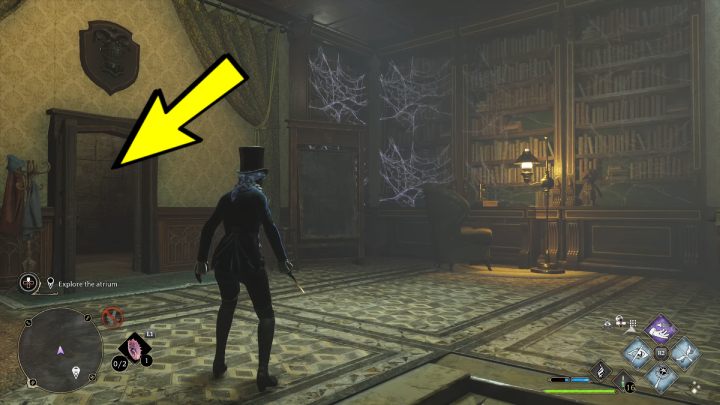
Look around to find the lantern, and use Accio to place it on the stand. A new door will appear, go through it and follow the corridor until you reach the chess room.
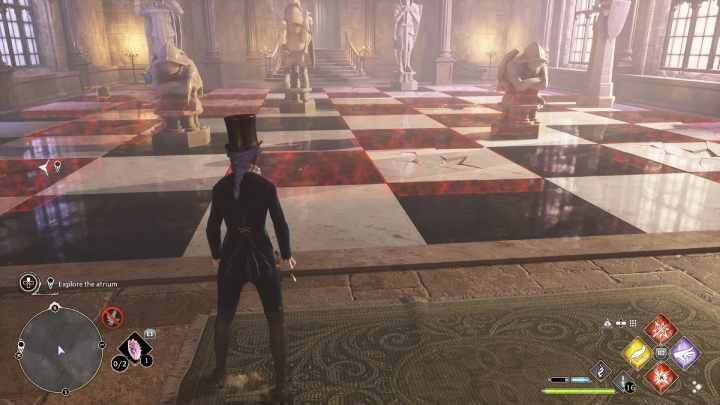
In the chess room, activate Revelio and avoid areas lit in red. After standing on such a field, the pieces on the chessboard will start moving towards you.
Continue going forward until you reach the door that suddenly opens.
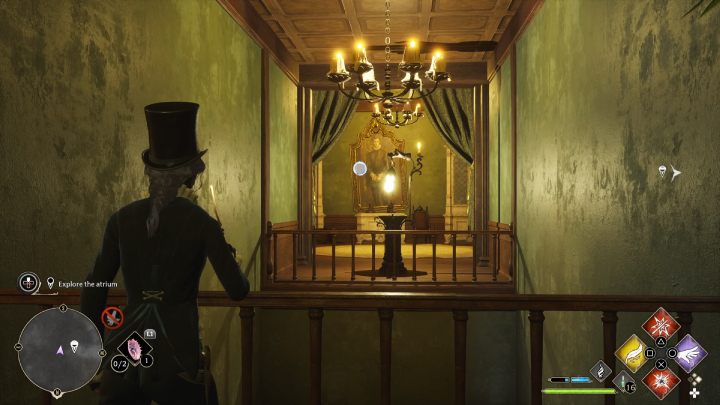
There is another stand in the middle of the next room. Approach the balustrade and use Accio to bring the lantern from the previous stand to the next one. A passage should open in front of the lantern - continue through it.
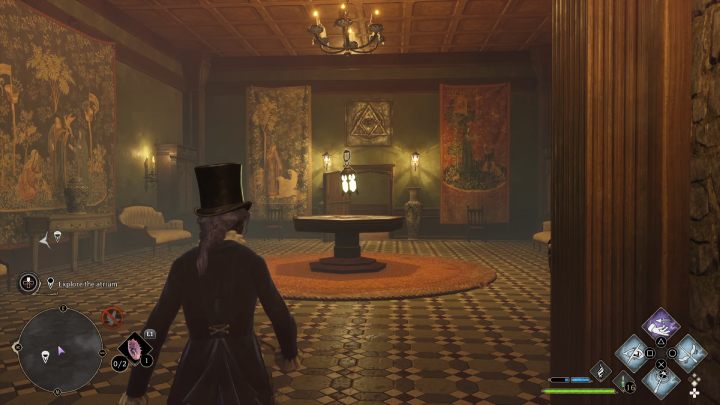
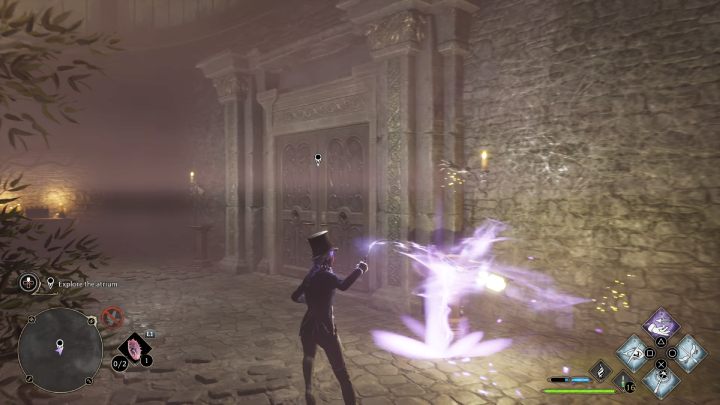
You will find yourself in the room that leads to the first area of the atrium. Grab the lantern with Accio and go outside . Turn right, go to the large door, and put the lantern in one of the stands.
If you haven't dealt with cobwebs yet do so, as they block the exit from the room. Any fire spell will do.
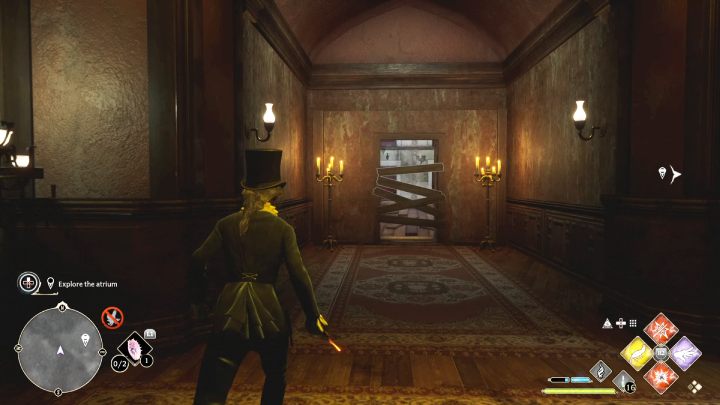
Time to move to the other side of the atrium. Turn left at the door and enter the room at the end of the balustrade. Follow the corridor to the end and watch out for the sofa that will attack you.
Turn right and when you reach the wall, activate Lumos and turn around. There are manequinns behind you. Destroy them all and turn around again. You should see an open door covered with only a few boards. Use Depulso to clear them out and go through the door.
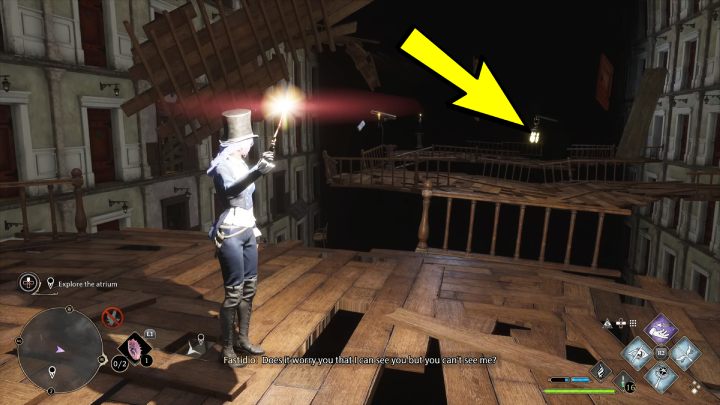
There is a stand here. Turn left and look for a levitating lantern. Place the lantern on the stand. When boards appear on the floor, go forward and through the door.
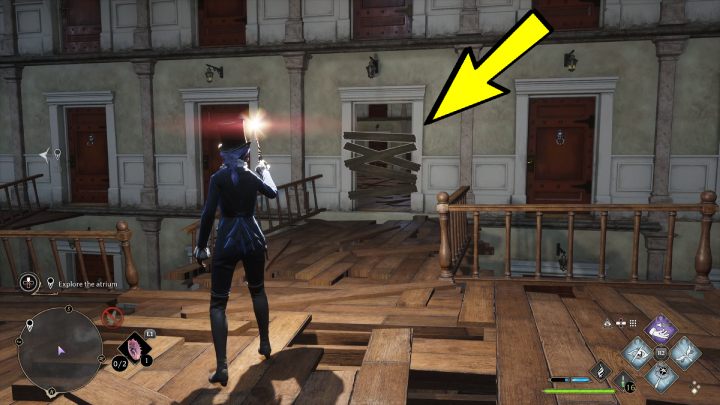
Turn left and jump to the planks. Shoot down all flying objects otherwise they will attack you. Turn left and use Depulso to remove the planks from the next door . Go forward.
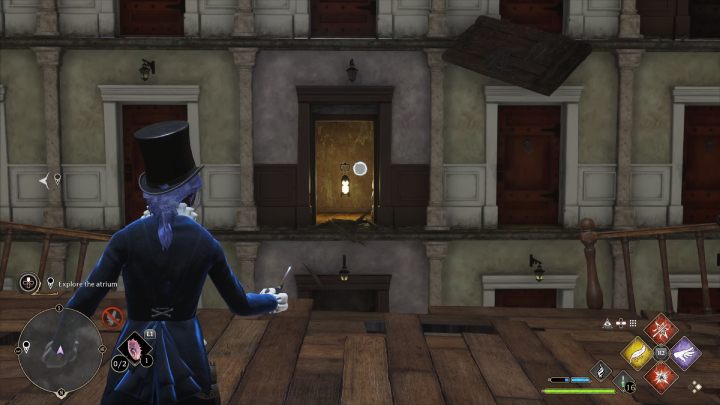
In the distance you will see another door covered with boards. Remove them and grab the lantern . Put the lantern in the stand next to which you are standing.
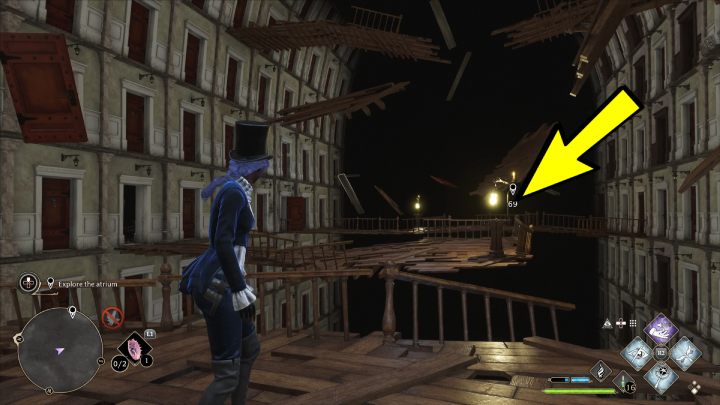
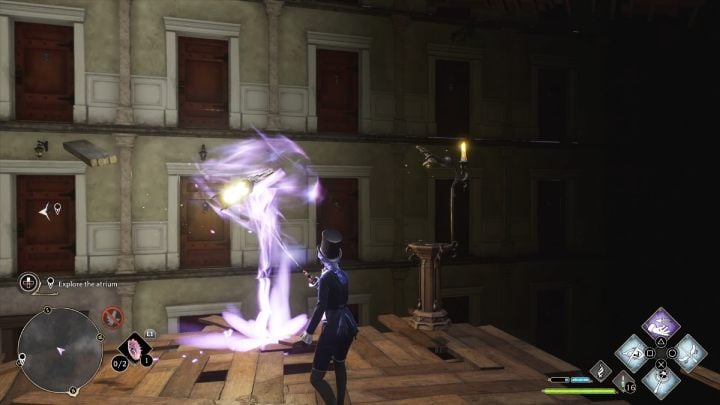
Return to the previous room and go left. Turn left and go through the door. In the distance, on your left, you will see 2 stands that require lanterns. Grab the lantern from the center stand and place it on the stand which is closest to you.
Boards will appear, but the door is still locked.
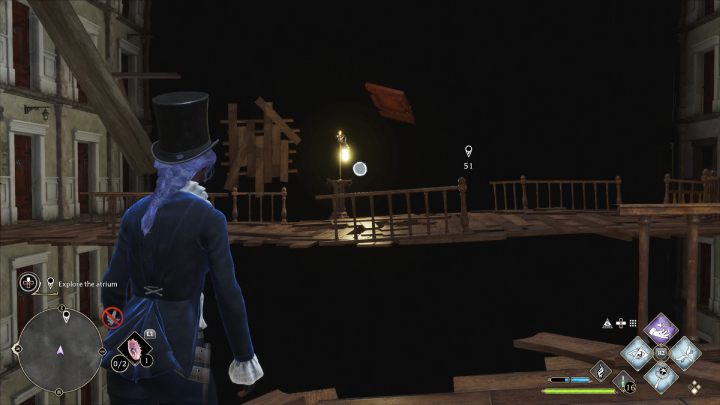
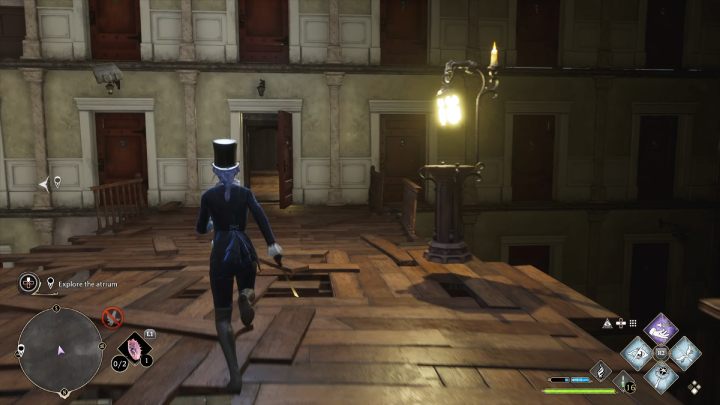
Now go back to the stand from which you've taken the lantern, look left, and grab the lantern from the first stand. Bring it to the stand that you are standing at. The door next to stand #3 will open and you can continue.
In the next room, activate Lumos and walk around a bit. Manequins will appear - defeat them all.
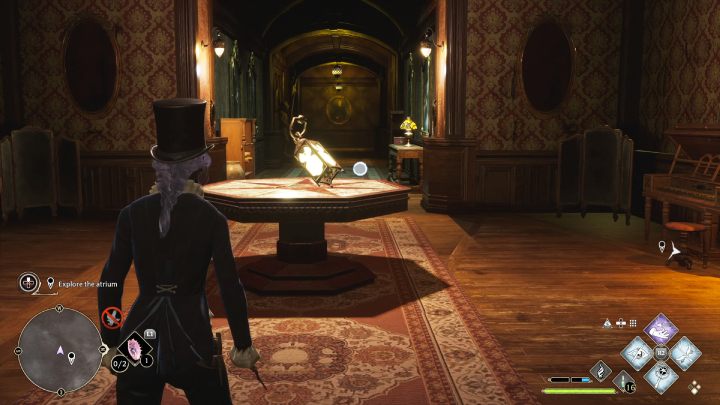
Continue forward and once the light goes out, use Lumos to find the way. The room will shift a few times, revealing a next door and a corridor.
At the end of it, you'll find a room with a lantern and an exit to outside. Grab the lantern and put it in the 2nd stand by the big door .
First fight with Fastidio
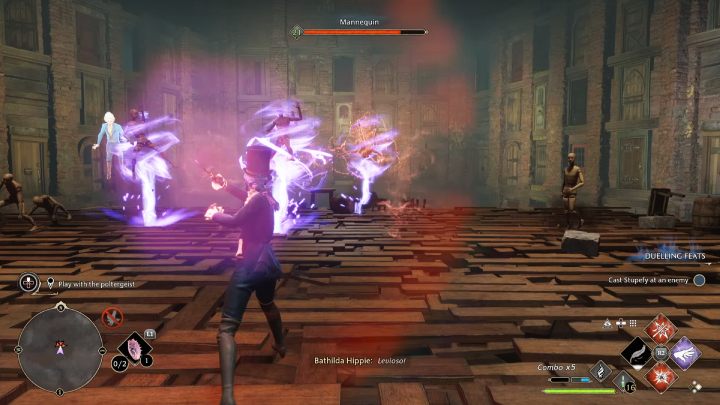
The big door is finally opened and your time in Atrium comes to an end. Descend - time for the first fight against the poltergeist. He will throw objects at you (you can shoot them down or dodge them), then some mannequins will appear.
Defeat all manequinns and follow the quest marker to reach the main hall of the haunted house.
Explore the library
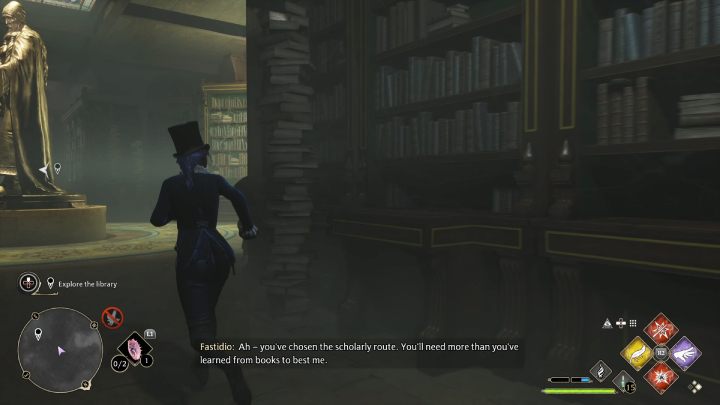
As you enter the library, the room itself will expand in size. There is another big door here that you need to deliver 2 lanterns to. Turn right and go next to a golden statue. Go down the stairs, then turn left in the dining room and proceed to the end of the corridor.
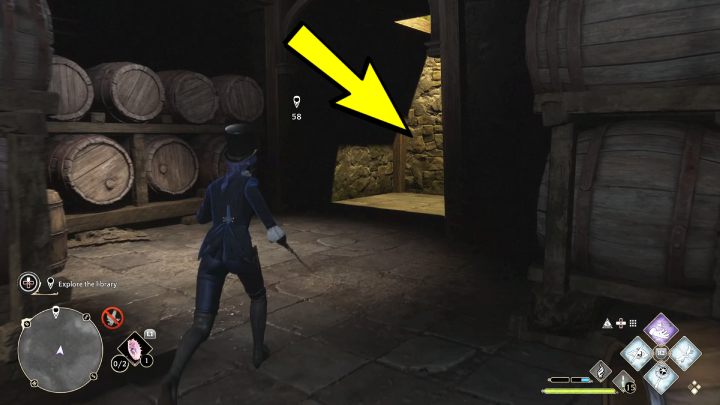
The room will start to shift once the light goes out. Activate Lumos and approach the door. The door should open after a short while. Continue through the next door until you reach the cellar. Go past the barrels and find a ladder. When you reach it, the floor will collapse.
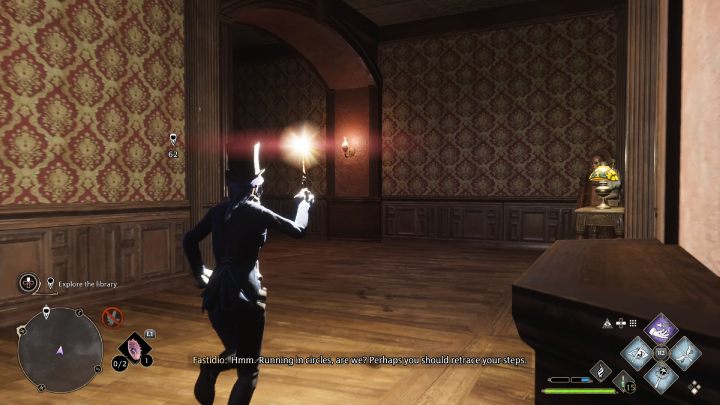
You're back in the empty room with a few mannequins present. Activate Lumos, approach the next door and once they open, continue through them. You'll find yourself in a corridor which is infinite. You have to turn around and go through the other way. There is a open door here and a completely empty corridor.
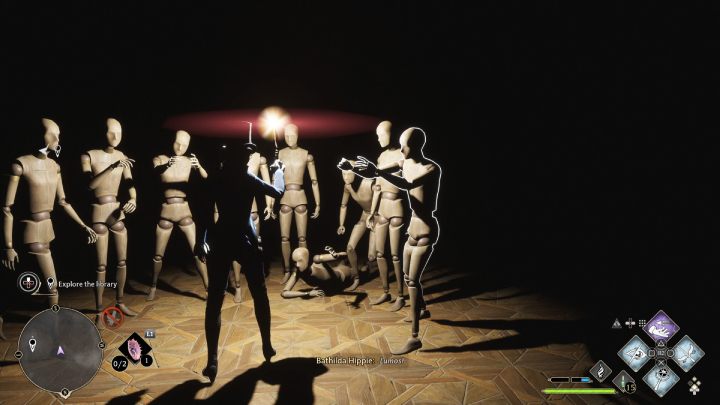
As you approach the end of it, a spider will appear. Activate Lumos again and turn around. Reach the other end of the room, turn around again, and you should see a wall moving, opening a pathway. Disable Lumos, and once mannequins appear, activate it again.
Destroy all opponents and find the final door.
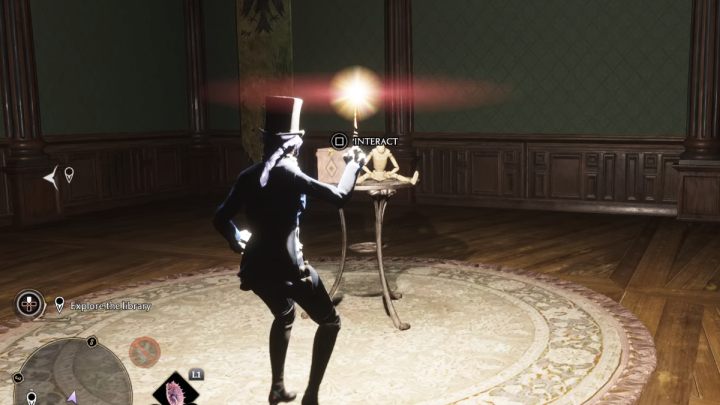
Follow the corridor and enter the room. There is a table with a music box on it in the middle. Interact with the music box and wait for the room to shift. You'll find yourself in a room attacked by mannequins.
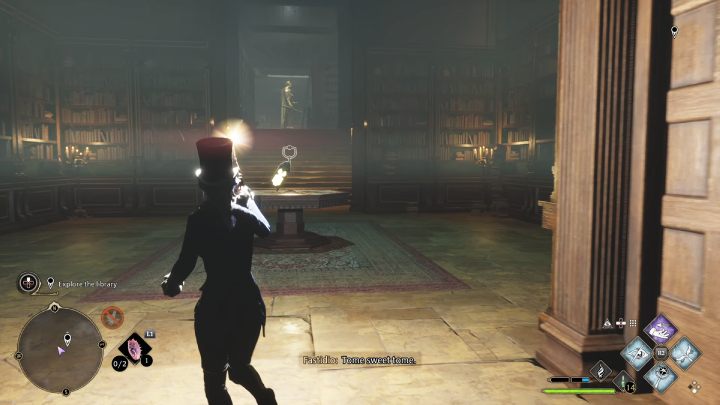
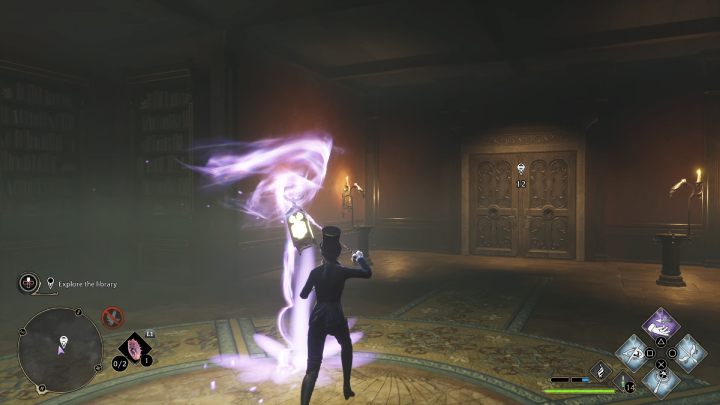
Defeat them all, activate Lumos, and go through the corridor. Look for a door leading back to the library. There is a table with a lantern in the middle of the next room. Grab the lantern and put it on the stand by the large door .
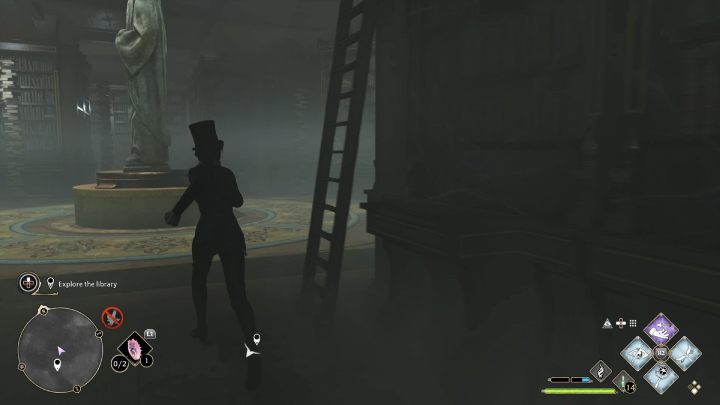
To reach the other side of the library, go past a stone statue. Go to the end of the corridor and turn right. Once you reach the balustrade, turn around and go back to the corridor you've come in.
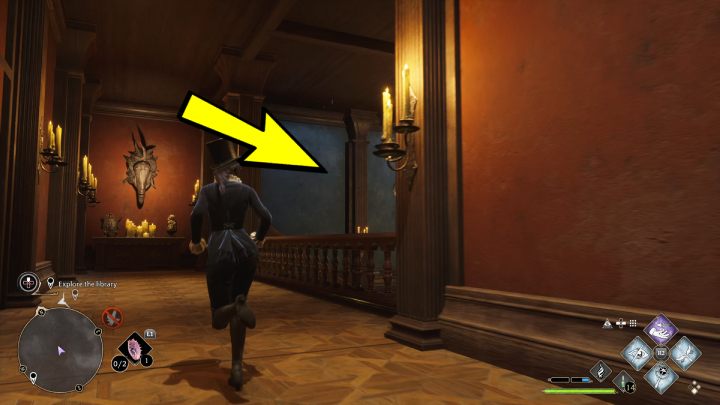
Descend through the stairs on the right, go through the room and descend through the next stairs.
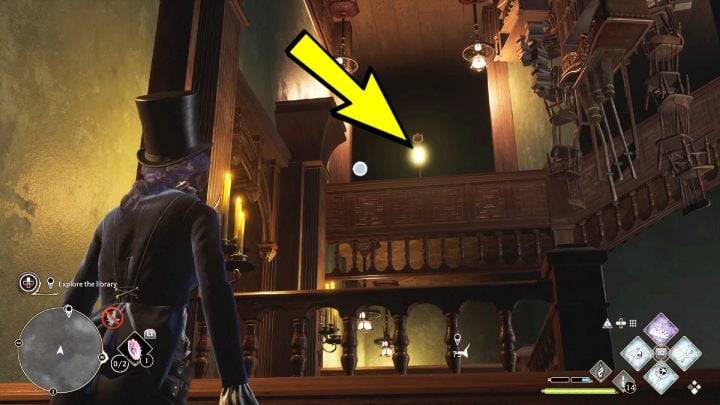
Go through the next door, climb the stairs and you'll reach a wall. Turn right and look up. There is a lantern on the other side of the room . Grab it with Accio.

As you bring the lantern closer, a door will appear and open before you. Go through the door and place the lantern on the stand.
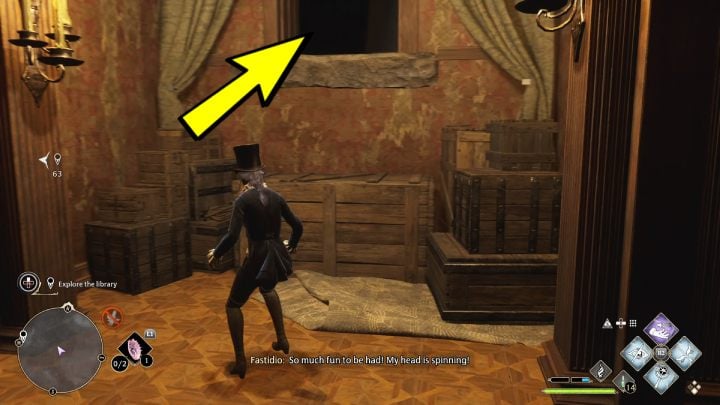
Proceed forward and wait for the hole to turn into a pathway to the next room. Jump down and activate Lumos. Find the stairs to the upper floor and follow the corridor until you reach a new room.

There is a lantern next to the wardrobe wrapped in a sheet . Grab the lantern and place it on the stand that you're standing next to. Another door will open before you.
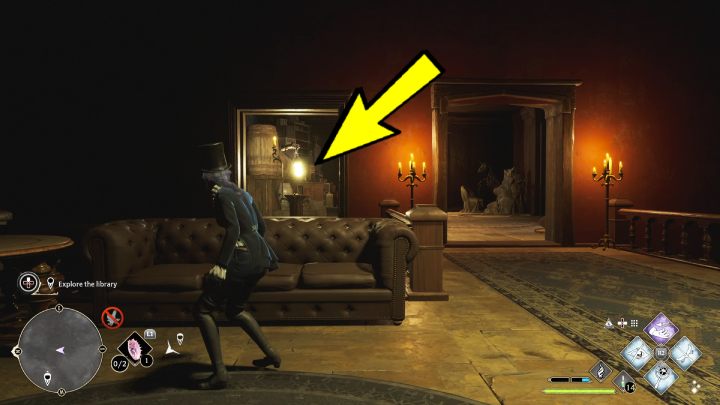
Go through the door, stop by the sofa and turn around. Grab the lantern through the hole and wait for the room to shift.
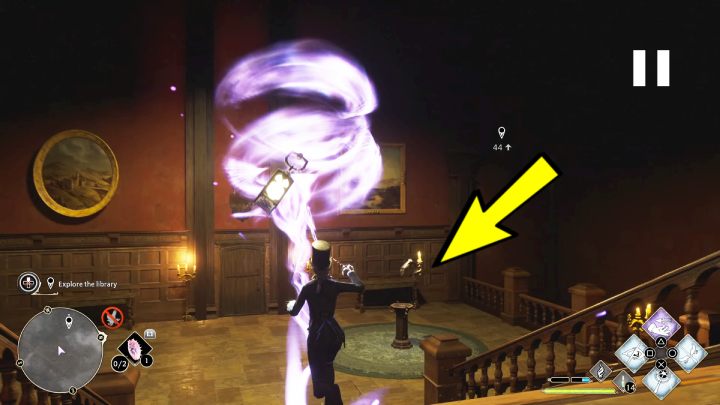
While carrying the lantern, go down the stairs and place it on the stand. Go through the door, turn right and climb the stairs leading back to the library.
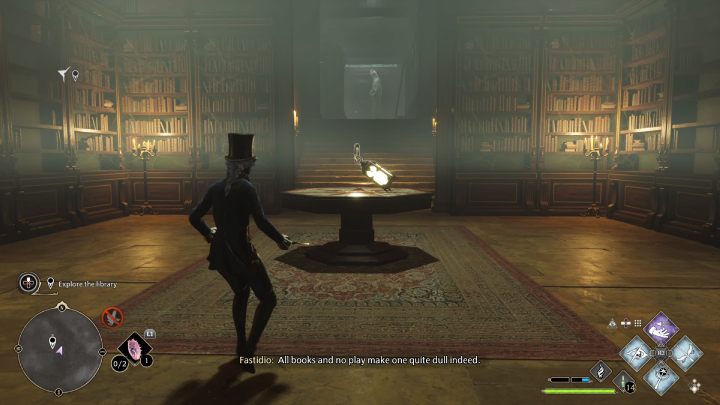
Approach the table, grab the lantern, and place it on the second stand of the large door.
Congratulations - you've managed to solve all puzzles devised by Fastidio! Only a major battle awaits you before you leave this mad house.
Second fight with Fastidio
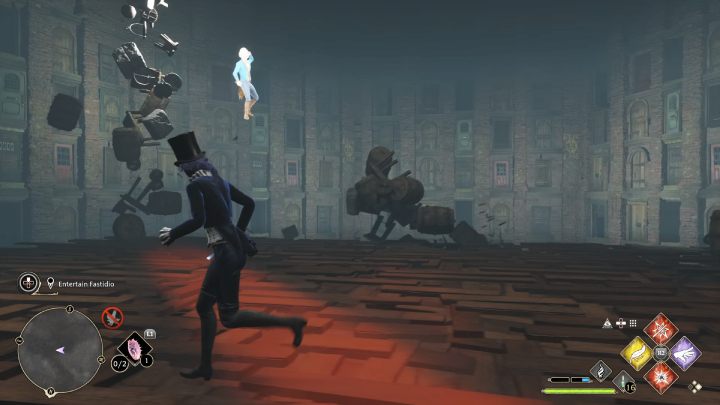
Go through the door and climb the stairs. Time for the second battle against the poltergeist. This time you'll need to avoid incoming furniture instead of shooting it down. The places where the objects are to fall are marked with a red line on the floor. Dodge incoming objects and wait for the ghost to get bored.
Go back to the main hall. Once the door opens, go through it and follow the corridor. As you emerge outside, go through the open gate.
Challenge Fastidio
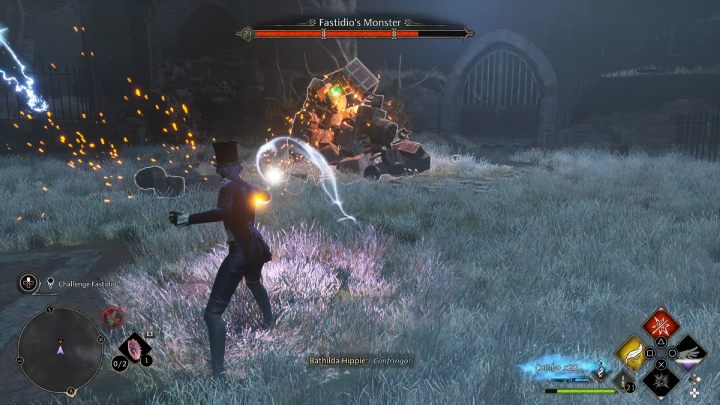
After the conversation with the ghost, a three-phased encounter against him will start. The first 2 phases are similar to each other. Avoid the monster's red attacks, and when you see an orange circle on your character, use Protego to deflect the incoming attack.
The best time to deal damage to the enemy is after the poltergeist had made a few charges and stands still to rest for a while. Using Confringo and following it with standard attacks produces the best results.
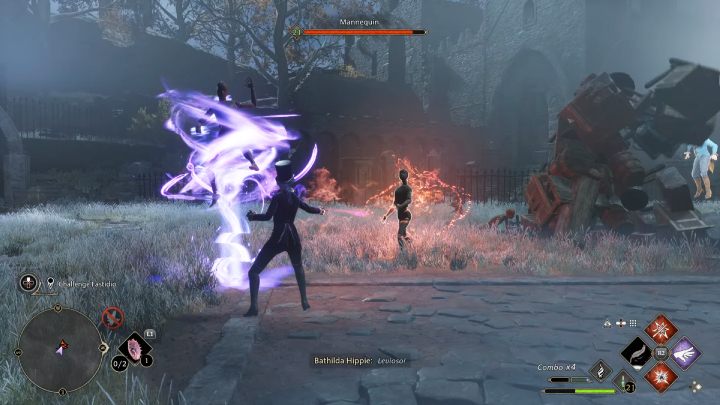
In the 2nd phase of the fight, several mannequins will appear, defeat them quickly so that nothing stands between you and the boss. Use Ancient Magic attacks and continue deflecting the boss's strikes.

In the 3rd phase, the boss's attacks remain the same. The only difference is the camera, which will turn upside down. Continue attacking until you deplete the boss's third health bar.
Seek out Officer Singer
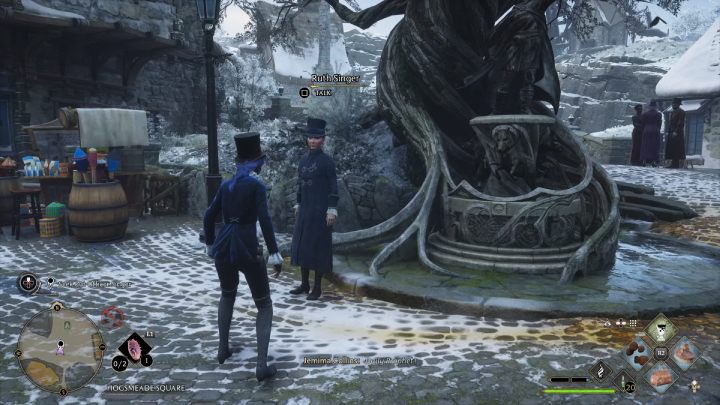
Go back up the ladder to the shop and talk to Penny. Go to Hogsmeade square and talk to Ruth Singer.
Confront Cassandra Mason
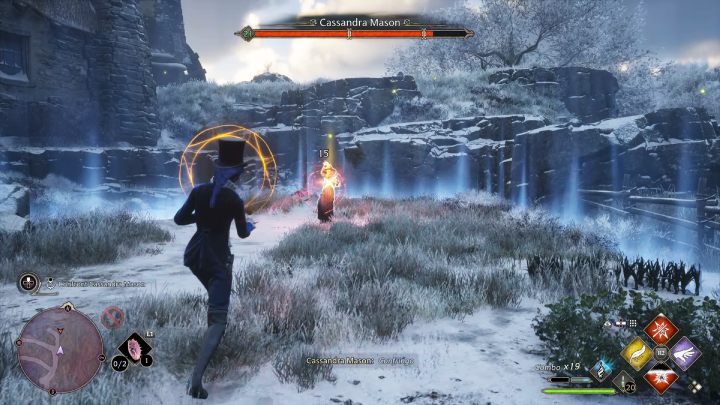
Time to confront Cassandra - go back to her house. After a short conversation, combat will ensue. Cassandra doesn't have any special resistances. Simply counter her spells with Protego cast at the right moment.
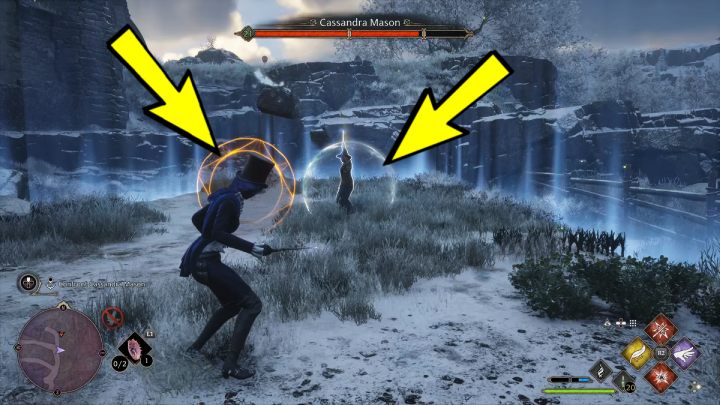
After advancing to the next phase of the battle, the witch will hide behind a white barrier. The only way to proceed here is by throwing back the stones thrown by her. Don't forget to dodge once you see a red warning on your character. When the warning turns orange, use Protego.
Return to the shop
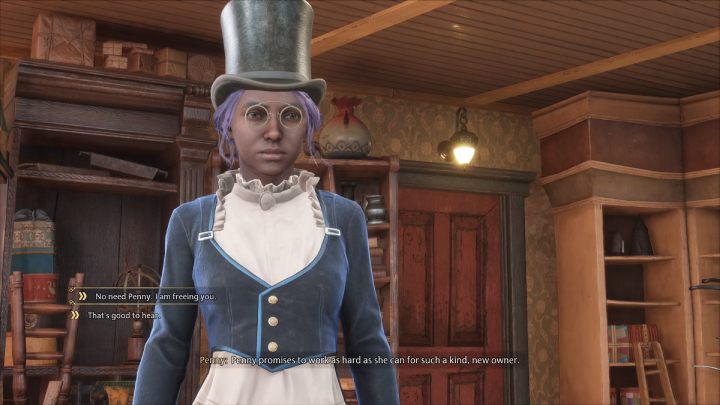
Defeating Cassandra leaves the shop finally in your care. Talk to Penny. If you've managed to find a small hat in one of the chests, you can give it to Penny and free her. Regardless of which dialogue option you choose, the elf will remain in the shop and work for you.
Choose one of the three names of the shop and the quest will be concluded.
You are not permitted to copy any image, text or info from this page. This site is not associated with and/or endorsed by the developers and the publishers. All logos and images are copyrighted by their respective owners.
Copyright © 2000 - 2025 Webedia Polska SA for gamepressure.com, unofficial game guides, walkthroughs, secrets, game tips, maps & strategies for top games.
