Demon's Souls Remake: The Tunnel City (2-2) - walkthrough
Last update:
On this page of the guide to Demon's Souls Remake, you will learn how to go through the chapter (2-2), i.e. Stonefang Tunnel in the Tunnel City.
After defeating the spider boss, you should find a new Archstone. Go forward, then stop when you notice the two paths from the picture.

On the right side, there is a shortcut to the boss of the location, Flamelurker. On the left side, where the wagons are, there is the other part of the location with many items to pick up.
Right path - the way to the boss
If you want to go to the boss, you need to go the right path. The tunnel leads to the boss, but watch out for opponents digging for materials.
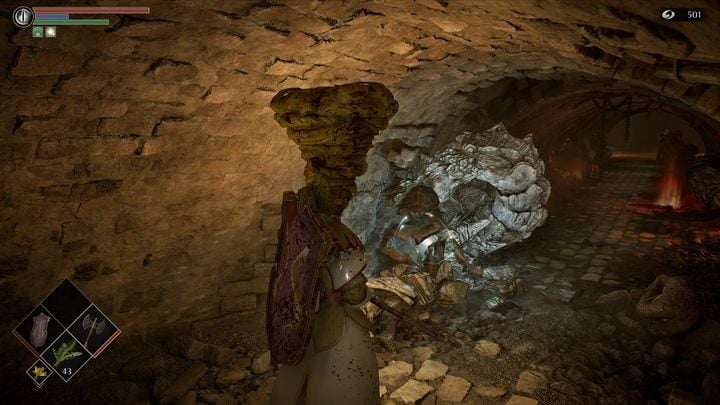
They are not difficult to defeat, but there are many of them. Provoke them one by one, and then go to the other end of the tunnel.

Then you have to destroy the wagons once you are at the end of the tunnel. You have to be careful when jumping to lower levels. If you have a problem with the camera, choose the photo mode. It will give you better opportunities when it comes to observing the terrain.
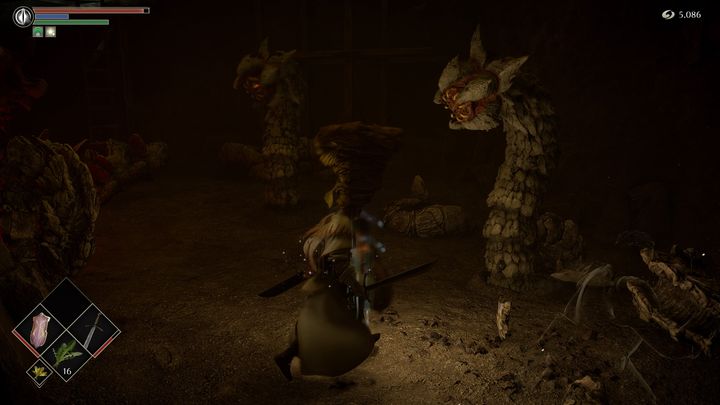
After jumping down to the very bottom, you will get to a place full of sand. The enemies will come out from the sand. You can either ignore them or figth them. They're vulnerable to magic attacks.
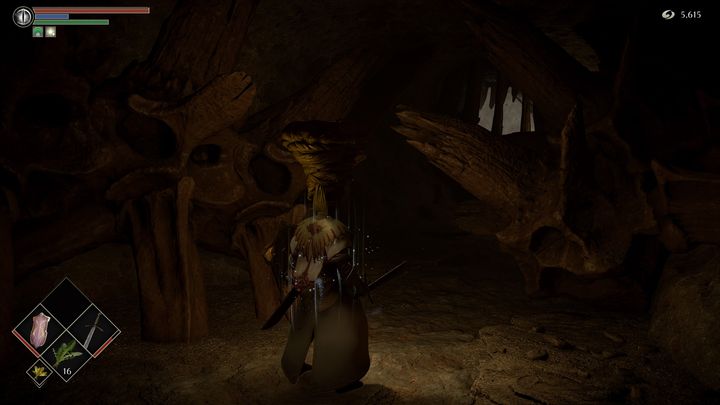
Entering the tunnel after ignoring or defeating previous opponents, you will see a mist that leads to the next boss, the Flamelurker. A walkthrough of the boss fight can be found on a separate page of the guide.
Left path - next part of the location
If you want to explore the location and pick up new items, choose the path on the left. It is a little longer and more dangerous but offers more items and souls, and in addition, you can meet a new NPC.
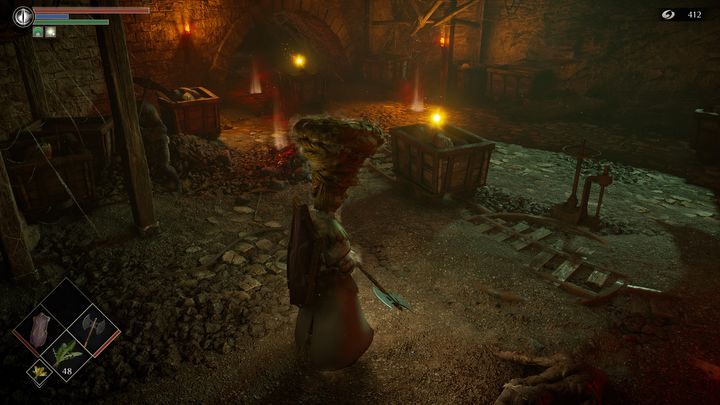
The first danger will be the wagons that emit yellow light. Watch out for them because if you get close, the wagons will explode, causing serious damage. If you see it exploding, use a shield. However, if you run to the left full sprint without stopping, the wagons will not hurt you. Therefore, when you see the first wagon near you, run forward until you lose the wagons.
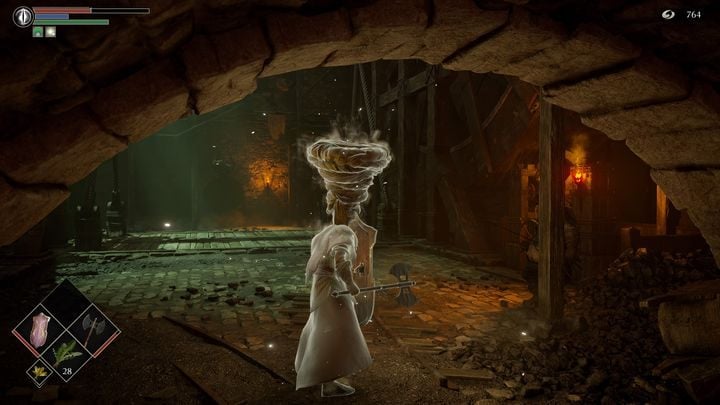
At the end of the tunnel, on the right side, you will be attacked. Defeat the opponent, and stay in this room.

There is an elevator in the room that leads to the lower level. On the lower level, there is a crystal cave with many Crystal Lizards and the entrance to the tunnels. For now, instead of going down, stay wher you are.
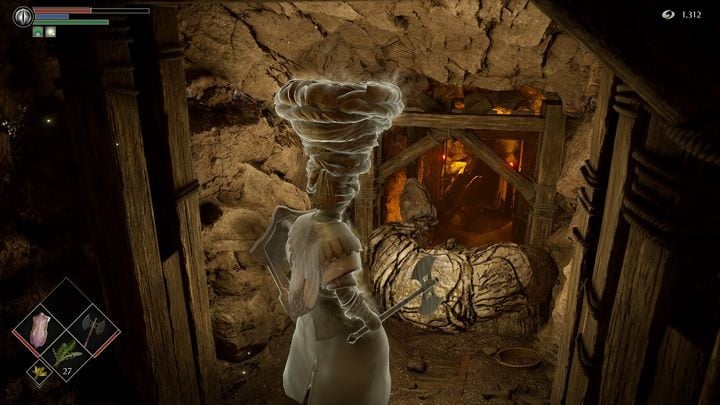
Going further, you will see the entrance to the tunnel, which is blocked. Attack the obstacle, then go down into the tunnel.
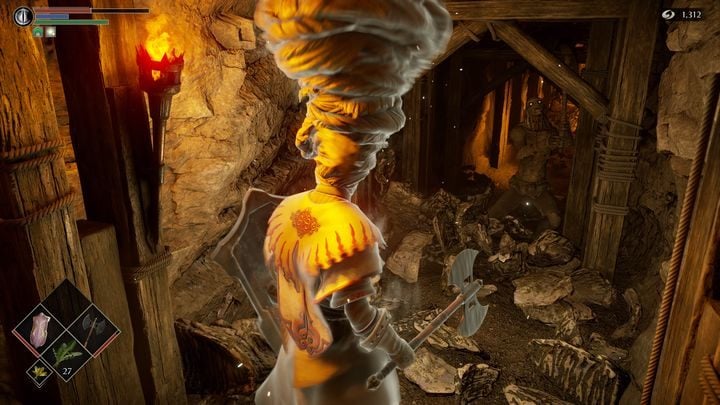
Beware of the enemies that will appear after the destruction of the obstacle. Be prepared, holding the shield after destroying the obstacle.
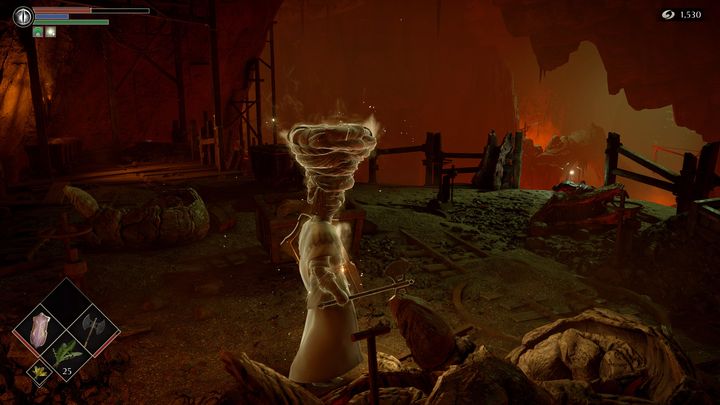
After exiting the tunnel, you will find yourself in an open space. You will see an item to pick up. This item is a soul, but when you pick it up, you'll activate the trap.
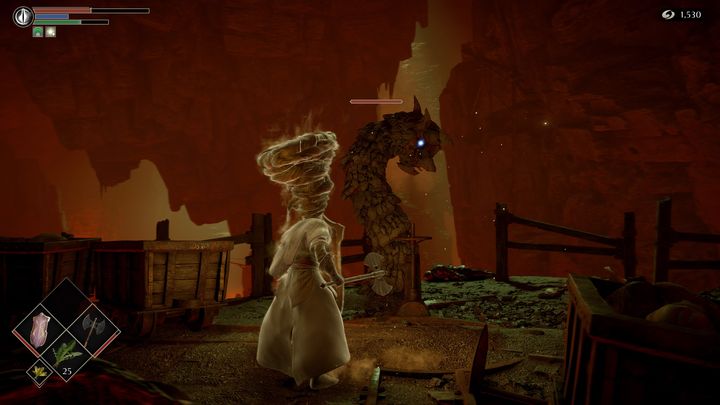
A new enemy will come out from the ground. It is rooted, but it deals a lot of damage and is quite durable. The weakness of this enemy is magic, so if you have a weapon that deals magic damage or you use magic, you can very quickly get rid of it. In addition, if you hit him in the head, or rather in the orange eye, you will kill the enemy immediately. Therefore, when encountering these enemies, you can move away from them, draw a bow or crossbow, shoot them in the eye, and get rid of the danger.
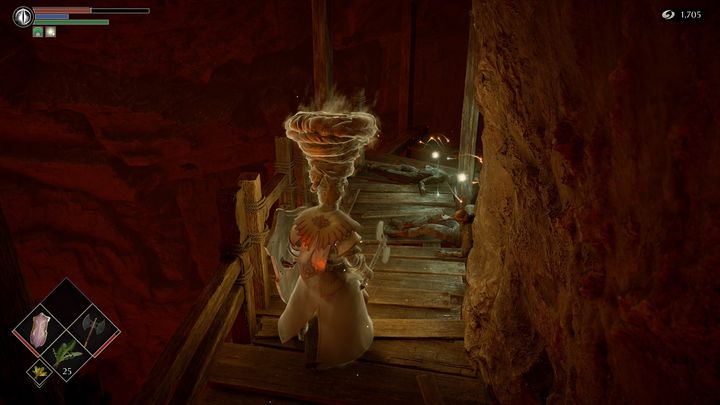
On the right side of the exit, there are two items that you can pick up. But beware of the abyss. When you pick them up, on the right side at the bottom, there are other wooden footbridges on which you can jump. They are easy to see, because there are items to pick up. Jump down, jumping on every footbridge.
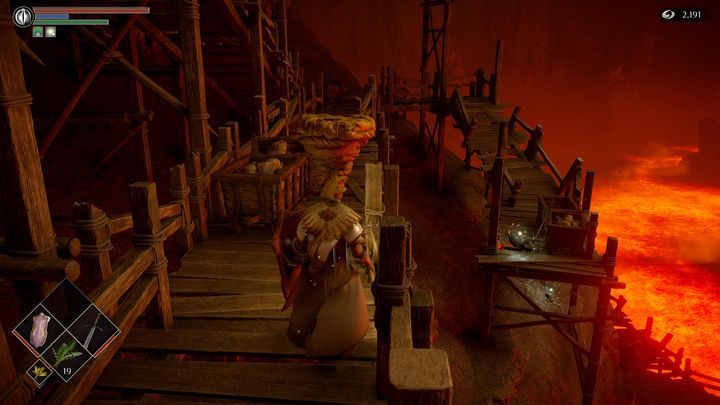
When you finally jump to the lower level, pick up all the items that you see - it will be mainly materials to upgrade weapons. Be careful, however, if the object is close to the sand, as there is a good chance that when you pick up the item, a stone worm with an orange eye will appear.
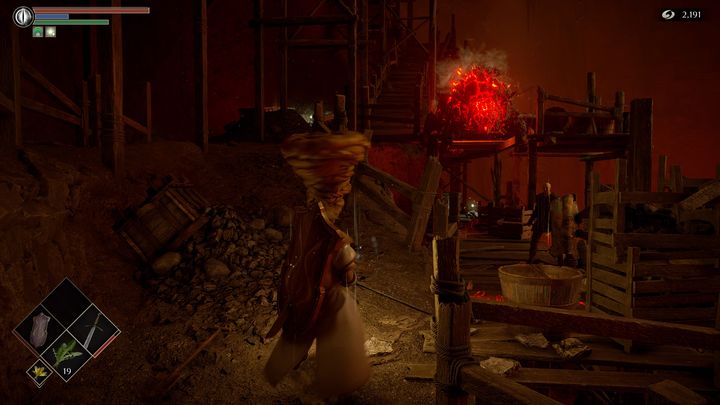
On the lower floor, you will see a new NPC standing next to a large, fiery lizard. This is Patches. Under no circumstances should you trust what he says because he will lead you into a trap. When he tells you that you can pick the item up and you do, a giant lizard will attack you. Therefore, the best course of action is to kill it first.
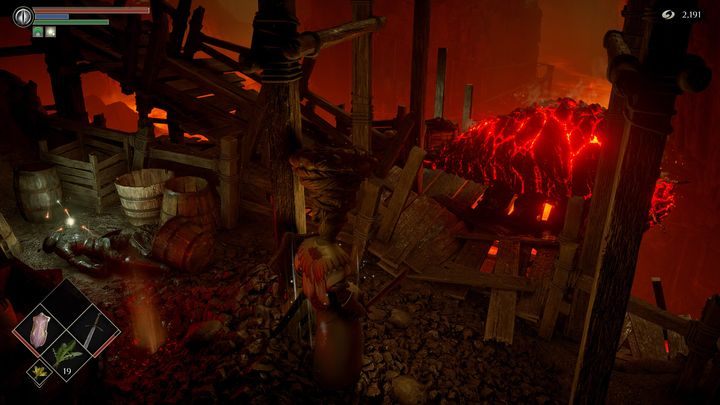
Like stone worms crawling out of the ground, fire lizards are weak to magical damage. The easiest way to kill them will be with a weapon that deals magic damage or using a magic spell. Otherwise, the fight with a lizard will be very long because it is resistant to physical damage. Remember that after killing the lizard, you have a short while to move away from it. After the lizard dies, there will be a big explosion, similar to the wagons from the beginning of the location. The explosion is also capable of seriously injuring Patches, but it should not become hostile towards you.
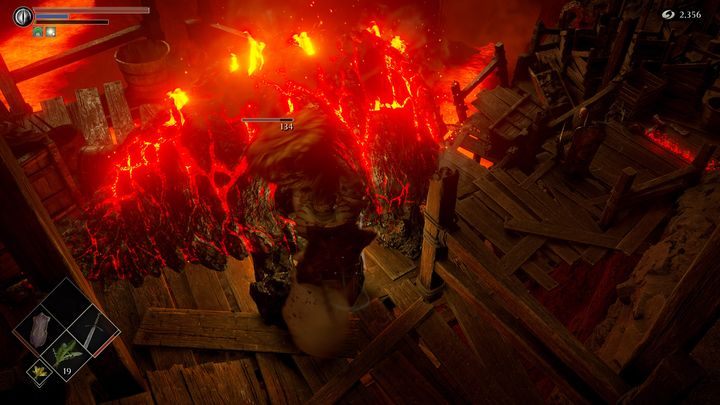
You can choose whether you want to keep Patches alive or kill him. After the explosion, he will be very weakened, so this is a good opportunity to kill him. However, we don't recommend it because when Patches survive, he will appear in the Nexus, selling items. He is one of the few, if not the only, character that offers unlimited bow arrows or crossbow bolts, so it is worth keeping him alive if you often use this type of weapon. Nevertheless, after killing the lizard, talk to Patches, and you will receive a Ring of Fire Resistance.
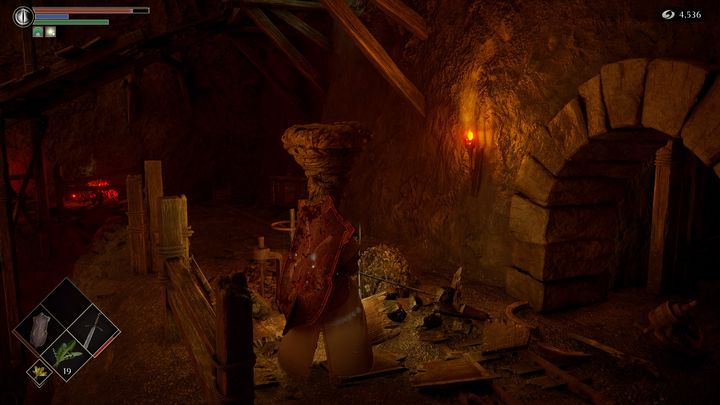
After picking up all the items, go to the upper floor, to the tunnel's entrance from the picture. This tunnel is connected to the lift from the beginning of the stage.
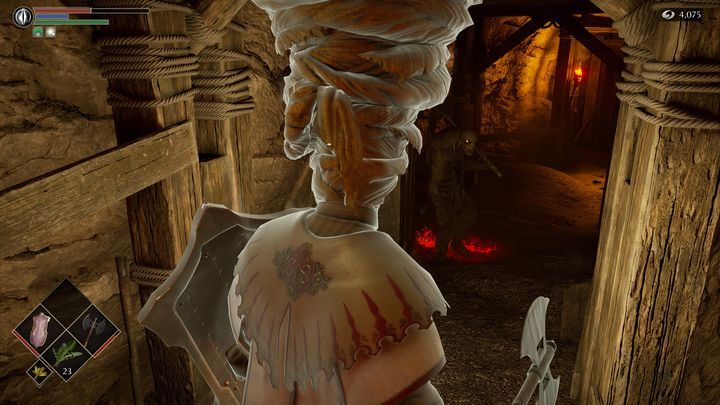
There will be more materials for uprgading weapons to pick up. Watch out for the opponents, though.
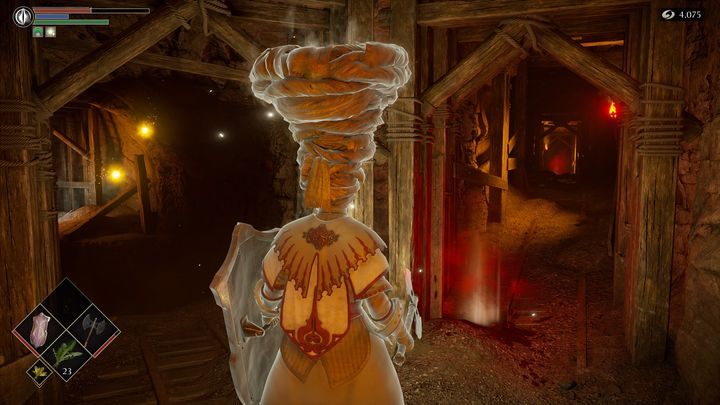
Going further, you will encounter yellow lights again. Do not approach them, as they will explode in the same way as the wagons. If they get close, run or shield yourselves.
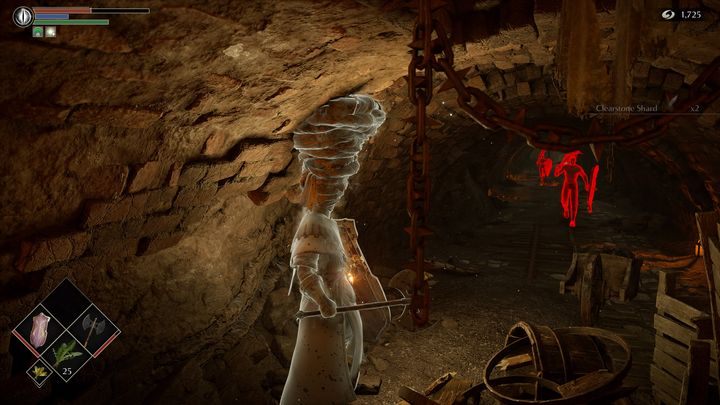
Go up through the tunnel to the next one. However, beware of the two Red Phantoms, who are very strong in groups. It's best to provoke one, kill him quickly, and then take care of the next. Approach them from behind, blocking their attacks with a shield, and then attack the back.
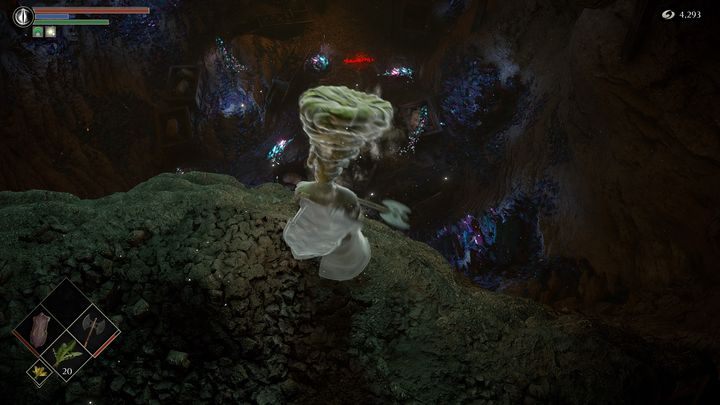
Then go to the crystal cave, where are many lizards. They offer materials for upgrading weapons. The first time you won't kill them all, so try to kill as many as you can. As the story progresses, you will unlock area spells that will allow you to kill all the lizards at once.
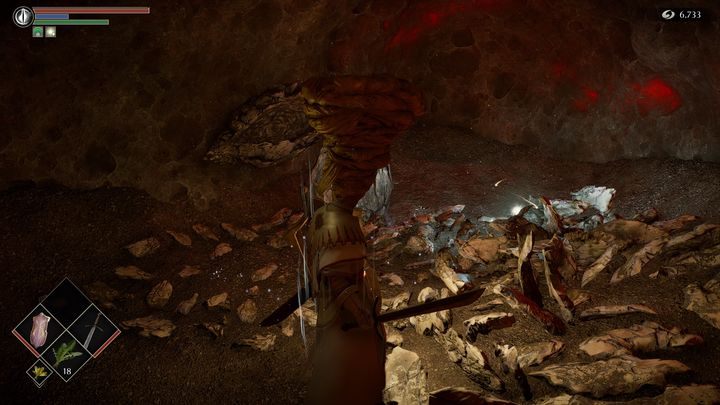
Now go back to the place where you met Patches. Then go down to the lowest floor, watching for the next opponents, that is, flying creatures. You can ignore them and go down. From there, you enter the tunnel, which is like a labyrinth - you can get lost easily.
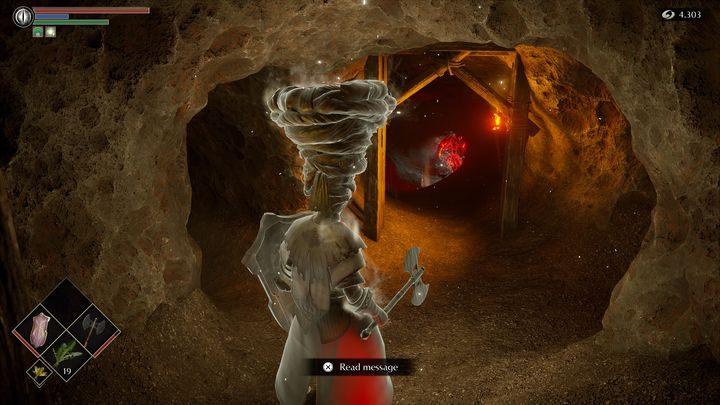
The entrances to the tunnel are usually blocked by fire lizards. Equip the magic weapon again and kill them. When you do, move away from them and continue going through the tunnels after the lizards explode.
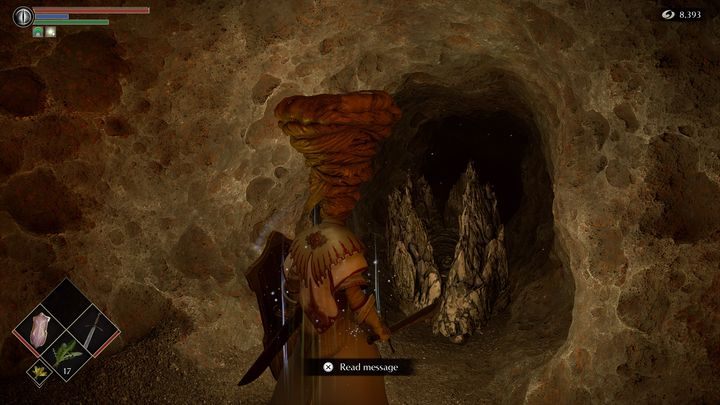
Going deeper into the tunnel, you will also notice the entrance blocked by a stone barrier. Destroy it, then move on.
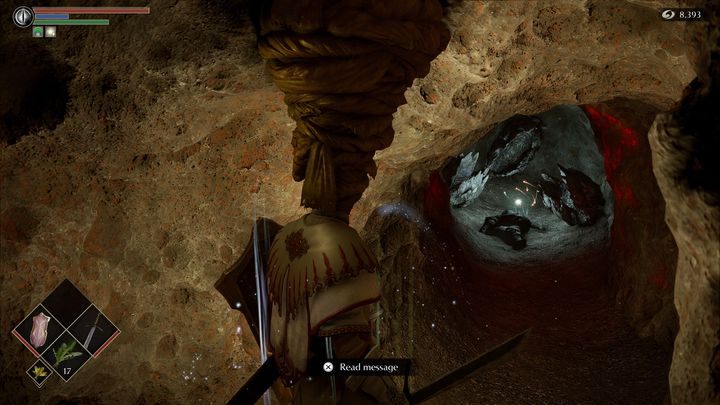
Behind these obstacles, there are more items to pick up. If you want to get to boss from here, you should turn right at the first fork and left at the next.
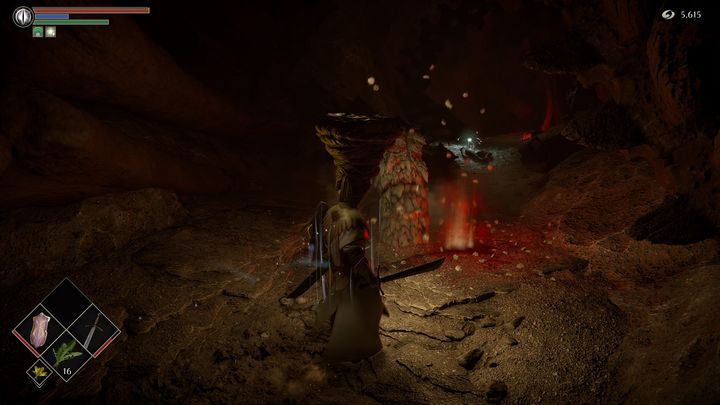
Then you will find yourself in the same place as when using the shortcut from the beginning of the stage on the right. Now there is nothing left but to enter the fog and fight with Flamelurker.
You are not permitted to copy any image, text or info from this page. This site is not associated with and/or endorsed by the developers and the publishers. All logos and images are copyrighted by their respective owners.
Copyright © 2000 - 2026 Webedia Polska SA for gamepressure.com, unofficial game guides, walkthroughs, secrets, game tips, maps & strategies for top games.
