Stilt Village level in Dead Cell
Last update:
The following chapter includes information on Stilt Village in Dead Cells. Here, you can learn more about this location, threats and enemies that you can come across, see where you can go from here and what requirements you have to fulfill in order to do that.
Characteristics of the location
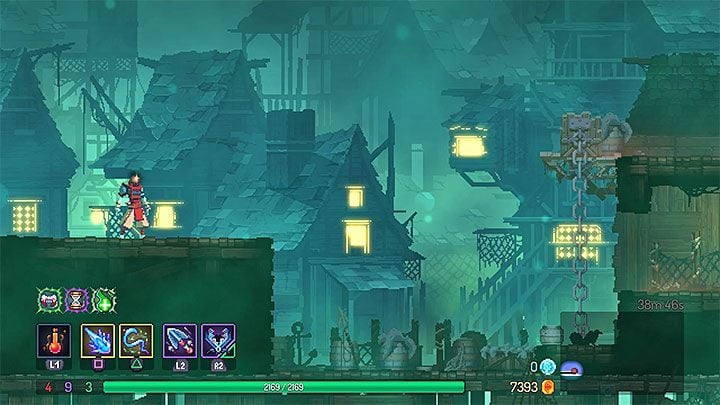
Stilt Village is one of the default locations visited during your playthrough, that is before you get certain runes that unlock alternate passages (thanks to them you can skip this location). This is a biome level 4 location which means that monsters here are much tougher than those encountered before the first boss fight. However, this also means that you are able to find better loot.
Exploration of Stilt Village looks a little bit different. The village has passages in different colors that lead to separate areas. A symbol hanging near a passage informs you about a type of location to which it leads. An hourglass indicates timed doors, a coin represents a trader, a key means a location with a key, a chest is for a room with treasures.
The aforementioned timed doors will remain open for 17 minutes since the start of the game. If you are too late, the doors will close for good. Inside, you can find various treasures, e.g. jewels, gold, Cells, scrolls or unique weapons.
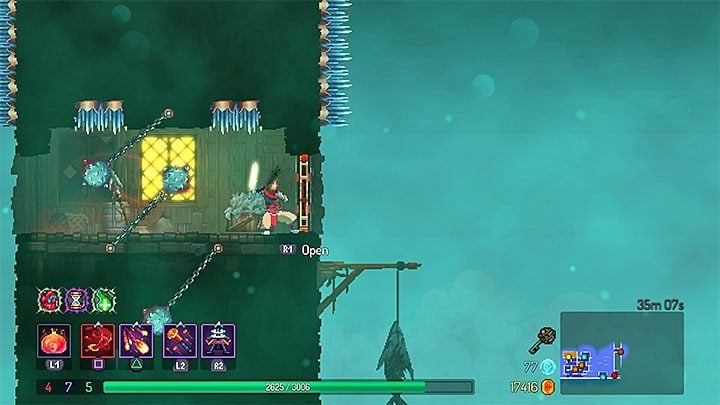
Exploration of majority of the rooms is optional. The exception to that are locations with keys - you have to find 2 Village Keys. These items can have different purposes:
By default, the first key is for opening the tower's bottom doors. Thanks to that you will be able to continue your exploration of the village. However, you can keep this key by using an alternate way of going past the tower. This is possible only with the Spider Rune. You have to climb on the left side of the tower. Then, you must get closer to its top. After that you must jump to it and climb the tower's highest point (the picture above shows an example). Avoid the traps and then jump down.
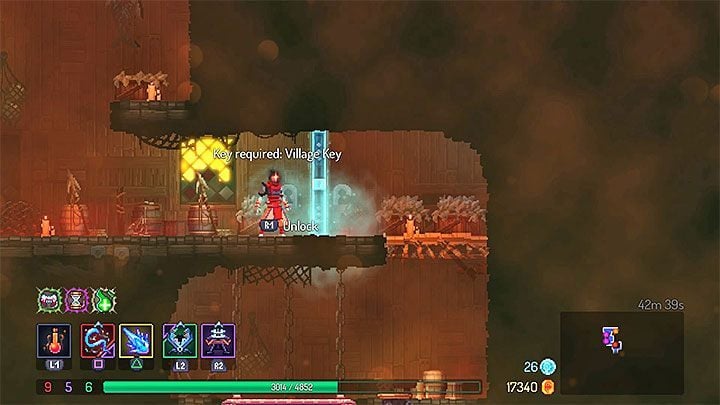
By default, the second key is for opening one of the two exits in this location. The more obvious exit is the second tower located at the very end of the village. It leads to a lift that can take you to the entrance to Clock Tower.
The less obvious exit is the one located in the undergrounds - the picture above shows an example (the layout of the corridors is random). To reach it you will need a Teleportation Rune (interact with the sarcophagus to teleport). If you use a key here, you will reach the lower entrance to Forgotten Sepulcher.
By default, you can reach only one of the two exits from the village - opening one of the doors makes another key disappear.

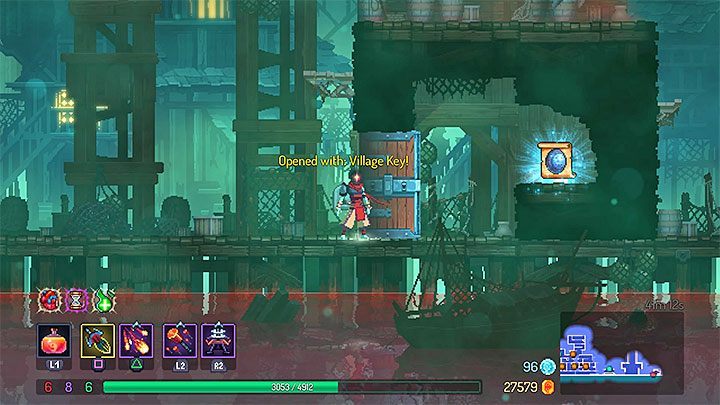
A key that was saved by going around the first tower can be used at the end of this location. Reach the second tower and open the entrance. Stand on the lift to make it move BUT you must quickly jump down on the right ledge above the spikes (presented in the picture 1). Break through the floor (requires Ram Rune) to reach a secret area. Move right to reach a small room that can be opened with the first key (the picture 2). Inside, you can find Parry Shield blueprints.
Enemies and other threats
Stilt Village is the least challenging location out of all biome level 4 levels. However, this doesn't mean that you should underestimate them. Many of the monsters here have attacks that can quickly deplete a lot of your health points and/or use a sneak attack (Kamikaze, Weaver Worm). The village also features traps, mainly spikes.
Note! The list below consists of monsters encountered on the normal difficulty level. Boss Stem Cells, received by defeating the final boss, unlock higher difficulties. After that you can come across new and more powerful versions of the monsters.
Appearance | Name | Description |
| Zombie | After detecting you this enemy bends and then leaps towards the hero. Touching the zombie deals you more damage. Quickly attack a Zombie if you are near this enemy. You can avoid his leap by jumping over the Zombie or by rolling under him. |
 | Purulent Zombie | A stronger version of the regular Zombies. A Purulent Zombie's unique trait is that when it dies, this enemy spawns Corpse Worms near its corpse. These worms can "track" the hero by teleporting. Prepare yourself for that. Luckily for you, these Worms die fast and they are vulnerable to, e.g. turrets. |
 | Kamikaze | Very dangerous flying creatures. They appear in their default resting position (you can see them attached to, e.g. a ceiling). They become active once you get closer to them. As the name suggests, a Kamikaze flies towards your character and then explodes. You can receive a lot of damage if you don't avoid this explosion fast enough. Kill these monsters with a melee or a ranged weapon (preferably with an electric whip that targets enemies automatically). |
 | Weaver Worm | Weaver Worms hide by attaching to walls. They aren't invisible when they do that which means that you can always prepare yourself to face them (provided that you look around carefully). These worms can teleport so running away is not an option here. Eliminate them faster or distract by using traps. |
 | Pirate Captain | They use grenade launchers that shoot exploding rounds. An explosion takes place either when a round hits you or when it travels a certain distance. Try to jump above these rounds and remember that they can reach you even when you are standing on a lower platform. Use ranged weapons to attack Captains standing on platforms located above you when you are on the same level as them but there is enough empty space for the rounds to fall into it. |
Further locations
Below you can find the list of locations that can be accessed from Stilt Village.
Name | Requirements |
Clock Tower | No requirements. Use the second key to open the tower located at the end of the village. After that you must use the lift. |
Forgotten Sepulcher | This location can only be accessed when you have a Teleportation Rune. This rune can be collected from an elite monster found in Toxic Sewers. Find a sarcophagus in the undergrounds. Once you get teleported, you must use the second key to unlock the passage. |
You are not permitted to copy any image, text or info from this page. This site is not associated with and/or endorsed by the Motion Twin or Motion Twin. All logos and images are copyrighted by their respective owners.
Copyright © 2000 - 2025 Webedia Polska SA for gamepressure.com, unofficial game guides, walkthroughs, secrets, game tips, maps & strategies for top games.

