Ossuary level in Dead Cell
Last update:
The following chapter includes information on Ossuary in Dead Cells. Here, you can learn more about this location, threats and enemies that you can come across, see where you can go from here and what requirements you have to fulfill in order to do that.
How to reach Ossuary?
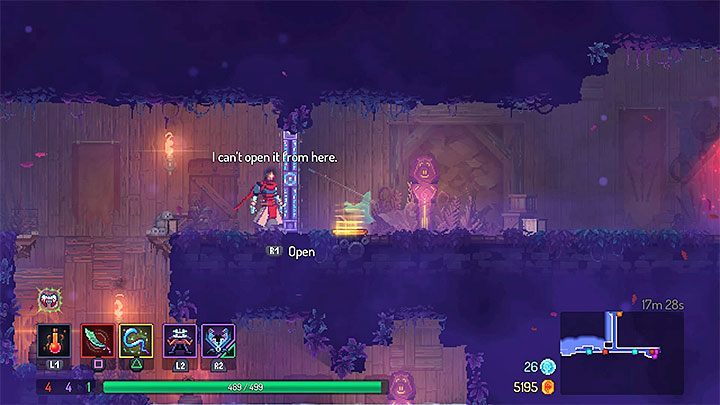
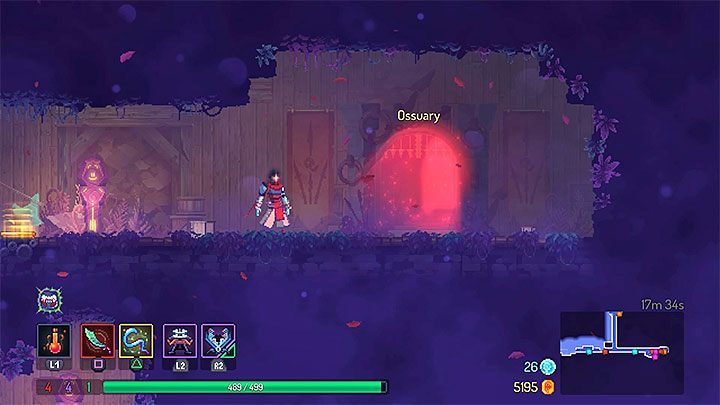
Ossuary can't be accessed right away. You first have to obtain Teleportation Rune in Toxic Wastes - more details on that can be found on How to reach unavailable locations? - ability runes page.
After that you have to reach Promenade of the Condemned. There, you must find the locked doors presented in the picture 1. Reach the sarcophagus located below said doors, and interact with it. You will be teleported to the other side of the doors. Go right - you will find the entrance to Ossuary (the picture 2).
Later, you will also be able to unlock the alternate passage to Ossuary in Prison Depths (the description of that location can be found on the previous page). The game won't require you to fulfill any additional requirements. Prison Depths has only one exit which leads to Ossuary.
Characteristics of the location
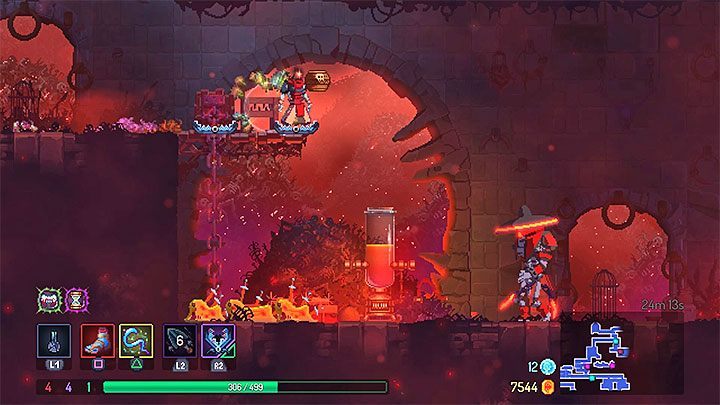
Ossuary is a challenging dungeon. One of the reasons is that this is the only biome level 4 location that you can visit before facing the first main boss. This location is inhabited mostly by new enemies. Many of them can kill you in an instant if you aren't careful or when you are unfamiliar with their attacks and unique abilities.
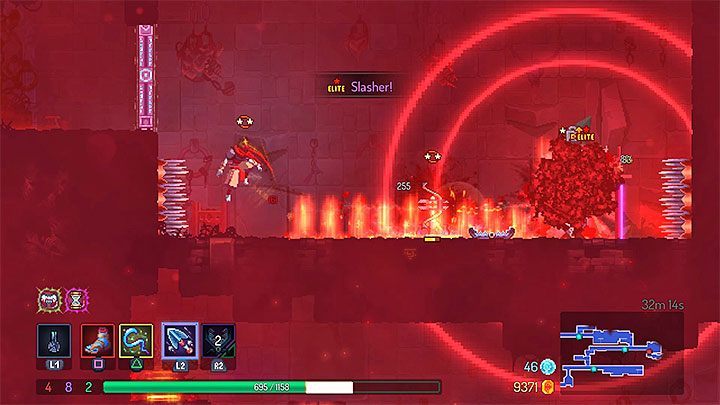
Explore Ossuary carefully. Thanks to that you can find treasures, and reach an elite monster's lair (Slasher) which is presented in the picture above. This enemy can be difficult for you to beat, especially since the fight takes place in a room with spikes protruding from the walls. Use traps, parry his attacks with a shield or use dodges. Defeating the Slasher gives you a Teleportation Rune.
Other parts of Ossuary are also roamed by elite monsters. However, these encounters are random, the same goes for loot received from them.
Ossuary also has new timed doors. They lead to a secret chamber but the only way to open them is to reach said doors within 8 minutes. If you are too late, the doors will close for good. Inside, you can find various treasures, e.g. jewels, gold, Cells, scrolls, Marksman's Bow blueprints or unique weapons.
Enemies and other threats
The dungeon features a few enemies known from previous locations (Zombie) but the majority of them are new. Be very careful - some of them can use abilities that can quickly deplete a lot of your health points. Besides that, you will also have to avoid spikes and balls.
Note! The list below consists of monsters encountered on the normal difficulty level. Boss Stem Cells, received by defeating the final boss, unlock higher difficulties. After that you can come across new and more powerful versions of the monsters.
Appearance | Name | Description |
| Zombie | After detecting you this enemy bends and then leaps towards the hero. Touching the zombie deals you more damage. Quickly attack a Zombie if you are near this enemy. You can avoid his leap by jumping over the Zombie or by rolling under him. |
| Shieldbearer | There is no point in attacking his shield. On top of that, the enemy will charge and then rush towards you. This attack stuns your character and deals a lot of damage. The solution is to either jump above him or roll behind his back and then perform a quick attack. The enemy reacts quickly to your attempts at attacking him from behind. However, you need only one successful hit to stun him. Later, you will be able to rely on weapons and skills that can, e.g. set enemies on fire or poison them. These negative statuses can be inflicted on a Shieldbearer even when he hides behind his shield. |
 | Thorny | The main source of problems while fighting with these enemies are spikes on their back because they can damage you when you are attacking with a melee weapon. The best solution is to use ranged weapons, powers, grenades or traps. Luckily for you, Thorny doesn't have a lot of health points. |
 | Slasher | Slashers are dangerous enemies. They wield a huge sword and can use up to three attacks in a row. The last attack is the most problematic - it deals the biggest damage and has the longest reach. Parry their attacks with your shield, use ranged weapons or traps (Slashers can't move between floors). |
 | Lacerator | You can easily recognize these enemies by their characteristic hat. Dangerous creatures that can quickly deplete your health points. A Lacerator's main attack turns him into a tornado that attacks everything in its path. This move can be blocked with a shield but it is safer to place a few traps or to move away from this monster and wait for this attack to end. You can also use a ranged weapon. |
 | Spawner | A unique enemy. Spawner doesn't deal any damage. It is a container that spawns monsters called Corpse Juice. Eliminate it quickly (the content of the tank informs you how many monsters it can spawn) to stop it from "summoning" more enemies. You will also save time on eliminating creatures that can be created by this opponent. |
 | Shocker | This mechanical-looking enemy doesn't move. However, it emits powerful electric charges periodically. The game will inform you when a Shocker is about to use its attack. Run away from this monster because its attack can deal you a lot of electric damage. The best way to eliminate these enemies is to use ranged attacks or you can quickly run towards them when their attack stops working. With a bit of a luck, you should be able to kill a Shocker before it charges up again. |
Further locations
The only location that can be accessed from Ossuary is The Black Bridge (the path that leads to it is full of traps), the arena where you must face The Concierge.
You are not permitted to copy any image, text or info from this page. This site is not associated with and/or endorsed by the Motion Twin or Motion Twin. All logos and images are copyrighted by their respective owners.
Copyright © 2000 - 2025 Webedia Polska SA for gamepressure.com, unofficial game guides, walkthroughs, secrets, game tips, maps & strategies for top games.


