Dead Cells: How to die less frequently?
Last update:
Dead Cells is a game where players can die really fast. This is partially due to the game's rogue-like features. However, you can reduce your number of deaths by playing in a certain way and learning about the threats that await your hero. Below you can find advice on how to survive in Dead Cells and how to reach later stages and bosses.
Note - Check The game's world chapter to learn about specific locations (their traps, enemies that can be encountered there etc.).
- Don't rush
- Look around before you enter an unknown area
- Use traps and ranged weapons
- Memorize enemies' unique attacks and abilities
- Some of the monsters can hide
- Upgrade your Health Flask
- Look for food
- Find as many scrolls as possible
- Check out mutations that have impact on your hero's health
- Avoid falling from heights
- Avoid curses in more difficult locations
- Choose easier locations and passages
- Don't explore the Challenge Rifts and don't attack elite enemies with a heavily weakened character
Don't rush
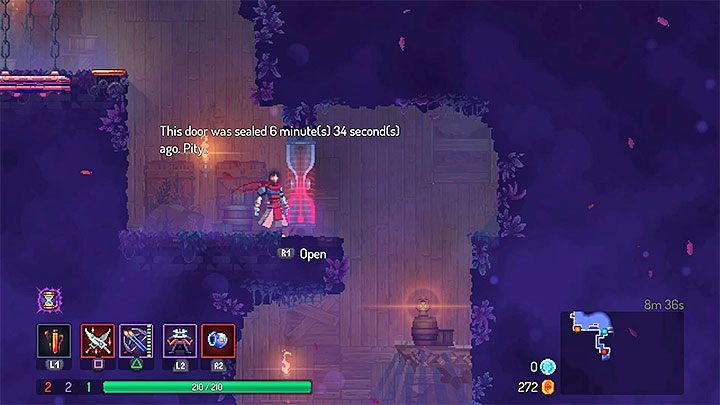
Rushing through the game is only recommended when you want to reach doors that are sealed after some time passes (the picture above shows an example). The most important thing within the first few hours is to learn the game's most important features of specific locations and enemies as well as getting new blueprints and cells. Also, spend this time on learning the gameplay mechanics.
Every map should be thoroughly examined. By doing that you can find unique items and make your hero more powerful. Search for places where you can find new scrolls or weapons. You should also gradually clear areas from regular enemies. This will also give you cells that you can spend on permanent upgrades (remember, cells "stay with you" only when you take them to a new safe zone).
Look around before you enter an unknown area
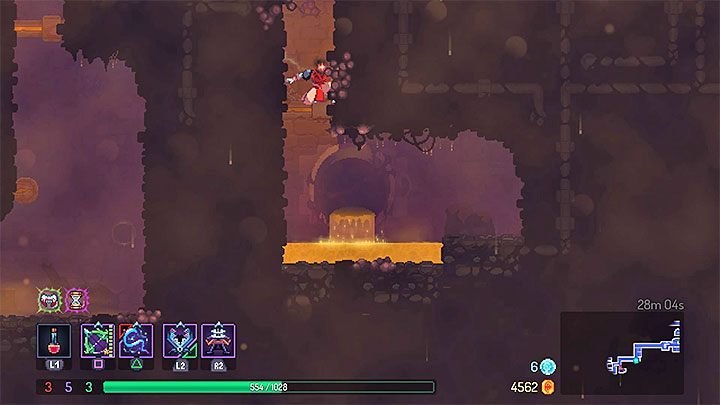
Use the right analog stick (default controls) to look around. Thanks to that you can locate enemies and prepare yourself for an upcoming fight.
Looking around is also useful in avoiding various, usually well-placed, environmental traps. The picture above shows an example of a dangerous substance located right below the ledge on which the hero is standing. This trap is invisible when the camera is centered on the hero. Look around to reduce your chance of getting hurt by a trap.
Use traps and ranged weapons
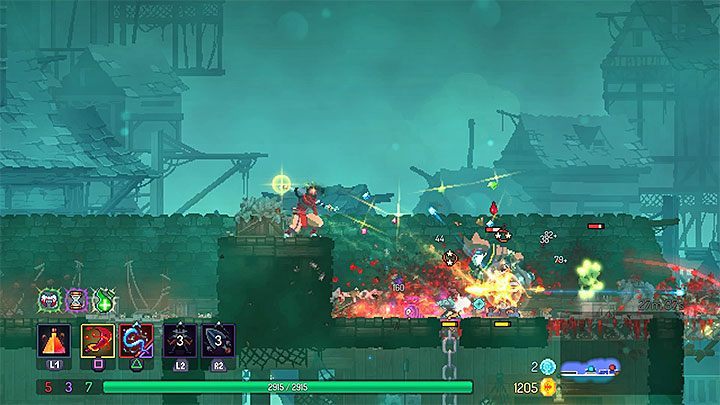
Traps and ranged weapons are great for eliminating enemies without risking your hero's life. You don't have to use them in every playthrough but they are useful during the first few hours where you don't have good permanent upgrades and you don't know a lot about the enemies yet.
High quality traps can kill certain enemies for you. Get closer to an enemy or jump down to their floor for a brief moment. Place a trap and then retreat - your trap will do the rest (the picture above shows an example of a situation like that). This method is especially useful when you invest in upgrades that reduce cooldown for traps. These items can also stop some enemies from moving (Wolf Trap - a good item against enemies that rely on melee attacks), inflict negative effects (e.g. bleeding or burning) or they can fire continuously (turrets). You can also use traps to learn more about your enemies. Monsters always attack traps - use them to learn about monsters' attacks and special abilities.
As for ranged weapons, Electric Whip is a good choice. Its limited range is the only disadvantage. However, you can use traps to stop enemies or to distract them. This whip locks on enemies automatically - you will be able to eliminate flying enemies. Its attacks go through shields, and you don't need ammo to use it. You don't have to worry that it will stop working suddenly, unlike bows or crossbows.
Memorize enemies' unique attacks and abilities
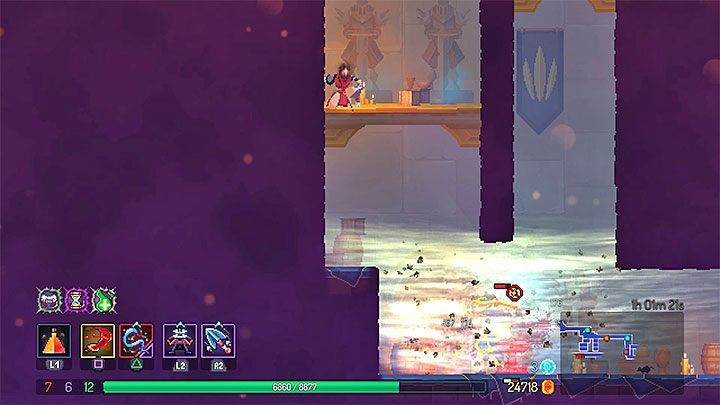
Every enemy encountered in Dead Cells has at least one unique attack / ability. Try to memorize them right from the beginning. This is especially important during later part of the game where enemies can use powerful attacks that can kill an unprepared hero with one hit or deplete majority of your health points. Monsters use various abilities that can differ from their "regular" attacks. For example, an enemy that fights at a close range can also have an attack that will allow them to damage you from a distance.
Watch out for monsters that can:
- Teleport. These enemies can appear next to you instantly and deal your character damage. Remember that all elite enemies can teleport but this happens only when you reach the second stage of a fight (deplete about a half of their health bar).
- Can shoot magic missiles. These projectiles can go through walls, floors and other indestructible objects. Be prepared to always jump to a side - these projectiles can't be stopped by anything.
Every locations features specified types of enemies. This excludes elite enemies that can differ from monsters encountered in a given area. The games' world chapter contains descriptions of the available areas along with information on types of enemies that can be encountered there.
Some of the monsters can hide
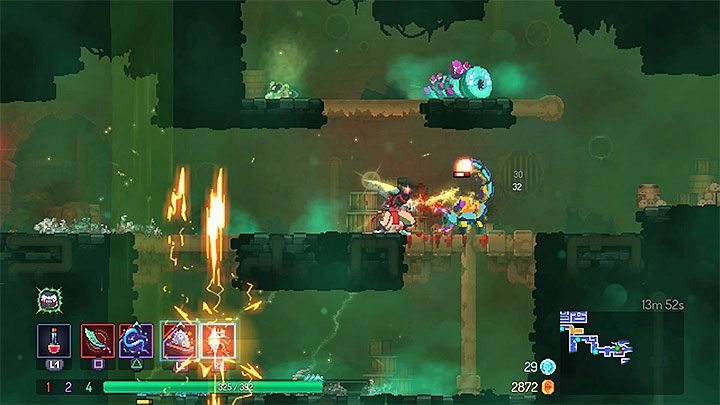
You can be attacked by enemies that are invisible or inactive. However, this won't happen in every location. Only a few enemies can use these unique skills. A scorpion that appears in Toxic Sewers is a great example (see the picture above) - these enemies emerge from the ground when you get close enough to them. The same goes for flying enemies that "wake up" only when you get closer.
Be careful in locations with these enemies and be ready to, e.g. jump back and to throw a trap. Sometimes, you can be the first to attack, e.g. you can hit a flying enemy when it is still in a "cocoon".
Upgrade your Health Flask
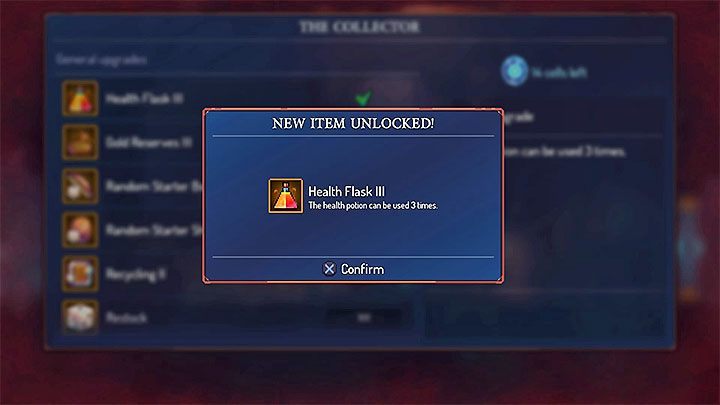
Health Flask is one of the most important elements of your equipment in Dead Cells. This item is your main source of regenerating health points (not necessarily all) and it can be used anywhere. Health Flask I can be unlocked at the beginning of the game. However, you shouldn't stop at this level. It is very important to get new Health Flask levels. Sadly, prices for new levels go up rapidly. However, you still should get new upgrades as soon as the game unlocks them for you.
Health Flasks from higher levels allow you to heal your hero more than once before you reach a safe zone. This is especially important in fights with bosses and elite enemies as well as during exploration of more dangerous areas. By having more Health Flasks you can increase your chance of reaching another safe zone.
Look for food
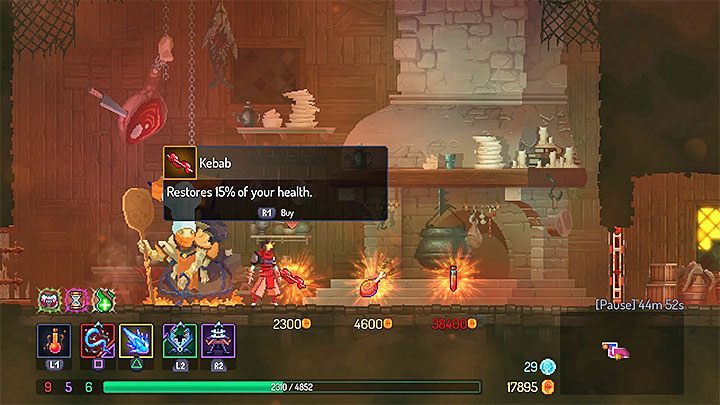
Health Flask isn't the only way of replenishing your health points. You can also look for food - the majority of these items can restore 15% or even 50% of your health points. Food can be looted from defeated enemies. You can also come across traders who can sell it to you (see the picture above). Besides food, traders can also sell you flasks but they are very expensive. Buy them only when you are out of "charges" and the next safe zone is far away from here.
Additional Note - Don't pick up/buy food when your character has lost only a few health points. Memorize its location so you can go back here later.
Find as many scrolls as possible
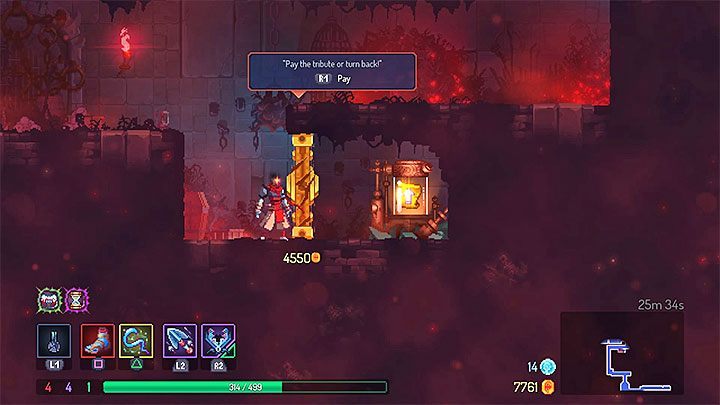
Magic scrolls are one of the reasons why you should spend more time on careful exploration. Every collected scroll increases your stats (only for your current playthrough). They mainly increase your health bar and damage dealt with specific weapons. However, they can also improve your active mutations.
The more scrolls you find, the more powerful your character will become. These items will help you win battles with bosses and to go through more challenging locations. Enemies die faster, and your hero, thanks to a longer health bar, will have better chances of surviving.
Check out mutations that have impact on your hero's health
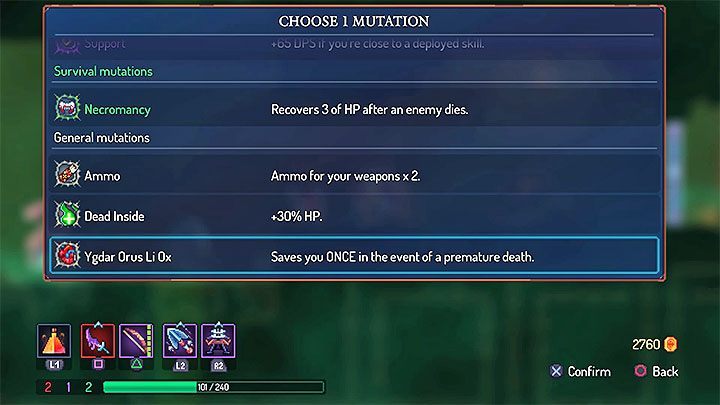
This topic is especially important at the start of the game when you are busy with looking for the most valuable blueprints and runs as well as learning about locations, enemies and gameplay mechanics. You should try to use every chance to increase your hero's vitality. This is especially true to three mutations that are available right from the beginning of the game:
- Ygdar Orus Li Ox - The most important choice. This mutation can save you from death once. It is important to choose this mutation first (when you reach a safe zone after you left Prisoners' Quarters). It won't be available during your other visits in a safe zone, even when you decide to reset your active mutations. You also have to know that this mutation won't work if your hero has a curse inflicted on him. In a situation like that your character dies immediately if you get hit before you kill a required number of enemies.
- Necromancy - This mutation regenerates health points for every killed enemy. At first, you only get 2 health points back but thanks to the upgrades provided by scrolls, you will be able to get more health back. However, this mutation is most useful only in the starting locations. In later locations your health bar will have a few thousands of health points. Getting a few points back won't make a difference. Once you reach that point, you can decide to reset your mutations and replace Necromancy with a new one.
- Dead Inside - This mutation extends your health bar by 30%. You don't have to unlock it right at the beginning of your current playthrough but try to have it active before the first boss fight. Keep it for the later parts of the game - the increase in health is always in percentage which means that you will be able to get a lot of health points.
Mutations that increase your health bar will lose on their importance during later parts of the game. You can decide to replace them with others, e.g. those that increase your damage, once you get better at the game. Sadly, you can't use all your mutations at the same time - only three.
Avoid falling from heights
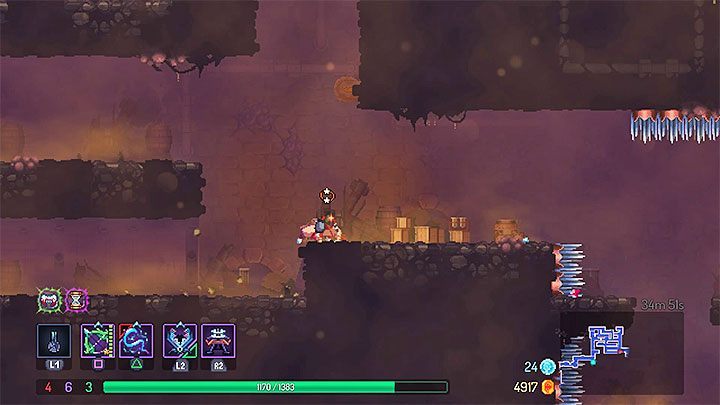
Falling from heights won't deplete your health but it will stun your hero for a brief moment. You won't be able to control your character for a second or two. This can lead to serious problems if you landed in a floor with monsters. The easiest way to avoid these problems is to land by using a ground pound (left analog stick tilted down + jump button). This won't stun your hero. What is more, this move allows you to crush and deal damage to enemies that are on the lower floor.
Additional Note - Ramparts have an additional threat of falling down. However, this won't end with your character's death. You will only lose a bit of your health points.
Avoid curses in more difficult locations
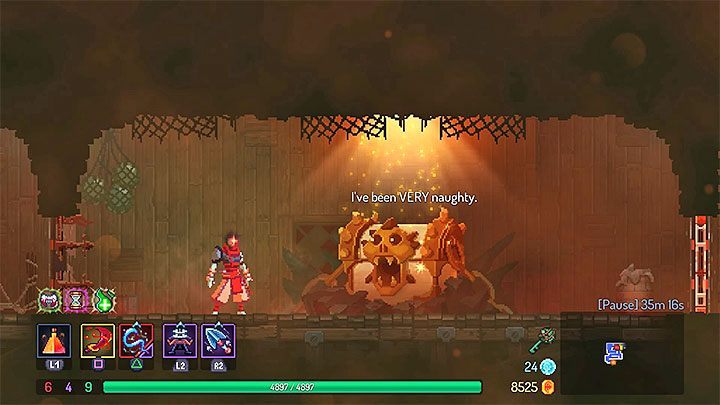
As a reminder, there are two most common reasons that inflict a curse on the hero. First consist in destruction of a golden door that require a payment to pass through them. The second one are related to opening a cursed chest. After being possessed by a curse, the hero must kill 10 enemies (or more if different curses have cumulated), avoiding any damage himself. In the early hours of the game you should completely avoid getting cursed, because without the knowledge of the maps and opponents it is very easy to make a mistake. Take an interest in them later, but then "agree" for the curse mainly in those locations where there are no enemies who can easily hit the hero.
If you are a victim of a curse, start looking for the weakest enemies in your area and rely even more on traps, grenades, and ranged weapons. Attacking enemies without approaching them significantly increases the chance that you will not take any damage yourself.
Choose easier locations and passages
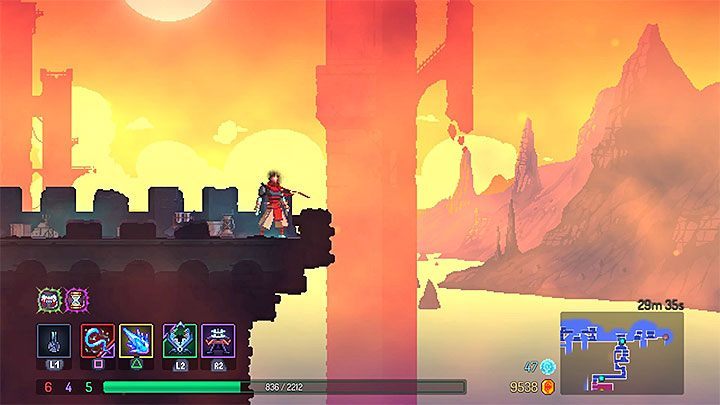
This "tactic" is recommended if you are still learning about the game or if you want to reach later locations faster.
- Simpler locations leading to the meeting place with the first main boss of the game are Promenade of the Condemned and Ramparts.
- Simpler locations to meet the second main boss of the game are Stilt Village and Clock Tower.
Difficult locations are best recognized by the fact that they are initially unavailable and only appear during the next game passages, e.g. when you get one of the runes that allow you to reach inaccessible places. From the initial locations these are e.g. the Toxic Sewers map, which requires the Vine Rune (vines). There are stronger opponents in the more difficult places, but on the other hand you can usually loot better treasures from them. So you always need to determine at the beginning of a given new passage what goal you have set - whether it is easy to get to further areas or to gather the best treasures.
Don't explore the Challenge Rifts and don't attack elite enemies with a heavily weakened character
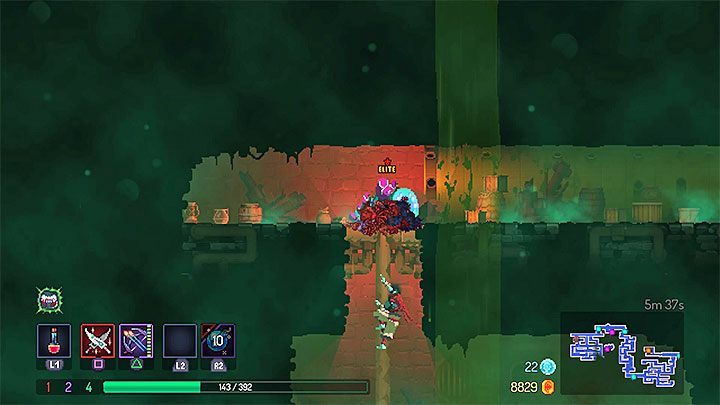
The Challenge Rift provides valuable treasures, but there is also a high risk of losing a significant number of health points. It results from the fact that in these crevices numerous traps are found, e.g. in the form of spikes or rotating mechanisms. So it's not worth investigating the gaps if the hero has previously been severely weakened and if you don't have any health vials in stock. Even if you manage to get to the very end, you may be forced to continue the game with a much weaker hero and you may not be able to have the required number of your health points to reach a safe zone and save your treasures.
The same warning may be addressed to the encountered Elite monsters. Don't attack elite opponents unless you have at least one spare health vial. In addition, always make sure you have good equipment at hand. If you had problems with some of the ordinary monsters before you encountered the elite monster, it's very likely that you won't survive the duel with it (and its reinforcements). It is also worth mentioning that if the fight against the Elite monster does not go according to your wish, you can escape. Decide on such a step before the elite enemy loses at least a half of their health bar, i.e. before it starts teleporting.
- Dead Cells Game Guide
- Dead Cells: Game Guide
- Dead Cells: FAQ
- Dead Cells: Can you save your progress?
- Dead Cells: How to die less frequently?
- Dead Cells: What do the skulls over the main protagonist's head mean?
- Dead Cells: How to acquire Gardener's Key?
- Dead Cells: How to get the Architect's Key?
- Dead Cells: Acquiring rare blueprints - how to use Hunter's Grenade?
- Dead Cells: How to change the difficulty level?
- Dead Cells: How to open the doors with the round symbols?
- Dead Cells: FAQ
- Dead Cells: Game Guide
You are not permitted to copy any image, text or info from this page. This site is not associated with and/or endorsed by the developers and the publishers. All logos and images are copyrighted by their respective owners.
Copyright © 2000 - 2026 Webedia Polska SA for gamepressure.com, unofficial game guides, walkthroughs, secrets, game tips, maps & strategies for top games.
