The Job | Walkthrough | Main quest
Last update:
The Job is the first main quest in Seven: The Days Long Gone. This is a rather lengthy prologue - it's first part takes place on streets and rooftops of Hallard metropolis and then it moves to Grukbarra's mansion. Use this occasion to learn the basics of the game as well as the abilities.
Important note - You lose almost all abilities and items after completing this quest. Don't waste your time on exploring areas because you won't be able to keep any of the items that you find here.

Speak with Vaetic, approach the rope and press E to slide down. Have another conversation and head to the bar. Your first pickpocketing takes place near the construction site. Stand behind the back of the worker who is busy with conversation, hold E, select pickpocketing option and steal Hallard Worker Key. Use it to open the gate.
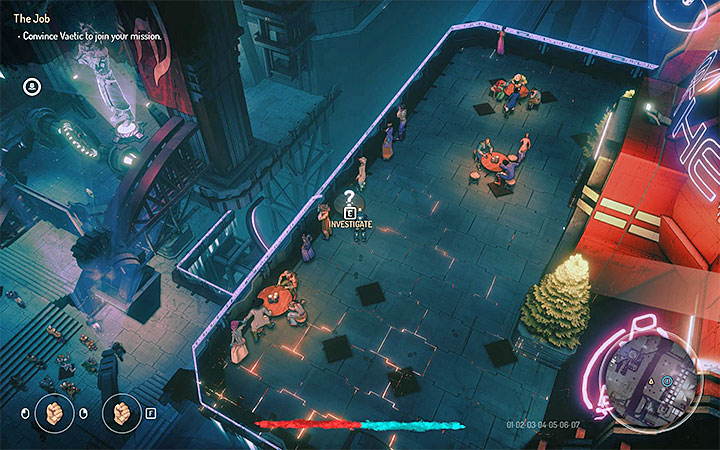
You must go (or run) through the entire construction site which is a restricted area. Climb on the rooftop and watch out for a single technomage soldier. Follow the linear path - perform (precise!) jumps, walk slowly on the pipes and climb on bigger objects. After reaching the bar you can complete an optional activity - approach the binoculars (the picture) and watch an execution. Enter the bar and speak with Vaetic.

The second part of the quest takes place in Grukbarra's mansion. Teriel has various weapons, gadgets and abilities - test them out before you lose them after completing the prologue. Reach Vaetic and slide down the rope. The path that leads to the mansion is roamed by numerous guards. You can avoid or eliminate them - kill the guards one by one with stealth attacks from behind (use Sense Mode to find bushes and other hideouts).
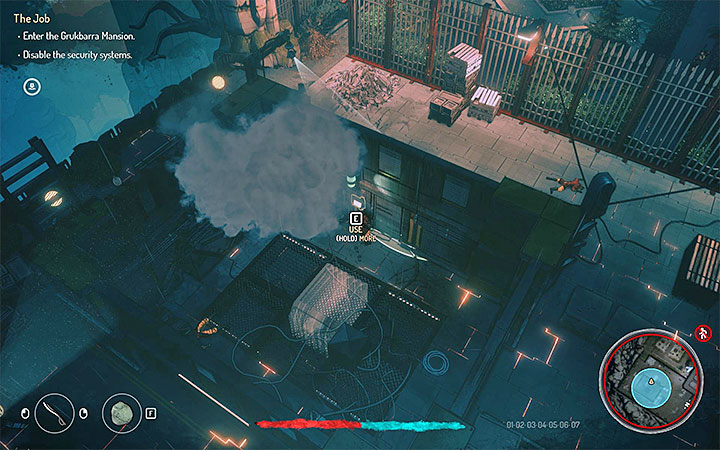
Teriel must go through the gardens and reach the arbor. A few paths lead to the target - choose the shortest one (the hole in the bars) or use a lock pick or a drill to open the door that leads to the landing pad. Listen to the conversation through the hologram and go to the building in the east. Vaetic will distract guards - hide, e.g. in bushes. You must get inside the security building. Use the ladder or climb the crates, go through the skylight in the rooftop and eliminate the guard. Pick up Grukbarra Mansion Key from the guard's corpse and take Keycard Tier 1. Approach the terminal (see the picture) and use the keycard or complete a simple hacking mini-game.

Go through the arbor once again and reach the mansion's main entrance. Open it with the key that you got from the killed guard or use a drill (this can alarm guards!). You must reach the east end of the building where you can find Grukbarra's office. You can go through the ground floor, the upper floor (watch out for numerous guards!) or near the ceiling by walking in vent shafts. Don't enter the big glass cage with a spider.
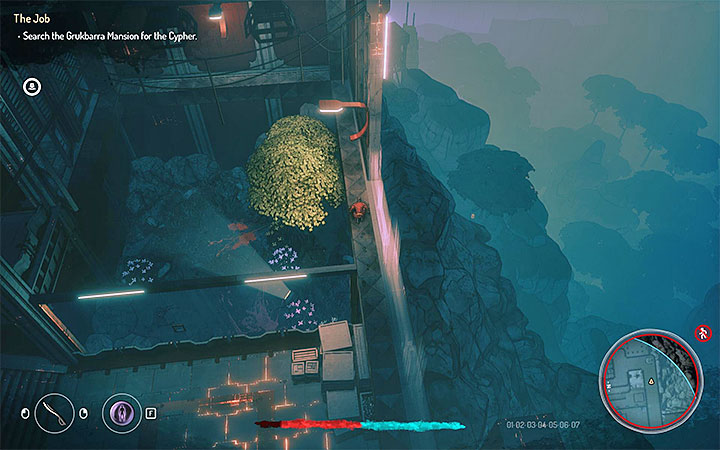
The office can be accessed in two ways - by using the main door or the vent shafts. If you are using the second option (the picture) then be careful and don't fall to a cage with a giant worm because he creature can weaken and poison the hero.

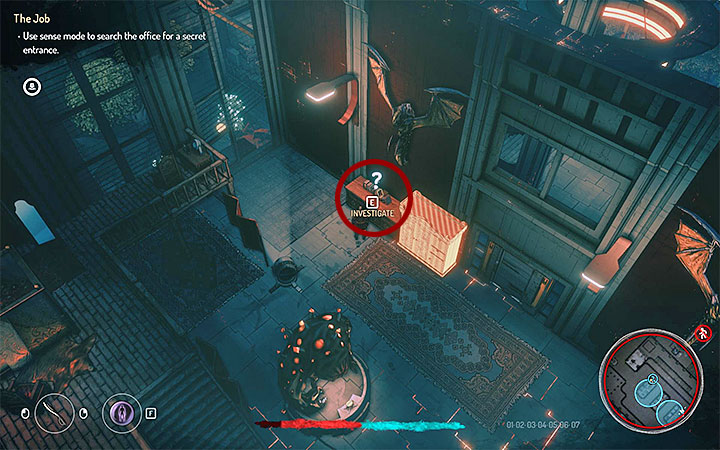
Reach the office and look around it. Use Sense Mode and move the camera to find interactive objects. Check the statue of a monster and the huge device. After that you should check out one of the books presented in the picture. Interact with it and unlock a secret passage.
You are inside of a secret room with the Cypher. Go to the opposite side of the room, find another terminal and complete a hacking mini-game. Approach the Cypher and try to take it. This ends the prologue.
You are not permitted to copy any image, text or info from this page. This site is not associated with and/or endorsed by the IMGN.PRO or Fool's Theory. All logos and images are copyrighted by their respective owners.
Copyright © 2000 - 2025 Webedia Polska SA for gamepressure.com, unofficial game guides, walkthroughs, secrets, game tips, maps & strategies for top games.
