Mass Effect Andromeda: Meridian The Way Home
This page contains a walkthrough for the Meridian: The Way Home quest. This is the last major Priority Ops (main storyline quest) of Mass Effect: Andromeda. In its course, you will reach the "true" Meridian and have to stop the Archon from taking over its heart. This requires you to fight many challenging battles, including a one against the powerful final boss.
Attention - Starting this quest will not permanently block free exploration of the galaxy since it becomes available once more after the main story has ended. More detailed information on this topic can be found in the farther part of this walkthrough (the ending part of the "Finding Meridian" section).
Finding Meridian
Talk to Suvi
Head back to Tempest and talk to Suvi about using the Scourge to track the ship. You will learn that you have to use probes to examine the Scourge better.
Investigate the Scourge formations
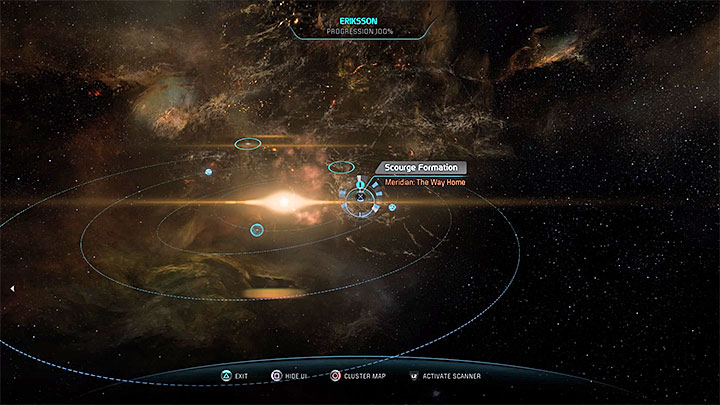
To complete this objective, you have to visit three systems of the Heleus Cluster, in which the Scourge is present. You can choose between Rohvir, Hefena, Vaalon, Skeldah, Kindrax, Civki, and Eriksson. This choice has no meaning for the further course of this quest.
After reaching each system with the Scourge, you have to use the scanner to locate a previously unavailable anomaly - a Scourge formation. Approach the anomaly and examine the Scourge. Every such action leads to gaining XP and Scourge Data Capsule. Do this in the three systems of your choosing.
Talk to the crew about examining the Scourge
Having examined three Scourge formations, SAM will notify you about the analysis of the data helpful in locating Meridian. Approach the console on the captain's bridge and use it.
Go back to the Remnant city on Civki
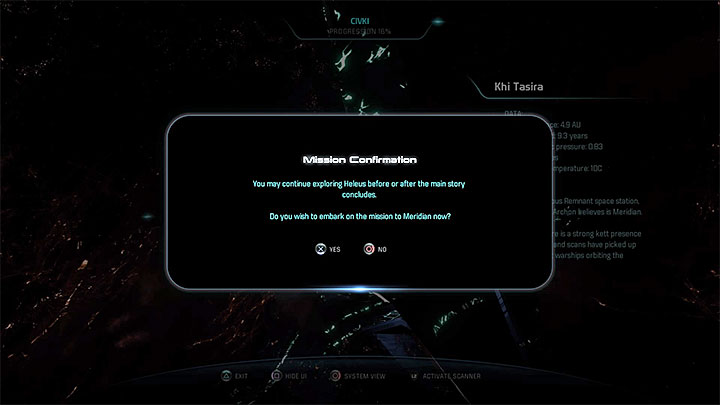
Head back to the Civki system and approach the Khi Tasira station that you visited in the previous main storyline quest. Once you try to dock the station, you will see the warning from the above image, which informs you that you are about to start the final part of the story campaign. Before you confirm the will to continue the quest, you should know about several important things:
- When playing the said quest, you won't be able to freely traverse the galaxy but it becomes possible again after you've completed the mission. Thanks to this, you can complete the majority of unfinished quests, visit the unvisited systems, or complete the colonization process of habitable planets.
- Unfortunately, some of the minor quests can be canceled or become unavailable. These include missions connected to Ark Hyperion, which was docked with Nexus up till now (Nexus: Habitation Quarters becomes available again after reaching the train). Playing this quest will make visiting Hyperion through Nexus impossible. Therefore, check if you've completed all quests that involve visiting Hyperion, such as Contagion, Investigating Embezzlement, and Station Sabotage.
- Quests are also an important factor since completing them before going on the final mission can have an impact on its course. The most important quest is Dissension in the Ranks, at the ending of which you can accept help from Primus. It's also a good idea to make sure that you've found the Arks of turians, salarians, and asari. You can do it the easiest by checking if the Missing Arks quest is completed.
- If you play on one of the higher difficulty levels, you can also prepare in terms of the protagonist's equipment. Try to obtain good weapons and armor (either by crafting or purchase) as well as unique kinds of ammo and other valuable consumables.
Reach the command center to learn where Meridian is
After the landing, march straight to the command center. As you travel, your party should encounter only one Remnant group which is rather easy to eliminate. Reach the console and use it. Apart from localizing the Meridian, it will also turn out that you've walked into a trap set by the Archon.
Attack on Hyperion
Try to reach the door
When you regain control of the protagonist, try to slowly move towards the door. Don't bother about the gradually diminishing health bar since this scene has a predetermined course that cannot be changed in any way.
Acquire a weapon
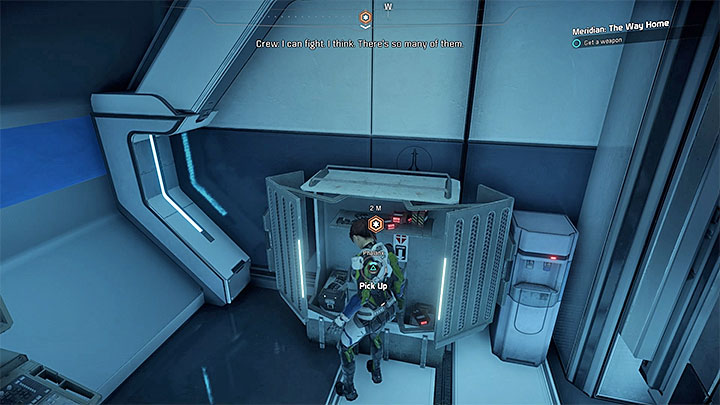
Having watched another cutscene, you will assume control of the twin who was still recovering on Ark Hyperion while you were on Khi Tasira. Reach the weapon cabinet shown in the picture. You have to take a pistol and a melee weapon. You will also get a grenade (the character you control can only have one such item at a time).
Make it to the communications center
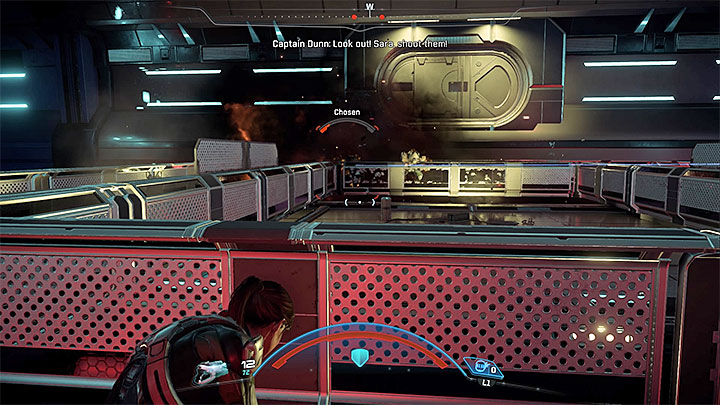
Don't worry about the protagonist's sibling having no skills and a low level since Ark Hyperion is being attacked only by ordinary kinds of kett. However, do remember to use cover.
Apart from firing the pistol, use the melee weapon whenever the kett get dangerously close to your character. Also, use grenades when a kett group forms near you. You can also cause explosions by shooting explosive containers, but they can be found only in several spots. Between fights, stop by supply crates to resupply because the pistol ammo can be easily exhausted even on the default difficulty level.
Reach the tech entrance
This objective is unlocked after you've reached one of the bigger corridors. Ignore the kett on the far side of the room since you don't have to eliminate all of them. Instead, focus solely on running to the passage on the left. Soon, you will reach a relay console and have to use it to send the signal required to reboot the protagonist's implant (which also unlocks the Family Connections achievement).
Reaching Meridian
Connect to the door to open it
The action switches back to the Khi Tasira station, and you control the protagonist again. First, play another scripted scene which forces you to interact with the Remnant console several times.
Gather your party onboard Tempest
Venture back. You won't encounter any enemies on your way. Soon after using the gravity well, new cutscenes will be played.
Face the Archon's fleet somehow
Having returned to Tempest, head to the captain's bridge. You will be asked once again to confirm your decision. Since you've already started this quest, there's no reason to delay advancing to its next stage.
Pursuing the Archon
Pursue the Archon
After watching all new cutscenes, you are on Meridian, driving Nomad. At this time, you don't have to fight for survival or race against time. Head the main paths while listening to dialogues and watching the events taking place in the distance. Nomad will be damaged after one of the jumps. You have to finish the journey on foot.
Defeat the kett that guard the entrance
You have to fight the kett almost immediately after exiting Nomad. Once you've entered combat, make for the closest cover. Pay attention to the elite kett, which include a Behemoth, among other kinds. To defeat this monster, use your best skills and powers that weaken enemy armor. Also, remember to keep your distance from the Behemoth and avoid its charges.
Reach the console
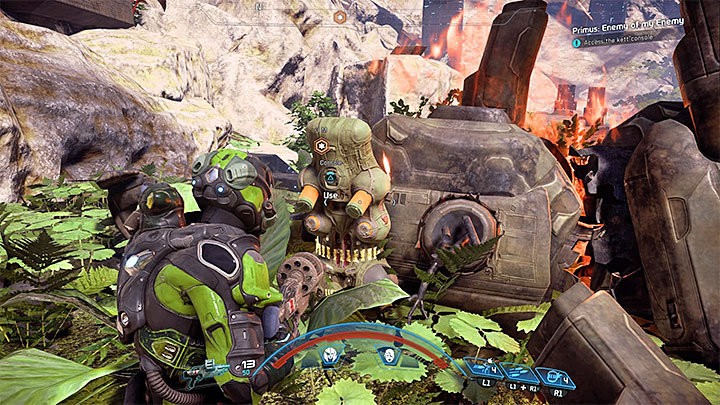
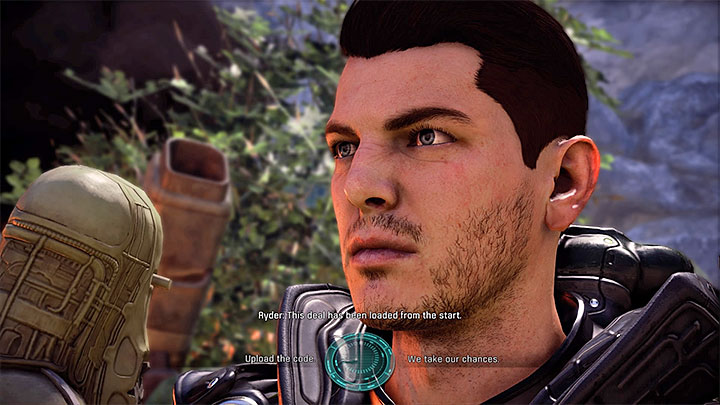
This objective can be obtained after you've dealt with the kett at the entrance. However, it only happens if you accepted Primus' offer during the Dissension in the Ranks side quest. Once you've interacted with the console shown in the picture 1, the decision screen from the picture 2 appears. Now, you can confirm the will to accept Primus' help and weaken the kett forces by uploading the code, thus making combat easier. If you('ve) decline(d) the offer (either now or earlier on, during the aforementioned optional quest), you will have to fight more challenging battles. Luckily, rejecting Primus' proposal doesn't influence the game's ending.
Enter the control center of Meridian
The quest continues regardless of whether or not you used the console and accepted Primus' help. Head towards the entrance to the control center. Having eliminated the kett, new cutscenes will start (their course depends on whether or not you found other Arks and who was appointed other races' Pioneers).
Get to the Archon
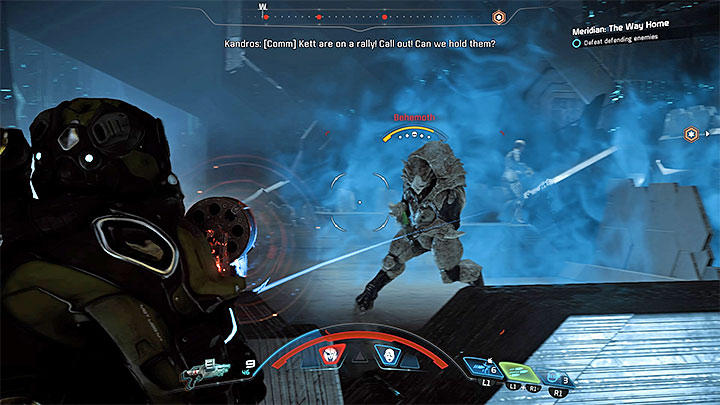
In the next location, start from activating the Remnant console and then use the gravity well. Expect to encounter a group of the kett on your way. Soon, you will come across a bigger enemy band, which you have to eliminate. Be careful because there is another Behemoth among them that will probably prove even more challenging to defeat. Moreover, try to quickly eliminate the Anointed to prevent them from spraying the fog that hides the kett. In the further stage of combat, expect to encounter the Remnant, although these will be only weak bots at this time.
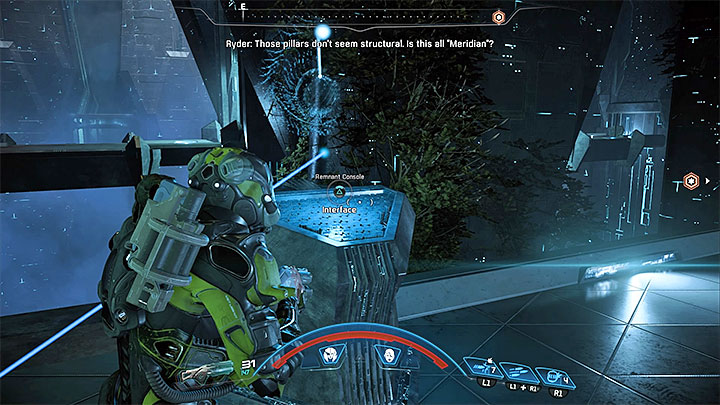
Once the battle is won, continue your march. It's very linear, you just have to reach subsequent Remnant consoles. Activating each one unlocks an interactive bridge that lets you move forward. In the next large area, you have to fight the kett. The biggest danger in this battle is the Ascendant. Try to focus your attacks on this elite enemy quite early. Just a reminder: you have to destroy the orb that floats around the Ascendant, first; you can start attacking him only after the force field has disappeared. Also, you need to take him down before a new barrier appears.
Once you've reached the next door, a cutscene showing the Ark Hyperion will appear. You can't influence its course as you watch it. Its ending depends on your earlier decisions - Captain Dunn can survive if you completed Cora's loyalty mission (Cora Harper: At Duty's Edge) and the Turian Ark: Not Dead Yet side quest, provided that you appointed Avitus Rix the turian Pioneer. Dunn's death has no influence on the course of the quest.
Defeat the kett who guard the gravity well
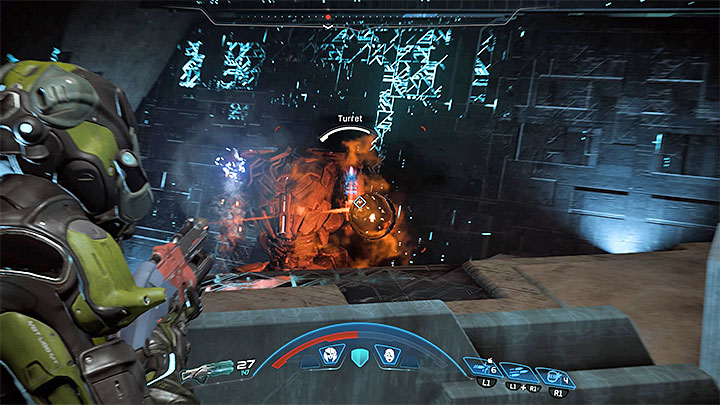
You have to fight a quite challenging battle in the hall with the gravity well. Once it has started, hide behind cover or move to the upper part of the room right away to deprive the closest enemies of the advantage of the height. The biggest problem with this fight is that it forces you to defeat two elite enemies: a Fiend and a Destroyer. The latter is much more problematic. Attack the Destroyer from behind cover and try to eliminate his two turrets as soon as possible to significantly limit its offensive capabilities. After the battle, use the gravity well.
Reach the control center of Meridian
While marching through Meridian, you will be helped by an unidentified person (soon, it'll turn out that the helper is the protagonist's twin who is imprisoned by the Archon). Ignore the inactive Remnant bots and go through the passages that will keep unlocking as you march. The linear path will lead you to another well. Use it and then go straight on. This is how you get to the control center.
Eliminate the kett guarding the Archon
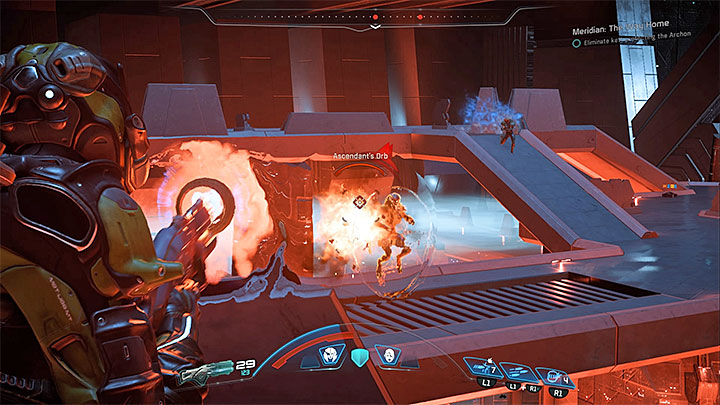
After a short conversation with the Archon, a battle, which could be considered an introduction to the final one, will begin. There are relatively few hostiles to eliminate but the enemy force unfortunately incudes an Ascendant. Try to locate this opponent quickly, take down its Orb, and then finish him off before he puts up his barrier again. Completing this battle will launch another cutscene during which a Remnant Architect appears.
Main battle (the final boss)
General information on the final battle
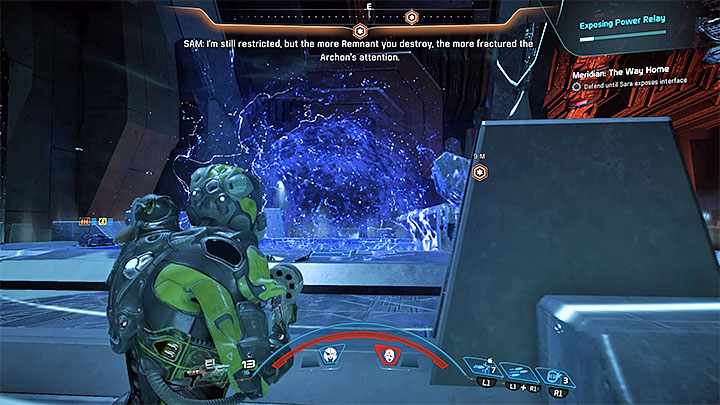
Before you proceed to further combat, read the information below:
- The Remnant Architect in the final battle is slightly different from the Architects you've encountered during colonization. The biggest change is the fact that you cannot win the battle in a traditional way, that is by focusing on attacking the Architect. Instead, you have to concentrate on completing mission objectives (described in the farther part of this walkthrough).
- Of course, you can't ignore the Architect completely since it regularly launches powerful attacks. Dodging them is incredibly important, especially if you're playing on higher difficulty levels. You should be familiar with most of the Architect's attacks thanks to your earlier encounters with those monsters - it can, first and foremost, throw grenades, send energy waves, and fire ranged weapons. Remember that cover doesn't completely protect you from many attacks of this boss. The best course of action is to stay in motion and jump back or to the sides when the boss signals readiness to perform a powerful attack.
- One of the attacks of the final battle's Architect is sending energy waves that transform into an energy cage. Such an attack is shown in the image above. In this case, the key to success is also to notice the Architect's readiness to use this attack and then move to another spot. Otherwise, the protagonist not only can take damage but also become imprisoned inside the cage. Attention - the cage disappears after some time so stay away from it until it does to avoid taking unnecessary damage.
- Fighting the Architect doesn't force you to play defensively only. At certain moments, you will be notified about the opportunity to attack the boss. In such cases, attack his head (just like in the image above). Exhausting the red energy bar will make the Architect stop attacking for a while. This lets you focus on mission objectives and, obviously, the minor enemies around you.
- Don't save ammo or powers and skills since there are plenty of supply crates lying around. Use the crates that regenerate health often because one powerful attack of the Architect or a mass assault of the "ordinary" enemies can quickly kill the protagonist. Luckily, the game creates checkpoints once you've completed each major stage of the battle, so you won't have to start over if you die.
- At certain points of the battle, other allies may appear in the room. Use such moments to regenerate or focus even more on completing the current objective.
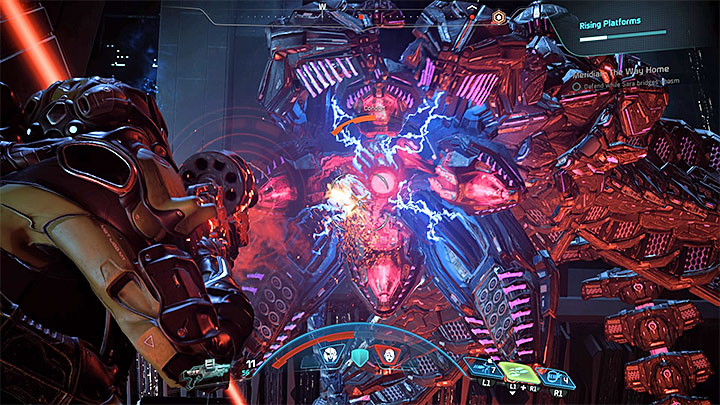
The first relay
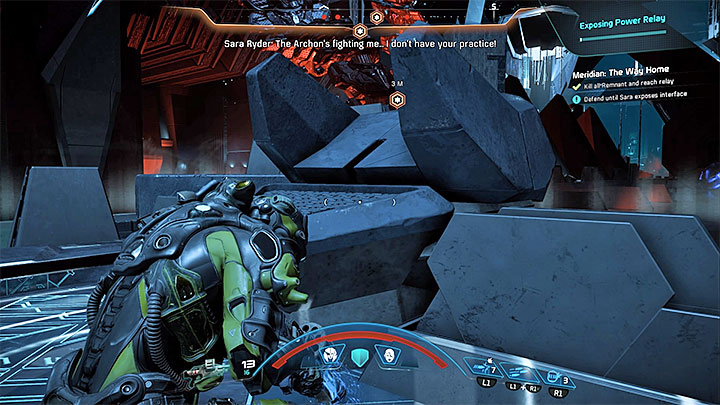
The relay is located in the western part of the room. Don't hurry reaching it because you have to eliminate all Remnants in the area, first. Once you've done that, the hacking process, symbolized by the progress bar in the top right corner of the screen, will begin. Similarly to previous quests of this type, you have to stay close to the console. Don't forget about the Architect's attacks and move quickly to other places when he fires on your current position. After the hacking has ended, interact with the relay to progress to the next stage of the battle.
The second relay
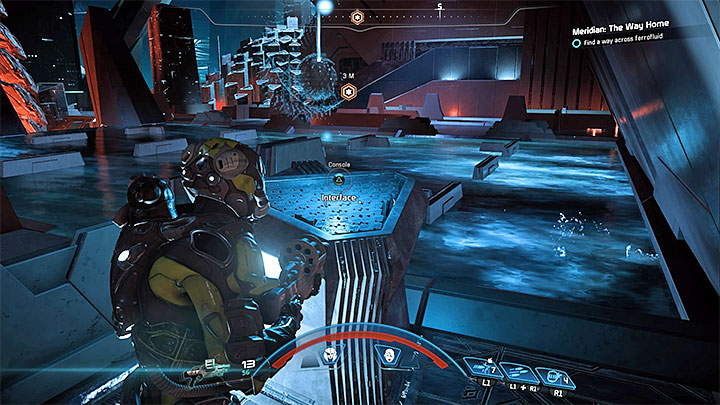
The second relay is located in the eastern part of the room, but you have to wade through the southern part to reach it. Also, you'll need to activate the console shown in the picture, which will allow you to jump through the blocks and get to the other side of the ferrofluid container (direct contact with this substance is strongly inadvisable).
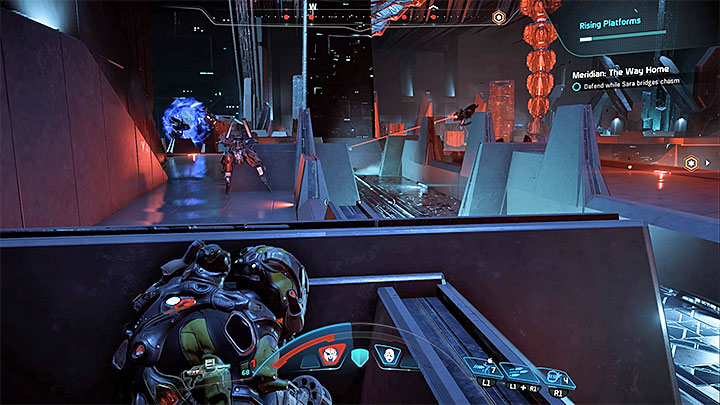
From this point on, expect to be attacked by the strongest kinds of Remnants, so don't hesitate to use the most powerful powers and skills. Also, use cover frequently. Having reached the southeastern part of the room, you will have to defend yourself while waiting for the platforms to rise. Just like before, avoid the attacks of ordinary Remnants as well as those of the Architect (or try to disable it by attacking its head).
Once the platforms are raised, use them to head north and bunker up at the next relay. Defend yourself until the relay is unlocked.
The third relay
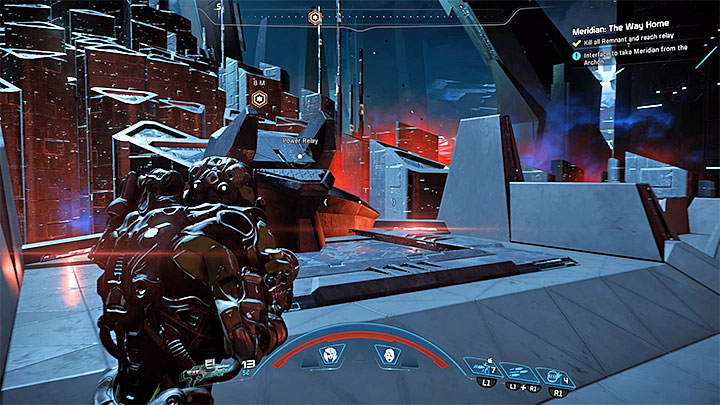
The last relay is located in the southern part of the room. To reach it, you have to cross the area where you extended platforms earlier. Get rid of the Remnants that are still active. The game will let you interact with this relay right away. This action will end the battle and the quest, as well. There's only the epilogue, which is described on the next page of this guide, left to play.
Rewards for completing the quest: XP, Andromeda Viability Points, new Priority Op - Epilogue: Home and Away, the Mission Accomplished trophy.
- Mass Effect: Andromeda Game Guide
- Mass Effect Andromeda: Walkthrough
- Mass Effect Andromeda: Priority Ops (Main quests)
- Mass Effect Andromeda: Prologue Hyperion
- Mass Effect Andromeda: Planetside
- Mass Effect Andromeda: Nexus Reunion
- Mass Effect Andromeda: First Strike
- Mass Effect Andromeda: A Better Beginning
- Mass Effect Andromeda: AVP Cryo Deployment Perks
- Mass Effect Andromeda: A Trail of Hope
- Mass Effect Andromeda: Helping Havarl's Scientists
- Mass Effect Andromeda: Meet the Resistance
- Mass Effect Andromeda: Eyes on the Ground
- Mass Effect Andromeda: Stage a Rescue
- Mass Effect Andromeda: Hunting the Archon
- Mass Effect Andromeda: Elaaden A New World / H-047c A New World
- Mass Effect Andromeda: The Journey to Meridian
- Mass Effect Andromeda: Meridian The Way Home
- Mass Effect Andromeda: Epilogue
- Mass Effect Andromeda: Priority Ops (Main quests)
- Mass Effect Andromeda: Walkthrough
You are not permitted to copy any image, text or info from this page. This site is not associated with and/or endorsed by the developers and the publishers. All logos and images are copyrighted by their respective owners.
Copyright © 2000 - 2026 Webedia Polska SA for gamepressure.com, unofficial game guides, walkthroughs, secrets, game tips, maps & strategies for top games.
