Far Cry 6: Angel De La Muerte - walkthrough
This page of the Far Cry 6 guide contains the walkthrough of Angel De La Muerte Operation from the murder of El Doctor at the BioVida facility in Valle De Oro.
This page of the guide to Far Cry 6 features the walkthrough of operation Angel De La Muerte, one of the main missions in Valle De Oro. The guide describes, among other things, how to infiltrate the BioVida facility, how to get out of the poison chamber, how to get and assassinate El Doctor, and how to survive the final battles with the rebels from Maximas Matanzas.
- Rewards for completing the quest
- Find Paolo near the BioVida facility
- Infiltrate the BioVida facility
- Escape the poison chamber
- Assassinate El Doctor
- Secure the area so Juan can land
Rewards for completing the quest
- Voz del Pueblo trophy.
Find Paolo near the BioVida facility
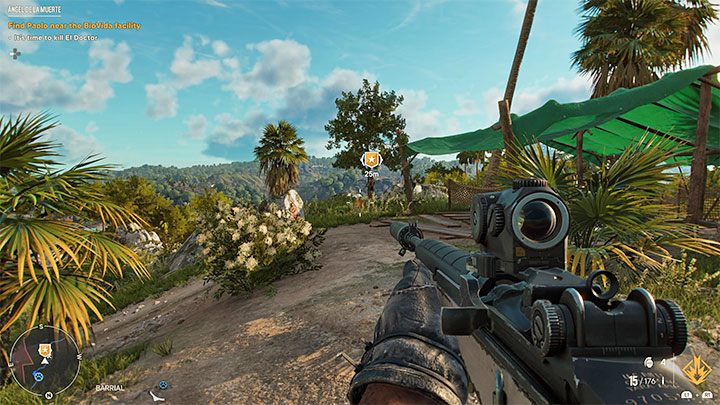
You can proceed to this final operation in the Valle De Oro immediately after completing the main mission, Surgical Extraction.
You have to head to the BioVida Facilities location. You will find Paolo on the hill from the picture above, adjacent to the enemy base. You can climb there (in the area, there are interactive points to use the climbing kit) or use a wingsuit, for example.
Infiltrate the BioVida facility
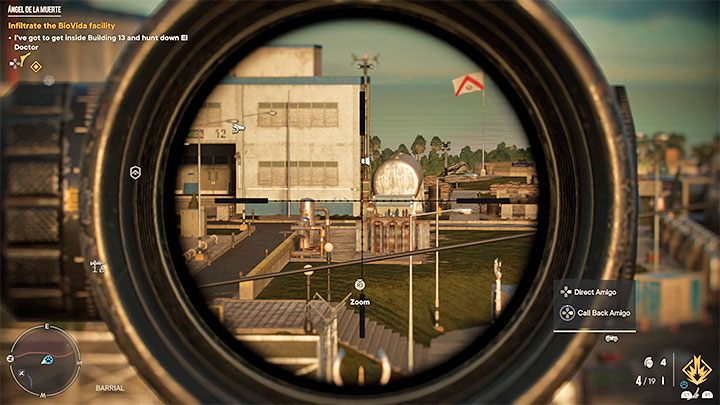
The BioVida facility is a vast location, and as a result, it is a good idea to do a recco first, for example, from the hill where you met Paolo. As always, try to tag visible enemies, cameras and alarms.
Once you enter the enemy location, you can either stealth around and sabotage the security systems or engage in combat. However, in the latter case, you risk coming under heavy fire.
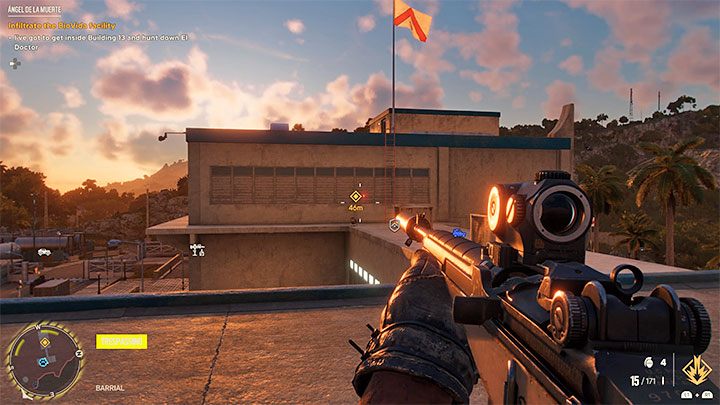
The entrance to the main building 13 is closed, but instead of finding the access card, head towards the back building.
Enter the back building 12 and use the stairs to reach the lower roof shown in the picture. Go towards the ladder leading to the roof of building 13.
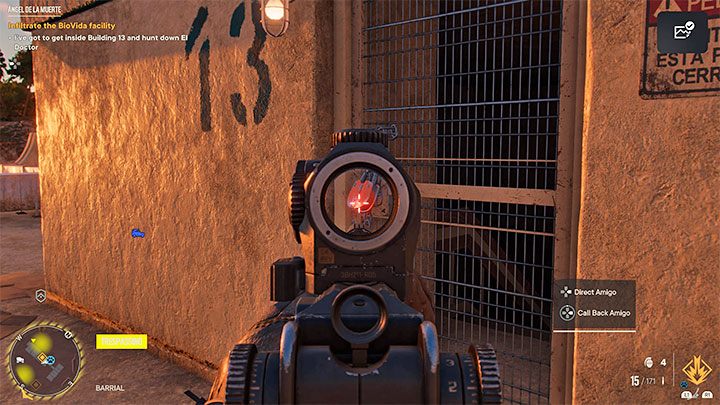
Once you are on the highest roof, locate the locked entrance. Fortunately, all you have to do is destroy the padlock, and you will be able to get inside.
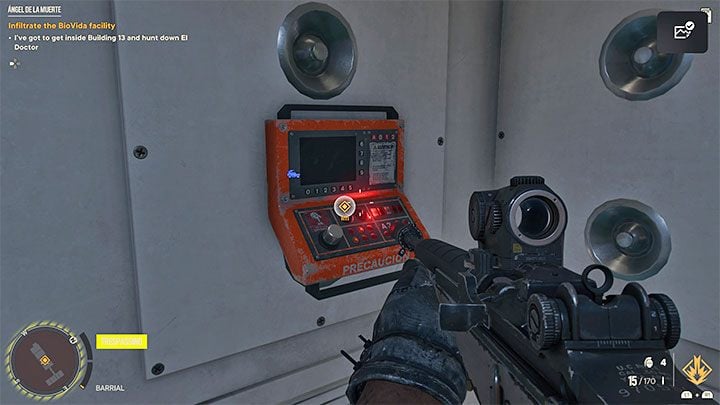
You do not need to have any access cards when exploring building 13. Instead, use the red terminals similar to the one in the picture. These can unlock the next passages.
You may have some problems going through the laboratories rooms - remember that you can break the glass walls.
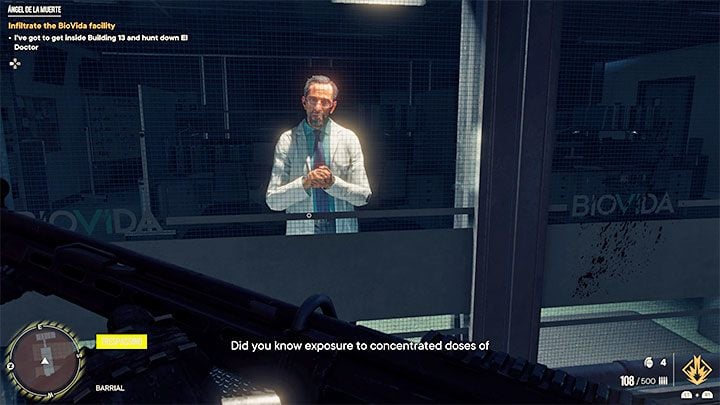
Any exploration of discovered rooms is optional (talking to patients, reading documents, etc.). The actual destination is in the basement of the building, and only one main path leads there.
Ultimately, you have to reach one of the cells in the basement, where you will meet El Doctor and one patient. Don't try to kill him right now because he's behind armor glass.
Escape the poison chamber
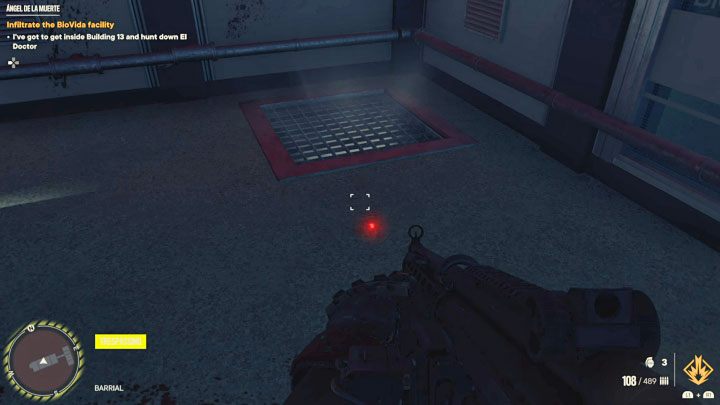
You can proceed to it immediately after encountering El Doctor or only after he finishes his speech - in the latter case, you will have less time to react. A poisonous gas will be released into the cell, and your character will slowly begin to lose health points. Before this happens, it is a good idea to check your equipment and, if possible, increase your resistance to poison, although this is not mandatory.
To get out of the cell, you will have to destroy the hatch in the floor, thanks to which you will be able to jump to the ventilation shaft underground.
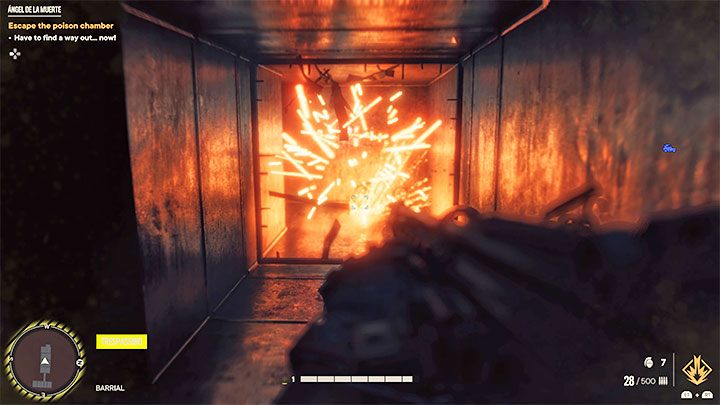
The ventilation shaft is a small maze, as not all of the branches lead to the exit. Destroy the vents along the way and choose the following branches at the next forks:
- right branch and destroying the grille in front of you,
- right branch,
- right branch and destroying the grille in front of you,
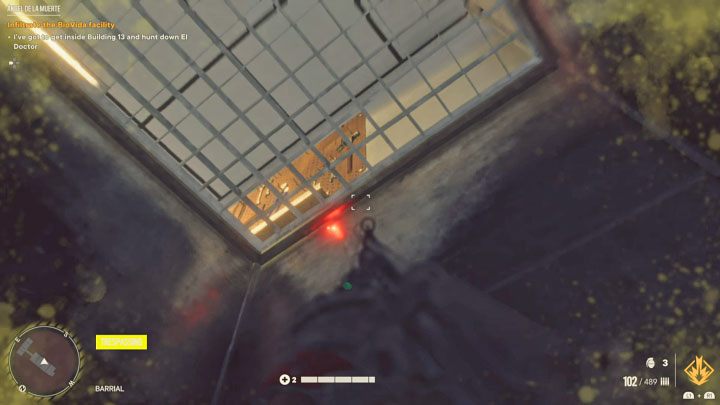
If you have chosen the paths correctly, you will reach the upper grille shown in the picture, and you can use it to get out of the shafts.
Assassinate El Doctor
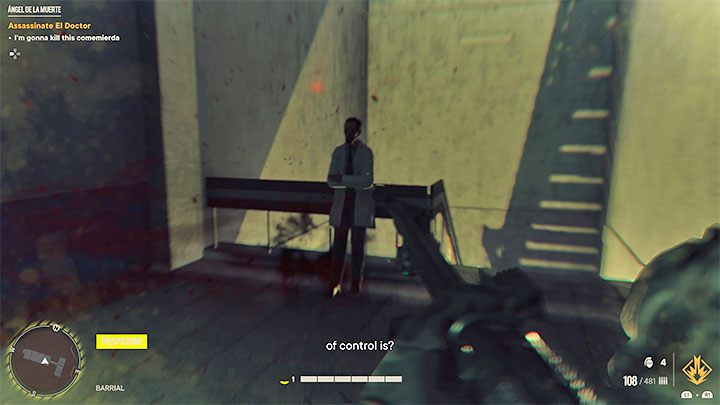
Don't stop because the hero can still gradually lose health points (remember the heal).
Follow the linear path, and take the stairs to the basement again. You can ignore the hallucinations you encounter. Only destroy El Doctor "clones" if they are blocking the passage.
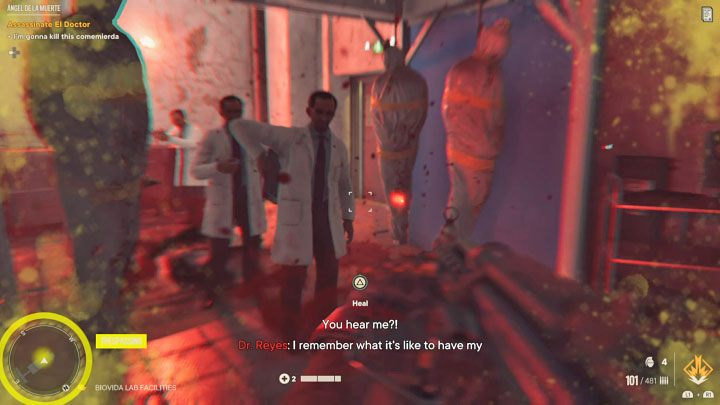
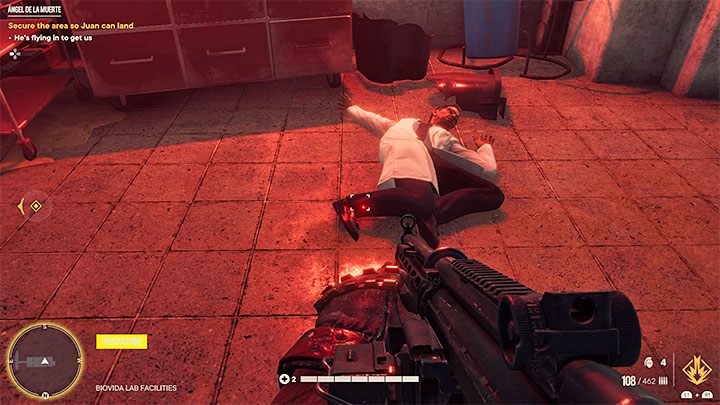
El Doctor is at the very end of the linear path and will be among the clones. Simply shoot all visible characters. One of them will be the enemy that you will manage to kill this way.
Secure the area so Juan can land
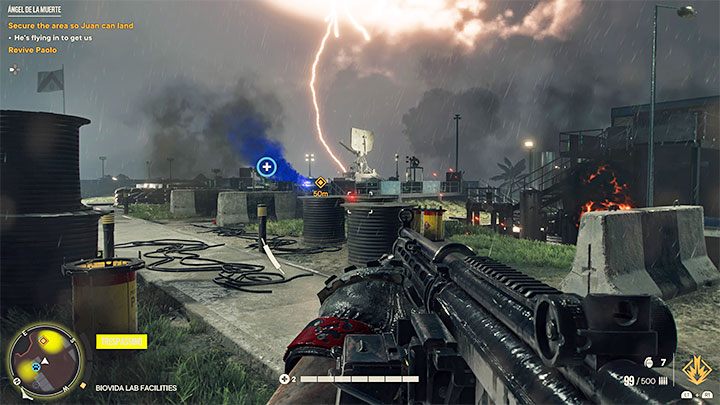
Exit the building and head towards the landing pad of the BioVida facility, where the main fight of this operation will take place.
Allies will help you defeat your opponents. Note, that at this point, the game can resurrect a fallen ally if it is an important NPC ( Paolo from the example in the picture above).
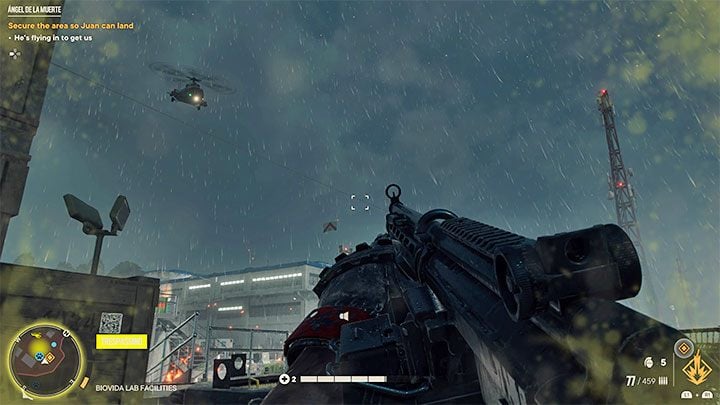
In the fight, you will have freedom in choosing how to eliminate the enemies - but generally, you should focus on watching the radar readings and avoiding combat in the open area.
At least one enemy helicopter can join the fight, and you can react differently depending on your preferences. You can fire at the machine with the explosive bullets, use the rocket launcher, get to one of the nearby stationary cannons, or use the Volta Supremo when the helicopter gets closer.
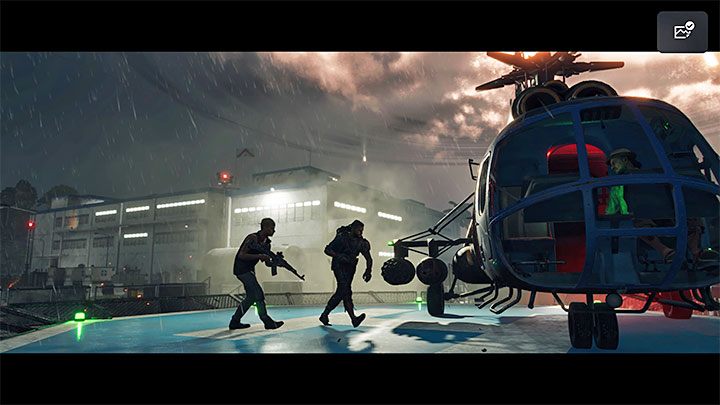
You have to fight until you deal with all the enemies in the airport area, including reinforcements that may arrive there later in the battle. Only then will the game start a cutscene of the helicopter piloted by Juan landing and taking all the rebels on board.
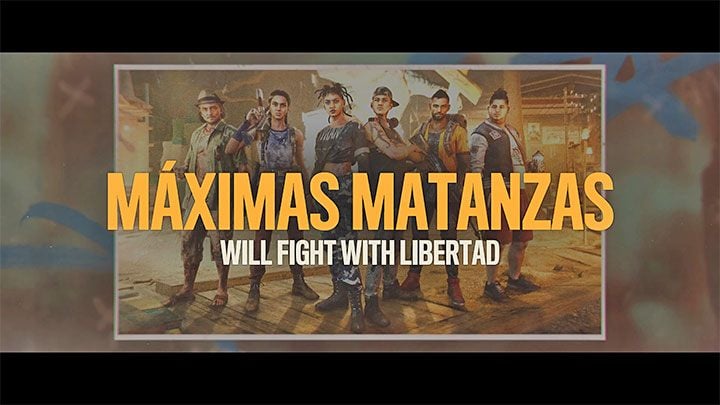
You will watch more cutscenes, and then you will complete the storyline of the Valle De Oro region and the Maximas Matanzas group.
If you have not yet completed all the operations of the Madrugada and El Este regions, you should focus on them. Otherwise, start the final operations of the Esperanza region.
- Far Cry 6 Guide
- Far Cry 6: Walkthrough
- Far Cry 6: Operations
- Far Cry 6: Valle De Oro Operations
- Far Cry 6: Meet Maximas Matanzas - walkthrough
- Far Cry 6: Balance the Books - walkthrough
- Far Cry 6: Precious Cargo - walkthrough
- Far Cry 6: Hype Bomb - walkthrough
- Far Cry 6: Break the Chains - walkthrough
- Far Cry 6: Re-Education - walkthrough
- Far Cry 6: Radio Libertad - walkthrough
- Far Cry 6: Guerrilla Radio - walkthrough
- Far Cry 6: Firebrand - walkthrough
- Far Cry 6: Bottle Episode - walkthrough
- Far Cry 6: Words Like Bullets - walkthrough
- Far Cry 6: Lost and Found - walkthrough
- Far Cry 6: Intervention - walkthrough
- Far Cry 6: Surgical Extraction - walkthrough
- Far Cry 6: Angel De La Muerte - walkthrough
- Far Cry 6: Valle De Oro Operations
- Far Cry 6: Operations
- Far Cry 6: Walkthrough
You are not permitted to copy any image, text or info from this page. This site is not associated with and/or endorsed by the developers and the publishers. All logos and images are copyrighted by their respective owners.
Copyright © 2000 - 2026 Webedia Polska SA for gamepressure.com, unofficial game guides, walkthroughs, secrets, game tips, maps & strategies for top games.
