Uncharted 4: Chapter 13 Marooned - walkthrough
This page of the Uncharted 4 guide has a walkthrough for chapter 13 – Marooned (sneaking and eliminating the mercenaries, finding Libertalia).
This page of Uncharted 4: A Thief's End guide has a walkthrough for chapter 13 - Marooned. You will learn, e.g. how to go through the island, how to sneak around the mercenaries, and how to find Libertalia.
- Chapter 13 information
- Make it through the first part of the isle
- Encounter with the mercenaries - stealth or combat
- Find Libertalia
Chapter 13 information
This chapter is a little bit shorter. For the majority of time here, Nate has to explore the individual isle fragments, in search of Libertalia. The most demanding one is the middle part of this chapter, because you then encounter vast amounts of opponents and you either have to eliminate them or walk around them. As for collectibles, in this chapter there are five treasures, two journal entries and two notes.
Make it through the first part of the isle
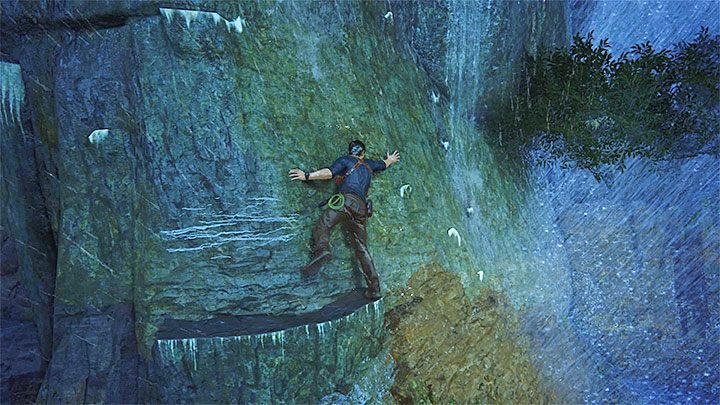
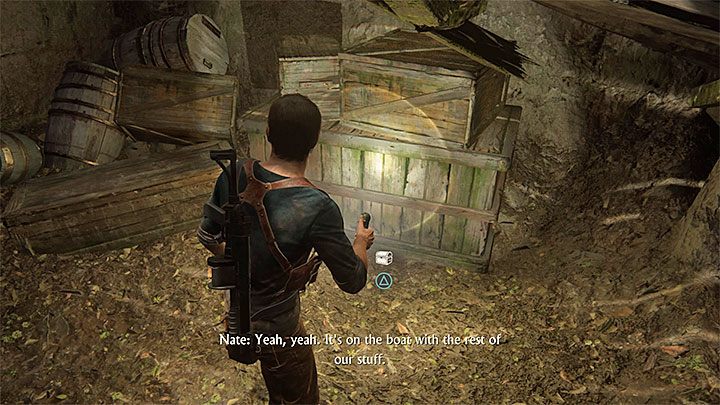
Do not wait for Nate to be back in full health, because he will be weakened in the initial stage of this chapter, after he has experienced a ship sinking and has been cast to the land. You have to follow the path and keep in mind that performing some of the activities (e.g. climbing to ledges above) will take him more time than usually. Along your path, you will come across a crate with equipment, but after you examine it, you will find it empty. Continue along your path. The only greater handicap is that in some spots where you have to climb, Nate will have to lean out to grab onto the ledges, instead of leaping towards them. In such situations, simply lean the left analog stick towards the nearest object on the wall they you can grab onto.
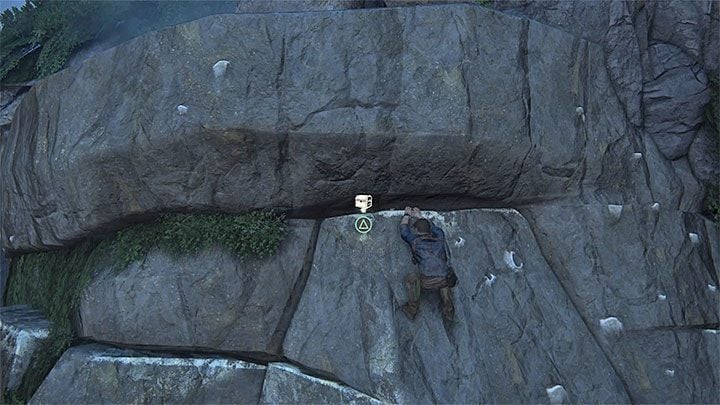
At the end of the initial stage of the chapter you will fall down from a considerable height. The good news is that from now on, Nate will be able to use the full repertoire of his movements and therefore, he will be able to leap towards nearby ledges, instead of reaching out for them. Go straight ahead. Soon, you will reach a cliff and a large waterfall that you can see in the background. Take a series of leaps here to reach the interactive ledges up ahead. After Nate grabs onto them, start moving to the right. The aim of this is to find the minute recess in the wall, shown in the above screenshot, where there is the first treasure (Persian Ring).
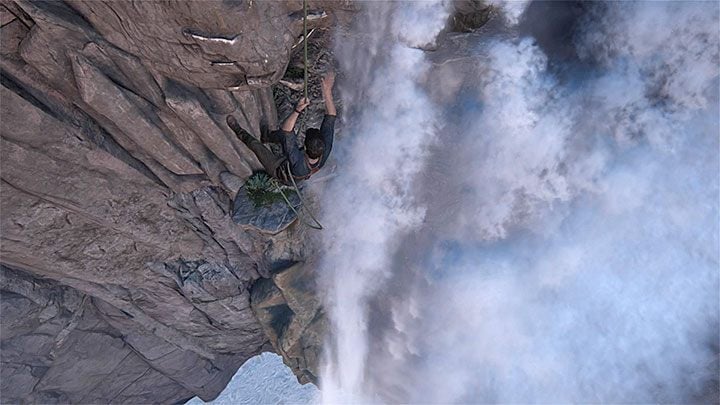
After you have collected the treasure, make it to the left, where you can climb to the top. Keep on your path and use the grappling hook on the grappling points along the way, thanks to which you can continue. Soon, you will reach a small ledge where a short cutscene of approaching boats activates. Use the grappling hook on the nearby grappling point and jump down onto the ledges ahead. Take a swing enough to reach the small cave entrance to the left of the waterfall.
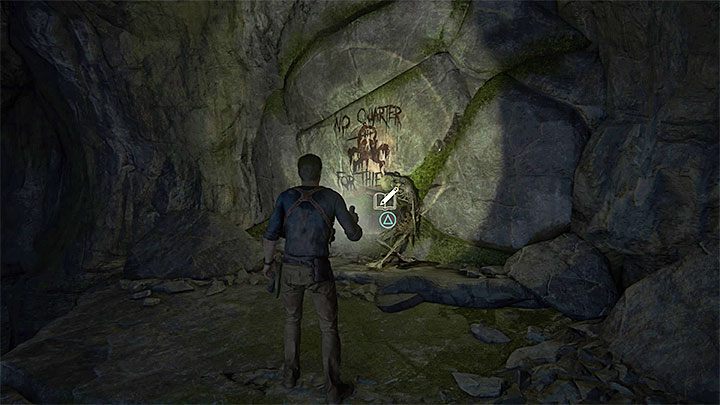
Make it ahead, a bit and examine the rocks on the left, because there is another treasure (Wood Tankard) there. You can take to the exploration of the small cave now. Make it over to the ledge to the right above you. Examine writings on the wall there, by the skeleton, thank to which you will obtain the first journal entry. After that, approach the nearby escarpment. Slide down the steep slope and take a leap at the end of the ride, towards the interactive ledges. You can now walk into the partially flooded cave. Examine its left side more closely, thanks to which you obtain the third treasure (Spy Glass).
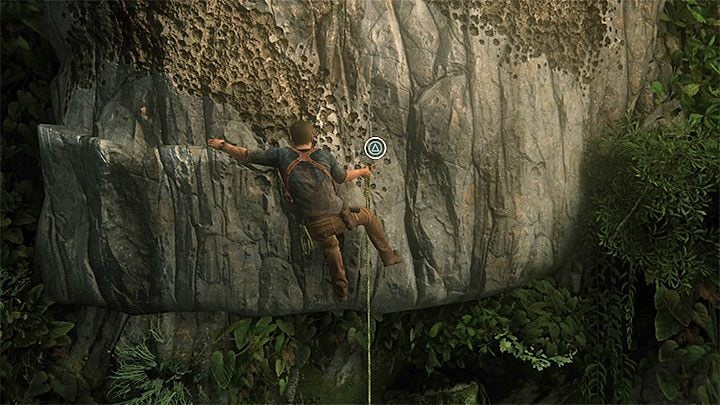
Go to the right now. Crouch in a more narrow spot and continue along, up to the cave exit. Climb onto the ledge above and find two collectibles here - the first journal note, on the skeleton to the left. Then look up to find another skeleton hanging there, which is where you find the second journal entry. You can now start climbing up the rocks. Your aim is to get to the spot where there is the skeleton before hanging. After that, press the Triangle several times to obtain the Piton.
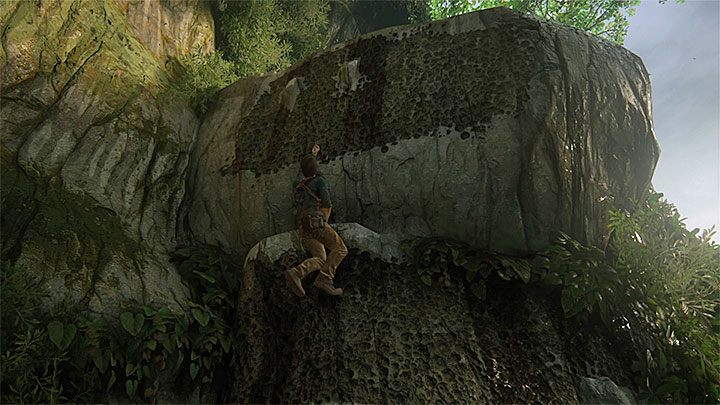
The piton will be added to your inventory permanently and you use it in a way similar to chakram because you can jab it into specific spots on the wall (you recognize them by the darker color). Thanks to which you can reach higher. A key piece of information here is that Nate will not be using the piton automatically while climbing. You have to activate is manually by pressing the Square. Start using the piton while climbing. Towards the end of the climb, make sure that you jump before you use the piton, because this is the only way to reach the top. Face the vertical wall in the distance. Leap towards the wall and press the Square right before you collide with it, thanks to which Nate will jab the piton into the wall. Climb onto the ledge, leap towards the regular ledges and move to the right over them. Soon you will come close to the area occupied by mercenaries.
Encounter with the mercenaries - stealth or combat
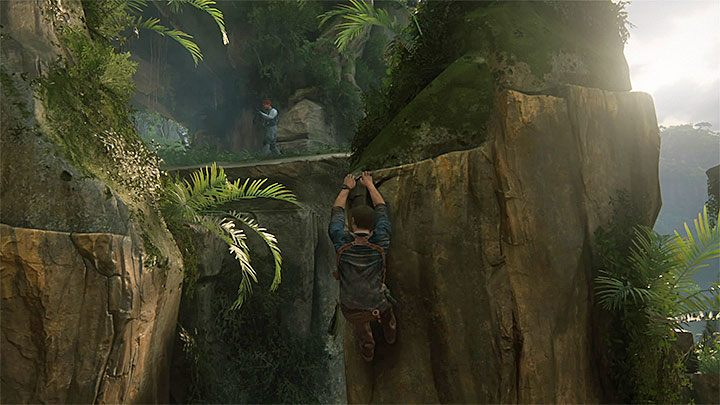
Around, there are a dozen-or-so mercenaries (their number depends on the difficulty level you have selected) and there are several ways in which you can act here. If you want to, you can keep sneaking for the whole time, but you need to know that it is very difficult at higher levels, because the enemies are very cautious, their fields of vision overlap. Additionally, you will have to spend a lot of time in figuring out their patrol routes. At lower levels it is much easier to avoid raising the alarm here, because enemies are not that observant and it will take more time for them to go into the alarmed mode. If you want to give it a try anyway, you should initially move along the left side of the forest, use walls, high grass and ledges to avoid being spotted. Also, stop often and look around, because you may miss some of the enemies initially.
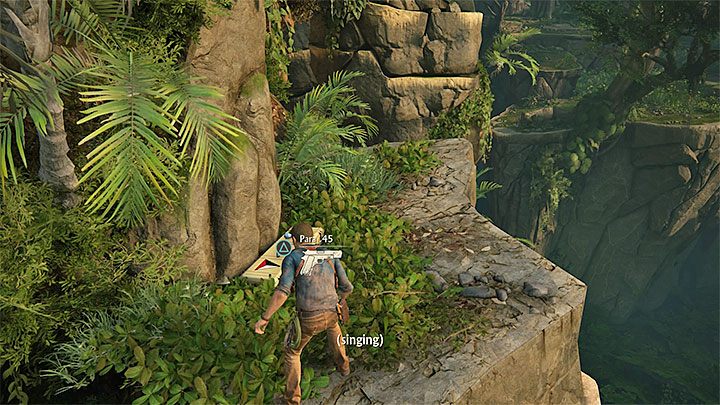
In a later part, the forest is being patrolled by enemies and therefore, consider moving over to the right side of the forest. You an do this quickly by lowering yourself onto ledges in specific spots, or by dashing between safe areas, using one of the grappling points above. On the small ledge to the right that is not being guarded, there are a pistol and grenades. It is a good idea to take them along, if you have not been attacking anyone so far and if Nate is defenseless, as a result. The final part of the route is very demanding. You can try to reach the escarpment, slide down when the enemies are not looking, or climb onto the rock on the right and leap towards the end part of the forest.

Another way in which you can beat this part is to eliminate all of the enemies, or at least the majority of them. Paradoxically, this is the better variant, if you are playing on one of the higher difficulties, because it would be incredibly difficult for you to walk around them all, without being spotted. it is a good idea to start this variant by acting from shadows. Keep doing that, at least, up until the moment that you get armed sufficiently well (primary weapon, pistol, grenades). After you start crossing the forest, consider also getting to the left ledge shown in the above screenshot to throw down the guard there. Thanks to this, you will easily obtain your first machine gun. You can then attack two other enemies by surprise, who have been patrolling the area on the right.
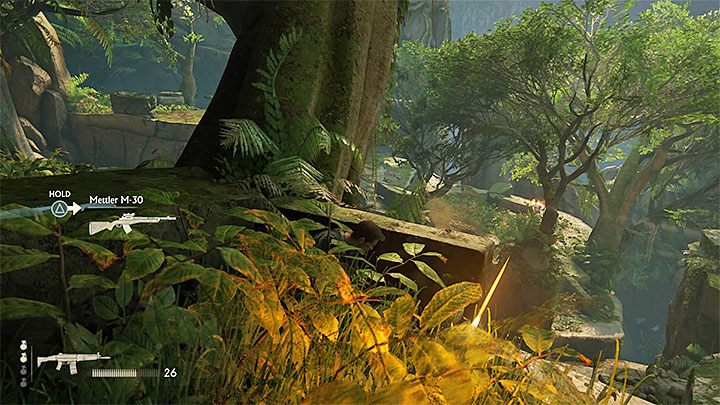
After you start your fire exchange, be stingy with your ammo, because it does not come in excess here. While fighting, remember to use covers and avoid the grenades that are thrown your way. At the same time, it is worth noting that enemies in the later parts of the forest do not necessarily have to reach the site. They can just as well remain where they are and only switch into the alarmed state. You can use this to your advantage and either try to sneak up on them, or pick the spot from which you start your attacks. The later part of the route is being watched over by a sniper that you can spot thanks to the red laser beam. Keep avoiding him up until the moment that you will be capable of eliminating him without any obstruction. You can make things easier for yourself by using the Mettler M-30 sniper rifle shown in the above screenshot, which you can find in the left part of the forest.
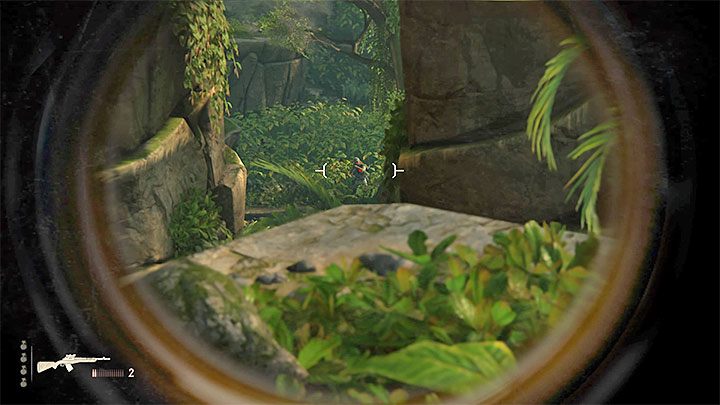
Apart from the sniper, you also have to watch out for two elite opponents, The first one is armed with a grenade launcher. The good news is that the range of the weapon is limited and you can kill him from a longer distance, thanks to this (preferably, with a shot to the head). If you are playing on one of the higher difficulty levels, you will also encounter an opponent with DShK heavy machine gun, in the forest. This weapon has a great firepower and therefore, you have to be extremely careful. It is best to use grenades to eliminate the armored enemy, yet one grenade only may be not enough. If possible you can also reach the opponent with grenade launcher that you have killed and use his weapon to kill the armored one.
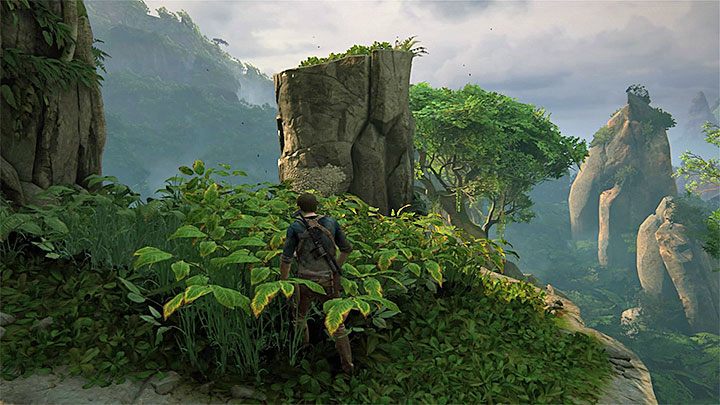
Regardless of whether you have decided to avoid the enemies altogether, or not, you have to make it to the other end of the area that they have been guarding. In here, you find the high rock shown in the above screenshot, which you have to jump up to and climb up over (if you are under heavy fire, try to be quick about it).
Find Libertalia
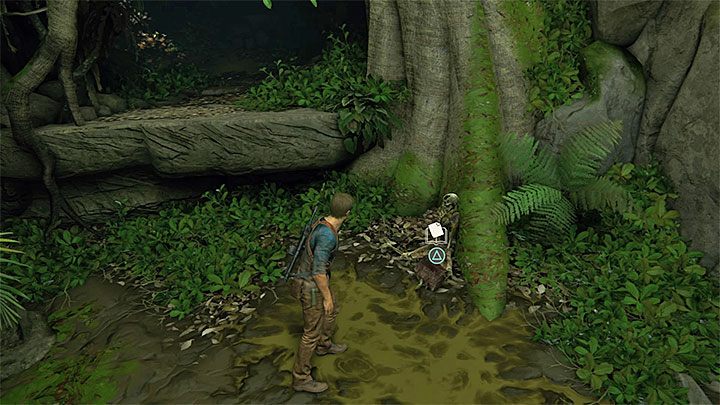
After you reach the top, use grappling hook and make it over into the next part of the forest. Head on and keep an eye out for a ledge on the left that you should climb onto. Here, examine the skeleton and obtain the second journal note. Then, check out the darkened passage on the left. At the end of the passage, there is a treasure (Dress Dirk). You can now return to the main path and keep moving on. Climb onto the rocks. Soon, Nate will encounter his brother and they will both go to search for Libertalia.
Follow the linear path to the dilapidated building. Climb onto the roof, jump inside and explore the rooms. After a while, you will reach a fork, where you should first go right. After you get to another room, take note of the destroyed floor in the dim spot on the right. Jump down, wait for Nate to turn on his torchlight and explore the basement to find the treasure (Frechen Bearded Bottle) shown in the above screenshot. You can now return to the fork and go left, thanks to which you will get to a larger area. Here, find the passage into the room on the upper floor, push down the crate and use it to move on. This chapter will soon end.
- Uncharted 4: A Thief's End Game Guide
- Uncharted 4: Game Guide
- Uncharted 4: Walkthrough
- Uncharted 4: List of all chapters
- Uncharted 4: Prologue - walkthrough
- Uncharted 4: Chapter 1 The Lure of Adventure - walkthrough
- Uncharted 4: Chapter 2 Infernal Place - walkthrough
- Uncharted 4: Chapter 3 The Malaysia Job - walkthrough
- Uncharted 4: Chapter 4 A Normal Life - walkthrough
- Uncharted 4: Chapter 5 Hector Alcazar - walkthrough
- Uncharted 4: Chapter 6 Once a Thief - walkthrough
- Uncharted 4: Chapter 7 Lights Out - walkthrough
- Uncharted 4: Chapter 8 The Grave of Henry Avery - walkthrough
- Uncharted 4: Chapter 9 Those Who Prove Worthy - walkthrough
- Uncharted 4: Chapter 10 The Twelve Towers - walkthrough
- Uncharted 4: Chapter 11 Hidden in Plain Sight - walkthrough
- Uncharted 4: Chapter 12 At Sea - walkthrough
- Uncharted 4: Chapter 13 Marooned - walkthrough
- Uncharted 4: Chapter 14 Join Me in Paradise - walkthrough
- Uncharted 4: Chapter 15 The Thieves of Libertalia - walkthrough
- Uncharted 4: Chapter 16 The Brothers Drake - walkthrough
- Uncharted 4: Chapter 17 For Better or Worse - walkthrough
- Uncharted 4: Chapter 18 New Devon - walkthrough
- Uncharted 4: Chapter 19 Avery's Descent - walkthrough
- Uncharted 4: Chapter 20 No Escape - walkthrough
- Uncharted 4: Chapter 21 Brother's Keeper - walkthrough
- Uncharted 4: Chapter 22 A Thief's End - walkthrough
- Uncharted 4: Epilogue - walkthrough
- Uncharted 4: Walkthrough
- Uncharted 4: Game Guide
You are not permitted to copy any image, text or info from this page. This site is not associated with and/or endorsed by the developers and the publishers. All logos and images are copyrighted by their respective owners.
Copyright © 2000 - 2025 Webedia Polska SA for gamepressure.com, unofficial game guides, walkthroughs, secrets, game tips, maps & strategies for top games.
