StarCraft 2 Wings of Liberty: Zero Hour (Achievements)

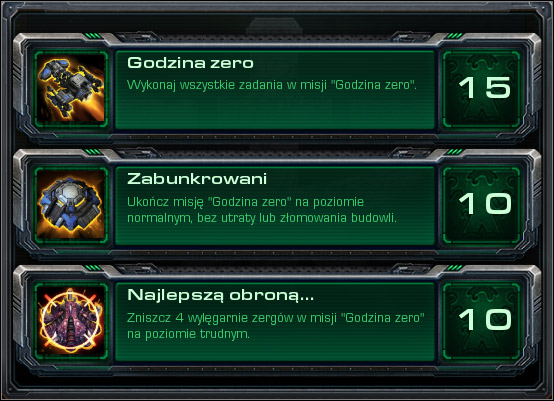
Zero Hour:
Hold out for evacuation, rescue the rebels.
Hold the Line:
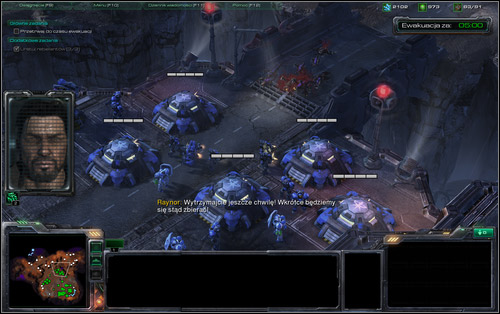
The achievement description says everything. It's of course not only about bunkers, but also anti-air Turrets, which are prone to being attacked especially by the end of the mission, when the Zergs keep on charging with pretty much no end. By then, look out for a small fleet of Mutalisks, which will destroy a single Turret with no problem. That's why you should also place them in pairs and have a worker nearby, who will start repairing them when needed.

The Best Defense (is a good offence):
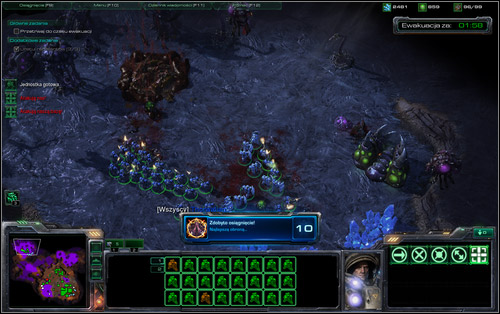
An achievement well worth its name. Now you not only have to defend from Zergs on hard, but also... attack them. My strategy is to concentrate on one of the enemy bases, with the one in the upper-left corner being the least protected (marked on the mission description map with [5]).
Begin with preparing good defences, capable of holding off the incoming Zerg waves. In the meantime, keep on training Marines and medics. Additionally build another barracks and place a reactor by at least one of them - training units will go faster. Also don't hesitate from going out for the rebels, but keep in mind that on hard there's quite a lot of Zergs creeping out there (Hydralisks). It's also wise to have upgrades from the engineering bay.

Once there's about 10 minutes left, survive another attack on the left bridge and head out from there towards the mentioned base. You should have at least a dozen Marines and a whole hospital of medics under your command. Look out for spine crawlers on your way and also in the base itself. To minimise the damage, don't attack the base all-out from the front, but try to draw out the moving defence out. Destroy the two hatcheries WITHOUT killing the workers. Retreat to your own base and then return after a couple minutes. New hatcheries - this time defenceless - should appear in the place of the destroyed ones. It's also a good chance to take a further trip and discover the secret I mentioned in the main description.
Optionally, after the first attack, you can head to the base located in the lower-left corner of the map, but you would need to have a very powerful army at your disposal to get to the main buildings in one piece. The north-east Zerg base is completely out of the question - it's protected too well.
- StarCraft II: Wings of Liberty Game Guide
- StarCraft 2 Wings of Liberty: Game Guide
- StarCraft 2 Wings of Liberty: Mar Sara missions
- StarCraft 2 Wings of Liberty: Basic information
- StarCraft 2 Wings of Liberty: Liberation Day
- StarCraft 2 Wings of Liberty: Liberation Day (Achievements)
- StarCraft 2 Wings of Liberty: The Outlaws
- StarCraft 2 Wings of Liberty: The Outlaws (Achievements)
- StarCraft 2 Wings of Liberty: Zero Hour
- StarCraft 2 Wings of Liberty: Zero Hour (Achievements)
- StarCraft 2 Wings of Liberty: Mar Sara missions
- StarCraft 2 Wings of Liberty: Game Guide
You are not permitted to copy any image, text or info from this page. This site is not associated with and/or endorsed by the developers and the publishers. All logos and images are copyrighted by their respective owners.
Copyright © 2000 - 2026 Webedia Polska SA for gamepressure.com, unofficial game guides, walkthroughs, secrets, game tips, maps & strategies for top games.
