StarCraft 2 Wings of Liberty: For the Swarm
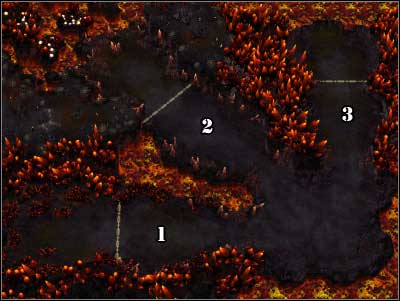
Round 1
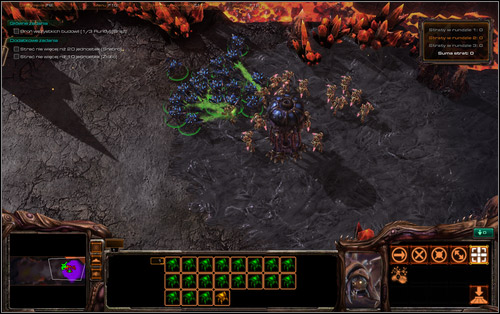
Location 1
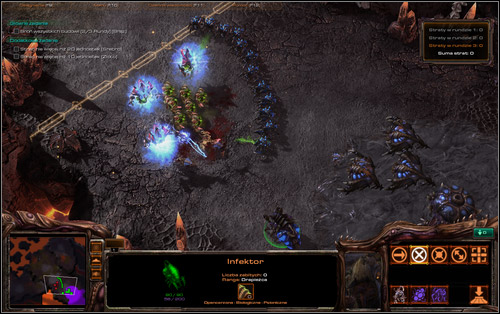
Units used: 3 Ultralisks, Infestor
Predicted number of units lost: 0
Once the Colossuses start moving in, use the Infestor's Neural Parasite to take control over the closest giant. In the commotion, throw the Ultralisk to battle. If the controlled Colossus will still be alive after the fight, finish him off with the attack command.
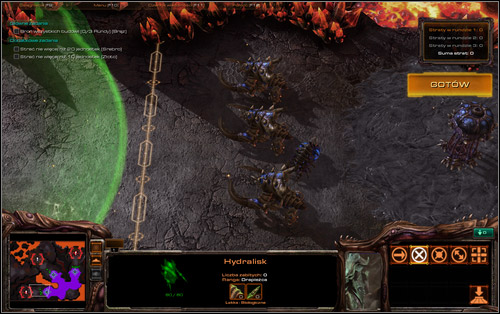
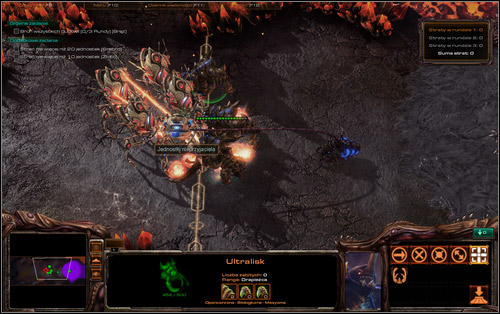
Location 2
Units used: Ultralisk, Zerglings
Predicted number of units lost: 0
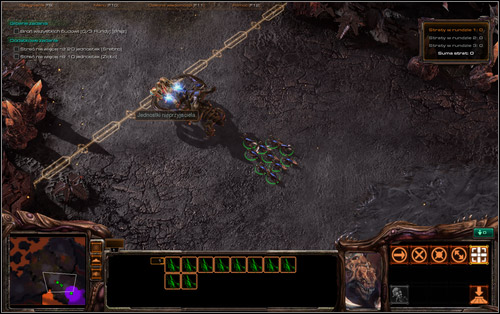
The operation is easy to predict. Place the Ultralisk in the front so he draws the Immortal's attention. Once he's busy with attacking your beast, let out the Zerglings on him.
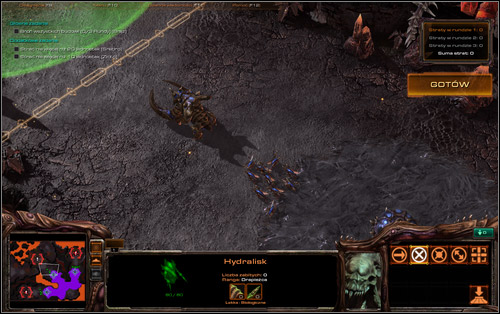
Location 3
Units used: Hydralisks
Predicted number of units lost: 0-3
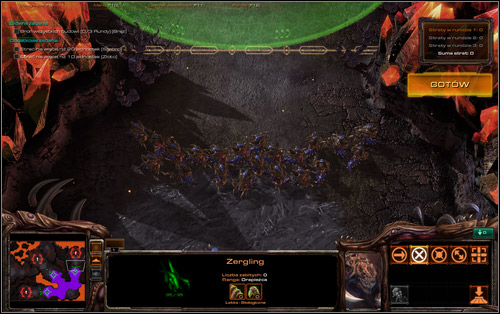
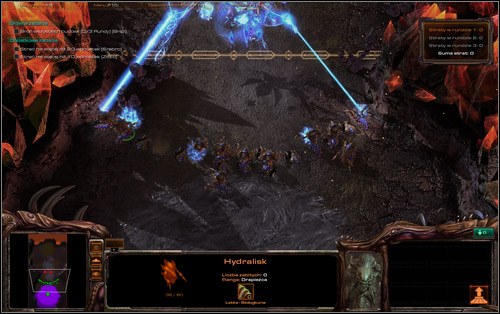
You can might lose a few units here, but only if you aren't fast enough. Hydralisks are in fact rather fragile creatures, especially when hit y the Void Rays. Luckily they can hide underground, where the beam surely won't reach them.
Practically, you have to click the units which are being attacked by the beams and press R. If you stay calm, zero losses guaranteed.
Round 2
Location 1
Units used: Roaches
Predicted number of units lost: 0-2
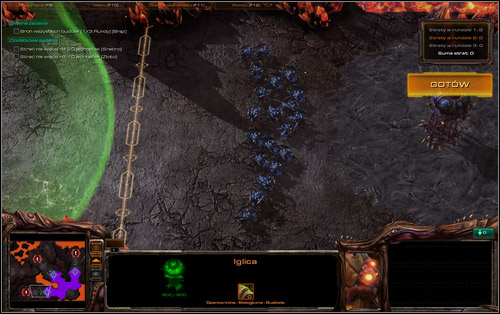
Avoid the Zealots like fire. Run away from them and attack afterwards over and over again, though you're sure to receive some damage. While running from the Protoss, try to firstly go round the spire and then move to open ground where you will gain an advantage.
A good idea would be to systematically hide... underground. The Roaches regain health very fast there, so a short session underground will leave you with a practically newborn squad.
Location 2
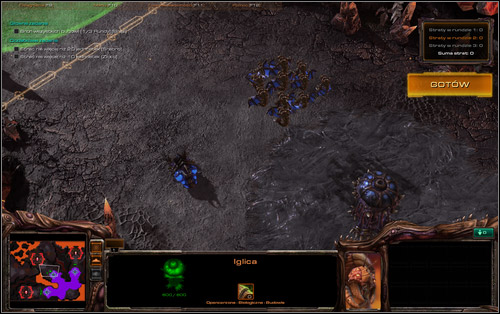
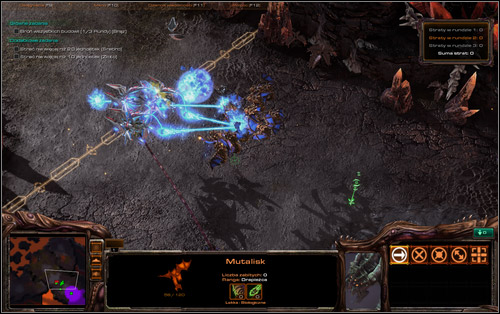
Units used: Mutalisks, Infestor
Predicted number of units lost: 0-1
You will once more steal a unit from the charging Protosses. Catch one Void Ray with the Infestor and the rest will focus on him. At least for a while, as the Mutalisks will also receive some damage. Spot out the most damaged ones and move away them away from the battlefield for a small walk. In the end, destroy your Void Ray with a forced attack.
Location 3
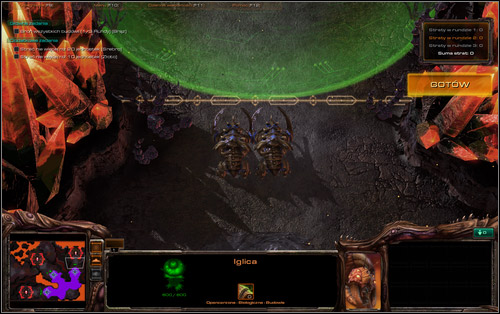
Units used: Ultralisks
Predicted number of units lost: 0
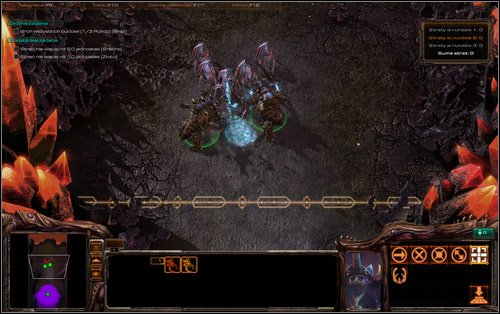
Just attack the Stalkers. Try to use the fact, that the Ultralisk's claws cause area damage. Keep an eye over your unit's health and give retreat them if needed, into the ground for example.
Round 3
Location 1
Units used: Ultralisks, 2 Brood Lords
Predicted number of units lost: 0-1
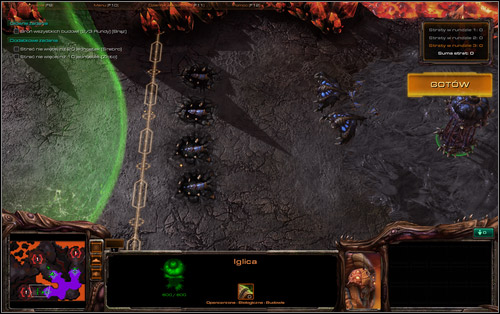
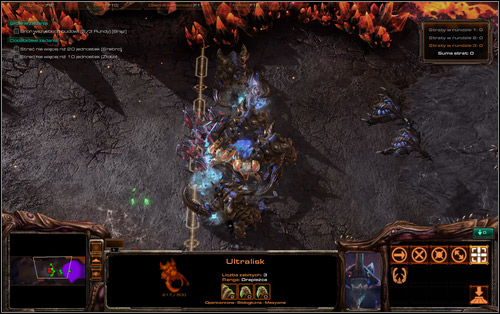
Just as you see on the screen, the Ultralisks are hidden in the ground, waiting for the enemy and the Brood Lords' task is to draw the Stalkers' attacks. Once it happens, jump out with your beasts and slash them to pieces. You might need to retreat one Ultralisk during the fight, but you will complete the mission with no problems nevertheless.
Location 2
Units used: 3 Brood Lords, Roaches, Infestor
Predicted number of units lost: 0-2
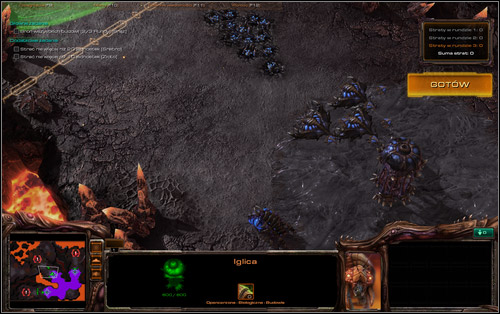
In this location you will have to use three different forces. Even though the risk of failing is quite big because of it, I'm sure that you will succeed after a couple attempts. Note that the Roaches are buried on the attached screen.
You can play the Infestor card in various ways. The hardest, but also most effective way is to use the Fungal Growth on the moving Protosses, which will immobilise them for a couple seconds. You can pretty much stop them all (note how condensed their group is), but if you won't make it, there will probably be an Archon left, so take control over it. Attack the immobilised attackers with Brood Lords and Roaches.
After eight seconds you can use the Fungal Growth again (if you have enough energy), or bet on a normal fight. In the second possibility, remember that a buried Roach is a healthy Roach. You can also use a tactic of retreating and attacking over and over again.
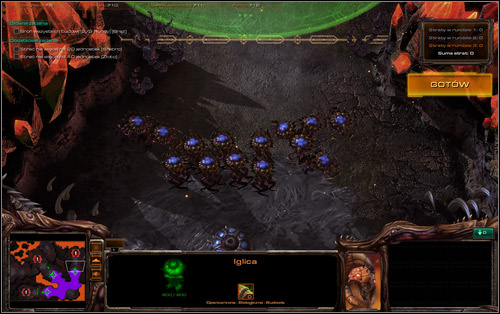
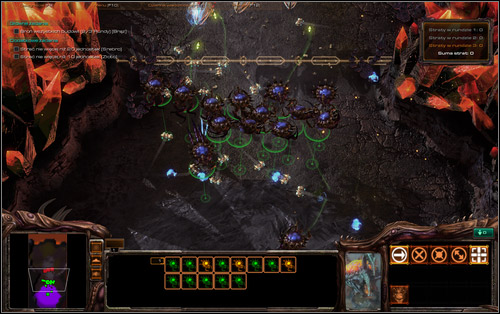
Location 3
Units used: Corruptors
Predicted number of units lost: 0-4
The Corruptors aren't in favour here, which you will probably notice after seeing how fast their health drops. As I've suggested many times before, retreat the weakened units, though close enough for them to return to battle (if they aren't seriously wounded).
- StarCraft II: Wings of Liberty Game Guide
- StarCraft 2 Wings of Liberty: Game Guide
- StarCraft 2 Wings of Liberty: Challenges
- StarCraft 2 Wings of Liberty: Tactical Command
- StarCraft 2 Wings of Liberty: Path of Ascension
- StarCraft 2 Wings of Liberty: For the Swarm
- StarCraft 2 Wings of Liberty: Covert Ops
- StarCraft 2 Wings of Liberty: Psionic Assault, part 1
- StarCraft 2 Wings of Liberty: Psionic Assault, part 2
- StarCraft 2 Wings of Liberty: Infestation
- StarCraft 2 Wings of Liberty: Harbringer of Death
- StarCraft 2 Wings of Liberty: Opening Gambit
- StarCraft 2 Wings of Liberty: Rush Defense
- StarCraft 2 Wings of Liberty: Challenges
- StarCraft 2 Wings of Liberty: Game Guide
You are not permitted to copy any image, text or info from this page. This site is not associated with and/or endorsed by the developers and the publishers. All logos and images are copyrighted by their respective owners.
Copyright © 2000 - 2026 Webedia Polska SA for gamepressure.com, unofficial game guides, walkthroughs, secrets, game tips, maps & strategies for top games.
