StarCraft 2 Wings of Liberty: Harbringer of Death
There's no denying this is a rather peculiar and difficult challenge if you're aiming for gold. Additionally, apart from some give you much advice, apart from some general tips, as it above all requires quick unit management. What's more, the option to click on icons (like ability icons) has been disabled for the duration of the challenge. This way you are forced to learn micro management in StarCraft II, that is using button shortcuts.

To get the gold medal, you need to ac really fast. You need to command units on five different frontlines, so that they move as much as possible and attack. It's a really hard task, but you'll figure out a pattern eventually. Here's a bunch of tips:
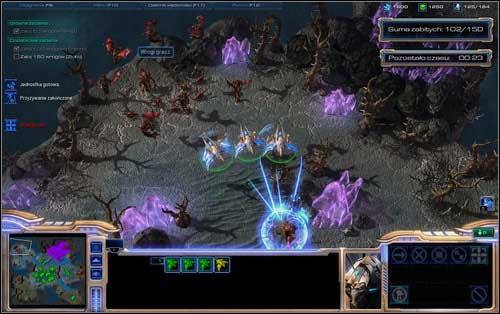
Location 1 - Phoenixes will easily deal with the Mutalisks, but things get worse when it comes to the Hydralisks accompanying them. That's why the first thing you should do after flying to them is picking up the Hydralisks with the Graviton Beam. To boost up the counter a bit, you can do the same with the Zerglings after clearing the area.
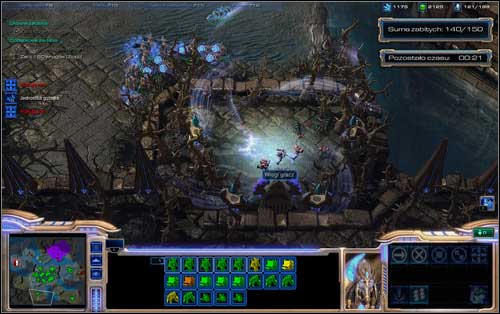
Location 2 - Place the Warp Prisms on the edge and visit the base from time to time to produce more units. Mark the Stargates with a double click, which will automatically select all in sight. Investing in Dark Templars gives good results.

Location 3 - Just mark the Carriers and order them to attack anything in sight. You do however need to look out, as the local Marines will be effective against the little Interceptors, so systematically come back here to order more.
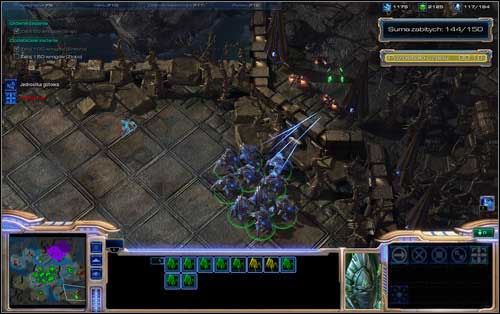
Location 4 - A Stalker farm. Move forward by constantly using Blink and exchange opinions with the Reapers. Eventually you should even reach the location with Carriers.

Location 5 - Use Psi Storms all the time and kill the survivors with the other units. Eventually you can sacrifice two or four Templars to create an Archon. In the beginning, it seems a good idea to add a few Stalkers from the Gateways, with which you will definitely conquer the area. Once you approach enemies, turn on the Sentries' barriers. Plan an exact route beforehand.
- StarCraft II: Wings of Liberty Game Guide
- StarCraft 2 Wings of Liberty: Game Guide
- StarCraft 2 Wings of Liberty: Challenges
- StarCraft 2 Wings of Liberty: Tactical Command
- StarCraft 2 Wings of Liberty: Path of Ascension
- StarCraft 2 Wings of Liberty: For the Swarm
- StarCraft 2 Wings of Liberty: Covert Ops
- StarCraft 2 Wings of Liberty: Psionic Assault, part 1
- StarCraft 2 Wings of Liberty: Psionic Assault, part 2
- StarCraft 2 Wings of Liberty: Infestation
- StarCraft 2 Wings of Liberty: Harbringer of Death
- StarCraft 2 Wings of Liberty: Opening Gambit
- StarCraft 2 Wings of Liberty: Rush Defense
- StarCraft 2 Wings of Liberty: Challenges
- StarCraft 2 Wings of Liberty: Game Guide
You are not permitted to copy any image, text or info from this page. This site is not associated with and/or endorsed by the developers and the publishers. All logos and images are copyrighted by their respective owners.
Copyright © 2000 - 2026 Webedia Polska SA for gamepressure.com, unofficial game guides, walkthroughs, secrets, game tips, maps & strategies for top games.
