Ghostwire Tokyo: Hide and Seek 3 - walkthrough
This page of the guide for Ghostwire Tokyo contains a walkthrough of the Hide and Seek 3 side quest - finding Yosuke in another dimension.
Last update:
On this page of the Ghostwire Tokyo guide, you will find a walkthrough of the Hide and Seek III side quest. The walkthrough explains how to unlock Yosuke's final sidequest, where to find the apartment building, how to find three of Yosuke's hiding places and complete his plotline.
- Quest rewards
- Unlocking the quest
- Find the 7-story apartment building
- Search inside the apartment building
- Find Yosuke - first hideout
- Find Yosuke - second hideout
- Find Yosuke - third hideout
Quest rewards
- 7500 Meika
- about 1000 ghosts
Unlocking the quest
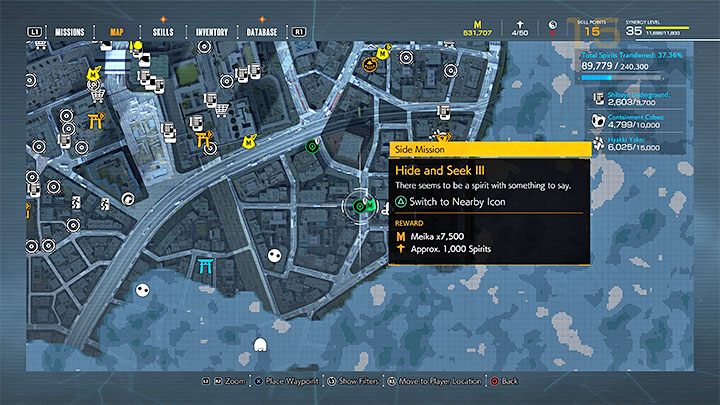
You unlock this quest by completing the Hide and Seek II side quest and cleansing Kamio Shrine, which you can do during Chapter 4 of the campaign. After meeting both of these requirements you'll be able to reach the quest's marker.
The quest giver is Yosuke, as in the previous two quests. It's time to play Hide and Seek for the last time. This time, though, it will be a bit more complicated.
Find the 7-story apartment building
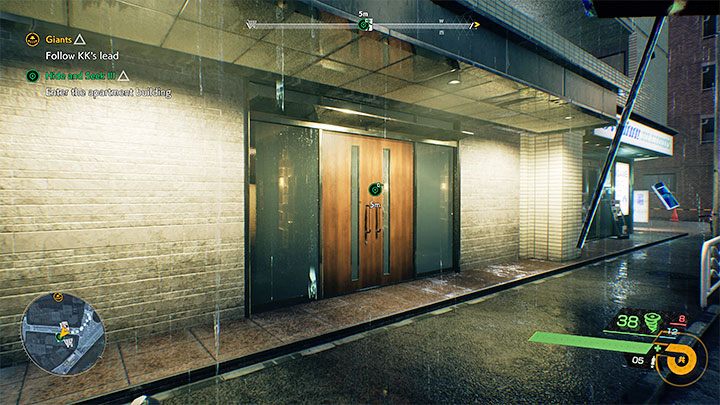
The first mission objective is very simple, as there aren't many tall buildings in the area marked by the game. Akito will let you know when you get close to the correct building - its entrance will be marked on the map, serving as a separate location.
Search inside the apartment building
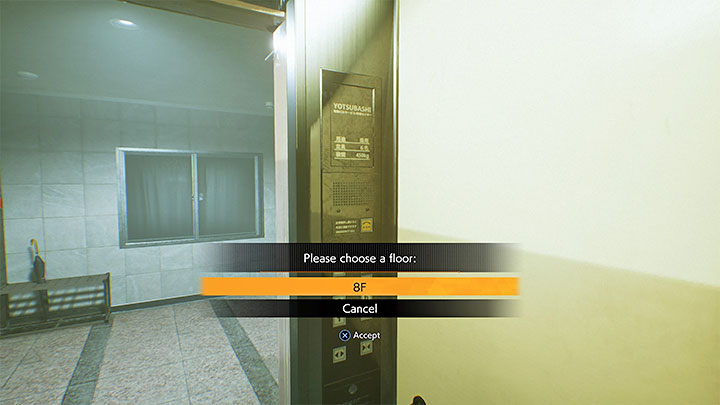
Right after entering the building go to the elevator, call it and head to the eighth floor. You'll end up in a forest set in an alternate dimension.
Find Yosuke - first hideout
To finish the final hide and seek game you must find Yosuke three times in this new area.
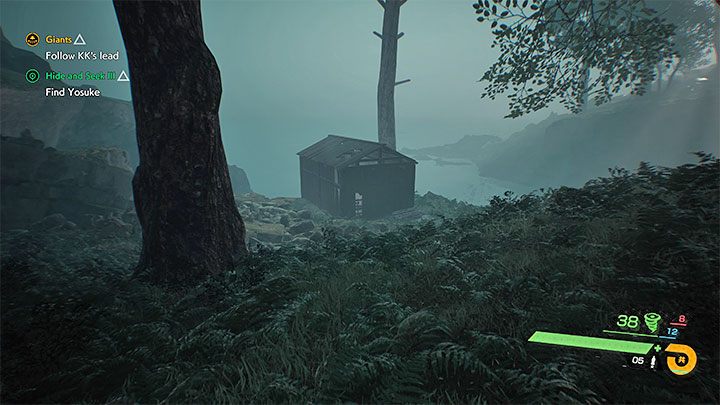
Explore the right part of the forest first. The boy is hiding in the hut by the water pictured above. Head inside. After talking to Yosuke he'll change his hiding place.
Find Yosuke - second hideout
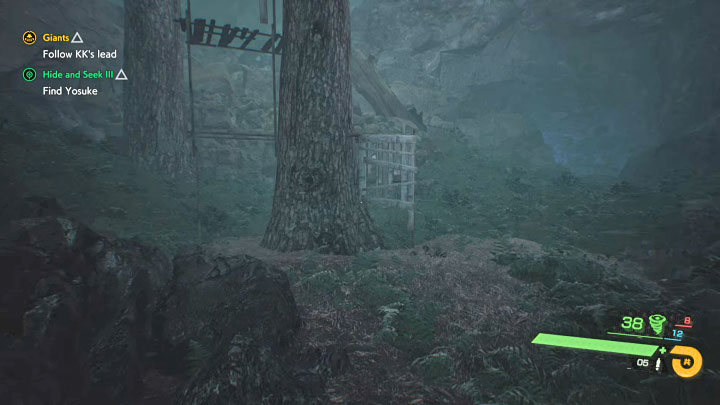
Now Yosuke's hiding on one of the trees - to reach it you must climb up some wooden platforms. Start climbing in the place pictured above, next to the entrance to a collapsed cave.
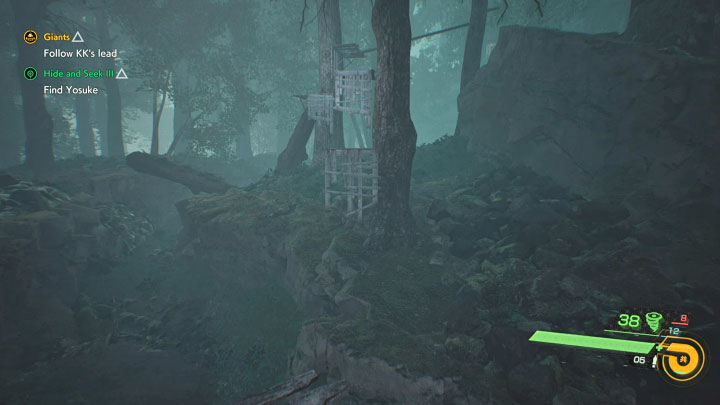
Keep moving up the platforms until you reach the highest one. Stand in the place pictured above and glide towards the distant platform.
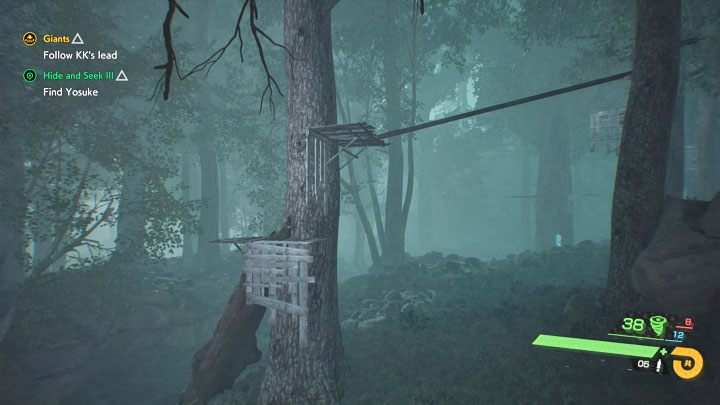
Once again climb up and glide again from the place pictured above.
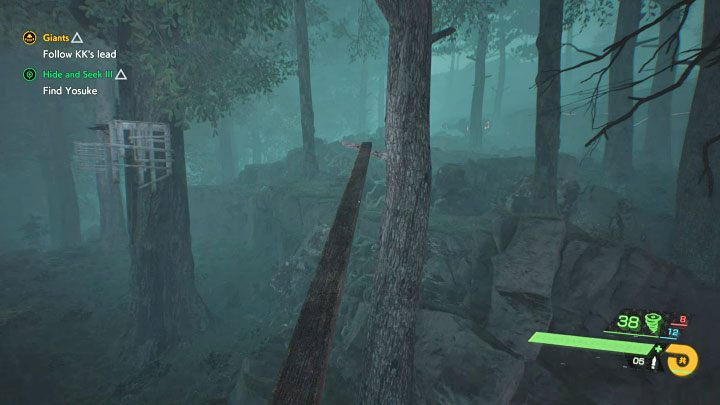
Get to a higher platform and walk along the narrow plank shown on the picture.
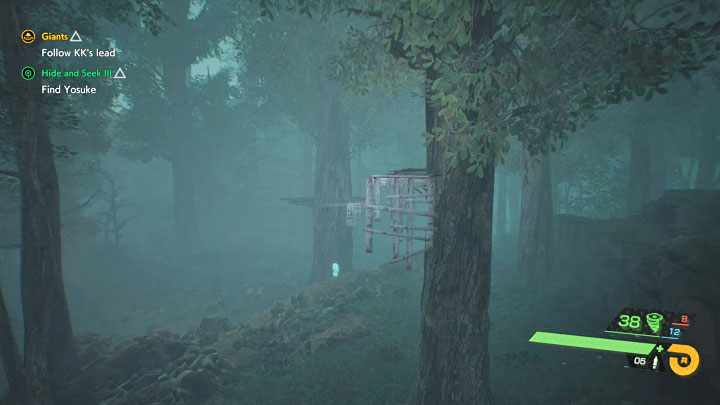
Turn left after reaching the end of the plank. You'll need to glide again in the place pictured above to reach the platforms on the neighboring tree.
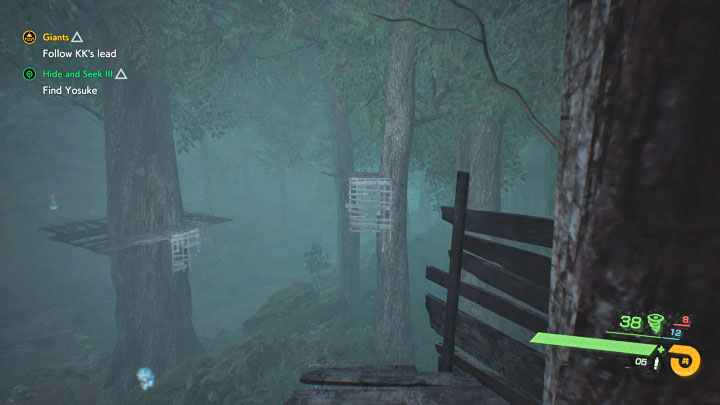
It's time to glide for the last time, for now at least. Stand in the spot pictured above. If you've upgraded your gliding skill you can glide onto the platform on the left right away. If you haven't, you must reach the one on front of you first. Yosuke's here, on the platform.
Find Yosuke - third hideout
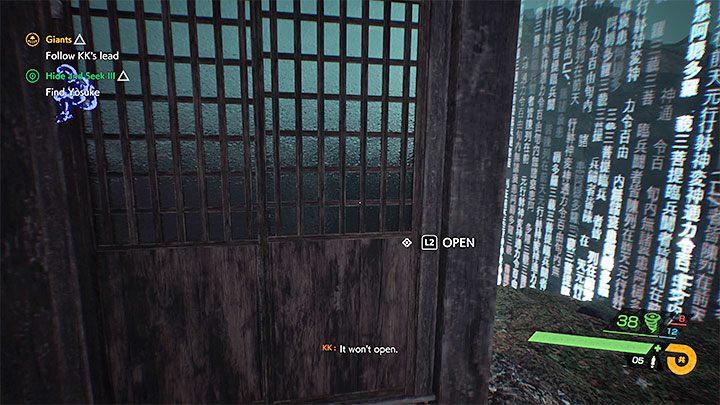
You must reach the hut by the water once again, though this time the door is locked. This means you must get inside through a hole in the roof.
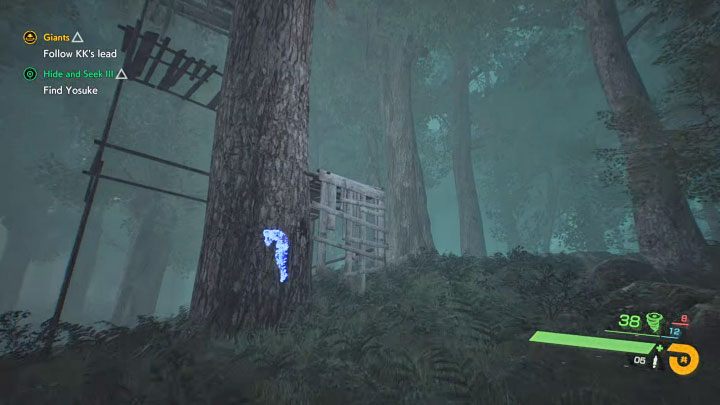
Head towards the forest and start climbing again in the place pictured above. It's a different place than the one earlier, located closer to the hut.
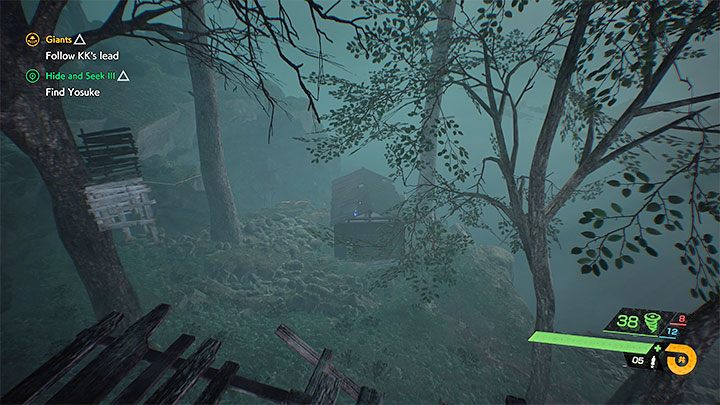
You must reach the highest platform and turn towards the hut. Now glide towards it and land on the roof.
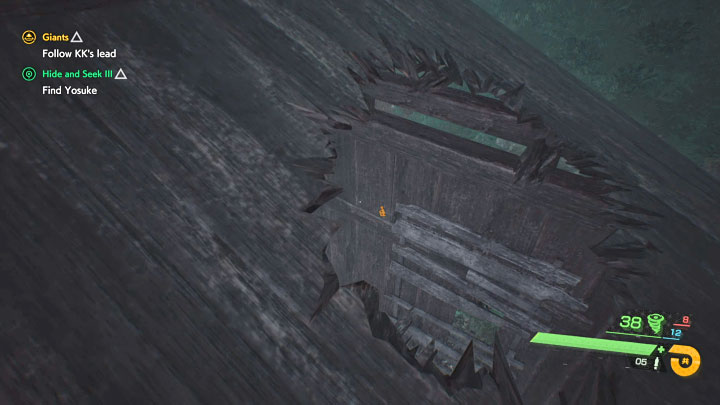
Go down the hole in the roof to find Yosuke's final hideout.
After talking to him you'll return to the real world. Leave the apartment building to complete the quest.
- Ghostwire Tokyo Guide
- Ghostwire Tokyo: Walkthrough
- Ghostwire Tokyo: Side missions
- Ghostwire Tokyo: Quests available from chapter 4
- Ghostwire Tokyo: Ushi no Kokumairi - walkthrough
- Ghostwire Tokyo: Kamaitachi - walkthrough
- Ghostwire Tokyo: After the End - walkthrough
- Ghostwire Tokyo: Nightmare Welling - walkthrough
- Ghostwire Tokyo: A Deadly Shadow - walkthrough
- Ghostwire Tokyo: Strung with a Curse - walkthrough
- Ghostwire Tokyo: Art Imitates Life - walkthrough
- Ghostwire Tokyo: Hide and Seek 2 - walkthrough
- Ghostwire Tokyo: Bloodthirsty Blossoms Mitake - walkthrough
- Ghostwire Tokyo: Old Wounds - walkthrough
- Ghostwire Tokyo: The Invisible Wanderer - walkthrough
- Ghostwire Tokyo: Hide and Seek 3 - walkthrough
- Ghostwire Tokyo: A Full House - walkthrough
- Ghostwire Tokyo: A Lost Dog - walkthrough
- Ghostwire Tokyo: Bloodthirsty Blossoms: Ginpei - walkthrough
- Ghostwire Tokyo: After the End 2 - walkthrough
- Ghostwire Tokyo: After the End 3 - walkthrough
- Ghostwire Tokyo: Quests available from chapter 4
- Ghostwire Tokyo: Side missions
- Ghostwire Tokyo: Walkthrough
You are not permitted to copy any image, text or info from this page. This site is not associated with and/or endorsed by the developers and the publishers. All logos and images are copyrighted by their respective owners.
Copyright © 2000 - 2025 Webedia Polska SA for gamepressure.com, unofficial game guides, walkthroughs, secrets, game tips, maps & strategies for top games.
