Ghostwire Tokyo: After the End 3 - walkthrough
This page of the guide to Ghostwire Tokyo contains a walkthrough of the side quest After the End 3 - Erika and the area from her memories.
Last update:
On this page of the Ghostwire Tokyo guide, you will find a walkthrough of the After the End III side quest. Our walkthrough explains how to start the third optional Rinko quest, where to find Erika's spirit once again, how to follow it, where to find the keychain and how to win the battle in Erika's memories.
- Quest rewards
- Unlocking the quest
- Head to the location specified by KK
- Follow Erika's psychic trail
- Search the area
- Defeat all enemies
- Tell Rinko what you found
Quest rewards
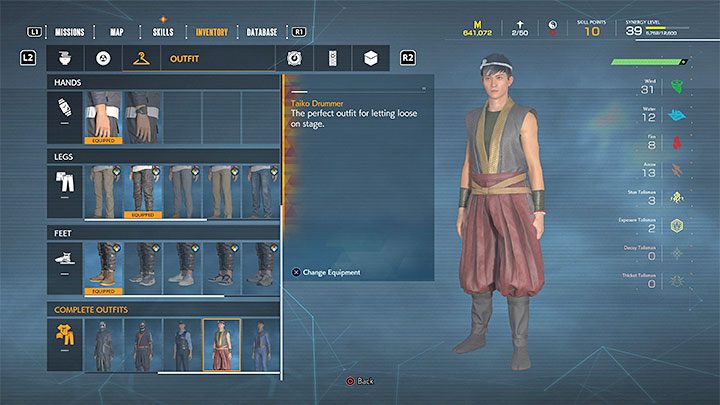
- 3000 meika
- Outfit: Taiko Drummer - the outfit is cosmetic and doesn't change Akito's stats
- about 500 spirits
Unlocking the quest
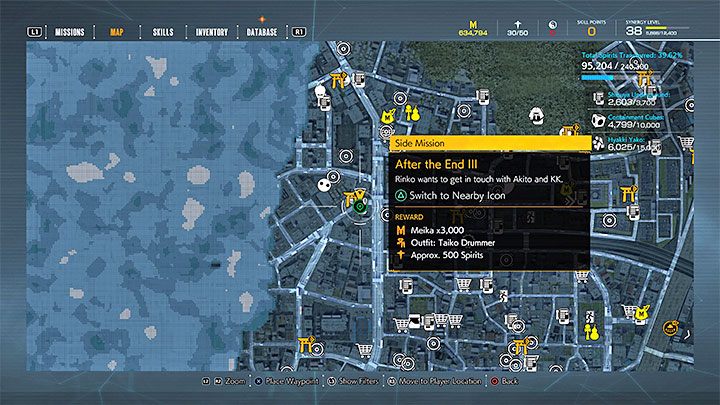
You unlock this quest by completing Rinko's second mission, After the End II - we've described it on a separate page of our guide. Visiting the Toyoi Shrine in Western Tokyo should cause a new quest marker to appear on the map (pictured above).
The quest giver is, once again, Rinko. Reach the payphone in the indicated area and talk to her.
Note - We recommend completing the quest before starting the endgame. The point of no return is at the end of Chapter 4, as described in our walkthrough of The Black Tower quest. If you ignore Rinko's quest you'll have to finish them after beating the game, when the world returns to the state before the point of no return.
Head to the location specified by KK
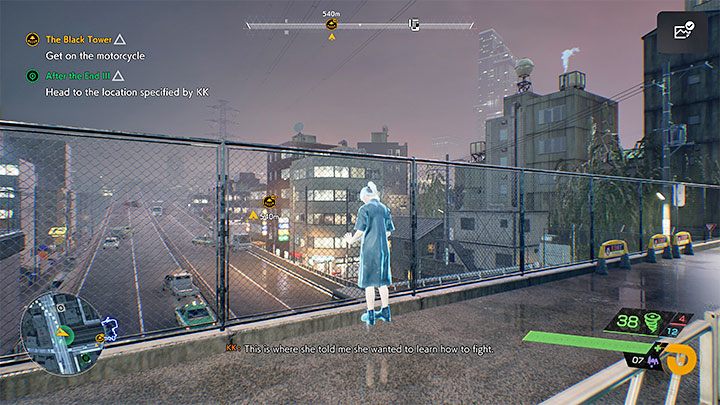
The area you must investigate is located a short distance south-east of the quest's starting point. Reach the bridge, where you'll see Erika's spirit pictured above.
Follow Erika's psychic trail
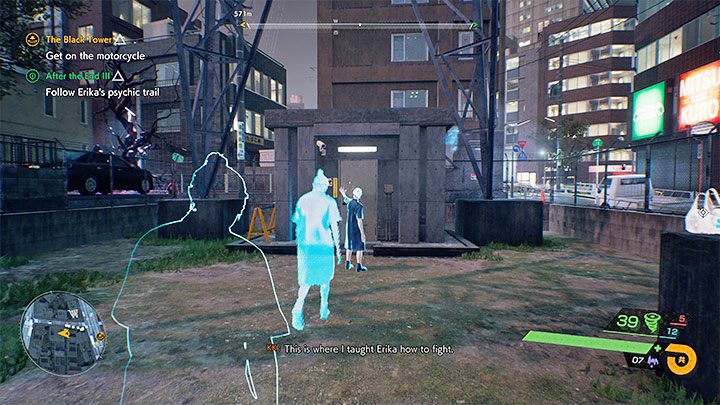
Following Erika's trail is easier than before this time, as you shouldn't encounter any foes on your way. Erika will take you to the door pictured above you must open.
Search the area
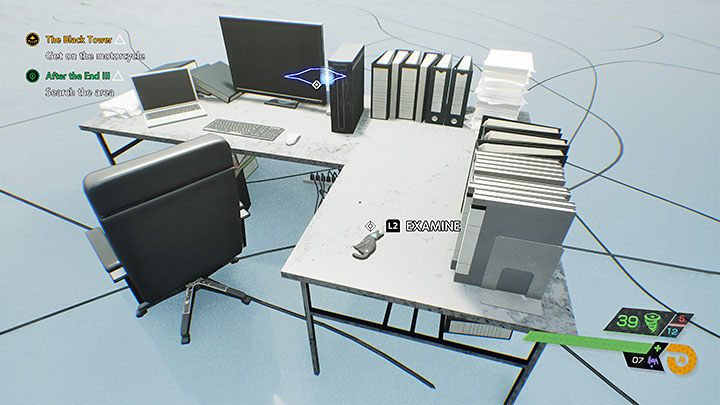
You'll move to an area from Erika's memories. Locate Erika's Cat Keychain pictured above - it's on one of the desks.
Defeat all enemies
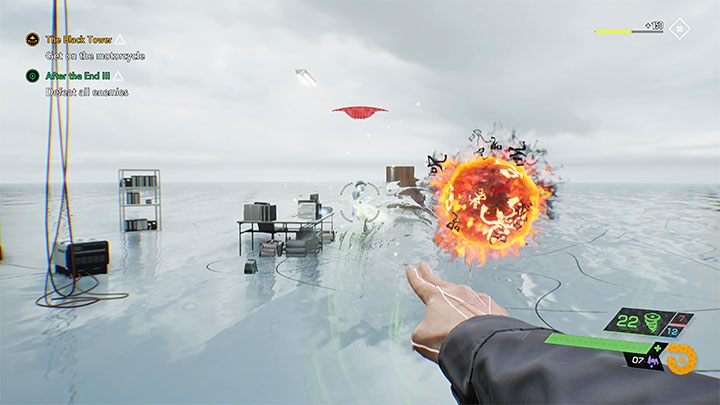
Visitors will appear in the area, forcing you to fight. Watch out for the flying projectiles - avoid them or destroy them from a distance. Fortunately you shouldn't encounter any elite enemies.
Tell Rinko what you found
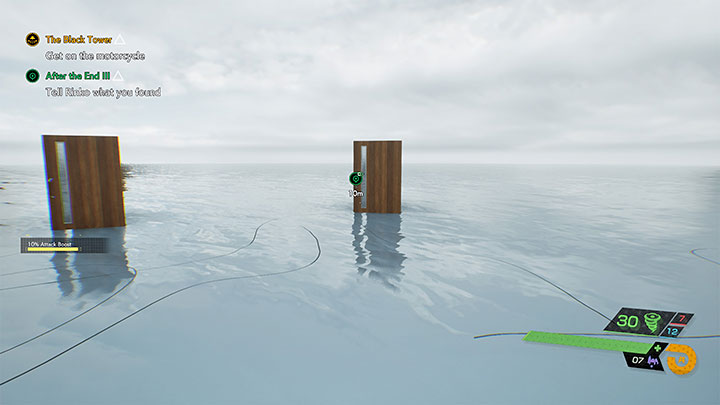
After the battle leave the area through the indicated door. Go to the marked payphone to report to Rinko one last time.
- Ghostwire Tokyo Guide
- Ghostwire Tokyo: Walkthrough
- Ghostwire Tokyo: Side missions
- Ghostwire Tokyo: Quests available from chapter 4
- Ghostwire Tokyo: Ushi no Kokumairi - walkthrough
- Ghostwire Tokyo: Kamaitachi - walkthrough
- Ghostwire Tokyo: After the End - walkthrough
- Ghostwire Tokyo: Nightmare Welling - walkthrough
- Ghostwire Tokyo: A Deadly Shadow - walkthrough
- Ghostwire Tokyo: Strung with a Curse - walkthrough
- Ghostwire Tokyo: Art Imitates Life - walkthrough
- Ghostwire Tokyo: Hide and Seek 2 - walkthrough
- Ghostwire Tokyo: Bloodthirsty Blossoms Mitake - walkthrough
- Ghostwire Tokyo: Old Wounds - walkthrough
- Ghostwire Tokyo: The Invisible Wanderer - walkthrough
- Ghostwire Tokyo: Hide and Seek 3 - walkthrough
- Ghostwire Tokyo: A Full House - walkthrough
- Ghostwire Tokyo: A Lost Dog - walkthrough
- Ghostwire Tokyo: Bloodthirsty Blossoms: Ginpei - walkthrough
- Ghostwire Tokyo: After the End 2 - walkthrough
- Ghostwire Tokyo: After the End 3 - walkthrough
- Ghostwire Tokyo: Quests available from chapter 4
- Ghostwire Tokyo: Side missions
- Ghostwire Tokyo: Walkthrough
You are not permitted to copy any image, text or info from this page. This site is not associated with and/or endorsed by the developers and the publishers. All logos and images are copyrighted by their respective owners.
Copyright © 2000 - 2026 Webedia Polska SA for gamepressure.com, unofficial game guides, walkthroughs, secrets, game tips, maps & strategies for top games.
