Dead Space Remake: Obliteration Imminent
This walkthrough page for Dead Space Remake describes chapter 4 - Obliteration Imminent. Our guide explains how to defeat the Brute boss, how to get a contact beam, how to redirect electricity to the cannons, and how to calibrate 3 ADS cannons in vacuum.
Obliteration Imminent is the name of the fourth chapter of Dead Space Remake. Our guide shows, among others, how and where the meeting with Hammond will take place, how to defeat Brute (boss encounter), how to start the elevators, where to find the Contact Beam, how to reroute the power in 3 sections of the ship and finally how to restart and calibrate three ADS cannons.
- Go to the Bridge
- Meet Hammond in the Captain's Nest
- Activate the Elevators
- Reroute Power from Mining Administration
- Reroute Power from Electrical Systems
- Reroute Power from Water Purification
- Calibrate Three ADS Cannons
Go to the Bridge
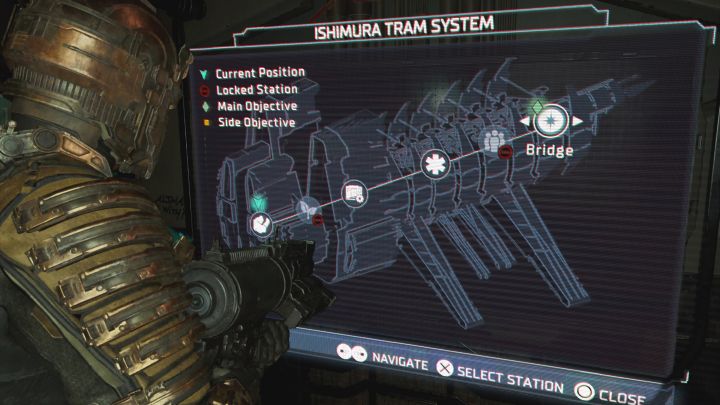
The chapter begins after reaching the Engineering Deck tram station. Start by activating the station (if you haven't done it yet), then enter the car and ride to Bridge.
Meet Hammond in the Captain's Nest
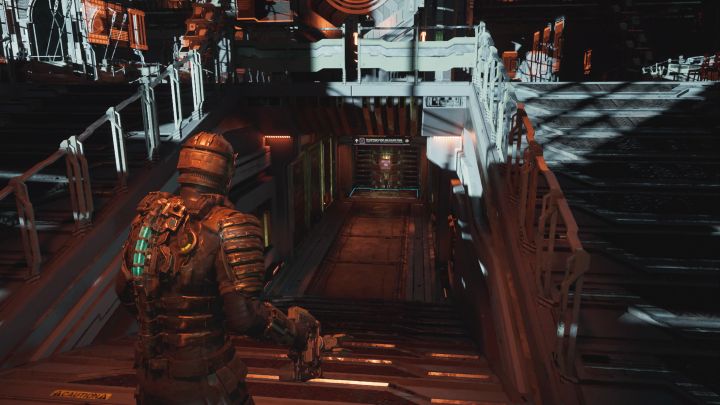
Once arrived, make your way to the Main Atrium (western pathway). You'll enter the location from the west. Use the nearby ramp and board the elevator leading to Captain's Nest.
During the meeting with Hammond, you'll receive Security Clearance Level 2. From now on, all doors and containers with level 2 locks can be opened.
There is an interactive terminal in the Captain's Nest that will start the You Are Not Authorized side mission. You can find the walkthrough for it on a dedicated page of the guide.
Activate the Elevators
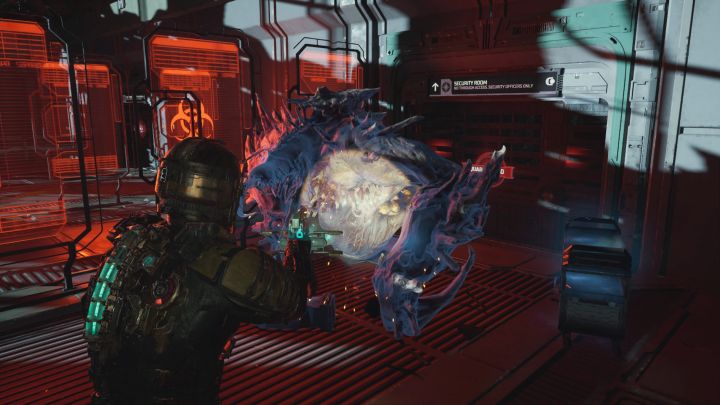
Exit the Captain's Nest and use the opportunity to save the game. Make your way back to the Main Atrium. Once in the area, proceed to the eastern part of it to find the Security Room. A boss will appear - Brutal.
During this battle, the key move is to slow down the Brute with Stasis. Try to have full Stasis before starting the encounter and if possible, have a Stasis Pack in your inventory. There is some loot in the atrium - scour the area before approaching the Security Room.
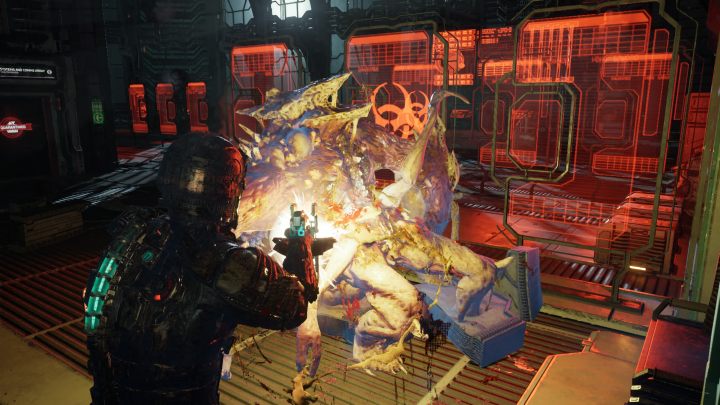
Look for weak points on the Brute's back . Each time you slow the brute down, quickly relocate behind it and fire at weak points with firearms. Fire away to deal as much damage as possible before Stasis wears off.
If your Stasis is depleted, wait for the monster to charge, dodge right before impact and aim quickly at weak points on the Brute's back.
Once defeated, make sure to pick up the Node left by the monster. Proceed to the Security Room and investigate it thoroughly. You should come across a elevator activation terminal. 3 new main objectives will be introduced - you can complete them in any order.
Reroute Power from Mining Administration
Use the Locator to find the right elevator in Main Atrium. Once you find the right one, ride to Floor 2 .
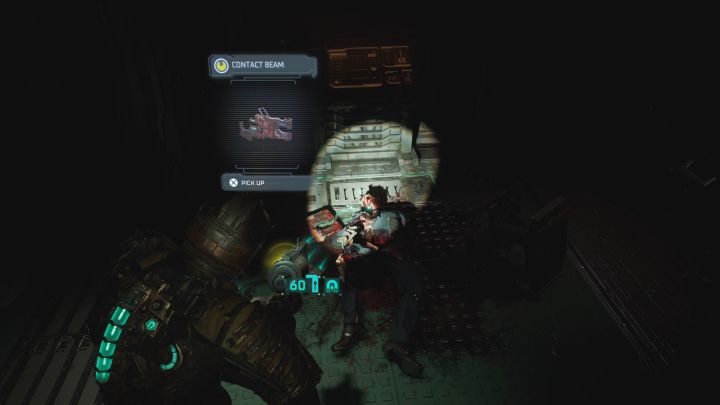
The ship's hull had suffered some damage - you're going to have to reach the next door before your oxygen supply runs out. Along the way, you'll encounter the Record Office room which can be opened and explored thanks to your Security Clearance Level 2. There is a new weapon here for you to use - Contact Beam. The weapon fires at a slow rate, but each strike packs a punch.
Continue forward until you reach a large Mining Administration hall. Here you can try out the Contact Beam on larger necromorphs.
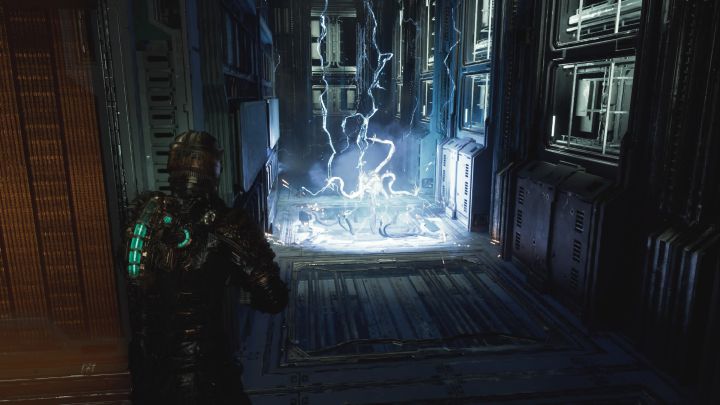
Watch out (here and in next areas) for electrical discharges. Avoid them. In case of discharges that appear and disappear in intervals, run through the discharge area once it is disabled.
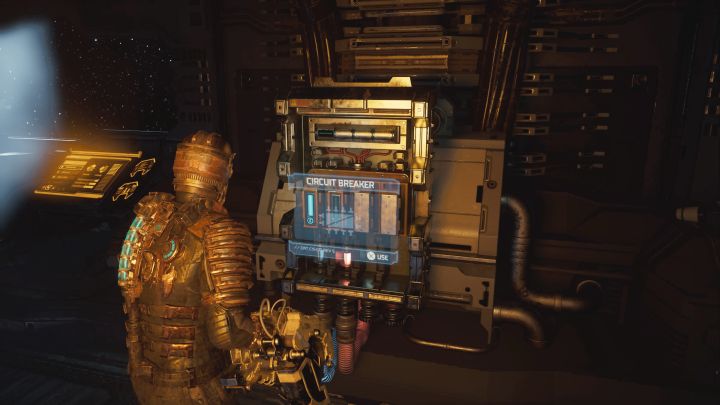
Your next task is to locate the Circuit Breaker. Disable the Mining fuse and enable the ADS Cannons one.
Reroute Power from Electrical Systems
Make your way back to the elevator (watch out for discharges and respawned necromorphs along the way). This time, ride to Floor 1 .
Follow the corridors until you reach the entry door to Electrical Systems. In this location, you'll once again encounter discharges. Get past the dangerous areas once the discharge is off and watch out when falling back when fighting as to not enter the discharge area.
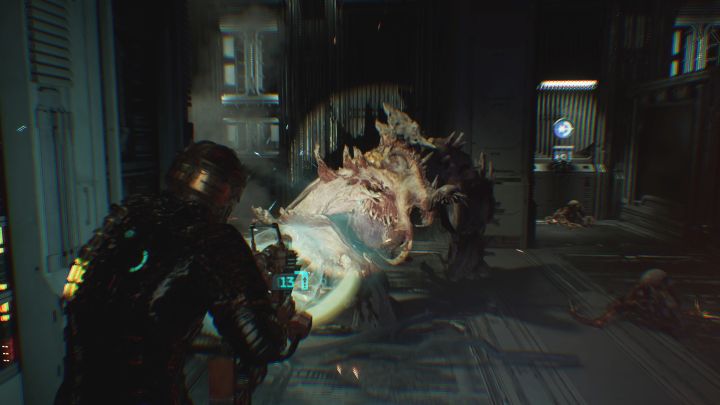
A new Brute will appear when crossing the main hall. Same as before, use Stasis to slow the beast down, quickly get behind it, and fire at the weak points on its back. Remember to avoid being pushed into discharge areas.
Once defeated, pick up the leftover Node and take care of the remaining monsters in the area.
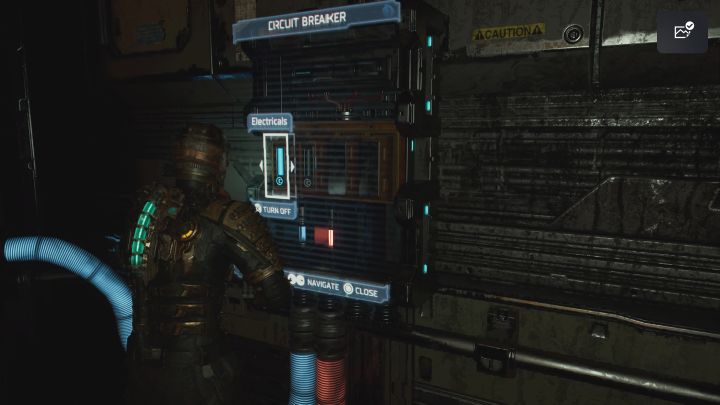
In the final part of the hall there are live cables and make sure to avoid them, as they are deadly when contacted. Use Stasis on them. This will allow you to cross safely and reach the breaker - at the box, turn off the Electrical Systems fuse and activate the ADS Cannons fuse.
Reroute Power from Water Purification
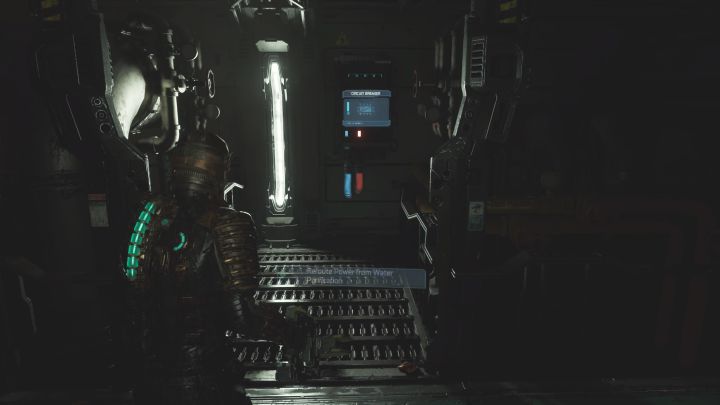
Once again, return to the Main Atrium, defeat new monsters, and make your way to the west elevator (it's a separate location, not like the two initial ones). You can ride it to Water Purification.
Your destination here is another Circuit Breaker - you need to turn off the Water Purification fuse and activate the ADS Cannons one.
Calibrate Three ADS Cannons
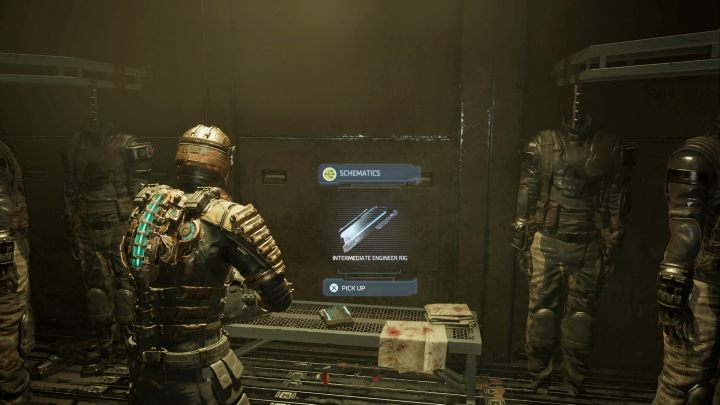
Travel to the Circuit Breaker in Water Purification (level 5) (if the Water Purification breaker wasn't the last), and from there go east. You will reach the EVA Prep Room .
Look around the room for Intermediate Engineer RIG blueprints. Delivering them to any shop will unlock a buyable armor buff (up to 10%) and inventory upgrade (up to 22 slots).
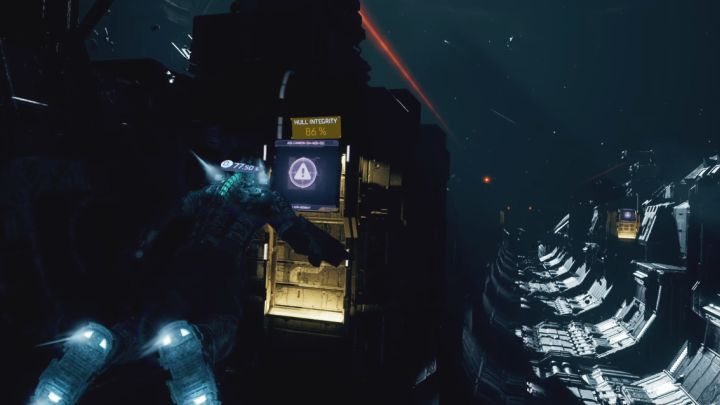
Your task here is to calibrate 3 ADS Cannons. This will require entering the vacuum - enter it through the airlock. This objective has a time limit (you need to complete the task before the hull integrity drops to 0%, but unlike the original Dead Space, there is no additional reward for keeping it above 50%).
Go full speed and fly to the nearest cannon and interact with its terminal.
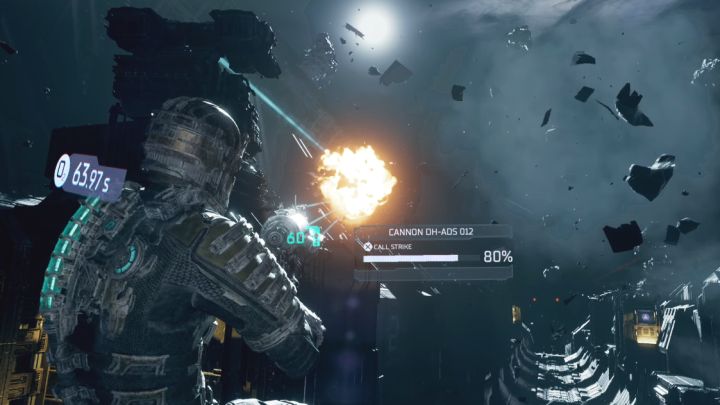
The action of calibrating will require some interactions. They are as follows:
- hold down the aim button (L2 / LT on consoles);
- give a command to fire (Cross on PS, A on Xbox) and aim at asteroids (if possible, fire at the ones that are the closest and are on collision course with Ishimura).
Each successful hit will increase the calibration percentage. You must fully calibrate the gun (reach 100%).
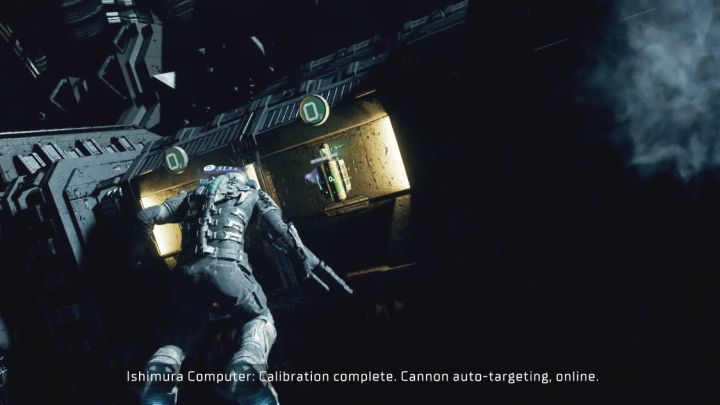
Repeat these steps with 2 remaining ADS Cannons. In the meantime, quickly eliminate encountered necromorphs and replenish oxygen at stations. Calibrating all 3 cannons will complete this objective.
In the area where calibration took place, there is also a RIG connected to You Are Not Authorized side mission. You can find the walkthrough for it on a dedicated page of the guide.
Return to the airlock. The chapter is now concluded, with Chapter 5 beginning right away.
- Dead Space Remake Guide
- Dead Space Remake: Game Guide
- Dead Space Remake: Walkthrough
- Dead Space Remake: Main missions
- Dead Space Remake: New Arrivals
- Dead Space Remake: Intensive Care
- Dead Space Remake: Course Correction
- Dead Space Remake: Obliteration Imminent
- Dead Space Remake: Lethal Devotion
- Dead Space Remake: Environmental Hazard
- Dead Space Remake: Into the Void
- Dead Space Remake: Search and Rescue
- Dead Space Remake: Dead on Arrival
- Dead Space Remake: End of Days
- Dead Space Remake: Alternate Solutions
- Dead Space Remake: Dead Space
- Dead Space Remake: Endings
- Dead Space Remake: Main missions
- Dead Space Remake: Walkthrough
- Dead Space Remake: Game Guide
You are not permitted to copy any image, text or info from this page. This site is not associated with and/or endorsed by the developers and the publishers. All logos and images are copyrighted by their respective owners.
Copyright © 2000 - 2025 Webedia Polska SA for gamepressure.com, unofficial game guides, walkthroughs, secrets, game tips, maps & strategies for top games.
