Dead Space Remake: Environmental Hazard
Our walkthrough for Dead Space Remake describes Chapter 6 - Environmental Hazard. From the guide you will learn how to create the Enzyme in Hydroponics, how to get to the food storage, how to inject the enzyme into 8 wheezers and how to defeat Leviathan boss.
The sixth chapter of Dead Space Remake is called Environmental Hazard. The walkthrough tells you how to get to the Hydroponics, how to produce the enzyme, where you can find 8 Wheezers to inject the enzyme, how to unlock the Food Storage and how to kill the Leviathan boss.
- Go to Tram Maintenance
- Go to Hydroponics
- Create Enzyme
- Gain access to Food Storage
- Inject Wheezer 01
- Inject Wheezer 02
- Inject Wheezer 03
- Inject Wheezer 04
- Inject Wheezer 05
- Inject Wheezer 06
- Inject Wheezer 07
- Inject Wheezer 08
- Gain access to Food Storage - continuation
- Kill the Leviathan
Go to Tram Maintenance
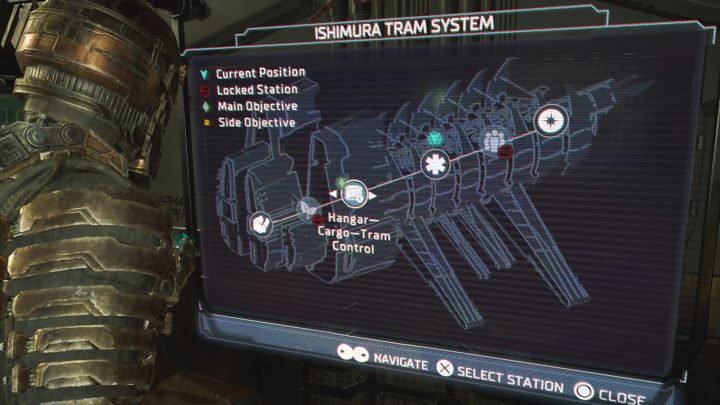
The chapter begins in the Cryogenics room where you have frozen the Hunter. Optionally, you can examine a Tissue Sample here to unlock the Premeditated Malpractice side mission - we have described it in a separate chapter of our walkthrough.
At the station, enter the tram and select Hangar - Cargo as your destination.
Go to Hydroponics
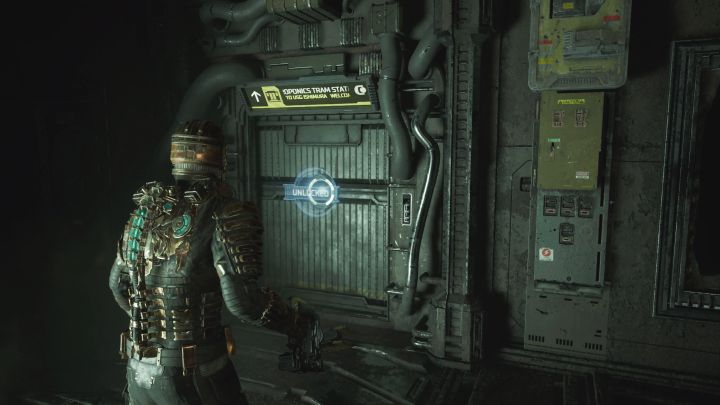
You must return to the Tram Repair Room, which you have already visited in chapter 1 (Isaac will probably encounter new Necromorphs along the way). Use the previously inaccessible eastern passage (picture).
You will reach the Hydroponics Tram Station - you can optionally remove the lockdown there. New entries will appear in Isaac's journal.
Create Enzyme
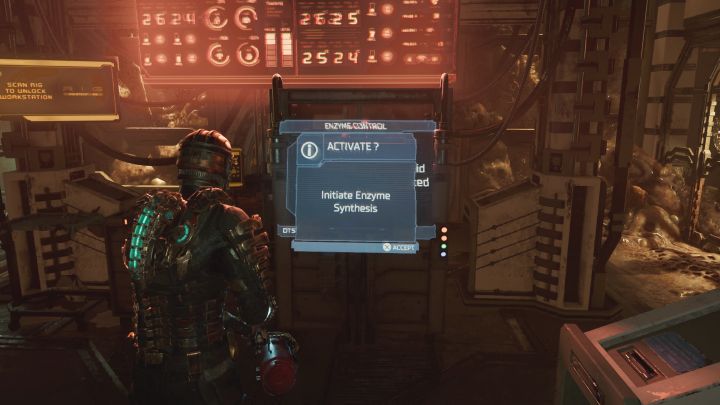
Head east. Go through the Sapling Room (you can ignore the hologram) on the way to the Hydroponics Central Hub. Interact with the enzyme synthesis terminal and do it again to take the enzyme.
Gain access to Food Storage
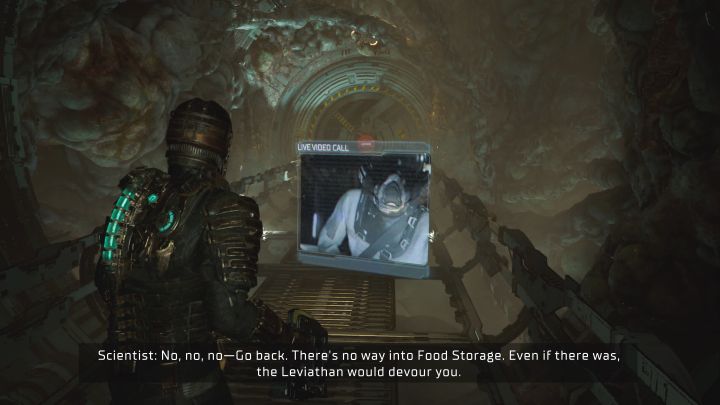
Choose the eastern airlock in the central location. The Store is closed. You will learn from the scientist about the way to weaken the Leviathan.
You will get 8 mission objectives regarding Wheezers. It's best to deal with them in order (from 1 to 8) to reduce backtracking.
Inject Wheezer 01
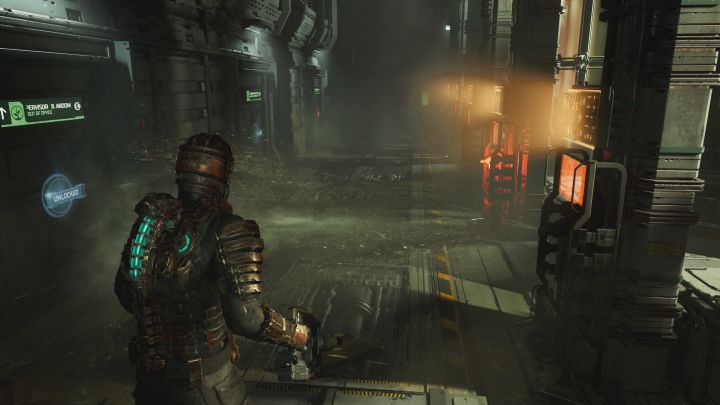
Return to the central location and take the northern passage. Watch out for spray machines that turn on at regular intervals. Always wait until they turn off and then move on. You can also hide in the side rooms you pass by.
After avoiding the "traps", you will reach the elevator. Follow the corridor to the West Grow Chamber. You have to defeat a larger group of Necromorphs in it, but you have a lot of room so it is easier to attack monsters from a distance.
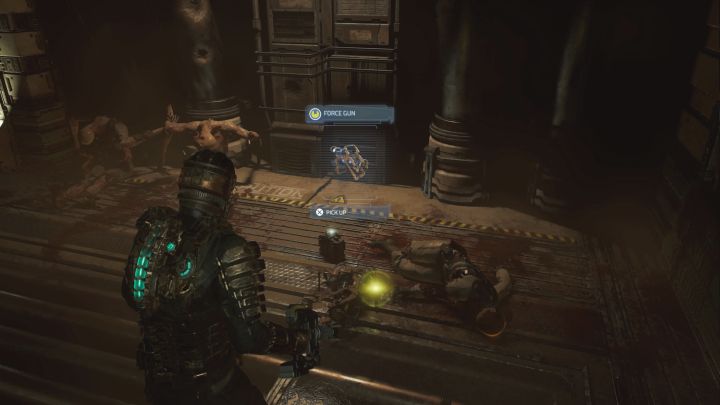
After winning the battle (or during the battle), it's a good idea to collect the loot from the chests.
Start by exploring the West Seedling Room A, which contains the last new weapon - Force Gun. It uses kinesis to attack enemies, and its alternate attack mode allows you to damage several nearby monsters at the same time.
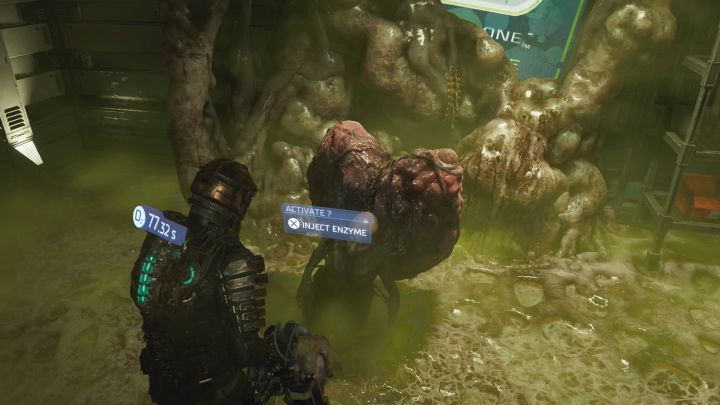
Go to the adjacent West Seedling Room B. In this and the next location with Wheezer, the air is poisonous. You have to reach the monster in time and inject the enzyme (interaction button - you don't fight the Wheezer).
Inject Wheezer 02
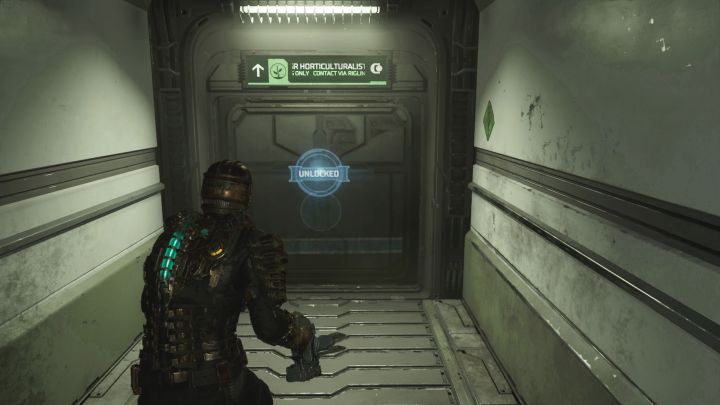
Return to the previous room where you need to use the elevator - reach Floor 3.
The eastern balcony leads to the office of Dr E. Cross - Sr Horticulturalist. There you will find the second Wheezer.
Inject Wheezer 03
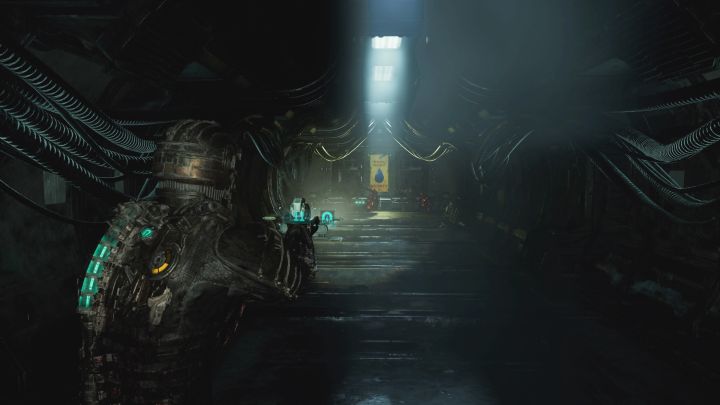
Return to the elevator and travel to Floor 2. Take the northern door, next to which there is a switch (no need to examine it now).
In the new corridor, you will encounter monsters with large glands for the first time. They are explosive and can explode upon approaching Isaac, dealing serious damage. Aim at the glands to detonate them from a long distance. Also remember to turn around a lot so you won't be surprised by anyone from behind.
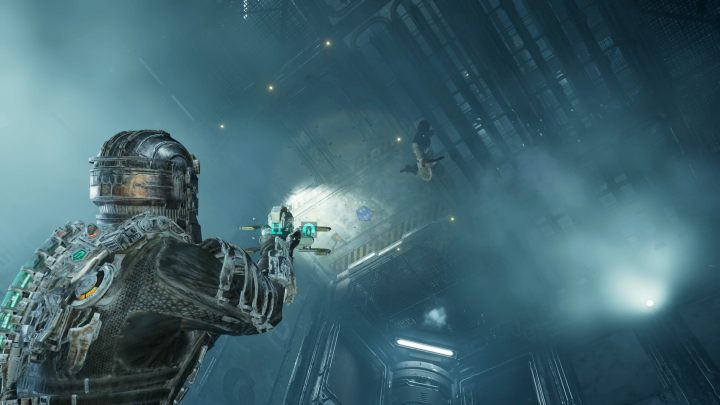
Reach the Refrigeration Tower - there is zero gravity in it.
You have to fly towards higher levels and use kinesis to open passages. Also, watch out for the Necromorphs, which are harder to eliminate in zero gravity.
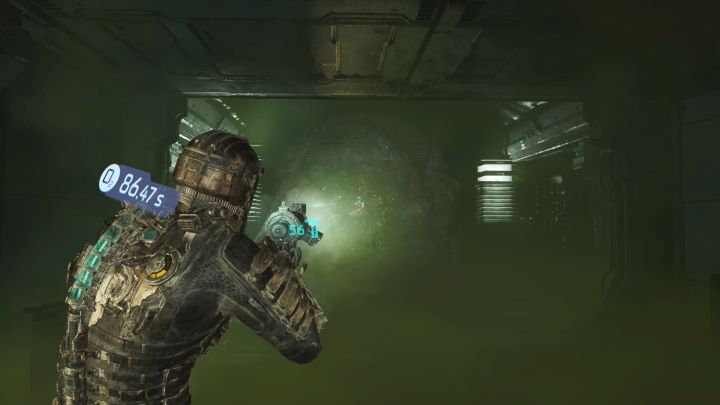
After you fly up, land on the stable ledge. You have to quickly defeat the monster with tentacles attached to the wall. After dealing with it, explore this place to find the third Wheezer.
Inject Wheezer 04
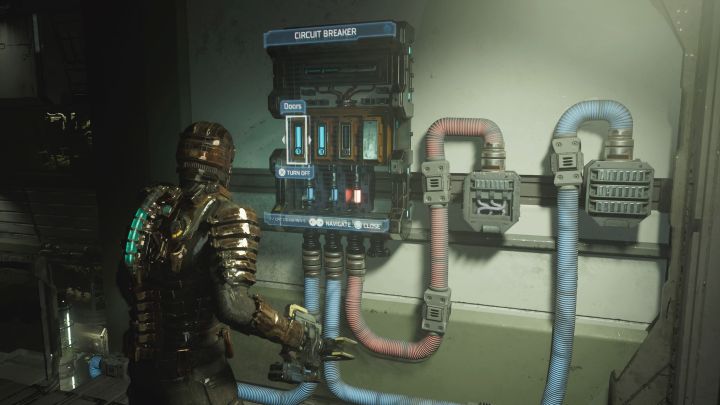
Follow the same path back to the place where you passed the switch earlier. Examine it this time. You need to:
- turn off the fuse for Jungle Ambiance - it has no practical use;
- turn on the fuse for the first door.
The south door to the Hydroponics Control will unlock and you'll find Wheezer number 4 there. Be careful, because after injecting the enzyme, monsters will attack you.
Inject Wheezer 05
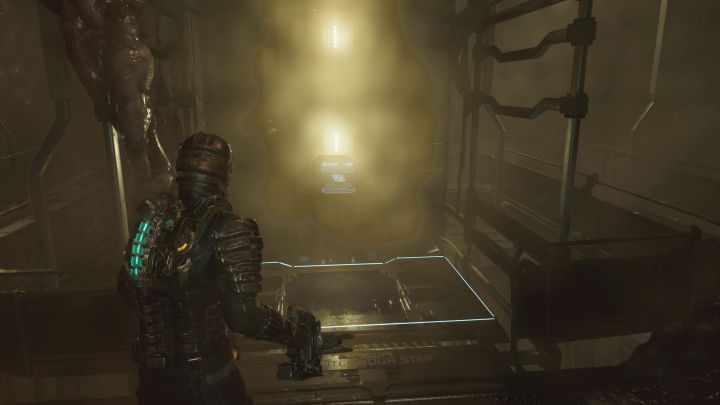
Take the southern passage to the East Grow Chamber.
Destroy the growths in this area - you will unlock more parts of the balconies. You need to reach the elevator (picture above) and take it down to floor 2.
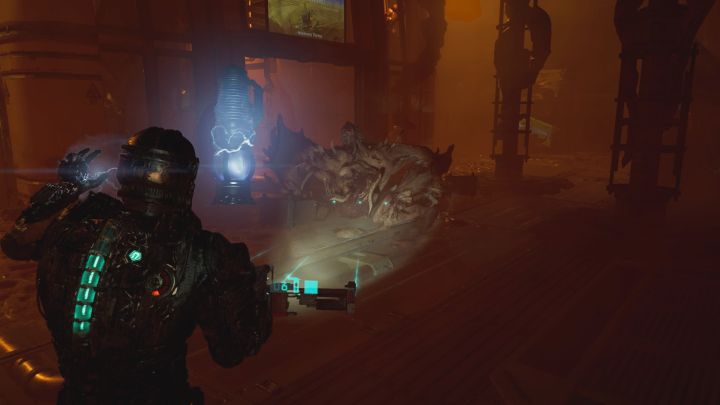
Be careful, because the Brute will attack again - remember to slow down the mini-boss with stasis so that you can easily attack the weak points on his back. There are also stasis containers in the area that you can throw with kinesis.
Reach the door to the East Seedling Room A. Inside, you'll find Wheezer 05.
Inject Wheezer 06
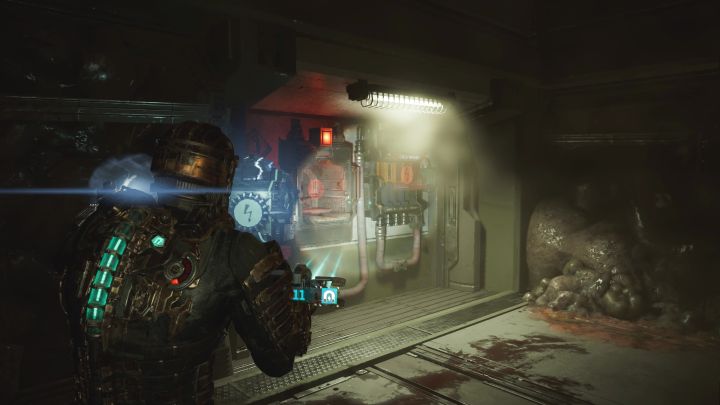
Return to the West Grow Chamber where you fought the Brute.
Find the power cell in this room - you need to deliver it to the red slot in the upper left corner.
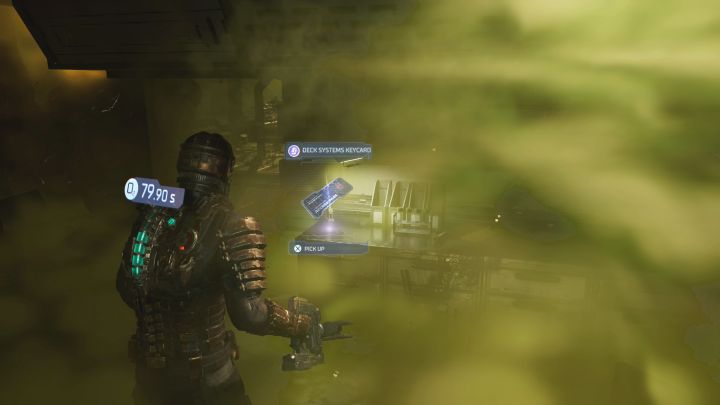
Now head east to the East Seedling Room B. On the right, you will find a Deck Systems Keycard.
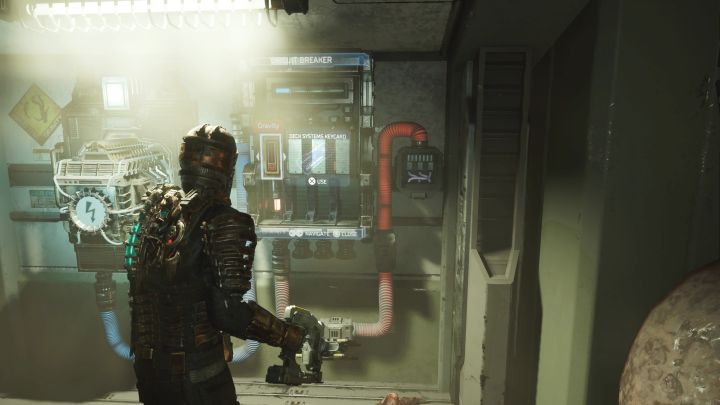
With the access card, return to the circuit breaker next to the cell. Interact with it to enable Gravity.
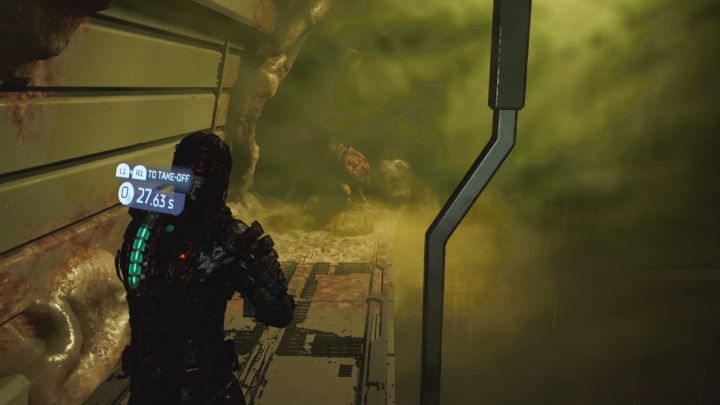
You can bounce off the ground and start flying, but watch out for the new Necromorphs that have appeared in the area. The Wheezer 06 can be found on the highest balcony - it is shown in the picture and you will recognize this area by poisonous gas.
Inject Wheezer 07
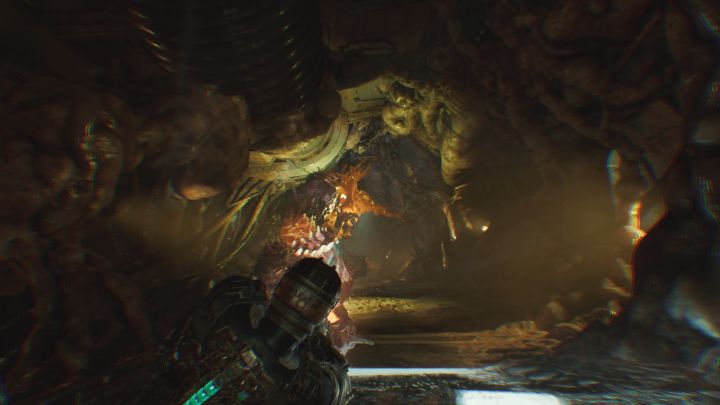
Reach the main balconies and head towards the southern door that leads to the Air Filtration Hall.
Be sure to save your game, because a giant tentacle will attack you in the long corridor. As you've already learned, you have to quickly attack its orange growths before Isaac dies.
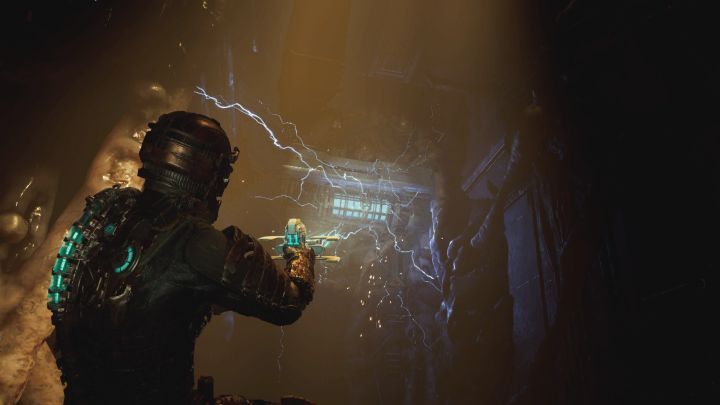
You will reach the Air Filtration Tower. Charge your stasis at the station and start flying. Use stasis in places with discharges (example in the picture) - this way you will be able to safely fly further. Watch out for the small tentacles that shoot projectiles.
You have to fly to the new hole on floor 6. Use the console to turn off the turbine.
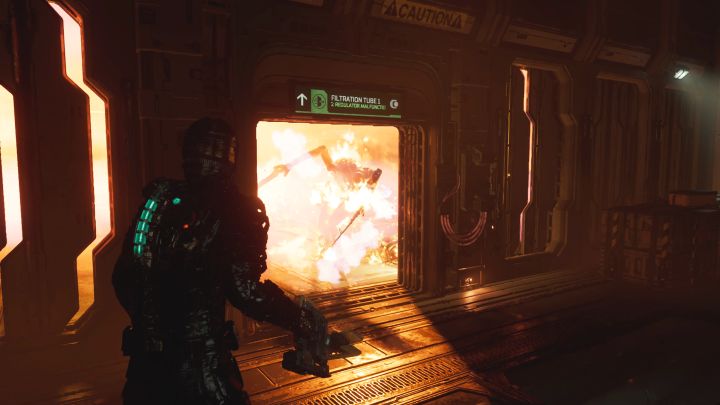
The linear path will lead you to the Filtration Tubes. You have to be very careful here, because fire bursts out of the pipes and it can quickly kill Isaac.
The plan is to destroy consoles at the subsequent passages. Then retreat to a safe place and resume after the fire is gone. In the pipes you will encounter Necromorphs - do not fight them, but quickly return to the starting point. They will die in flames.
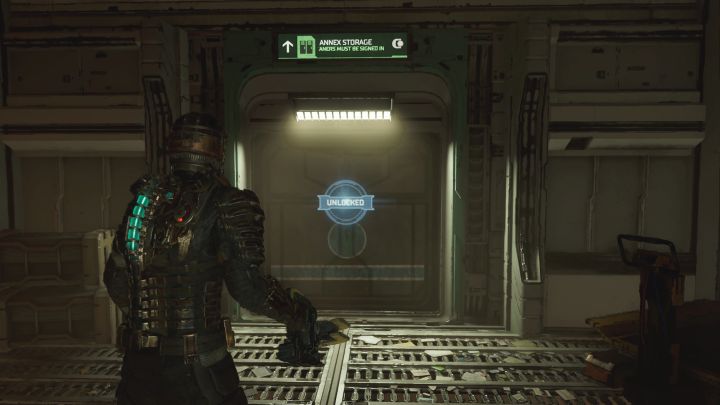
Reach the Filtration Tube Annex - here you don't have to worry about dying suddenly in flames.
Select the passage to the Annex Storage. Inside, you'll find Wheezer number 7.
Inject Wheezer 08
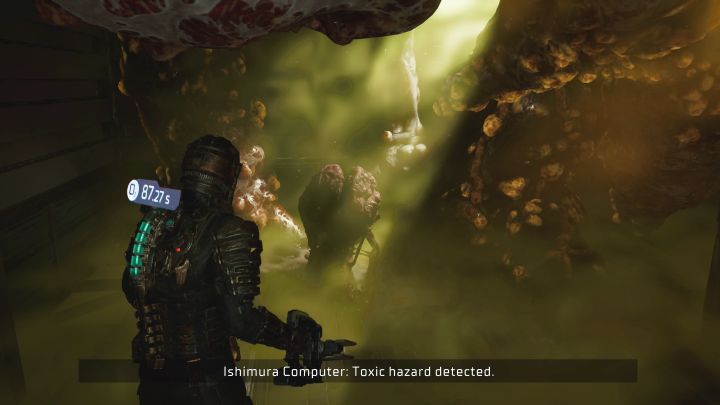
Head east from the place where you found Wheezer 07. There you will find an elevator that travels to a previously inaccessible part of the East Seedling Room B. There you will find the last Wheezer.
Gain access to Food Storage - continuation
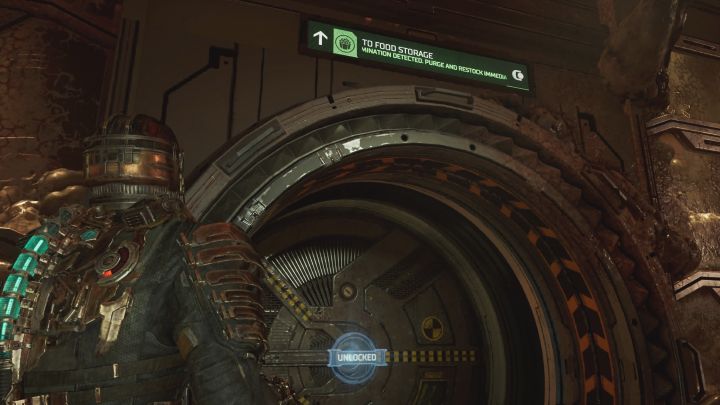
You can also destroy the growth in the room where you found Wheezer 08 and unlock a new exit.
You now need to return all the way to the Hydroponics Central Hub - it's best to use the locator. Take the eastern airlocks to the Food Storage again.
Kill the Leviathan
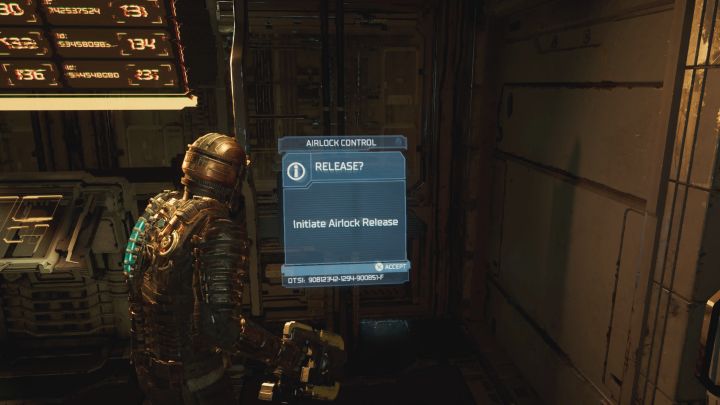
Save the game before continuing. It's also worth getting a lot of ammunition, e.g. for the Plasma Cutter, Pulse Rifle or Contact Beam.
Interact with the lockdown release terminal and enter the Food Storage. You're about to face the Leviathan boss. There is zero gravity in the storage. You must fly during the boss fight and can't attack the Leviathan by standing on the stable shelf.
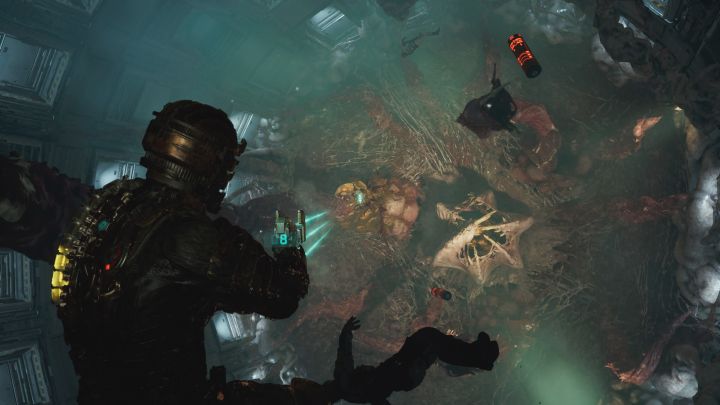
The boss fight consists of 3 phases. In the first phase, the Leviathan will attack with its legs. These attacks are telegraphed. Use boost and fly to the side.
After successfully dodging the attack, quickly turn towards the boss and attack the orange leg growth. You can use firearms (e.g. Plasma Cutter or Pulse Rifle) or quickly grab an explosive red container with kinesis and throw it at the boss.
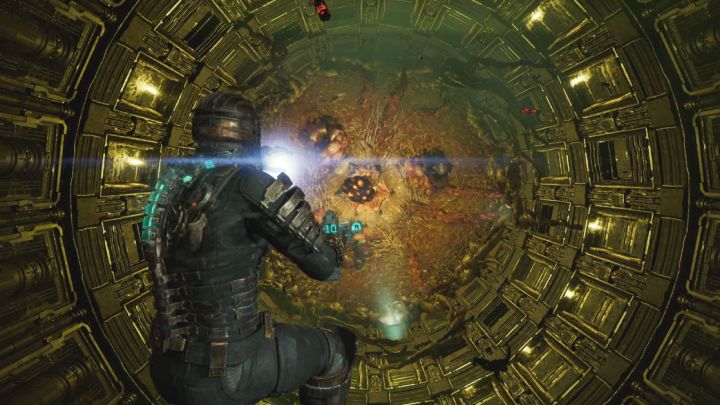
In the second phase of the fight, the Leviathan will reveal its mouth and start spitting out projectiles. The best tactic is to grab the projectiles with kinesis and quickly throw them at the mouth.
You can also attack the mouth in the conventional way - using firearms or red containers.
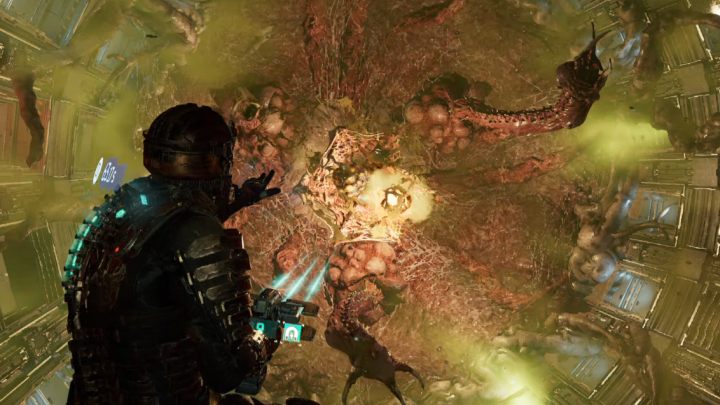
The third phase of the fight is a combination of both of the above. You have to expect leg attacks and spitting out projectiles. An additional problem are the toxic fumes. They will start to deplete Isaac's oxygen supplies, which forces him to be more aggressive.
Focus on attacking the mouth, as this is Leviathan's main weakness. Avoid the telegraphed leg attacks and fly to the side.
Return to the airlock and listen to the conversation with Cross. Chapter 7 will begin.
- Dead Space Remake Guide
- Dead Space Remake: Game Guide
- Dead Space Remake: Walkthrough
- Dead Space Remake: Main missions
- Dead Space Remake: New Arrivals
- Dead Space Remake: Intensive Care
- Dead Space Remake: Course Correction
- Dead Space Remake: Obliteration Imminent
- Dead Space Remake: Lethal Devotion
- Dead Space Remake: Environmental Hazard
- Dead Space Remake: Into the Void
- Dead Space Remake: Search and Rescue
- Dead Space Remake: Dead on Arrival
- Dead Space Remake: End of Days
- Dead Space Remake: Alternate Solutions
- Dead Space Remake: Dead Space
- Dead Space Remake: Endings
- Dead Space Remake: Main missions
- Dead Space Remake: Walkthrough
- Dead Space Remake: Game Guide
You are not permitted to copy any image, text or info from this page. This site is not associated with and/or endorsed by the developers and the publishers. All logos and images are copyrighted by their respective owners.
Copyright © 2000 - 2026 Webedia Polska SA for gamepressure.com, unofficial game guides, walkthroughs, secrets, game tips, maps & strategies for top games.
