Dead Space Remake: Intensive Care
Our walkthrough for Dead Space Remake discusses Chapter 2 - Intensive Care. The guide explains where to find the hydrazine tank and shock pad, how to reach the captain's body in the morgue and how to get the captain's RIG.
Intensive Care is the name of the second chapter of Dead Space Remake. Our guide shows, among others, where to find the Hydrazine Tank, where to find the Shock Pad, how to destroy the barricade, what steps to take in order to reach the Captain's Body and retrieve his RIG, and finally how to leave the Medical Deck.
- Retrieve the Captain's RIG
- Find the Hydrazine Tank
- Find a Shock Pad
- Plant the Explosive Charge
- Find the Captain's Body
- Kill the Captain
- Go to Security Station
- Go to Hangar Bay
Retrieve the Captain's RIG
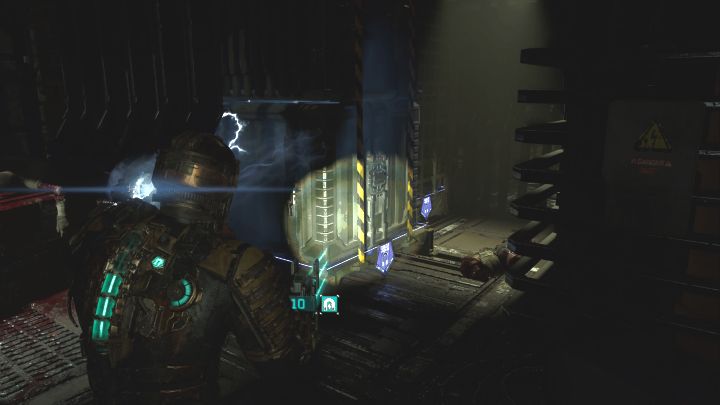
As you begin the chapter, look around the first room for a Kinesis Module and install it.
You'll make use of Kinesis immediately to move containers. To perform this action, aim at the object and press the Kinesis button (Circle/B on consoles). The range of motion is marked by the rails on which the containers are.
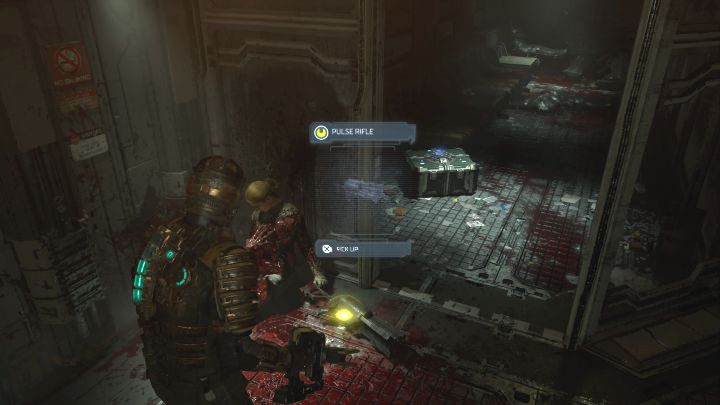
You'll reach the tram station where you'll encounter a dying security officer - collect the Pulse Rifle from her. We are going to equip it right away - to do so, select it in your inventory and place it in one of the 4 active weapon slots.
While you're at it, you can optionally use the terminal and unlock the Medical Deck tram station. This will allow you to easily return to this place later in the game.
Proceed through the southern corridor and once again use Kinesis to move containers. You will reach the Security Station. Listen to the conversation with your companions. You've received 2 new mission objectives and you can approach them in any order.
Find the Hydrazine Tank
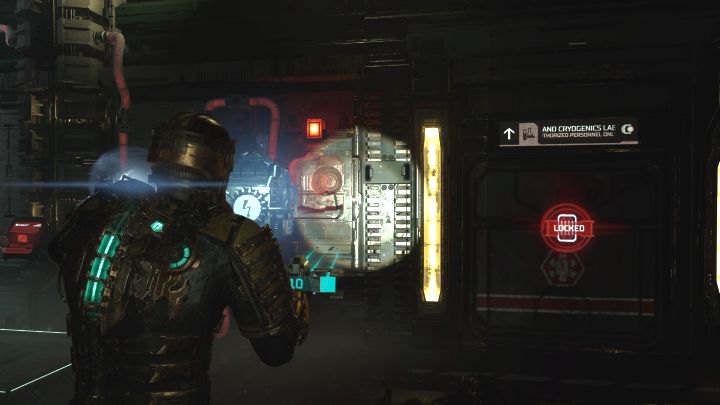
To get the Hydrazine Tank, you're going to need to proceed through the western door and enter Image Diagnostics.
Once you reach a large object blocking the way forward, use Kinesis. We will start with restoring the power supply - find the Power Cell, grab it with Kinesis and place it into the red slot.
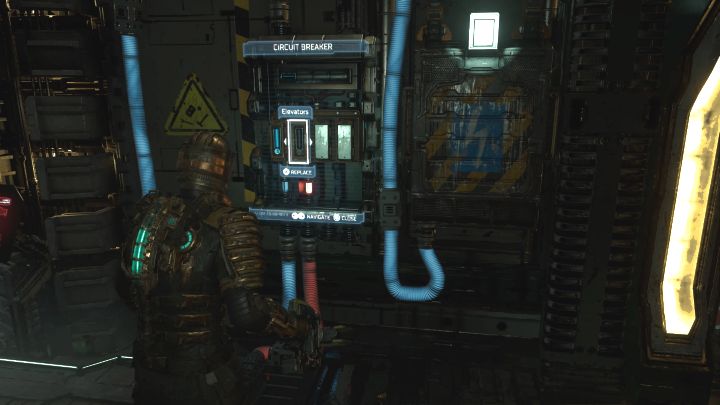
Time to interact with the Circuit Breaker - activate the elevator fuse. This will allow you to use a small elevator and reach the upper balconies.
You can also choose to activate the door fuse and explore the previously closed locked room.
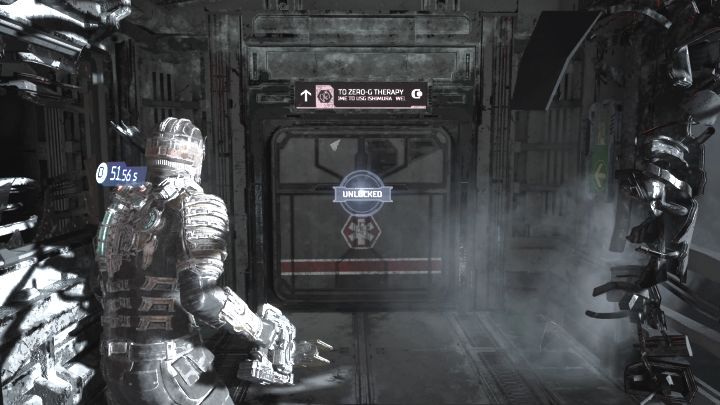
Once on the upper balconies, use Kinesis to move the object, use it to cross over and reach a long corridor.
You'll enter the first open space location. During your crossing, you can optionally pick up levitating objects using Kinesis. Make sure to reach the next door without running out of oxygen.
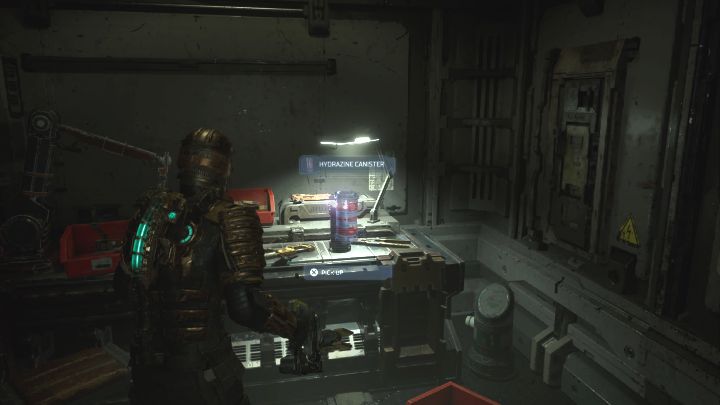
Follow the path until you reach the first zero gravity location - here you can bounce off surfaces (L1 R1/LB RB), levitate (use the left analog stick to move faster) and land on ledges. Once you're done goofing around, travel to the exit on the opposite end of the room.
The Hydrazine Canister you are looking for is in the Zero-G Therapy Maintenance room.
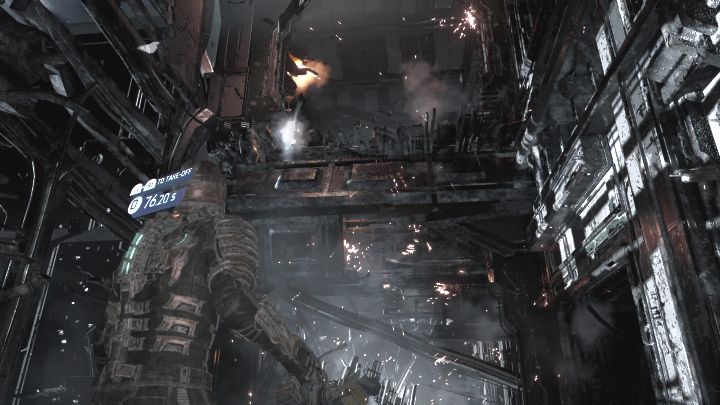
Once you got the item, head back. There will be some necromorphs in the Zero Gravity room - attack them as they fly toward you or only when they land on some surface.
In the room with vacuum, you need to ascend through the corridor - bounce off a stable surface and fly up. There is a oxygen replenishment station along the way - use it if you want. Next flight sequence will take you down - you'll reach Coolant Pipelines. At the end of the corridor, destroy the console by the door with a melee attack.
Find a Shock Pad
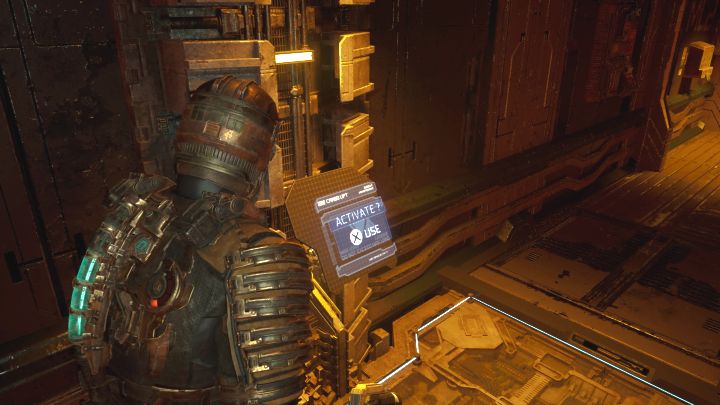
The first step towards finding the Shock Pad will be to take the southern passage from Security Station. You'll reach Main Lab - once you're there, use the small elevator to travel to the lower floor. Defeat all encountered necromorphs for the Quarantine to be lifted. Remember to engage only up to 2 monsters at a time.
You can visit Nicole Brennan's office on level 1 of the lab - there is an audio log there - collecting it will unlock the Scientific Methods side mission. To view the walkthrough for it, visit a dedicated page of the guide.
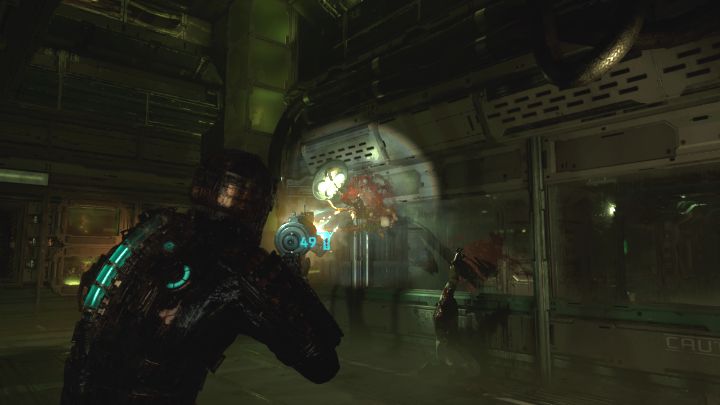
To continue, proceed through the door in the northeast to reach Main Lab Changing Room.
As you enter the Biological Prosthetics Center, you'll have to fight a new type of enemy. These opponents can attach to walls and ceilings and attack from a distance. To neutralize them fast, cut off their limbs (once they are revealed - there will be 3 of them).
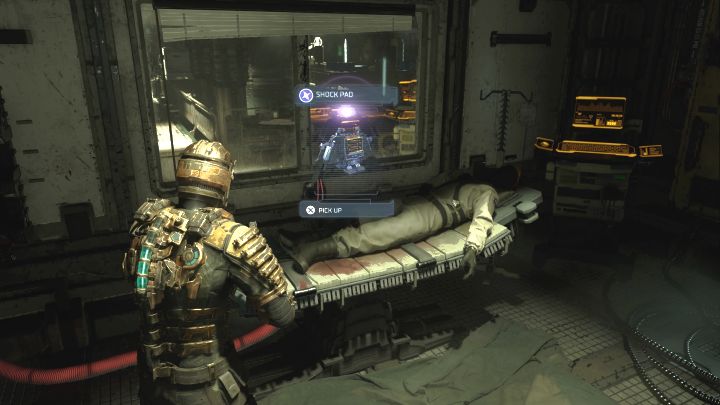
Use the small elevator and after defeating more small monsters, reach the Limb Stimulation Therapy room.
Interact with the Breaker and turn off the fuse, thanks to which the electrical discharges will disappear. Activate the door fuse and take the Shock Pad. Follow the newly unlocked pathway and return to Security Station.
Plant the Explosive Charge
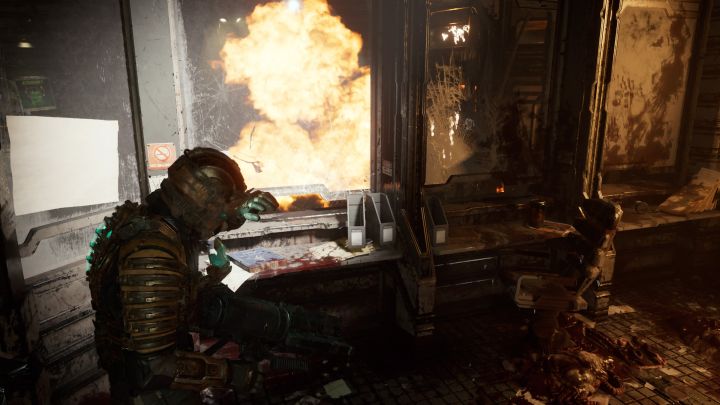
This objective becomes active once:
- the Hydrazine Tank is obtained;
- the Shock Pad is obtained.
In the Security Station, approach and interact with the barricade to place the bomb. Hide in the side room (screenshot above) and wait for the explosion. The path forward now lies open.
Find the Captain's Body
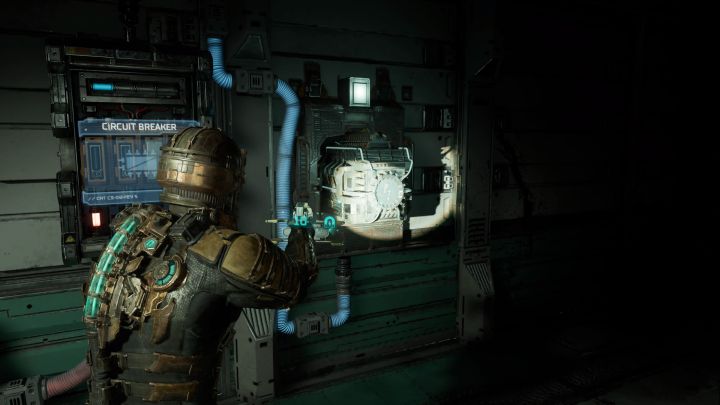
The new path will lead you to a large Emergency Room. Find the circuit breaker in the room and turn off all the fuses.
Use Kinesis to carry the Power Cell. Bring it to the red slot on the opposite side of the room. This action unlocks a door leading to ER Hallway A. Go west and then south through Corridor B.
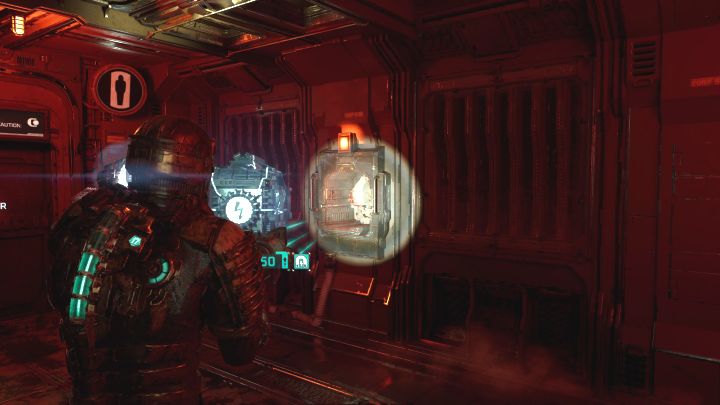
Ultimately, you will reach the Intensive Care Unit room. Watch the cutscene with the doctor and choose the western corridor.
After the explosion, grab the power cell with Kinesis and take it to the red slot. This way you'll bring power back to the elevator leading to the morgue. Head to the Autopsy Room.
Kill the Captain
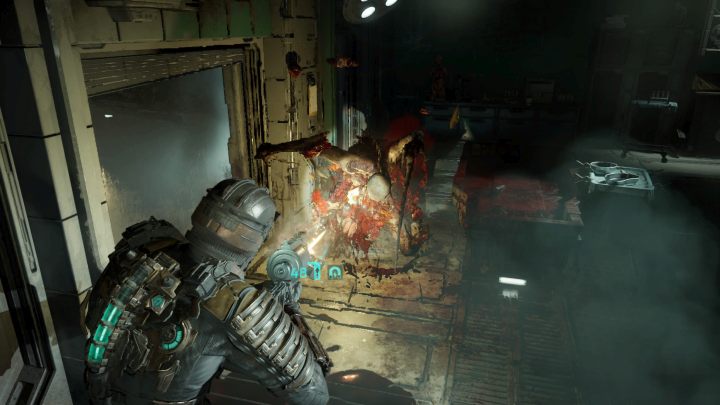
There are some monsters here waiting for you. Focus your attacks on the new type of monster that appeared in the cut-scene - it can reanimate corpses meaning more Necromorphs can join the battle. It is important to eliminate him quickly - use stasis to slow him down.
As for the captain himself, just chop off his limbs one by one. Once the battle is concluded, pick up the Captain's RIG from the table. You now have a level 1 Security Clearance.
Go to Security Station
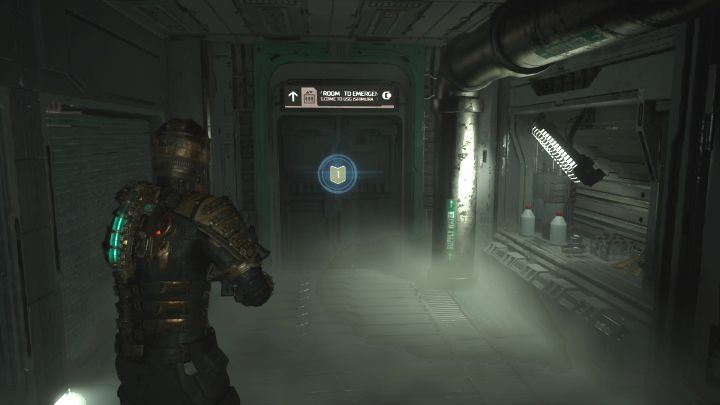
The new clearance allows opening level 1 locks on doors and containers. We'll make use of it immediately to unlock the elevator in the Autopsy Room. After riding the elevator, use Kinesis to move the containers blocking the path forward.
Go to Hangar Bay
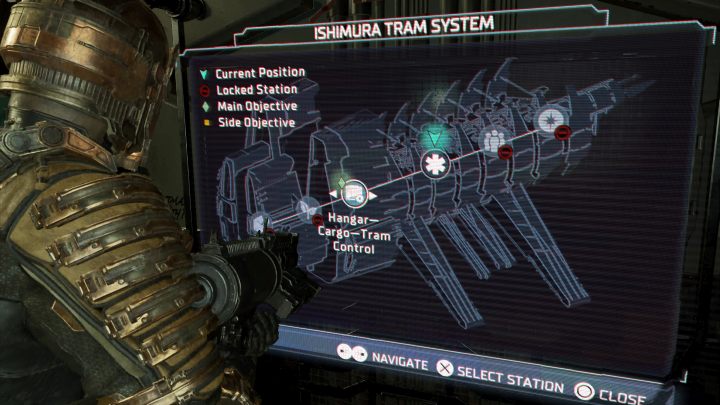
Travel to Medical Tram Station. If you haven't already, unlock the station. Enter the car and choose Hangar - Cargo as your destination .
Use the Locator to return to Flight Lounge and travel to Flight Deck from there. Chapter 3 will begin automatically.
- Dead Space Remake Guide
- Dead Space Remake: Game Guide
- Dead Space Remake: Walkthrough
- Dead Space Remake: Main missions
- Dead Space Remake: New Arrivals
- Dead Space Remake: Intensive Care
- Dead Space Remake: Course Correction
- Dead Space Remake: Obliteration Imminent
- Dead Space Remake: Lethal Devotion
- Dead Space Remake: Environmental Hazard
- Dead Space Remake: Into the Void
- Dead Space Remake: Search and Rescue
- Dead Space Remake: Dead on Arrival
- Dead Space Remake: End of Days
- Dead Space Remake: Alternate Solutions
- Dead Space Remake: Dead Space
- Dead Space Remake: Endings
- Dead Space Remake: Main missions
- Dead Space Remake: Walkthrough
- Dead Space Remake: Game Guide
You are not permitted to copy any image, text or info from this page. This site is not associated with and/or endorsed by the developers and the publishers. All logos and images are copyrighted by their respective owners.
Copyright © 2000 - 2025 Webedia Polska SA for gamepressure.com, unofficial game guides, walkthroughs, secrets, game tips, maps & strategies for top games.
