Dead Space Remake: Into the Void
This Dead Space Remake walkthrough page describes Chapter 7 - Into the Void. The guide explains how to activate the launch tube, where to find the admin's RIG, how to find and install the SOS beacon, and how to destroy the gravity tethers on the asteroid.
Into the Void is the title of the seventh chapter of Dead Space Remake. The walkthrough in our guide shows how to reach the Mining Deck, how to activate the launch tubes, where is the admin RIG, how find and launch the SOS beacon, how to sabotage gravity tethers on the asteroid, and finally how to launch the asteroid.
- Go to the Mining Deck
- Activate the Launch Tubes
- Find Admin RIG
- Find the SOS Beacon
- Launch the SOS Beacon
- Plant the SOS Beach
- Destroy the Gravity Tethers
- Launch the Asteroid
- Return to the Tram Station
Go to the Mining Deck
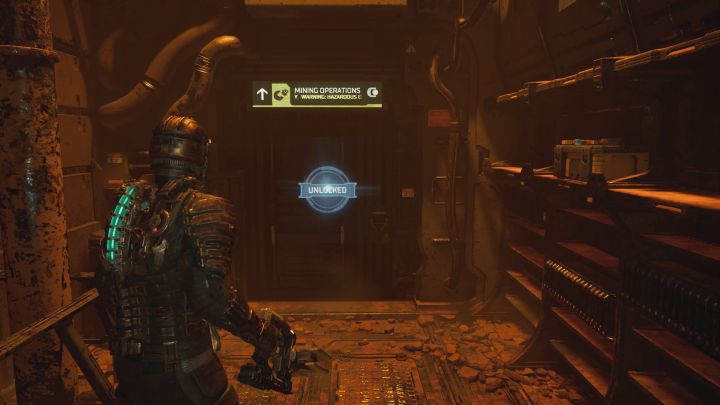
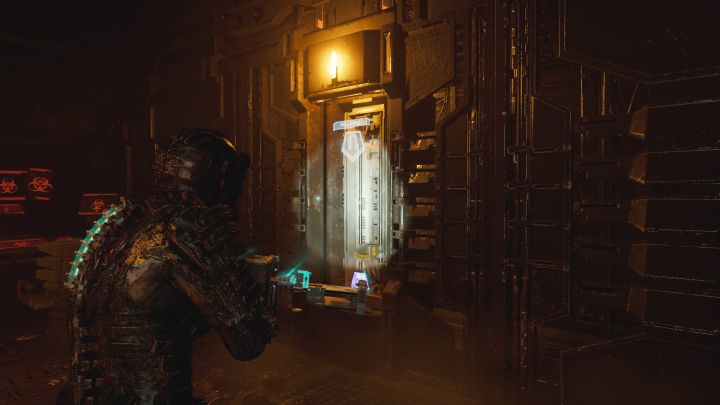
The chapter begins immediately after the conclusion of the previous one (defeating Leviathan). From the central room, proceed towards the northern passage and use the Locator to display the location of the Mining Tram Station. While you're at the station, you can lift the Lockdown on it. Proceed towards the western door (screenshot).
From the Mining Deck, you can also continue some of the side missions. Make sure to check your journal and view the available objectives.
Activate the Launch Tubes
There are railed boxes in the next room - move them with Kinesis to unlock the way west to RIG Room.
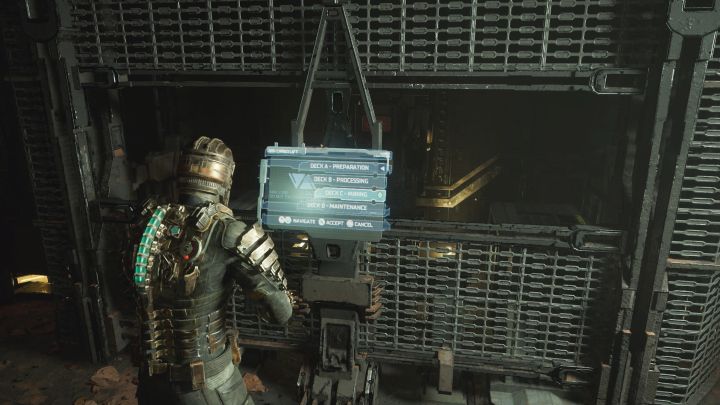
Aside from workstations, there is a large cargo lift here that can take you to different levels of the Mining Deck. Travel to Deck C - Mining. During the ride, some Necromorphs will appear - as the size of the arena is very small, make use of short-range weapons (e.g. Ripper).
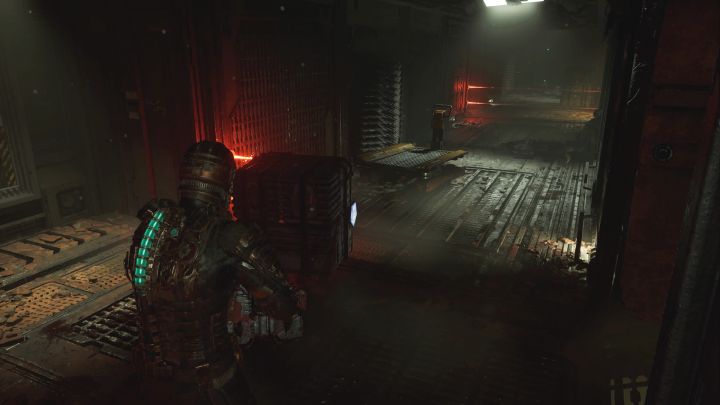
Along the way forward, you'll encounter some laser traps - beware, as contact with the lasers ends in instant death. To overcome this obstacle, you're going to need to use Kinesis to move crates so they block the lasers (example in the screenshot). You can use the same crate at each instance.
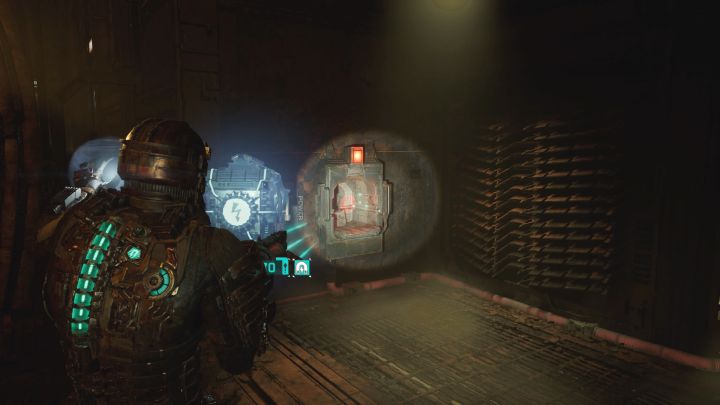
As you arrive in the Extraction Area, a group of necromorphs will appear - defeat them all. There is a fuse here - get it and place it in the red slot to unlock a small elevator .
On the next floor, watch out for small monsters - use either the flamethrower or Pulse Rifle. Reach the Mining Control room and investigate the interactive terminal. This action will unlock new mission objectives.
Find Admin RIG
Start by returning to the cargo lift that you've used to reach this floor earlier. Get through the laser traps using the same method as before - blocking them with crates.
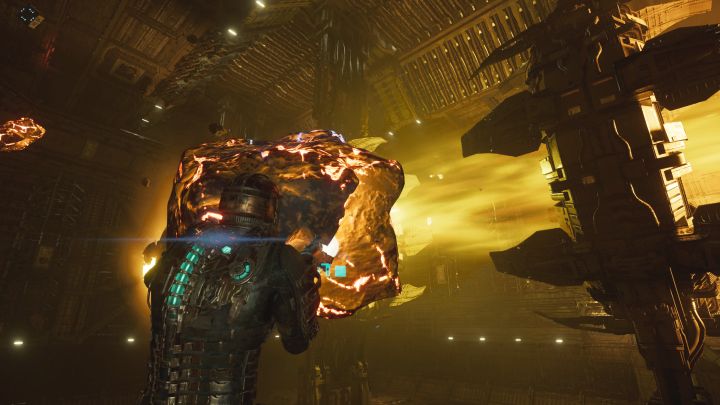
Ride to Deck B - Processing. There is an optional hologram to activate - once that is out of the way, travel to Processing Chamber, which is a zero gravity area. Here you have to grab large boulders with Kinesis and throw them at the yellow energy beam to destroy them. There are 4 of these anomalies to destroy here.
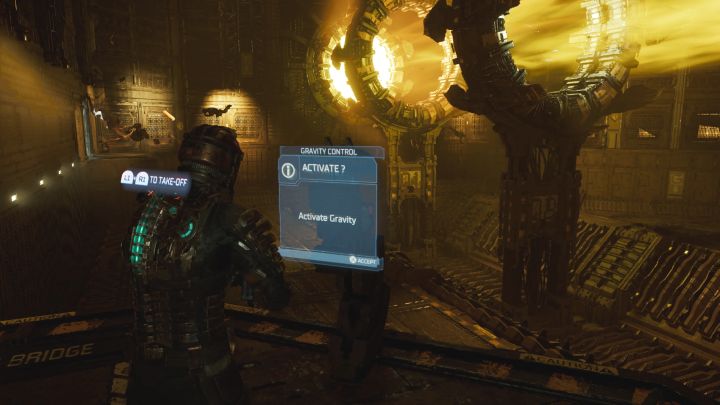
Once the area is clear, find a balcony with a gravity restoration terminal. The action will initiate a necromorph attack. Beware of the monsters with large glands - detonate them with long-range shots. Have eyes at the back of your head, as the monsters appear from two different sides.
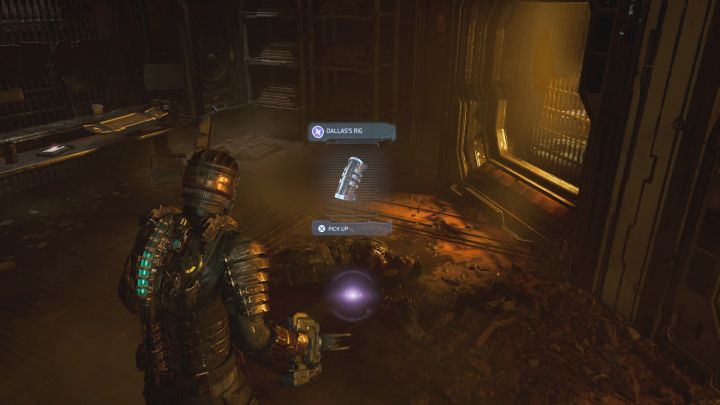
Once the area is clear, continue to Mineral Processing Control. Dallas's RIG is on the ground next to the manager's corpse.
You now have Security Clearance Level 3 - level 3 locks on doors and chests can now be opened.
Obtaining this RIG is also a part of the You Are Not Authorized side mission - the locations of all other RIGs are described on a separate page of our walkthrough.
Find the SOS Beacon
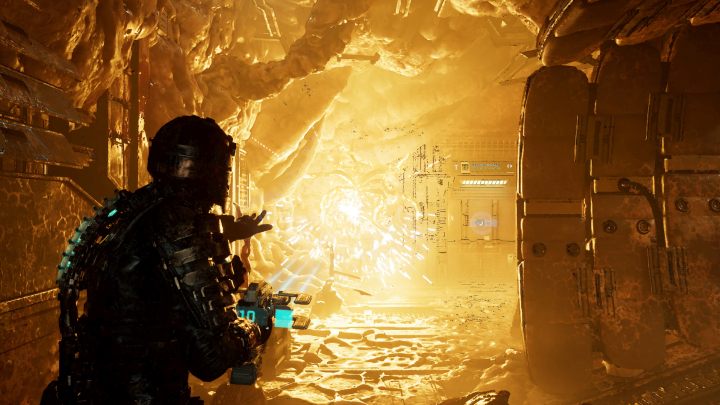
Travel back to the cargo lift. A short blackout will take place - wait until the electricity is restored.
Choose Deck D - Maintenance on the elevator. You'll encounter some tentacled necromorphs and you can easily get rid of them by throwing explosive canisters (Kinesis). Remember to not get close to them and avoid trying to run past them if they are still alive.
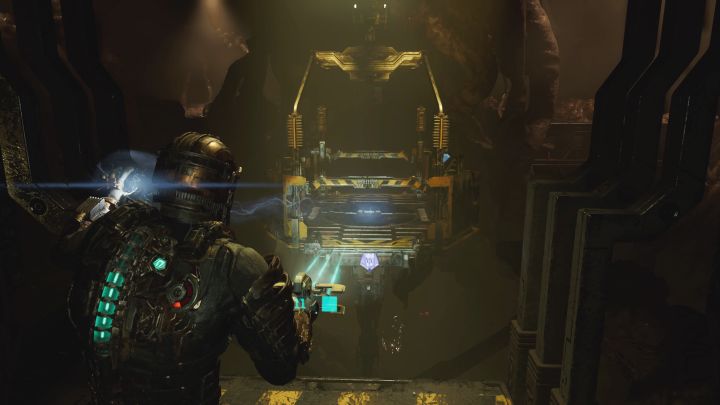
Once the area is clear, travel south towards Equipment Maintenance Bay.
Use Kinesis to pull the gondola towards you and proceed south. Necromorphs will appear from both sides, among them spitting monsters and single tentacles. Either fire away with weapons or use Kinesis to grab explosive containers and hurl them at the enemy.
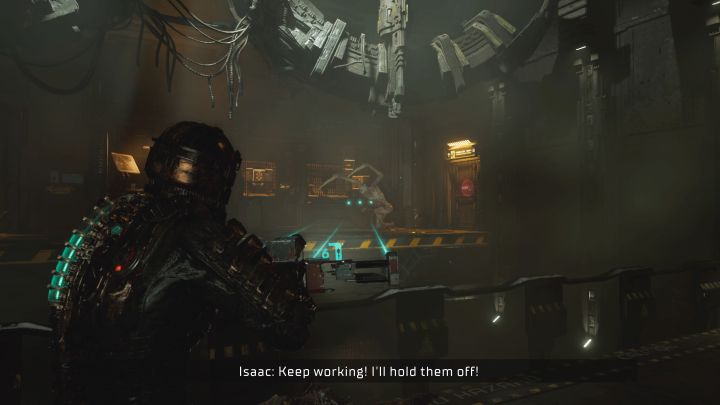
Once the ride concludes, you'll meet Nicole, who is following the path laid by the western balconies (unfortunately, you cannot access them).
Proceed to the Repair Room and be ready for necromorph attack. Try to get rid of them as fast as possible. Moreover, kill a lone necromorph that will appear on the shelf next to Nicole. Continue the conversation.
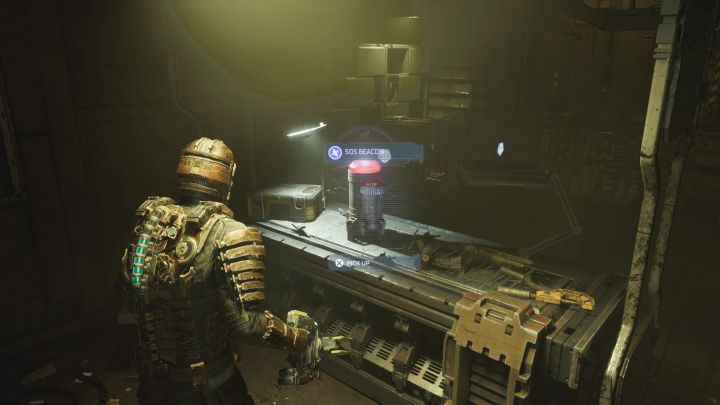
You'll reach Equipment Workshop. Look around the room to find Intermediate Miner Rig Schematic that unlock Suit Level 4. You can now improve your armor to 15% and increase inventory size to 26 slots.
Your objective is to pick up the SOS Beacon.
Launch the SOS Beacon
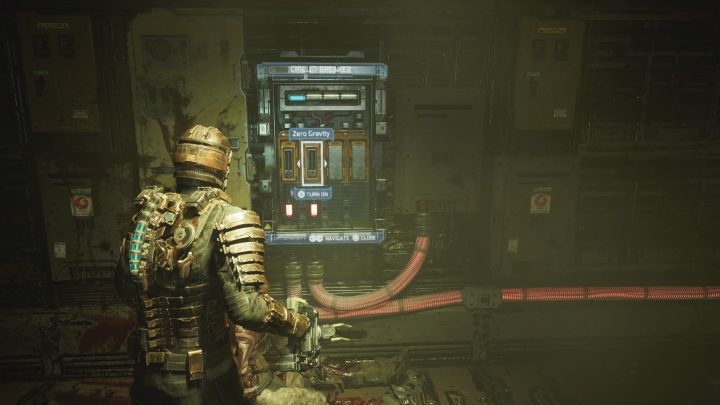
Approach the small elevator. The gondola is no longer usable - instead, look for a Circuit Breaker. Disable the gondola fuse and activate the Zero Gravity one.
Bounce of a surface and fly north. New necromorphs will begin to appear - either kill or skip them (accelerate flight).
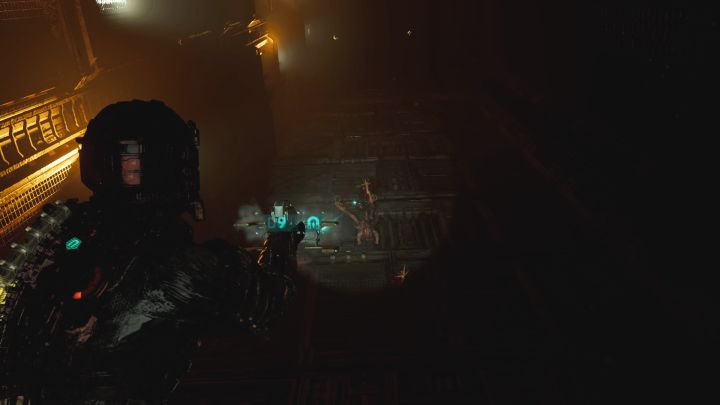
Once you're back at the cargo lift, choose Deck C - Mining as your destination. Watch out - the lift will stop halfway, while Isaac is attacked by monsters. During this encounter, the necromorphs attach to the walls of the lift and you must eliminate them with well-aimed ranged attacks.
After the elevator arrives at its destination, once again travel to Mining Control. Interact with the terminal again.
Plant the SOS Beach
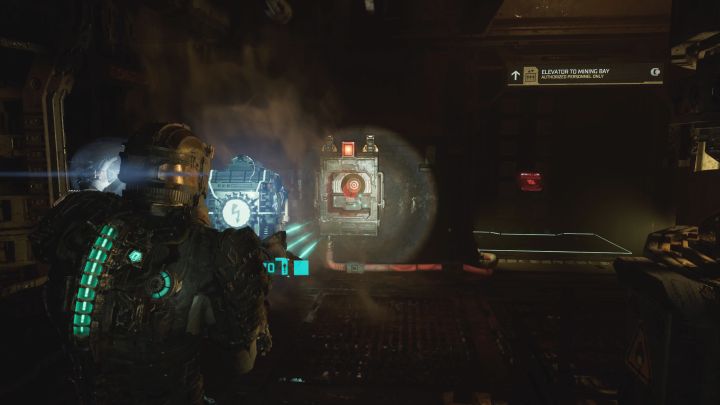
Leave the room and return to the Extraction Area . You can now go through the previously unavailable eastern passage leading to Mining Bay - watch out for new exploding necromorphs along the way.
You'll reach an out of service elevator. Return to the previous room, remove the power cell from the slot and deliver it to a new one. This will restart the elevator.
Destroy the Gravity Tethers

Replenish your Stasis charges and enter the hall with the asteroid. Your task is to destroy tethers on the asteroid and place the beacon.
There are a total of 4 tethers to destroy - start with Interior Tethers. Each tether involves a procedure:
- use kinesis on the tether to slow it down;
- shoot at any weak spot (example in the picture) - the object will explode.
Necromorphs will interfere with your task and it is recommended to eliminate them first.
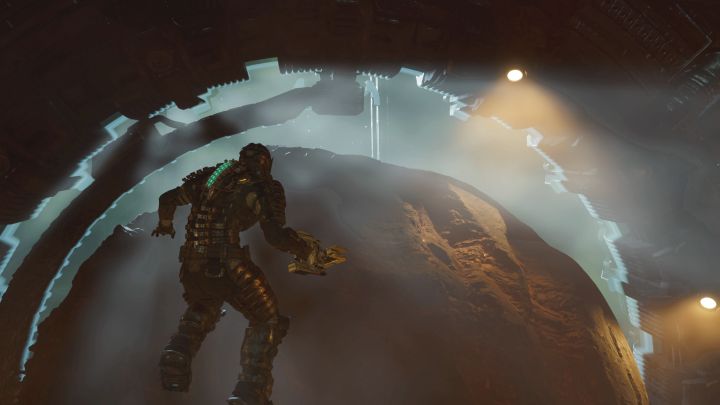
The next in line are Exterior Tethers and to reach them you need to avoid the asteroid. Beware of the 2 working rings around the asteroid, as colliding with them is instant death. Wait for a right moment to fly out (full acceleration) to open space.
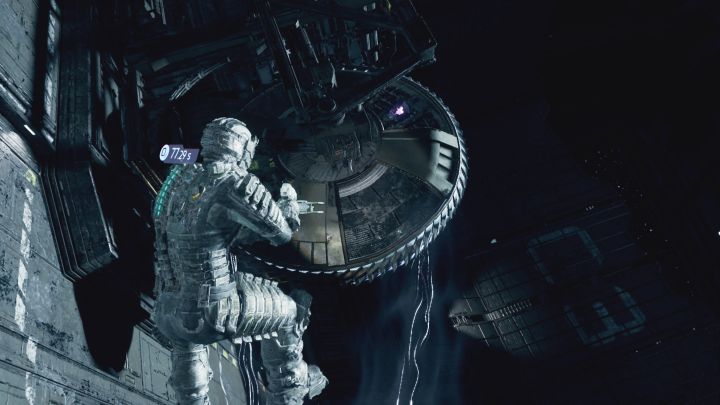
Eliminate incoming necromorphs and locate the oxygen replenishment station. You can locate the tethers by following the visible energy connections. Destroy the external tethers the same as the interior ones - using kinesis and hitting a weak spot.
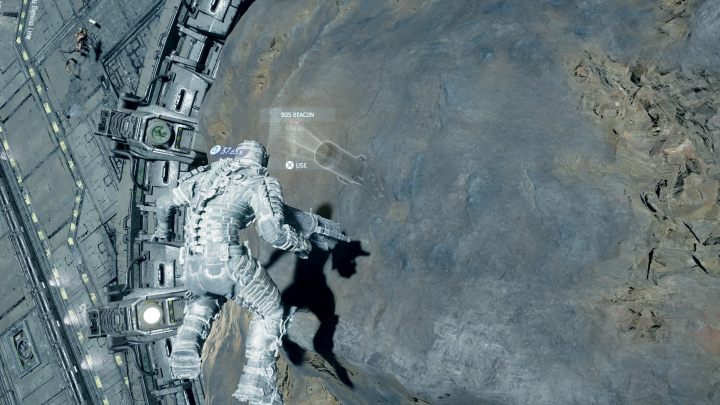
Finally, all that is left to do is to place the beacon. Find an interactive point on the surface of the asteroid - we show it in the attached screenshot. After completing this action, you can safely return to the hall and land.
Launch the Asteroid
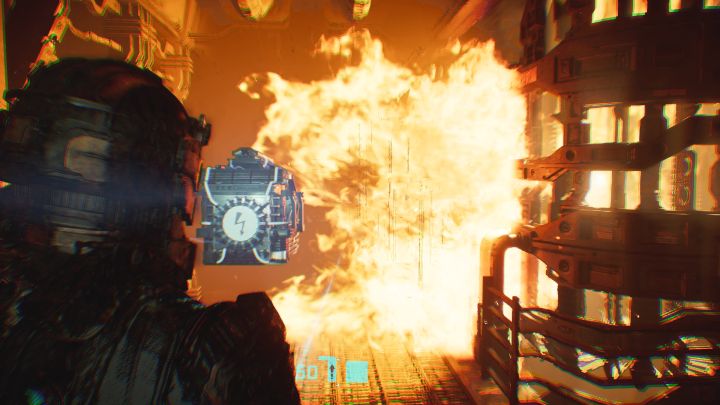
Make your way back to the small elevator. There are some flames along the way - avoid contact with them.
In addition to avoiding the flames, you need to carry the cell to the red slot in the west. Grab the cell with Kinesis and throw it forward. Don't worry about the fire, as it won't destroy the cell. Get rid of incoming necromorphs during breaks from carrying the cell.
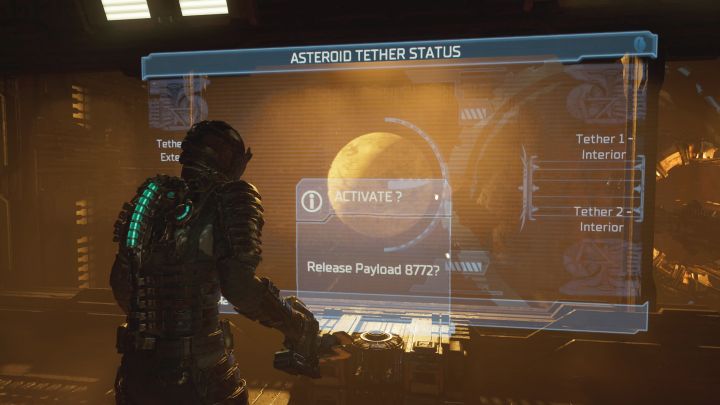
Once the cell is delivered to the western slot, use the elevator. Ride to Mining Control once again. This time, investigate the central terminal responsible for releasing the asteroid.
Return to the Tram Station
You will be trapped when you try to leave the room.
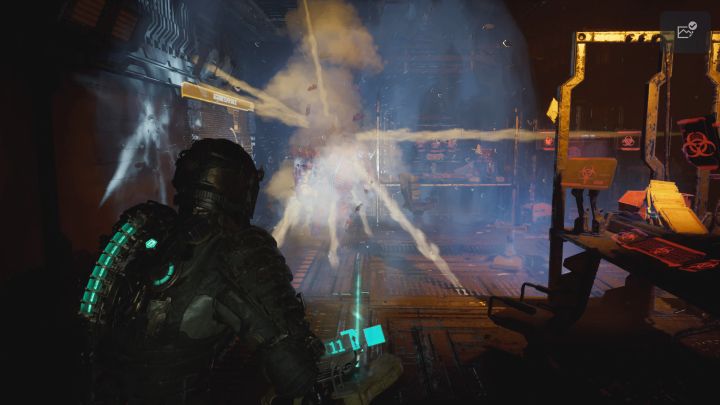
There are some necromorphs incoming, with the emphasis on a new Hunter. As a reminder, he can regenerate his health, so use Stasis and cut off his lower limbs to make him crawl.
Defend yourself until you receive a lockdown lifted message. Place yourself before it, use Kinesis and bring it down.
You can now unlock the way out and continue your escape. Watch out for larger and smaller necromorphs along the way. Use the cargo lift to reach Deck A - Preparation . Head east and eliminate the smaller monsters (e.g. with the Flamethrower). Chapter 8 begins now.
- Dead Space Remake Guide
- Dead Space Remake: Game Guide
- Dead Space Remake: Walkthrough
- Dead Space Remake: Main missions
- Dead Space Remake: New Arrivals
- Dead Space Remake: Intensive Care
- Dead Space Remake: Course Correction
- Dead Space Remake: Obliteration Imminent
- Dead Space Remake: Lethal Devotion
- Dead Space Remake: Environmental Hazard
- Dead Space Remake: Into the Void
- Dead Space Remake: Search and Rescue
- Dead Space Remake: Dead on Arrival
- Dead Space Remake: End of Days
- Dead Space Remake: Alternate Solutions
- Dead Space Remake: Dead Space
- Dead Space Remake: Endings
- Dead Space Remake: Main missions
- Dead Space Remake: Walkthrough
- Dead Space Remake: Game Guide
You are not permitted to copy any image, text or info from this page. This site is not associated with and/or endorsed by the developers and the publishers. All logos and images are copyrighted by their respective owners.
Copyright © 2000 - 2026 Webedia Polska SA for gamepressure.com, unofficial game guides, walkthroughs, secrets, game tips, maps & strategies for top games.
