Dead Space Remake: Dead Space
Our Dead Space Remake game guide describes the final chapter 12 (Dead Space). From the walkthrough you will learn how to restore the power supply, how to transport the Marker through all sectors, how to defeat the final boss (the Hive Mind) and how to escape from the planet.
Dead Space is the final, 12th chapter of Dead Space Remake. Our walkthrough will help you in completing it - we show how to unload the Marker, how to restore power, how to transport the Marker to the Excavation Site, how to transport the Marker to the pedestal, how to defeat the final boss (Hive Mind) and how to escape Aegis VII.
- Unload the Marker
- Restore Power to Shutter
- Transport the Marker through Supply Depot
- Restore Power to Junction
- Transport the Marker through Junction
- Transport the Marker through Storage Chamber
- Return the Marker to the Pedestal
- Reactivate the Tethers
- Reach the Landing Pad
- Final boss - Hive Mind
- Leave the Planet
Unload the Marker

The final chapter starts aboard the shuttle that took you to Aegis VII colony. Go to the Main Landing Pad.
There is an interactive terminal next to Nicole.
Restore Power to Shutter

Use the newly unlocked entrance to Living Quarters, where you'll find a save station, bench, and a shop.
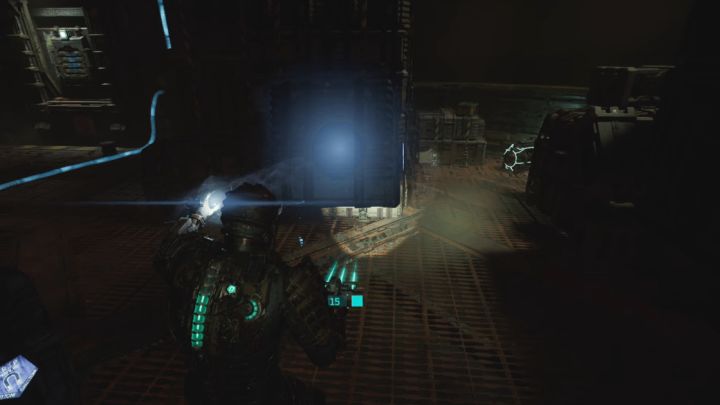
Enter the Server Room, and after all monsters are defeated, grab the cell with Kinesis. There is a red slot in the southern part of the landing pad where you can place it.
Transport the Marker through Supply Depot

The first terminal is here - interacting with further terminals will allow you to unlock the gates so the Marker can be moved. However, not all terminals will be active right away.
As you enter the Supply Depot, quarantine will be initiated, leaving you with a large group of necromorphs to defeat (use free Stasis stations). Once the enemies are defeated, locate the bridge raising terminals . They will allow you to transport the Marker to the next section.
Along the way, you'll encounter two Holding Zones. We recommend exploring them, as there are a lot of supplies there. The second cell can be unlocked by destroying the growth.
Restore Power to Junction

Choose the western corridor of Tether Control . At the entrance, there are some tentacled monsters here that you should deal with at a distance (there is an explosive container nearby that can be thrown). Ride the elevator down.
You have to put 3 cells in the main slots - left, middle and right. The first cell can be obtained by removing it from the elevator which you've used to get here.

The other two cells are in the vicinity and you can reach one of them by moving the crates with Kinesis.
After placing the cells, investigate and interact with the central terminal .

The room will switch to zero gravity. Time to return to the main hall. Along the way, you have to destroy orange growths (any firearm) and avoid large working fans - use stasis to temporarily slow them down (there are stasis replenishment stations nearby).
Transport the Marker through Junction

Once you're back in the Transfer Junction room, a big battle will start. For the last time in the campaign, you have to defeat the Brute, but first try to get away from the monsters and eliminate the creatures with exploding glands. As always, slow the brute with stasis, position yourself behind him and attack his back.
After the battle, you can activate the terminal and transport the Marker to the next section.
Transport the Marker through Storage Chamber

In the new room, the rails are blocked by tendrils that need to be removed. Find the first orange growth on the lower balconies - destroying it will unlock the passage to the upper balconies (screenshot).
At the top, defeat more necromorphs, find the new growth, take the elevator back down and activate the new terminals, thanks to which the Marker will go through this entire section.
Return the Marker to the Pedestal

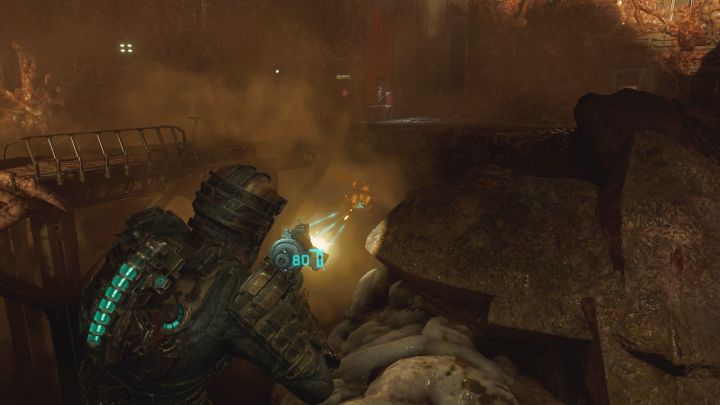
You will reach the Excavation Site. Watch out for the large tentacles here - they will appear near the balconies and try to crush Isaac. Run sideways and quickly fire at the tentacles to get rid of them.

You cannot explore the area fully until you remove the tendrils. Locate the growths and destroy them. After the first such action, a large group of Necromorphs will appear - retreat quickly to attack them from a greater distance and keep them at it for as long as you can.

After the tendrils are eliminated, you can use the terminal to raise the bridge.
Eliminate the necromorphs and reach the terminal at the end of the balconies (screenshot). Interacting with it will trigger a cutscene.
Reactivate the Tethers

Go to the glassed control room that has been unlocked. There is an interactive console inside and using it will trigger another cut-scene.
Reach the Landing Pad

You don't have to go through the areas where you've transported the Marker. A shortcut has been unlocked - it's the Access Tunnel.
Collect supplies encountered along the way. You'll reach Living Quarters again - save your progress, as the final battle of the story is before you. The action starts once you return to the shuttle.
Final boss - Hive Mind

The fight with the Hive Mind will take place on the Main Landing Pad.
It's a medium sized square arena. There are numerous loot chests on the landing pad - you can destroy them by yourself to retrieve the contents or wait for the boss to destroy them. Pick up items that you need - leave the rest. There is no point in filling the inventory with e.g. Stasis Kits.

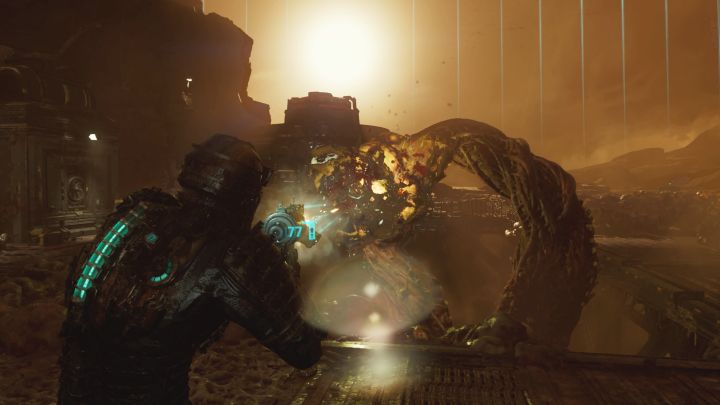
In the first phase of the fight, the Hive Mind will have 5 orange glands exposed. Shoot them in any order to destroy them one by one.

The boss spits out cocoons that will land in various places across the arena. Avoid contact with them even when they are still flying towards the arena. You can destroy them with ranged attacks or stay away and wait for them to explode.

After destroying all the glands, a group of standard necromorphs will appear. Focus only on them, because the Hive Mind will not attack you in the meantime. Make sure to use Stasis and good weapons for short and medium distances.

In the second phase of the fight, the Hive Mind's weak point will be the chest glands. The problem is that they are revealed only for a short moment. Use powerful weapons and aim well so you destroy at least one gland in a single reveal.

The Hive Mind will launch attacks of its own after its chest is closed.
- Run zig-zag to avoid tentacle attacks. The tentacles will attack a few times in a row.
- Stay away from poisonous fumes. They always form a line and limit your space. Fortunately, they will disappear after some time.

In the final part of the battle, Isaac will be caught by one of the boss's tentacles. You must look for opportunities to shoot at the last orange gland. Dealing enough damage to it will lead to its destruction which means the battle is concluded.
Leave the Planet

You can now return to the shuttle. There is no need to gather any more supplies, as there will be no more battles.
To learn more about available endings, visit a dedicated page of the walkthrough.
- Dead Space Remake Guide
- Dead Space Remake: Game Guide
- Dead Space Remake: Walkthrough
- Dead Space Remake: Main missions
- Dead Space Remake: New Arrivals
- Dead Space Remake: Intensive Care
- Dead Space Remake: Course Correction
- Dead Space Remake: Obliteration Imminent
- Dead Space Remake: Lethal Devotion
- Dead Space Remake: Environmental Hazard
- Dead Space Remake: Into the Void
- Dead Space Remake: Search and Rescue
- Dead Space Remake: Dead on Arrival
- Dead Space Remake: End of Days
- Dead Space Remake: Alternate Solutions
- Dead Space Remake: Dead Space
- Dead Space Remake: Endings
- Dead Space Remake: Main missions
- Dead Space Remake: Walkthrough
- Dead Space Remake: Game Guide
You are not permitted to copy any image, text or info from this page. This site is not associated with and/or endorsed by the developers and the publishers. All logos and images are copyrighted by their respective owners.
Copyright © 2000 - 2026 Webedia Polska SA for gamepressure.com, unofficial game guides, walkthroughs, secrets, game tips, maps & strategies for top games.
