AC Origins: Tombs in Deshert Desert Walkthrough
Here you will find description and walkthrough of Seth-Anat Tomb.
Last update:
This chapter include detailed walkthrough of all tombs available in Deshert Desert.
Seth-Anat Tomb

The Tomb located in Deshert Desert consists of 2 parts. Solve a puzzle to reach a tablet. This will also allow you to reach the Tomb's mechanism.

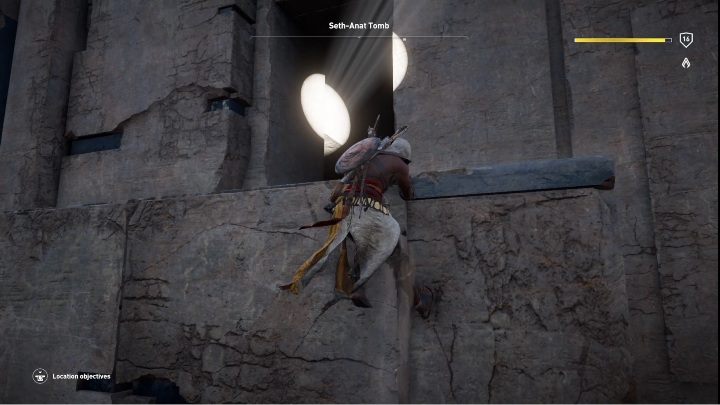
The first thing that you must do is to move a hatch on the left side of the puzzle. You must climb rocks and pull a stone block. Thanks to that the light can shine on the right spot, on the rocks on the opposite side.

Follow a glint of light. Jump down from the rocks and go between them. When you reach a crossroad, you should turn right and then go up. There, you must move another stone block.

When you move the block, you will see that the light shines on a place covered in spider web. You must go there and burn the spider web with your torch. This place is marked green in the picture.

After that you must follow the light again. Reach the place on which the light shines and push a stone block.

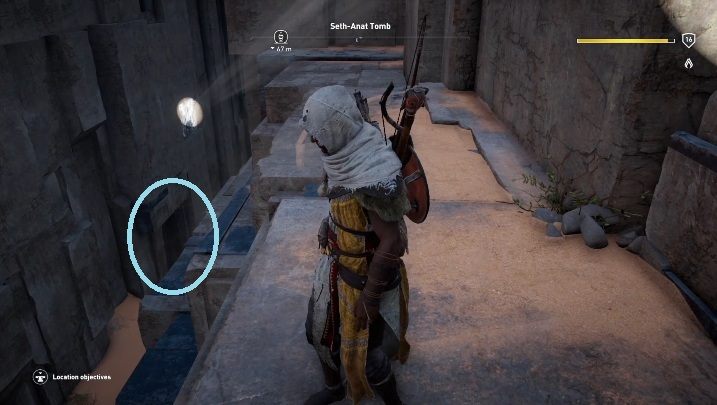
Then, you must reach another spot and destroy spider web with a grenade. After that you can enter inside. Here, you can find another tablet. The entrance is marked blue in the picture.

Destroy a spider web before you activate the tablet. It is located on the right wall. Again, destroy it with a grenade. This allows you to reach the Tomb's mechanism.
Mechanism
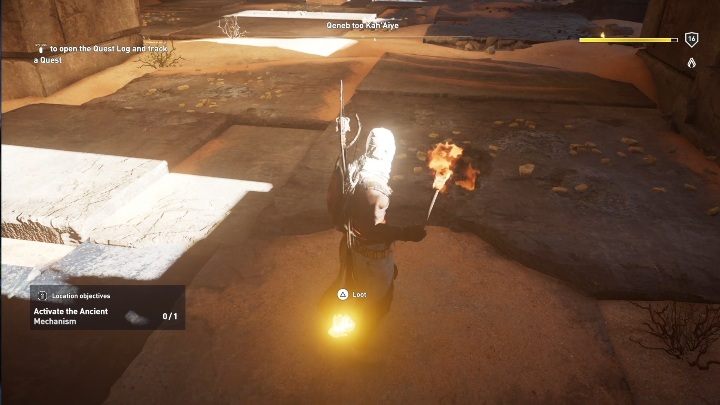
After that you can reach the Tomb's mechanism. Collect 5 parts to activate it.

They are scattered around the room. Collect them, approach the mechanism and activate it. After that you can listen to a story and then leave.
- Assassin's Creed Origins Guide
- AC Origins: Game Guide
- AC Origins: Tombs
- AC Origins: All Tombs Guide
- AC Origins: Tombs in Siwa Walkthrough
- AC Origins: Tombs in Giza Walkthrough
- AC Origins: Tombs in Uab Nome Walkthrough
- AC Origins: Tombs in Deshert Desert Walkthrough
- AC Origins: Tombs in Black Desert Walkthrough
- AC Origins: Tombs in Saqqara Nome Walkthrough
- AC Origins: Tombs in Haueris Nome Walkthrough
- AC Origins: Tombs in Isolated Desert Walkthrough
- AC Origins: Tombs
- AC Origins: Game Guide
You are not permitted to copy any image, text or info from this page. This site is not associated with and/or endorsed by the developers and the publishers. All logos and images are copyrighted by their respective owners.
Copyright © 2000 - 2026 Webedia Polska SA for gamepressure.com, unofficial game guides, walkthroughs, secrets, game tips, maps & strategies for top games.
